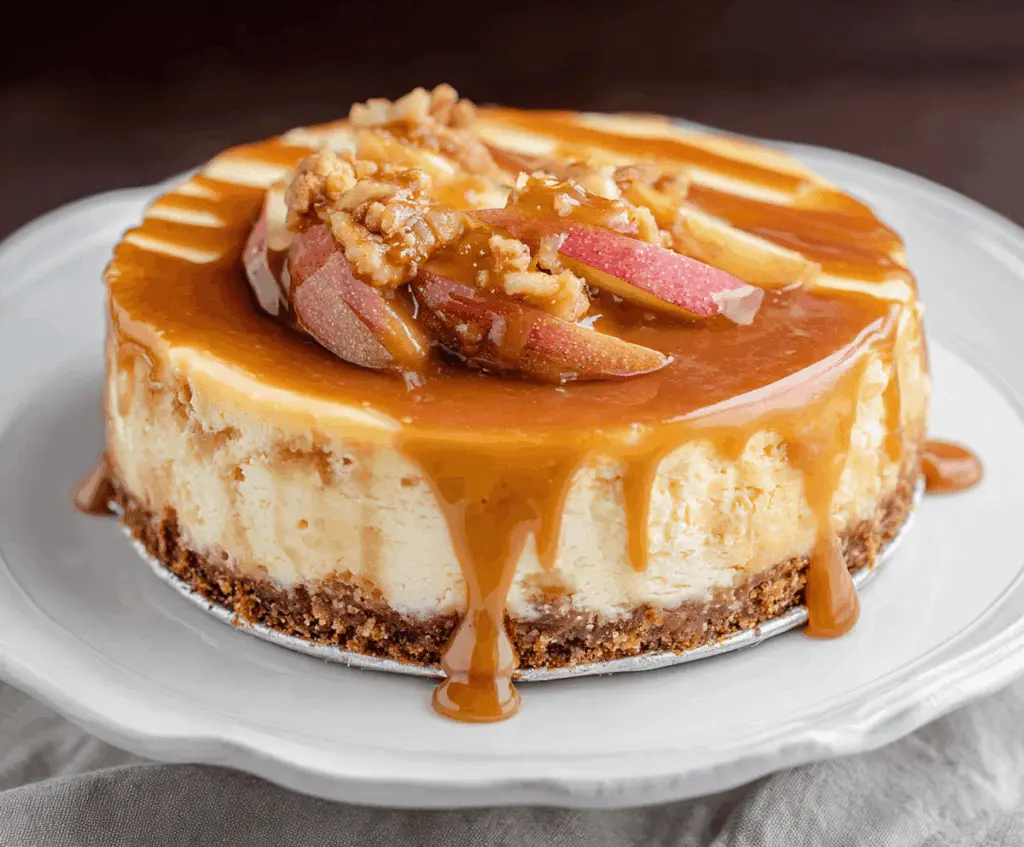
This Caramel Apple Cheesecake is a yummy treat combining smooth cheesecake with sweet apples and rich caramel. It’s like a dessert hug on a plate!
You’ll love how the creamy filling and crunchy apples come together perfectly. Trust me, it’s hard to resist sneaking a slice (or two!). I like to add extra caramel on top for a sweet finish! 🎂
Key Ingredients & Substitutions
Graham Cracker Crumbs: This is the classic choice for the crust that gives a nice crunch. If you’re looking for a gluten-free option, you can use crushed gluten-free cookies or almond flour mixed with some coconut oil.
Cream Cheese: Go for full-fat cream cheese for a rich and creamy texture. Neufchâtel can be used for a lighter version, but it may not be as rich. Always remember to bring it to room temperature before mixing for the smoothest consistency.
Apples: Firm apples like Fuji or Gala work best because they hold their shape. If you want something a little different, Granny Smith apples will add a nice tartness. Peeling is optional, as the skin adds color and texture, too!
Caramel Sauce: Store-bought caramel is an easy substitute if you’re short on time. For a healthier option, consider using date syrup or homemade cashew caramel for a nutty taste.
How Do I Ensure My Cheesecake Doesn’t Crack?
Cracks on a cheesecake can be a common issue, but there are a few tricks to prevent them. Start by mixing your batter on low to avoid incorporating too much air. Here’s a simple method:
- Set the oven to bake at a lower temperature (around 325°F) and avoid opening the door while it bakes.
- Once it’s done baking, turn off the oven and let the cheesecake cool in the oven with the door slightly ajar for about an hour.
- Finally, refrigerate it for a minimum of 4 hours. Chilling helps firm it up and reduces the chance of cracking.
Caramel Apple Cheesecake
Ingredients You’ll Need:
For the Crust:
- 1 1/2 cups graham cracker crumbs
- 1/4 cup granulated sugar
- 1/2 cup unsalted butter, melted
For the Cheesecake Filling:
- 24 oz (3 packages) cream cheese, softened
- 1 cup granulated sugar
- 3 large eggs
- 1 tsp vanilla extract
- 1/2 cup sour cream
- 1 cup peeled and diced apples (preferably firm apples like Fuji or Gala)
- 1 tsp ground cinnamon
For the Caramel Sauce:
- 1 cup granulated sugar
- 6 tbsp unsalted butter, cubed
- 1/2 cup heavy cream, warmed
- Pinch of salt
For Topping:
- Thin apple slices (with skin on for color)
- Chopped walnuts or pecans (optional)
How Much Time Will You Need?
This delicious cheesecake takes about 25 minutes of prep time and requires about 60 minutes to bake. Don’t forget to chill it for at least 4 hours before serving, or overnight for the best results. So, overall, plan for around 5 hours, including cooling and chilling time!
Step-by-Step Instructions:
1. Preheat the Oven:
Start by preheating your oven to 325°F (163°C). Grease a 9-inch springform pan to ensure your cheesecake comes out easily later.
2. Make the Crust:
In a medium bowl, mix together the graham cracker crumbs, sugar, and melted butter until everything is well combined and looks sandy. Press this mixture firmly into the bottom of the springform pan to form an even layer. Bake the crust in the oven for 8-10 minutes or until it’s lightly golden, then let it cool.
3. Prepare the Cheesecake Filling:
In a large bowl, beat the softened cream cheese with an electric mixer until it’s smooth and creamy. Gradually add in the sugar, mixing until it’s fully incorporated. Next, add the eggs one at a time, mixing gently after each addition. Then, stir in the vanilla extract and sour cream until everything is blended.
4. Add the Apples:
In a small bowl, toss the diced apples with the ground cinnamon. Gently fold the apple mixture into the cream cheese filling until evenly distributed.
5. Pour and Smooth:
Pour the cheesecake filling over the cooled crust in the springform pan. Smooth the top with a spatula for an even finish.
6. Bake:
Place the cheesecake in the oven and bake for 50-60 minutes. The edges should be set, but the center can still have a slight jiggle. Once baked, turn off the oven, crack the door open, and let the cheesecake cool inside for about 1 hour.
7. Cool and Chill:
After cooling, remove the cheesecake from the oven and let it cool completely on a wire rack. Once cool, refrigerate it for at least 4 hours or overnight for best results.
8. Make the Caramel Sauce:
While the cheesecake is chilling, prepare your caramel sauce. In a medium saucepan over medium heat, carefully melt the granulated sugar, swirling the pan occasionally until it turns a golden amber color. Be cautious not to burn it! Once melted, add the cubed butter and whisk until it’s melted. Slowly pour in the warmed heavy cream while whisking continuously until smooth. Stir in a pinch of salt and let it cool slightly.
9. Serve:
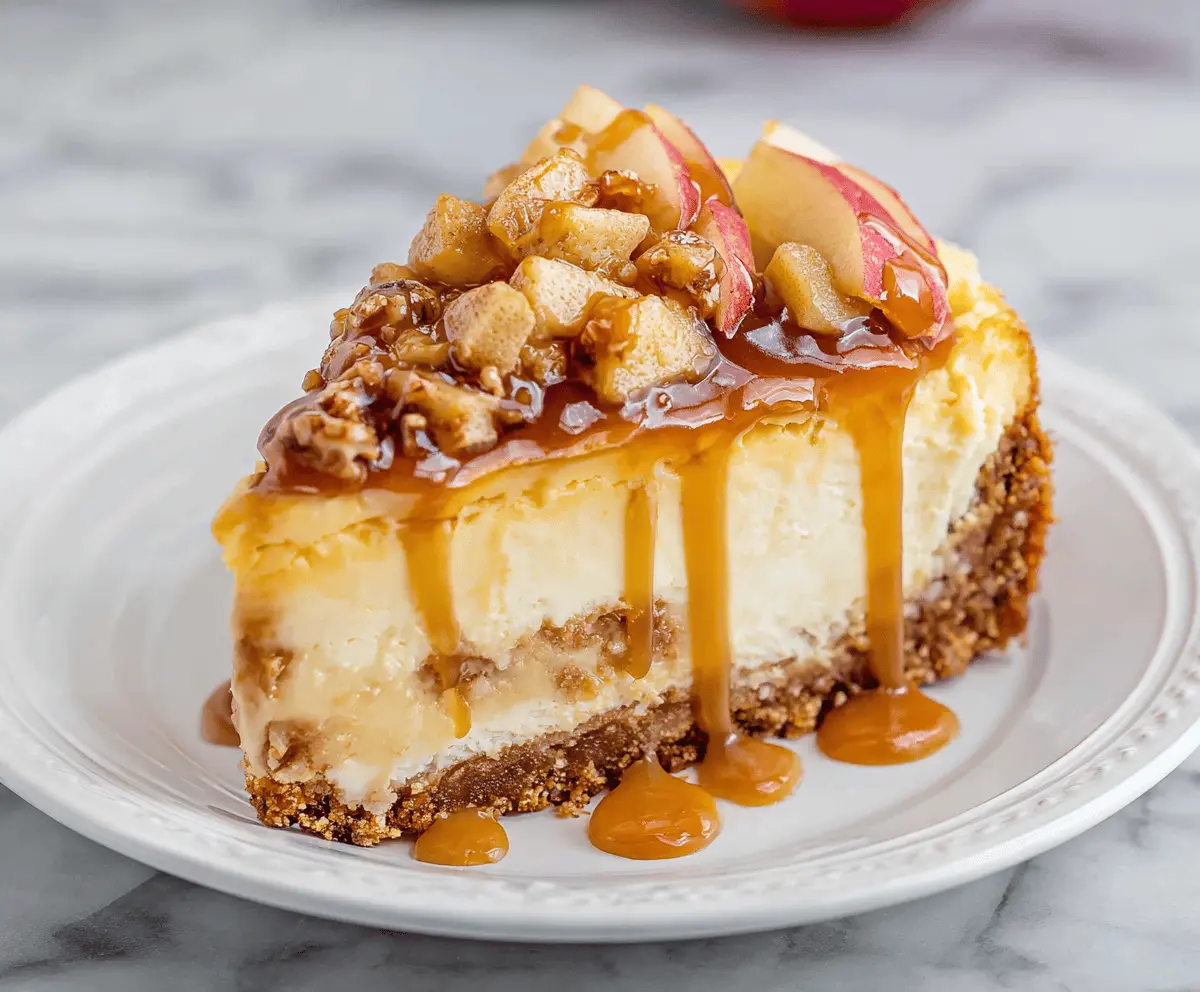
When you’re ready to enjoy the cheesecake, remove it from the springform pan and place it onto your serving plate. Drizzle the caramel sauce generously over the top, letting it drip down the sides. Add thin apple slices on top for garnish and sprinkle chopped nuts if you like.
10. Slice and Enjoy:
Slice your luscious caramel apple cheesecake and dig in! This dessert combines creamy richness with tender apple pieces and luscious caramel, making every bite decadent. Enjoy every mouthful!
Can I Use Store-Bought Caramel Sauce Instead of Making My Own?
Absolutely! Store-bought caramel sauce is a great time-saver and works perfectly for drizzling on top. Just warm it slightly before using to make it easier to pour over the cheesecake.
How Do I Store Leftovers?
Leftover cheesecake can be stored in an airtight container in the fridge for up to 5 days. Ensure it’s completely cooled before sealing. To enjoy it later, just slice and serve cold or warm it slightly in the microwave.
Can I Freeze the Cheesecake?
Yes, you can freeze the cheesecake for up to 2-3 months! Wrap it tightly in plastic wrap and then in aluminum foil to prevent freezer burn. Thaw it overnight in the fridge before serving for the best texture.
What If I Don’t Have a Springform Pan?
No worries! You can use a regular round cake pan, but be sure to line the bottom with parchment paper for easier removal. Just be gentle when serving to maintain the slice’s shape.