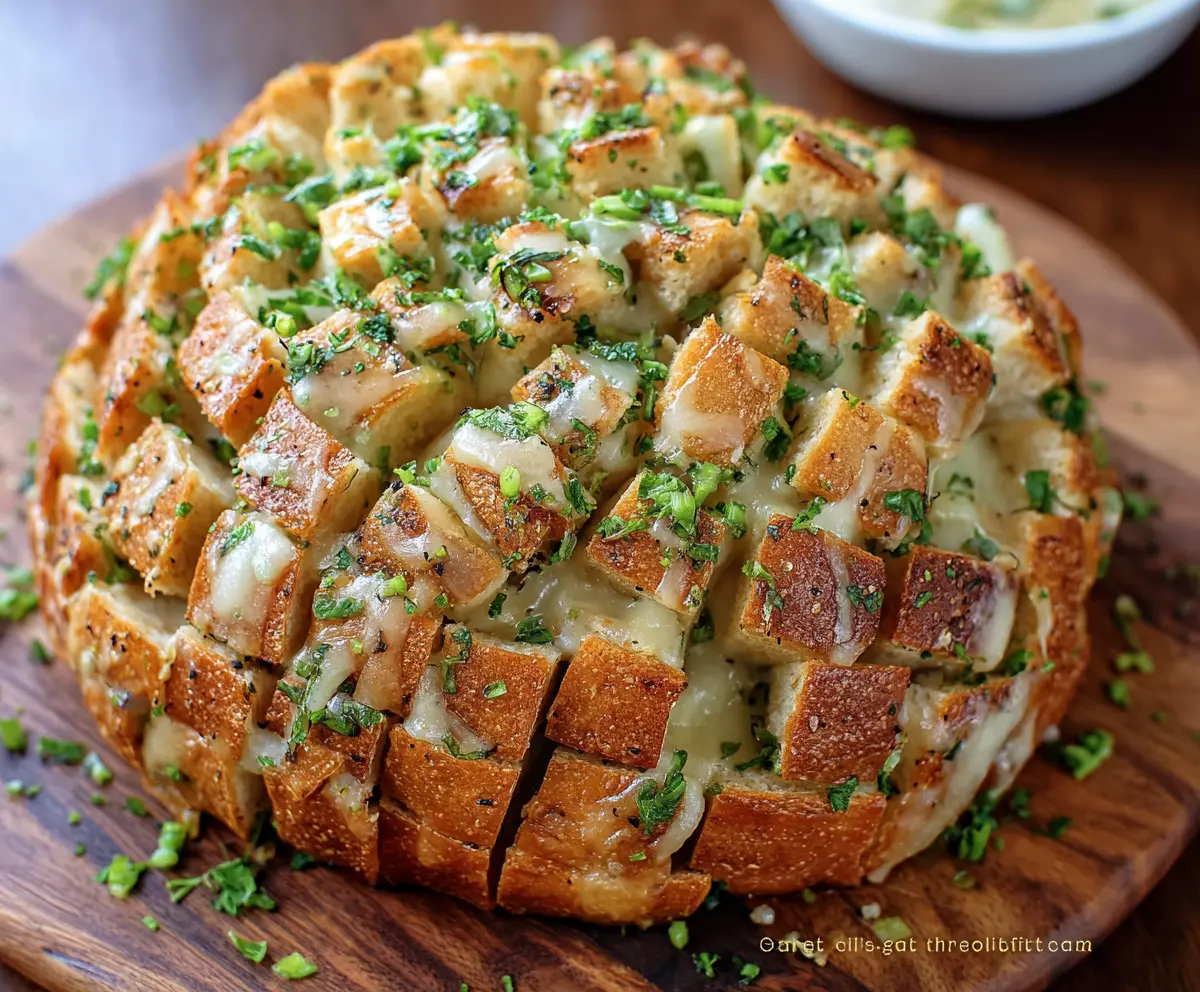
This Bloomin’ Onion Garlic Bread is a fun twist on a classic! With crispy, golden edges and a soft, buttery center, it’s perfect for sharing. Plus, garlic lovers rejoice—it’s packed with flavor!
When I make this, I can’t resist pulling apart those tasty layers. It’s like having the best of both worlds—garlic bread and an onion bloom. Perfect for a party or movie night! 🎉
Key Ingredients & Substitutions
Crusty Bread: A round loaf, like sourdough or boule, works best for this recipe. If you’re short on time, a French baguette or ciabatta can also do the trick. Just make sure it’s sturdy enough to hold the fillings!
Unsalted Butter: I always use unsalted butter for better control over the salt level. If you need a dairy-free option, swap it with olive oil or a plant-based butter alternative.
Garlic: Fresh garlic is my favorite for its strong flavor. If you’re out, you can use garlic powder, though it won’t be as bold. Just use about 1 teaspoon for every clove.
Cheese: Mozzarella is great for its melting goodness, but feel free to mix in cheddar or pepper jack for some zest. If you want to keep it dairy-free, look for vegan cheese alternatives.
Fresh Parsley: This adds a nice freshness at the end. If you don’t have fresh, you can use dried parsley, though I recommend fresh for the best flavor and color.
How Do I Cut the Bread Without Messing It Up?
The key to cutting the bread is to create those deep slices without going all the way through. Here’s the trick:
- Use a serrated bread knife for clean cuts.
- Hold the loaf steady while making cuts about 1 inch apart, and stop before reaching the bottom.
- Once it’s cut, gently pull apart the pieces slightly to allow for easier stuffing.
This method makes it easy for the buttery mixture and cheese to fill all those delicious little pockets!
What’s the Best Way to Ensure the Cheese Melts Perfectly?
To achieve that gooey, melt-in-your-mouth cheese, here’s what I do:
- Make sure to stuff the cheese deeply into the cuts, pressing it down a bit. This helps it melt easier.
- Covering the bread with foil for the first baking period helps trap moisture, making the cheese melt thoroughly.
- Remove the foil near the end to let the cheese bubble up and brown slightly, creating that crispy texture.
These steps will guarantee your garlic bread is both cheesy and crispy throughout!
How to Make Bloomin’ Onion Garlic Bread
Ingredients You’ll Need:
For the Bread:
- 1 large round loaf of crusty bread (such as sourdough or boule)
For the Garlic Butter Mixture:
- 1/2 cup (1 stick) unsalted butter, melted
- 4-5 garlic cloves, finely minced
- 1 teaspoon garlic powder
- 1 tablespoon fresh parsley, finely chopped (plus extra for garnish)
- 2 green onions (scallions), finely chopped
- 1/2 teaspoon dried oregano
- 1/2 teaspoon dried basil
- Salt and black pepper to taste
- Optional: 1/4 teaspoon crushed red pepper flakes for a little heat
For the Cheese Filling:
- 1 1/2 cups shredded mozzarella cheese (or a mix of mozzarella and Monterey Jack)
How Much Time Will You Need?
This delicious Bloomin’ Onion Garlic Bread will take about 10 minutes for preparation and 25-30 minutes for baking. Overall, you can expect to spend about 40 minutes from start to finish, making it perfect for a quick yet impressive appetizer or side dish!
Step-by-Step Instructions:
1. Preheat the Oven:
Start by preheating your oven to 350°F (175°C). Line a baking sheet with parchment paper or lightly grease it, so the bread doesn’t stick.
2. Prepare the Bread:
Place the loaf of bread on a cutting board. With a sharp bread knife, cut the bread in a crisscross pattern, about 1-inch apart. Be careful not to cut all the way through—leave a small base intact at the bottom to hold the loaf together.
3. Make the Garlic Butter Mixture:
In a medium bowl, combine the melted butter, minced garlic, garlic powder, fresh parsley, scallions, dried oregano, dried basil, salt, black pepper, and crushed red pepper flakes if you’re feeling adventurous. Mix everything together well.
4. Coat the Bread:
With your hands or a brush, gently pull apart the bread sections and generously coat the inside cracks and the outside with the garlic butter mixture. Make sure to get it in all those yummy crevices!
5. Stuff the Cheese:
Now it’s time for the best part—stuffing the cheese! Push the shredded mozzarella cheese deep into the cuts of the bread, ensuring it fills those layers well.
6. Wrap and Bake:
Wrap the entire loaf loosely in aluminum foil; this helps the cheese melt perfectly. Bake for about 15 minutes covered, then remove the foil and bake for an additional 10-15 minutes until the cheese is melted, bubbly, and the edges of the bread are golden brown.
7. Garnish and Serve:
Once done, take the bread out of the oven and sprinkle some extra fresh parsley and green onions on top for a pretty finish. Serve it warm, letting everyone pull apart those gooey, cheesy garlic bread petals as they dig in!
This Bloomin’ Onion Garlic Bread is sure to be a hit at any gathering or family dinner. Enjoy the melt-in-your-mouth goodness!
Can I Use Other Types of Bread for This Recipe?
Absolutely! While sourdough or boule works best for that iconic shape, you can also use French bread or ciabatta. Just make sure the bread is sturdy enough to support the fillings without falling apart.
How Do I Store Leftovers?
If you have any leftovers, store them in an airtight container in the fridge for up to 3 days. To reheat, pop it in the oven at 350°F (175°C) for about 10 minutes, wrapped in foil, to keep it moist.
Can I Make This Recipe Ahead of Time?
Yes! You can prepare the garlic butter mixture and cut the bread in advance, then wrap it tightly in foil and refrigerate it. Just allow it to sit at room temperature for about 30 minutes before baking to ensure even cooking.
What Can I Serve This With?
This garlic bread pairs wonderfully with pasta dishes, salads, or even as a standalone appetizer. It’s perfect for game nights or parties when you want something that everyone can enjoy pulling apart together!