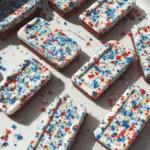
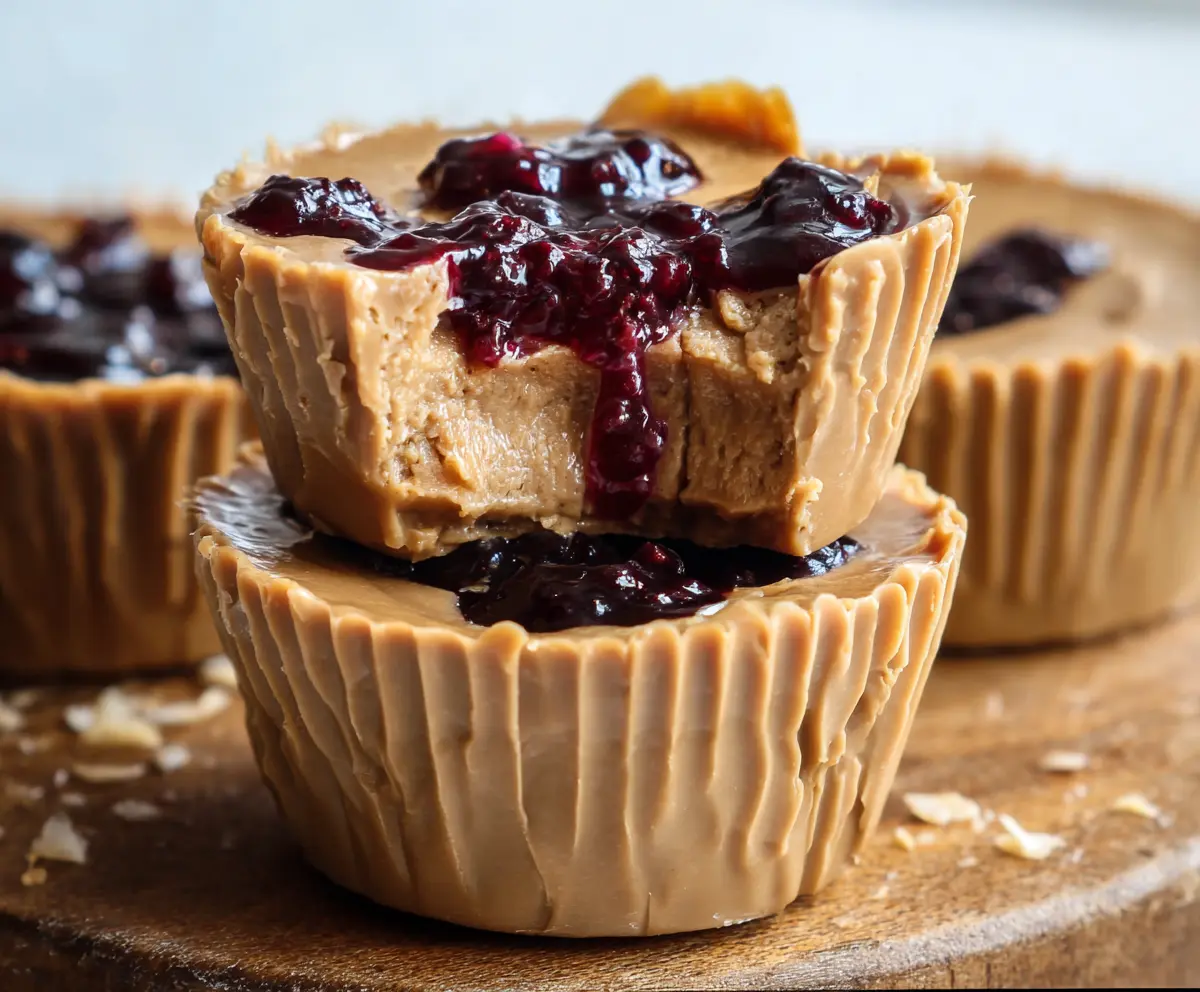
These Healthy Peanut Butter and Jelly Cups are a fun twist on a classic snack! They are made with creamy peanut butter surrounded by a chocolate shell and a yummy fruit filling.
It’s like a hug for your taste buds! I love making these as a quick treat. You can enjoy them anytime without feeling guilty. Perfect for a snack or dessert! 🍇🥜
Key Ingredients & Substitutions
Natural Peanut Butter: The star of this recipe! It gives that rich flavor. If you’re allergic to peanuts, try almond butter or sunflower seed butter for a similar taste and texture.
Maple Syrup or Honey: Either option adds sweetness. I lean towards maple syrup for its flavor, but if you’re vegan, stick with maple syrup. Agave syrup is another good substitute.
Coconut Oil: This helps bind the ingredients and gives a nice texture. If you prefer not to use coconut oil, you can use unsalted butter or a neutral oil like canola. Just make sure it’s melted!
White Chocolate Chips: They add a creamy layer. If you want to skip the dairy, use dairy-free or vegan white chocolate chips. You could even use dark chocolate for a different twist!
Fruit Jam or Jelly: Use any flavor you like! Raspberry or strawberry is classic, but blueberry or apricot jams are delicious too. If you’re watching sugar, choose a no-sugar-added version or make your own.
How Do I Ensure My Peanut Butter Cups Are Perfectly Layered?
The layers in these cups are crucial for a good bite. Here’s how to achieve that:
- Chill Properly: After adding each layer, pop the muffin tin in the freezer. This helps the layers firm up before adding the next one, preventing mixing.
- Don’t Rush the Melting: When melting white chocolate, do it slowly. Stir every 20 seconds to avoid burning. If you see any lumps, keep stirring until smooth.
- Portion Control: Use the right amount of peanut butter mixture for each cup. About 2 tablespoons per cup works well. A measuring spoon helps with consistency!
- Layering the Jam: Only a teaspoon of jam goes in the center. Spread it slightly, but don’t let it touch the edges. This keeps it contained and creates that jelly pocket.
By giving a bit of love and attention to these steps, your peanut butter and jelly cups will look as good as they taste!
How to Make Healthy Peanut Butter and Jelly Cups
Ingredients You’ll Need:
- 1 cup natural peanut butter (smooth or crunchy based on preference)
- 1/4 cup pure maple syrup or honey
- 1/2 cup coconut oil, melted
- 1 teaspoon vanilla extract
- 1/8 teaspoon sea salt (plus more for garnish)
- 1/2 cup creamy white chocolate chips or yogurt chips (for the top layer)
- 1/4 cup natural fruit jam or jelly (e.g., raspberry or strawberry, no added sugar)
How Much Time Will You Need?
This delicious treat takes about 15 minutes of prep time and an additional 50 minutes to chill and set in the freezer. In total, you’ll spend about 1 hour and 5 minutes before they’re ready to enjoy!
Step-by-Step Instructions:
1. Prepare Your Muffin Tin:
First things first, line a muffin tin with paper liners or use silicone cupcake cups. This will make it easier to remove the cups once they are set.
2. Make the Peanut Butter Mixture:
In a medium bowl, combine the peanut butter, maple syrup (or honey), melted coconut oil, vanilla extract, and 1/8 teaspoon sea salt. Stir everything together until it’s smooth and well combined.
3. Create the Base Layer:
Now, grab a spoon and scoop about 2 tablespoons of the peanut butter mixture into each cupcake liner. Press down gently to form an even base layer. This is where the deliciousness begins!
4. Freeze the Base Layer:
Place the muffin tin in the freezer for about 15 minutes to firm up the peanut butter base. This step is important for the layers to stay separate.
5. Melt Your White Chocolate:
While waiting, melt the white chocolate or yogurt chips. Use a microwave-safe bowl and heat in 20-second intervals, stirring in between until smooth. Be careful not to overheat!
6. Add the White Chocolate Layer:
Once the peanut butter base has firmed up, take the muffin tin out of the freezer. Spoon about 1 tablespoon of the melted white chocolate evenly over each peanut butter base, creating a lovely white layer on top.
7. Chill Again:
Pop the muffin tin back into the freezer for about 10 minutes to let the white chocolate set nicely.
8. Adding the Jam:
Next, carefully spoon 1 teaspoon of your chosen fruit jam or jelly right in the center of each cup. Spread it slightly but keep it mainly in the middle for that delightful pocket of jelly.
9. Optional Drizzle:
If you want to jazz it up, you can drizzle a bit more melted peanut butter or some melted dark chocolate over the top for decoration—totally optional but oh-so-tasty!
10. Season for Flavor:
Finish off by sprinkling a small pinch of sea salt on top of each cup. This will enhance the flavor and give that perfect sweet and salty contrast.
11. Final Freeze:
Freeze the cups for another 30 minutes or until they’re fully set and ready to be enjoyed!
12. Enjoying Your Treat:
Once they’re set, store the cups in an airtight container in the freezer or fridge. When you’re ready to enjoy, let them sit out for a few minutes at room temperature for a softer texture. Enjoy these creamy, sweet, and healthy peanut butter and jelly cups anytime as a guilt-free snack!
Can I Use Different Nut Butters?
Absolutely! You can substitute almond butter, cashew butter, or even sunflower seed butter if you have nut allergies. Just make sure the texture is similar to peanut butter for the best results.
How Do I Store Leftovers?
Store any leftover cups in an airtight container in the refrigerator for up to a week or in the freezer for up to a month. If frozen, let them sit out at room temperature for a few minutes before enjoying them for a softer texture.
Can I Make These Dairy-Free?
Yes! Simply use dairy-free white chocolate or yogurt chips instead of regular ones. You can also drizzle melted dark chocolate for a delicious alternative!
What Kind of Jam Should I Use?
You can use any fruit jam or jelly you prefer! Raspberry and strawberry are classics, but feel free to experiment with blueberry, apricot, or even no-sugar-added versions for a healthier option.