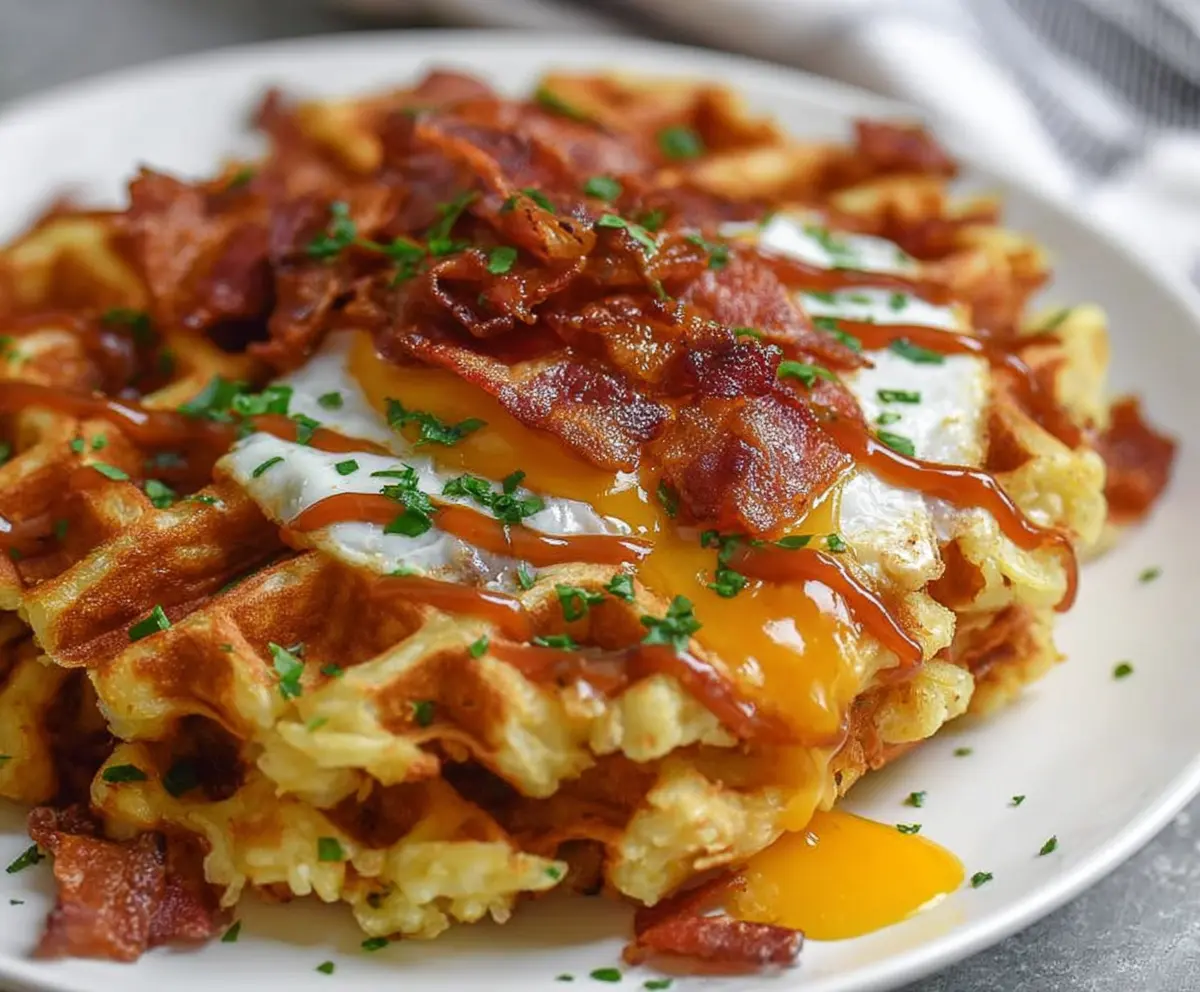
These Bacon and Cheese Loaded Hash Brown Waffles are a crispy, cheesy delight! With crispy hash browns, smoky bacon, and gooey cheese, they make a tasty breakfast or snack.
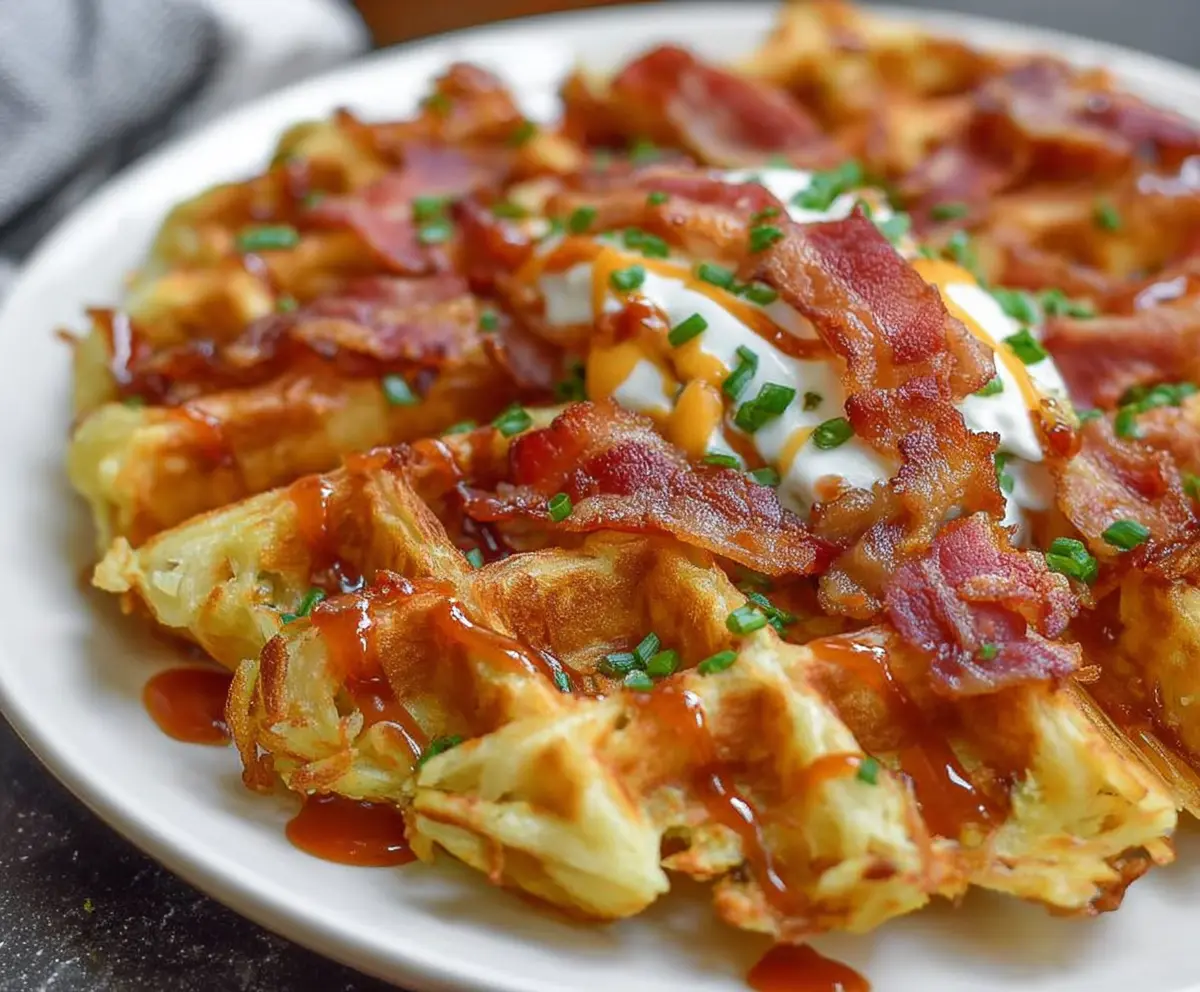
I can’t resist how awesome these waffles are straight off the iron. Top them with a dollop of sour cream, and you’ve got a perfect combo for your taste buds! 😊
Key Ingredients & Substitutions
Hash Browns: Frozen shredded hash browns are the star here. They save prep time! If you prefer fresh, you can shred potatoes yourself. Just remember to squeeze out excess moisture.
Cheddar Cheese: Sharp cheddar gives a nice bite. You could use other cheeses like Monterey Jack or mozzarella if you want a milder flavor. Mix it up for variety!
Bacon: Cooked bacon adds crunch and smoky flavor. If you’re looking for a healthier option, turkey bacon works well, or you can omit it for a vegetarian twist.
Flour: All-purpose flour helps hold the mixture together. If you need gluten-free, try using almond flour or a gluten-free flour blend.
Eggs: Eggs bind everything. For a vegan option, you could use flax eggs instead, but that can change the texture a bit.
How Can I Ensure My Waffles Are Crispy and Golden Brown?
To achieve that perfect crispy outside, focus on a few key steps:
- Drain Well: Make sure to completely drain the thawed hash browns. Excess moisture can make your waffles soggy.
- Preheat Iron: Always preheat your waffle iron properly. A hot surface allows for immediate browning.
- Don’t Overcrowd: Use a generous but reasonable amount of the mixture. Overloading can lead to uneven cooking.
- Cooking Time: Keep an eye on them! Every waffle iron is different, so check for that golden crust, which usually takes about 8-12 minutes.
With these tips, your loaded hash brown waffles will turn out crispy on the outside and fluffy on the inside. Enjoy your delicious breakfast creation!
Bacon And Cheese Loaded Hash Brown Waffles
Ingredients You’ll Need:
For the Waffle Mixture:
- 4 cups frozen shredded hash browns, thawed and well-drained
- 1 ½ cups shredded sharp cheddar cheese
- 6 slices bacon, cooked and crumbled
- 3 large eggs
- ¼ cup all-purpose flour
- 1 teaspoon garlic powder
- ½ teaspoon onion powder
- ½ teaspoon smoked paprika (optional)
- Salt and pepper to taste
- Butter or oil for waffle iron
For Serving:
- Additional cooked bacon slices for topping
- Fried eggs (optional, for serving)
- Chopped fresh parsley for garnish
- Hot sauce or ketchup for drizzling (optional)
How Much Time Will You Need?
This recipe takes about 15 minutes of prep time and around 10-15 minutes of cooking time, depending on your waffle iron. In total, you’re looking at approximately 30 minutes to delicious, crispy hash brown waffles!
Step-by-Step Instructions:
1. Prepare Hash Brown Mixture:
Start by grabbing a large mixing bowl. Combine the thawed and well-drained hash browns, shredded cheddar cheese, crumbled bacon, flour, garlic powder, onion powder, smoked paprika (if using), and season with salt and pepper. Mix everything together until it’s well combined and looks pretty cohesive.
2. Add Eggs:
Crack the eggs into your mixture. Stir it all up well until the eggs are fully incorporated, and the mixture forms a good consistency—neither too wet nor too dry. You want it to hold together nicely but not be soggy.
3. Heat the Waffle Iron:
Preheat your waffle iron according to the manufacturer’s instructions. Don’t forget to lightly grease it with butter or oil to keep the waffles from sticking. A well-greased iron is key for perfect, crispy edges!
4. Cook the Hash Brown Waffles:
Once your waffle iron is hot and ready, spoon a generous amount of the hash brown mixture onto the iron. Spread it evenly, but don’t overfill it. Close the lid and let it cook for about 8-12 minutes, or until the waffles are golden brown and crispy. Keep an eye on it, as cooking times can vary!
5. Serve:
When the waffles are done, carefully remove them from the waffle iron and place them on serving plates. You can top each waffle with additional cooked bacon slices and a fried egg on top for that runny yolk goodness!
6. Garnish and Finish:
To make your dish look extra delicious, sprinkle some chopped fresh parsley over the top for a pop of color. If you like a kick, drizzle some hot sauce or ketchup over it.
7. Enjoy:
Serve the bacon and cheese loaded hash brown waffles immediately while they’re hot and crispy. These beauties are perfect for breakfast or brunch and are sure to impress your family and friends!
These crispy hash brown waffles are loaded with melted cheese and smoky bacon, topped deliciously with a runny egg, fresh herbs, and your favorite sauce. Grab a fork and dig in! You won’t regret it! 😋
Can I Use Fresh Hash Browns Instead of Frozen?
Absolutely! If you prefer fresh hash browns, just shred some potatoes and soak them in cold water to remove excess starch. Drain well and pat them dry before using them in the recipe for the best results.
Can I Make These Waffles Ahead of Time?
Yes! You can prepare the mixture ahead of time and store it in the fridge for up to 24 hours. Just give it a good mix before cooking. Alternatively, you can cook them ahead, then reheat them in the oven for about 10 minutes at 350°F (175°C) to regain crispiness.
How Should I Store Leftover Waffles?
Store any leftovers in an airtight container in the fridge for up to 3 days. To reheat, pop them in the toaster or the oven at 350°F (175°C) until heated through and crispy again.
Can I Customize the Toppings?
Definitely! Feel free to personalize your waffles with different toppings such as avocado slices, jalapeños, or even salsa. You can get creative with sauces too—try ranch dressing or a spicy aioli for a fun twist!