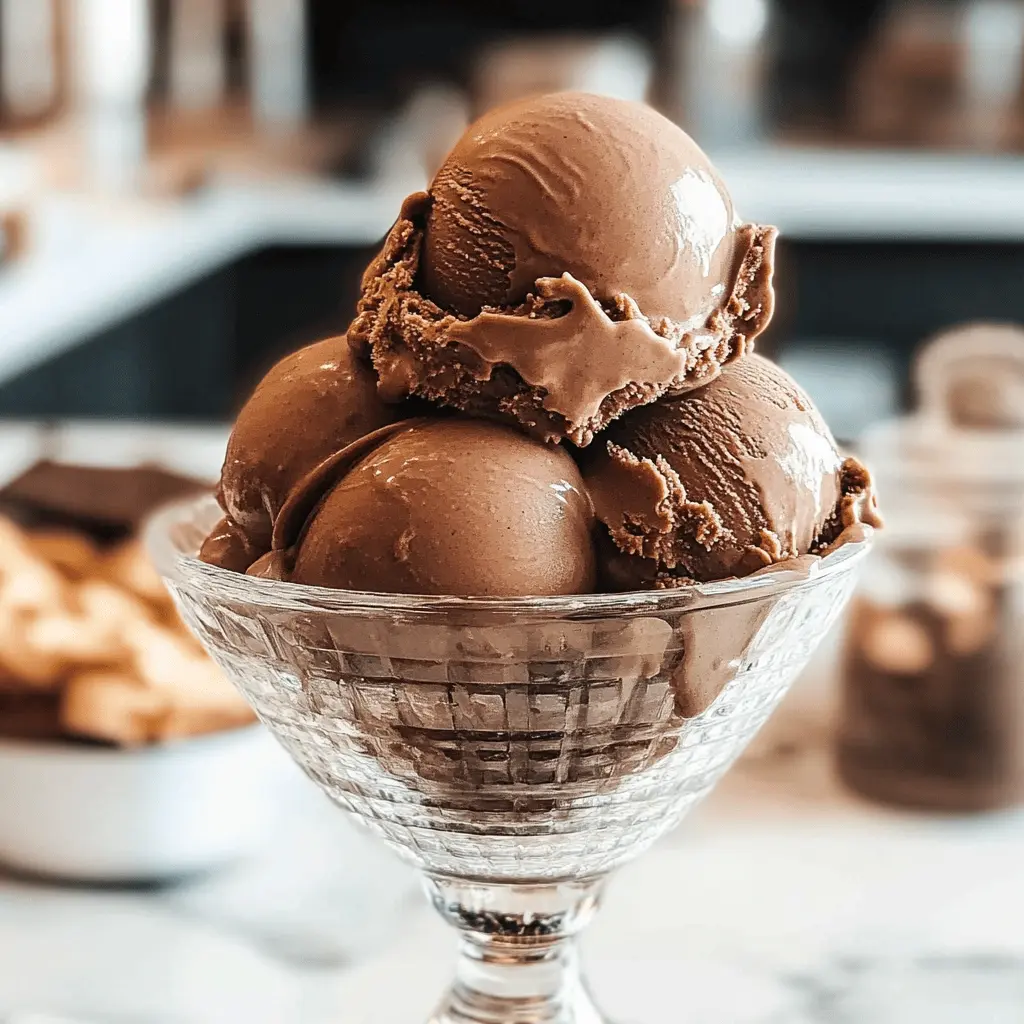
This easy chocolate ice cream is a dream come true for chocolate lovers! With just a few simple ingredients, you can whip up a creamy, dreamy treat that everyone will adore.
Believe me, this recipe is so quick and fun, you’ll be the star of summer. I love serving it in cones, but it’s also perfect in a bowl with sprinkles on top—because who doesn’t love sprinkles? 🍦
Key Ingredients & Substitutions
Heavy cream: This ingredient gives the ice cream its creamy texture. If you’re looking for a lighter version, you can substitute it with half-and-half, though this will result in a less rich flavor.
Whole milk: Whole milk is best for a smooth consistency. You can use 2% milk if you want it lighter, but it may not be as creamy.
Granulated sugar: Regular granulated sugar works great here. For a healthier option, honey or maple syrup can be used, but keep in mind they’ll alter the taste slightly.
Cocoa powder: Unsweetened cocoa is key for chocolate flavor. If you prefer a deeper taste, try using dark cocoa powder.
Bittersweet/Semifinal chocolate: Using good quality chocolate enhances the flavor. If you don’t have any, chocolate chips can work, but chop them finely for easier melting.
Vanilla extract: You can use imitation vanilla if you’re in a pinch, but pure vanilla extract is always the better choice for flavor.
How Do You Ensure the Ice Cream is Creamy and Not Icy?
The key to creamy ice cream lies in the mixing and freezing methods. Here’s how to achieve the perfect texture:
- Mix ingredients well and dissolve the sugar completely to avoid gritty ice cream.
- Chill the mixture thoroughly before churning. This helps in developing a smoother texture.
- Don’t skip churning! It incorporates air, making the ice cream light and fluffy.
- Freeze the ice cream for at least 4 hours. This lets it harden and develop flavor.
Remember, the longer you churn, the more air gets incorporated, which leads to a lighter end product!
Best Easy Chocolate Ice Cream Recipe
Ingredients:
- 2 cups heavy cream
- 1 cup whole milk
- 3/4 cup granulated sugar
- 1/2 cup unsweetened cocoa powder
- 4 ounces bittersweet or semisweet chocolate, finely chopped
- 1 teaspoon pure vanilla extract
- Pinch of salt
Time Needed:
This chocolate ice cream recipe takes about 10 minutes of active preparation time. You will need an additional 2 hours for chilling the mixture, and then 4 hours to freeze the ice cream. In total, you’re looking at about 6 hours before you can indulge in this delicious treat!
Instructions:
1. Mix the Base:
In a medium saucepan, combine the milk, sugar, and cocoa powder. Heat this mixture over medium heat while whisking constantly to ensure the sugar dissolves completely. You want the mixture to be hot, but not boiling—just enough to see steam rising.
2. Melt the Chocolate:
Once hot, remove the saucepan from heat and stir in the finely chopped chocolate. Keep stirring until the chocolate is completely melted and the mixture looks nice and smooth. This step adds an amazing depth of flavor to your ice cream!
3. Combine Cream and Flavor:
Now you’ll stir in the heavy cream, vanilla extract, and a pinch of salt. Mix everything together well. The cream will lighten the mix and make it extra rich!
4. Chill the Mixture:
Let this lovely mix cool down to room temperature. Then, cover it and pop it in the fridge for at least 2 hours. This chilling step is very important for a creamy texture.
5. Churn the Ice Cream:
After chilling, pour the mixture into your ice cream maker. Churn according to the manufacturer’s instructions until the ice cream reaches a soft-serve consistency, which usually takes about 20-25 minutes.
6. Freeze Until Firm:
Once churned, transfer the ice cream to an airtight container. Put it in the freezer for at least 4 hours, or until it’s completely firm. This will help it reach that perfect scoopable texture.
7. Serve and Enjoy:
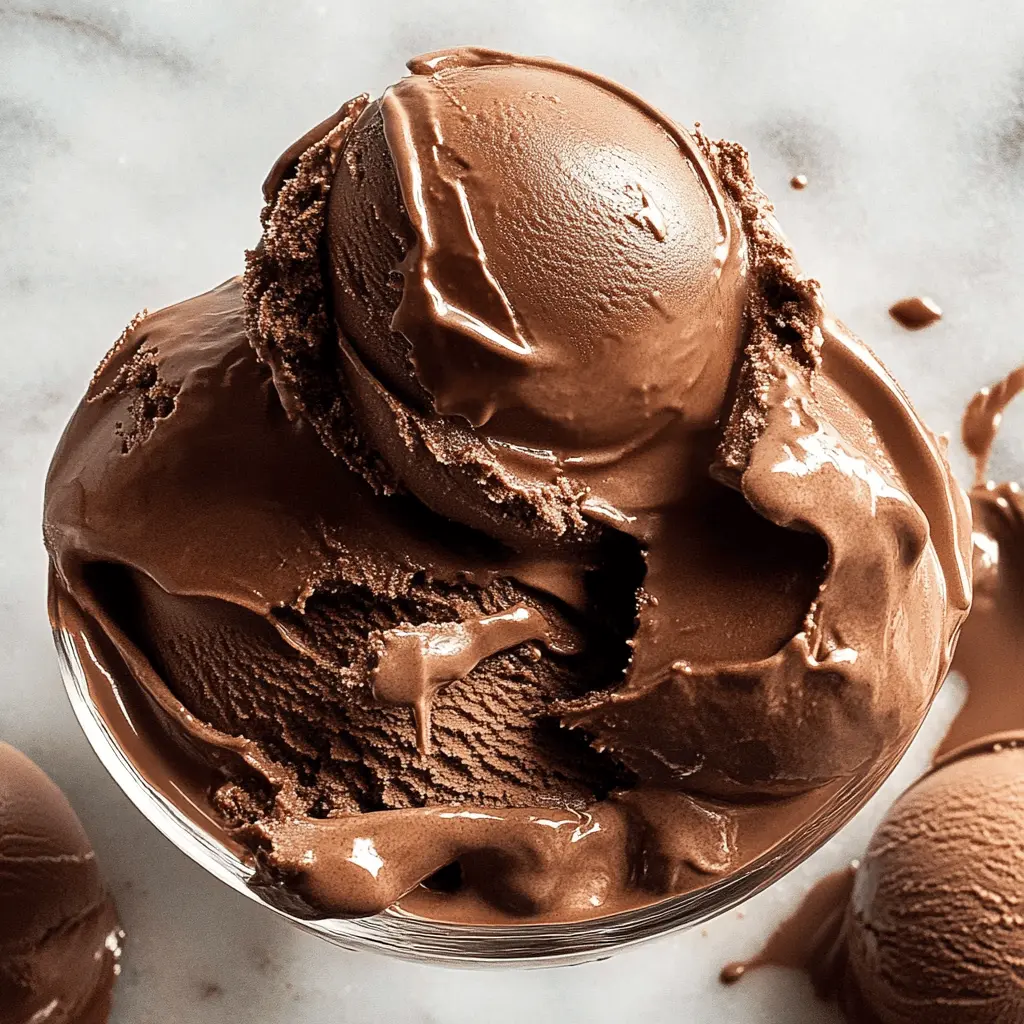
When you’re ready to enjoy, scoop the rich chocolate ice cream into bowls or cones and savor each delightful bite. It’s a chocolate lover’s dream!
This easy recipe will yield creamy, rich chocolate ice cream with a perfect balance of flavors. Perfect for a hot day, or to simply satisfy your sweet cravings any time of the year!
Frequently Asked Questions (FAQ)
Can I Use a Different Type of Milk?
Yes! While whole milk gives the best creamy texture, you can substitute it with 2% milk for a lighter option. If you want a non-dairy version, almond milk or coconut milk can be used, but the flavor and texture may vary a bit.
How Can I Make This Ice Cream Dairy-Free?
To make this chocolate ice cream dairy-free, substitute heavy cream with a full-fat coconut cream and use a non-dairy milk, like almond or oat milk. Be sure to use dairy-free chocolate as well to keep it completely plant-based!
What Can I Add for Extra Flavor or Texture?
Great question! You can mix in chocolate chips, nuts, or swirls of caramel or fudge after churning for added texture and flavor. Or even consider adding a tablespoon of espresso powder for a coffee-chocolate taste!
How Long Can I Store Leftover Ice Cream?
Your chocolate ice cream can be stored in an airtight container in the freezer for up to 2 weeks. To keep it at its best, make sure to let it sit at room temperature for a few minutes before scooping, as homemade ice cream tends to harden when frozen.