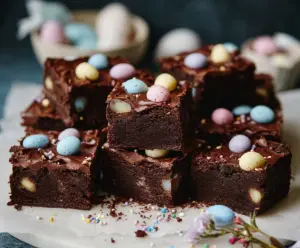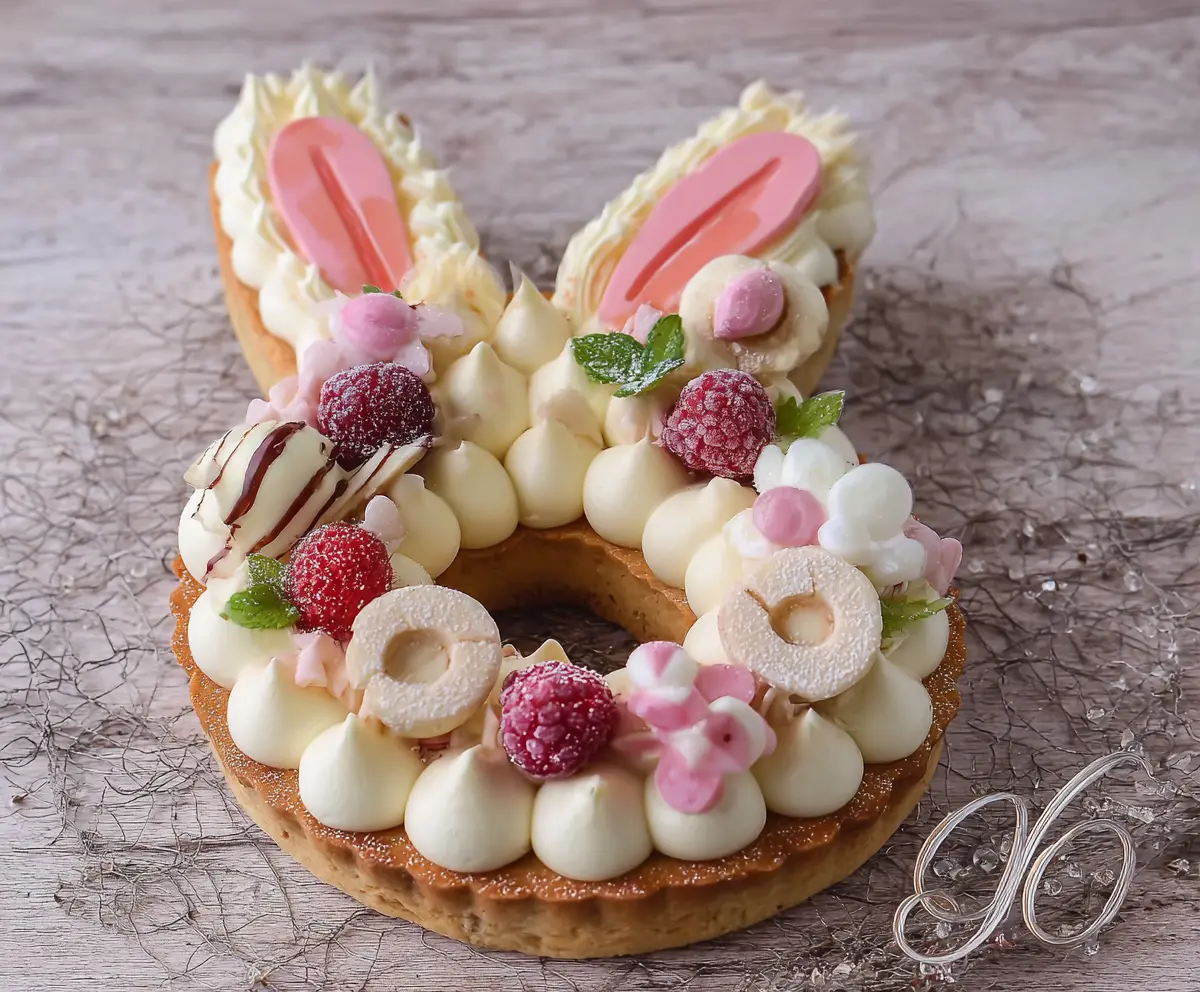
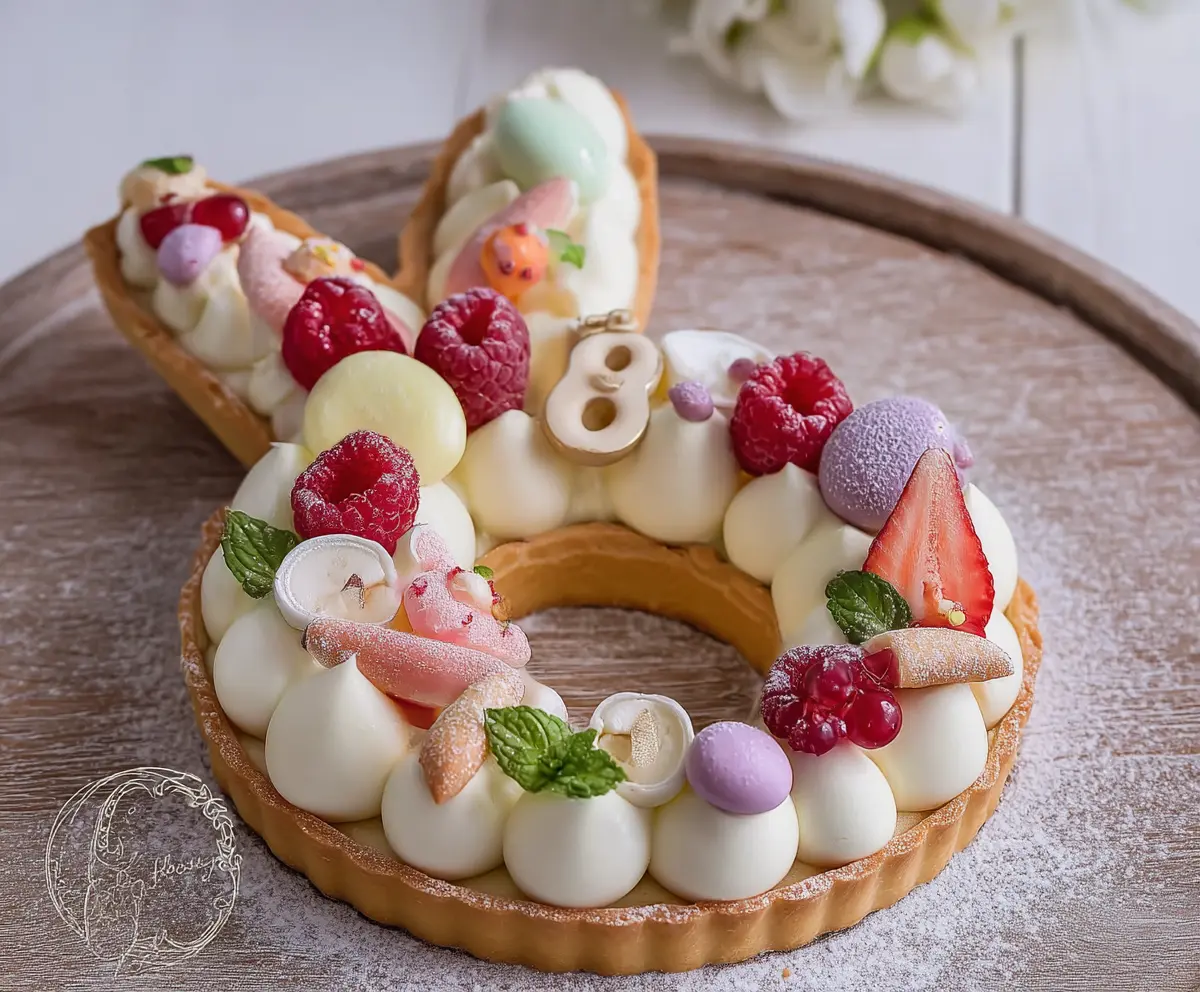
This Easter Bunny Cream Tart is a fun and festive treat that’s sure to delight everyone! With a crunchy crust and a creamy filling, it looks just like a cute bunny.
Perfect for spring celebrations, I love to add fruit on top to make it even prettier. Plus, who can resist a dessert that’s so adorable? 🐰🍰
Key Ingredients & Substitutions
All-Purpose Flour: This is the base for your tart crust, providing structure. For a gluten-free option, you can use a gluten-free all-purpose blend. My personal favorite is the one with a 1:1 ratio, as it works well in most recipes.
Cream Cheese: Use softened cream cheese for the filling, as it blends smoothly into the mixture. If you prefer a lighter option, consider using mascarpone cheese. It adds a rich flavor while cutting down on the tanginess.
Heavy Cream: Whipping up with heavy cream creates a light and fluffy filling. If you want a lighter version, you can substitute half of it with whole milk, but the texture won’t be as rich.
Powdered Sugar: Essential for sweetening and thickening the cream filling. If you’re avoiding sugar, powdered erythritol or coconut sugar are good alternatives. Just be aware that they may slightly change the sweetness level.
Butter: Unsalted butter offers control over the salt flavor in your crust. If you’re dairy-free, vegan butter can work as a substitute, keeping the crust tender and flavorful.
How Do I Make the Perfect Tart Crust?
Creating a tender and flaky tart crust can be tricky. To ensure success, focus on keeping your ingredients cold. This helps form the right texture so the butter doesn’t melt too soon. Here’s how to do it step by step:
- Combine dry ingredients (flour, powdered sugar, salt) in a bowl.
- Cut in cold butter with a pastry blender or your fingers until you see pea-sized pieces.
- Add the egg and vanilla; mix with a fork until the dough just comes together.
- Don’t overwork it! Shape into a disk, wrap in plastic, and chill for at least 30 minutes before rolling out.
This way, your crust will bake up perfectly without being tough. Excited to see your tart come to life!
How to Make Easter Bunny Cream Tart
Ingredients You’ll Need:
For the Tart Crust:
- 1 1/4 cups all-purpose flour
- 1/4 cup powdered sugar
- 1/2 cup cold unsalted butter, cut into small cubes
- 1 small egg
- 1/2 tsp vanilla extract
- Pinch of salt
For the Cream Filling:
- 1 cup heavy cream
- 8 oz cream cheese, softened
- 1/2 cup powdered sugar
- 1 tsp vanilla extract
For Decoration:
- Fresh raspberries (frozen can be used)
- White chocolate pieces or discs
- Pink and white meringue kisses or small meringue shapes
- Pink candy melts or fondant for bunny ear details
- Mint leaves for garnish
- Powdered sugar for dusting
- Optional: White chocolate with dark chocolate drizzle decoration
How Much Time Will You Need?
This recipe takes about 20 minutes to prep, plus 30 minutes to chill the crust, and another hour to set the cream filling in the fridge. Therefore, expect to spend around 2 hours in total to create this beautiful Easter Bunny Cream Tart.
Step-by-Step Instructions:
1. Prepare the Tart Crust:
In a large bowl, mix together the flour, powdered sugar, and a pinch of salt. Cut in the cold butter using a pastry blender or your fingers until it looks like coarse crumbs. Then, add the egg and vanilla extract to the mix and stir until the dough comes together. Shape the dough into a disk, wrap it in plastic wrap, and put it in the fridge for at least 30 minutes.
2. Bake the Tart Shell:
Preheat your oven to 350°F (175°C). Roll out the chilled dough on a lightly floured surface to about 1/4 inch thick. Use a template to cut the dough into a large ring shape resembling a wreath with bunny ears, or you can draw this freehand. Carefully transfer it to a baking sheet lined with parchment paper. Bake for 15-20 minutes or until it turns golden brown. Once baked, set the tart shell on a wire rack to cool completely.
3. Prepare the Cream Filling:
In a mixing bowl, whip the heavy cream until stiff peaks form and then set it aside. In another bowl, beat the softened cream cheese, powdered sugar, and vanilla extract together until everything is smooth and creamy. Gently fold the whipped cream into the cream cheese mixture until fully combined and fluffy.
4. Assemble the Tart:
Pour the cream filling into a piping bag fitted with a round or star tip. Pipe dollops of the cream evenly over the cooled tart shell, making sure to cover the entire ring and bunny ears with nice, fluffy cream peaks.
5. Decorate the Tart:
Scatter fresh or frozen raspberries across the cream. Add white chocolate discs and, if you like, drizzle some with dark chocolate. Strategically place pink and white meringue kisses and shapes onto the tart. For the bunny ears, use pink candy melts or fondant to create cute inner ear details. Garnish everything with fresh mint leaves for a lovely touch and dust with powdered sugar for an elegant finish.
6. Serve:
Chill the tart in the refrigerator for at least 1 hour before serving to set the cream. Once ready, slice carefully and enjoy your festive Easter Bunny Cream Tart!
This recipe makes a delightful and creamy tart that’s perfect for celebrating springtime and Easter festivities!
Can I Use a Store-Bought Tart Crust?
Yes, absolutely! If you’re short on time, using a pre-made tart crust will save you effort. Just ensure it’s the right size and follow the baking instructions on the package before adding the cream filling.
What Other Fruits Can I Use for Decoration?
Feel free to get creative! Fresh strawberries, blueberries, or sliced peaches make excellent alternatives to raspberries. Just make sure the fruits you choose complement the overall flavor of the cream filling.
How Long Will the Tart Last in the Refrigerator?
The Easter Bunny Cream Tart can be stored in the refrigerator for up to 3 days. Just make sure to cover it loosely with plastic wrap to keep it fresh without squishing the decorations.
Can I Freeze Leftovers?
It’s best to avoid freezing the tart with the cream filling, as it may affect the texture once thawed. However, you can freeze the unbaked tart shell for up to 2 months. Just bake it fresh when you’re ready to fill it!