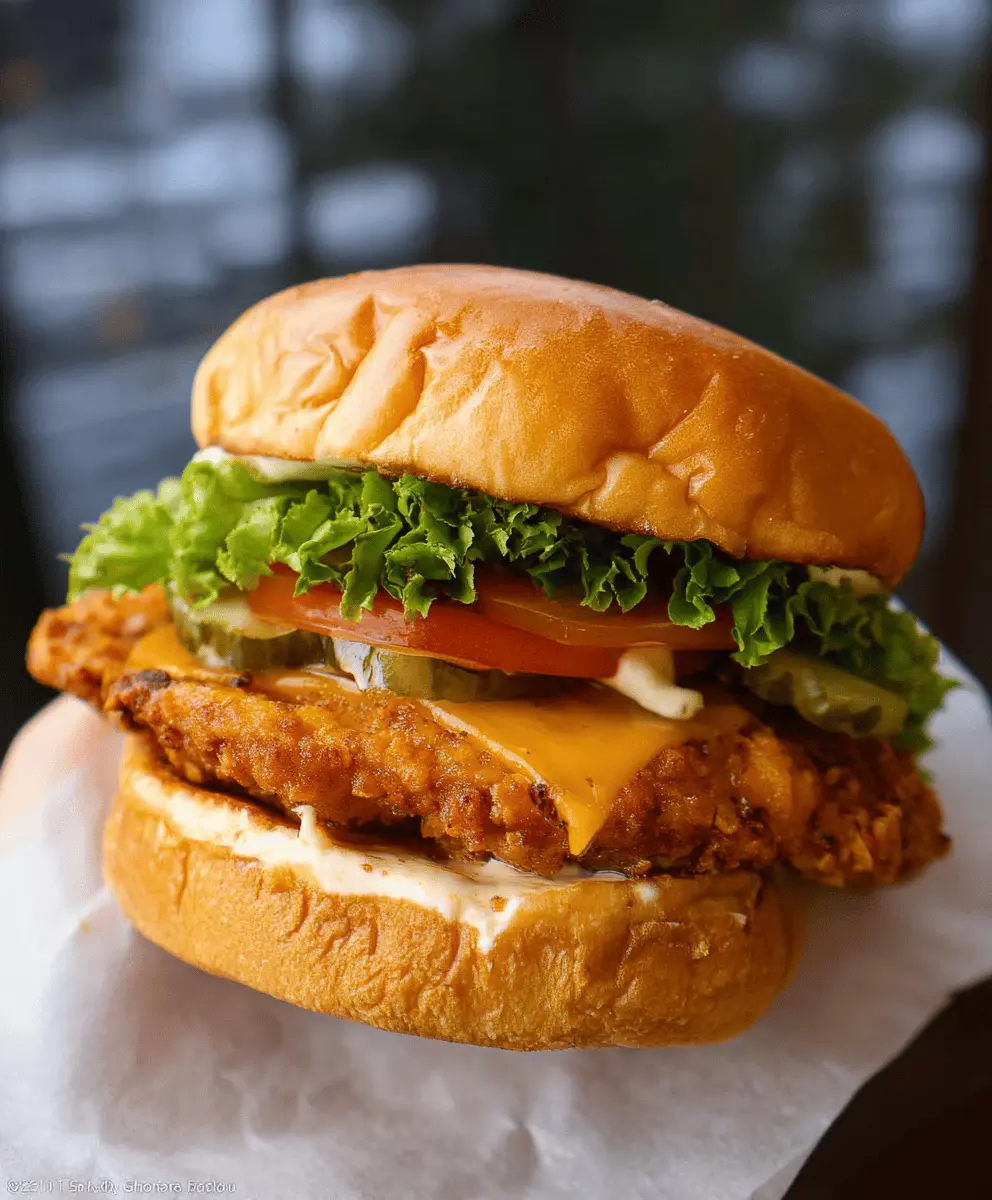
This Easy Crispy Chicken Sandwich is all about crunch and flavor! Juicy chicken gets a golden, crispy coating that makes each bite so satisfying.
Honestly, it’s hard to resist this sandwich when it’s all piled high with your favorite toppings. I like to load mine with fresh lettuce and a yummy sauce. Yum!
Making this sandwich is a breeze. Just coat the chicken, fry it up, and assemble with a bun—quick and super tasty for busy days!
Key Ingredients & Substitutions
Chicken Breasts: Boneless, skinless chicken breasts work best for this recipe. If you prefer a less traditional choice, try using chicken thighs for extra juiciness, or even a plant-based chicken substitute for a vegetarian option.
Buttermilk: If you don’t have buttermilk on hand, you can create a substitute by mixing 1 cup of regular milk with 1 tablespoon of lemon juice or vinegar. Let it sit for about 5 minutes before using.
All-purpose Flour: This is great for crispy coating, but if you need a gluten-free option, use a gluten-free flour blend or almond flour instead. Cornstarch in the mix helps create an extra crunch!
Sandwich Buns: I recommend soft sandwich buns for this, but you could also use a brioche bun for a richer taste or whole grain buns for more fiber.
How Do You Achieve the Perfect Crunch in Fried Chicken?
The secret to a perfectly crunchy fried chicken sandwich lies in the coating and the frying method. Here’s how to get it just right:
- Proper Marinade: Marinating the chicken in buttermilk infuses flavor and keeps it moist. Aim for at least 1 hour, but longer is better!
- Crispy Coating: Mixing flour and cornstarch truly ups the crunch factor. Make sure to press the coating onto the chicken so it adheres well.
- Hot Oil: Keeping your oil hot is key. If the temperature drops too low, the chicken will soak up oil instead of getting crispy. Use a thermometer for accuracy!
- Don’t Overcrowd: Fry in small batches to maintain the oil temperature. Overcrowding can make it soggy.
Easy Crispy Chicken Sandwich
Ingredients You’ll Need:
- 2 boneless, skinless chicken breasts (butterflied or pounded thin)
- 1 cup buttermilk
- 1 teaspoon garlic powder
- 1 teaspoon onion powder
- 1 teaspoon smoked paprika
- 1 teaspoon salt
- 1/2 teaspoon black pepper
- 1 cup all-purpose flour
- 1/2 cup cornstarch
- Vegetable oil, for frying
- 4 sandwich buns, toasted
- 4 large lettuce leaves (green leaf or romaine)
- 8 slices tomato
- Dill pickle slices
- Mayonnaise or your favorite sandwich sauce
How Much Time Will You Need?
This recipe takes about 10 minutes of preparation time and at least 1 hour for marinating. You’ll spend around 15 minutes frying the chicken. Overall, you’ll have a delicious crispy chicken sandwich ready in about 1 hour and 30 minutes, perfect for a satisfying meal!
Step-by-Step Instructions:
1. Marinate the Chicken:
In a large bowl, whisk together the buttermilk, garlic powder, onion powder, smoked paprika, salt, and pepper until well combined. Add the chicken breasts to the marinade, ensuring they are fully submerged. Cover the bowl and refrigerate for at least 1 hour, but for the best flavor and tenderness, aim for 4 hours or even overnight.
2. Prepare the Coating:
While the chicken is marinating, prepare the coating. In a shallow dish, combine the all-purpose flour and cornstarch thoroughly. This mixture will help create a wonderfully crispy coating for your chicken.
3. Heat the Oil:
In a deep skillet or Dutch oven, pour in enough vegetable oil to reach about 1 to 1.5 inches. Heat the oil over medium-high heat until it reaches 350°F (175°C). Use a thermometer to ensure accuracy for perfectly fried chicken.
4. Coat the Chicken:
After marinating, remove each chicken breast from the buttermilk, letting the excess drip off. Dredge the chicken thoroughly in the flour and cornstarch mixture, pressing lightly so the coating sticks well. Shake off any excess flour before frying.
5. Fry the Chicken Breasts:
Carefully place the coated chicken into the hot oil. Fry each piece for 4-5 minutes per side, or until golden brown and fully cooked (the internal temperature should be 165°F or 74°C). Make sure not to overcrowd the pan; fry in batches if necessary.
6. Drain and Rest:
Using tongs, carefully remove the chicken from the oil and transfer it to a wire rack over a baking sheet or to paper towels to drain the excess oil. Allow the chicken to rest for a few minutes to maintain its crispiness.
7. Assemble the Sandwiches:
To assemble, spread mayonnaise or your preferred sauce on the toasted sandwich buns. Start with the bottom bun and layer it with pickles, a large lettuce leaf, and tomato slices. Place the crispy chicken breast on top and finish with the top bun.
8. Serve and Enjoy:
Serve immediately with your favorite sides, and enjoy your perfectly crispy chicken sandwich that’s juicy on the inside and full of flavor!
This sandwich hits all the right notes with its crispy exterior, juicy chicken, and fresh toppings. A fantastic meal for any day of the week!

FAQ: Easy Crispy Chicken Sandwich
Can I Use Chicken Thighs Instead of Breasts?
Absolutely! Chicken thighs are juicier and can add extra flavor to your sandwich. Just remember to adjust your cooking time slightly, as thighs may take a bit longer to cook through.
What’s a Good Substitute for Buttermilk?
If you don’t have buttermilk, you can easily make a substitute by mixing 1 cup of regular milk with 1 tablespoon of lemon juice or vinegar. Let it sit for about 5 minutes until it thickens slightly!
How Should I Store Leftover Chicken?
Store any leftover crispy chicken in an airtight container in the fridge for up to 3 days. To keep the coating crispy, reheat the chicken on a wire rack in the oven at 375°F (190°C) for about 10 minutes.
Can I Make the Chicken Ahead of Time?
Yes, you can marinate the chicken and even fry it ahead of time. Just store the fried chicken in the fridge and reheat it when you’re ready to assemble your sandwiches. For extra crispiness, consider frying it fresh just before serving.