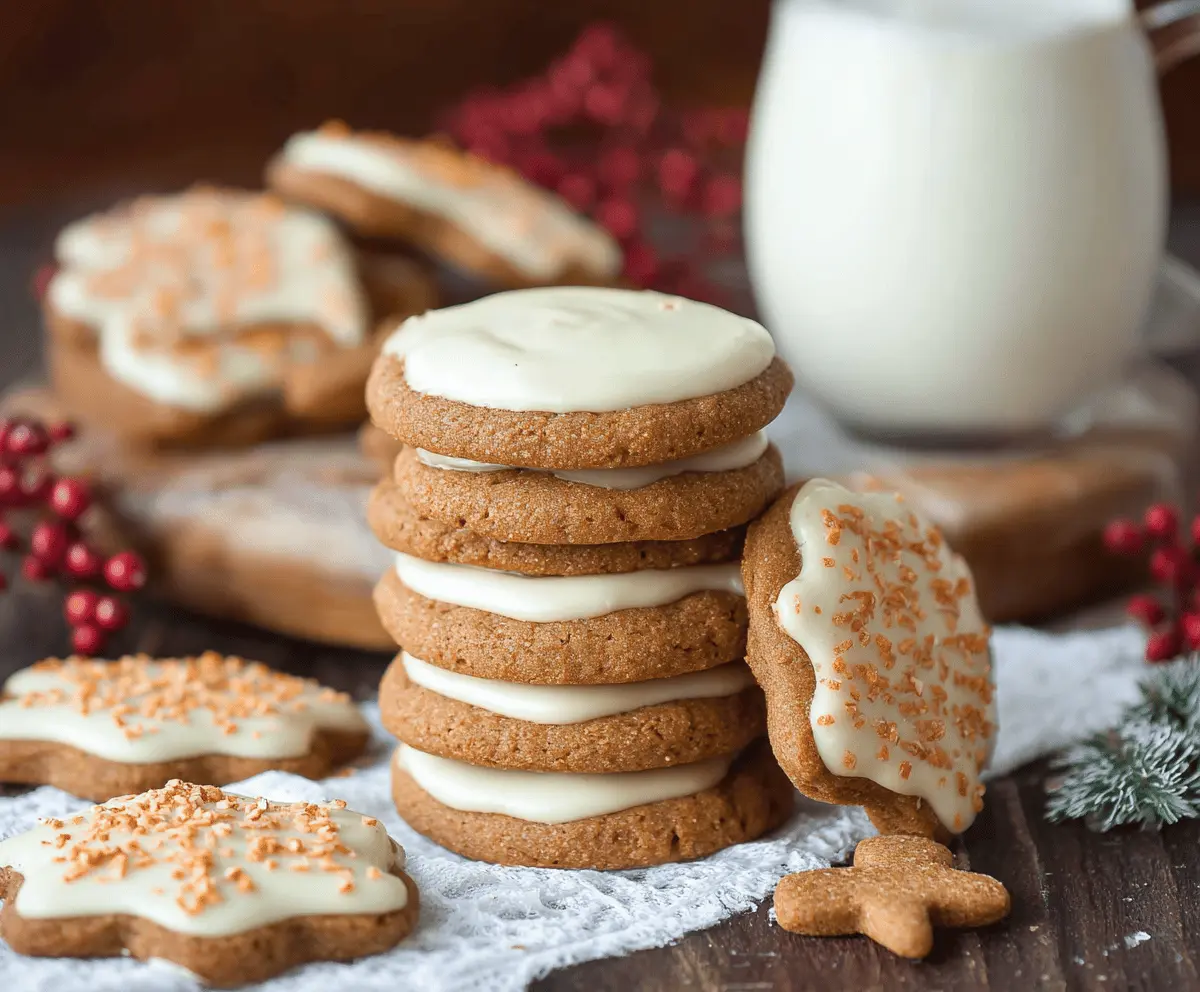
These Eggnog Iced Gingerbread Cookies are festive and fun! They have a lovely blend of warm spices, making them perfect for holiday gatherings. Plus, that creamy eggnog glaze on top? Yum!
Rolling out the dough and cutting shapes is my favorite part—it feels like I’m in a kitchen wonderland! I enjoy pairing them with a cozy drink to keep the holiday spirit alive. 🎄
Key Ingredients & Substitutions
All-Purpose Flour: The base for these cookies. If you’re looking for gluten-free options, try gluten-free all-purpose flour blends, which work well for baking.
Ground Spices: Ginger, cinnamon, cloves, and nutmeg give these cookies their signature flavor. If you want to simplify, you can use a pre-made pumpkin pie spice for a quick substitute.
Molasses: This gives the cookies their rich flavor and moisture. If you don’t have it, honey or maple syrup can work, but the cookies will be a bit lighter in color.
Eggnog: It’s perfect for the icing, but if you’re dairy-free, try using almond milk or coconut milk mixed with a bit of vanilla for a similar flavor.
How Do I Ensure My Cookies Bake Evenly and Stay Soft?
To get perfectly baked cookies that are soft and chewy, pay attention to the following steps:
- Chill the Dough: Chilling the dough is crucial for helping the cookies maintain their shape and texture. Don’t skip this step!
- Watch the Baking Time: Keep a close eye on your cookies as they bake. They should come out just set at the edges. They will continue to firm up as they cool.
- Cool Properly: Allowing the cookies to cool on the baking sheet for a few minutes before transferring them to a wire rack helps avoid breakage. This is key for a tender bite!
Following these tips can help you achieve perfectly soft and delicious gingerbread cookies every time.
Eggnog Iced Gingerbread Cookies
Ingredients You’ll Need:
For the Gingerbread Cookies:
- 3 cups all-purpose flour
- 1 teaspoon baking soda
- 2 teaspoons ground ginger
- 1 teaspoon ground cinnamon
- 1/2 teaspoon ground cloves
- 1/2 teaspoon ground nutmeg
- 1/2 teaspoon salt
- 3/4 cup unsalted butter, softened
- 3/4 cup brown sugar, packed
- 1 large egg
- 1/2 cup molasses
- 1 teaspoon vanilla extract
For the Eggnog Icing:
- 2 cups powdered sugar, sifted
- 2-3 tablespoons eggnog (adjust for desired consistency)
- 1/2 teaspoon vanilla extract
- Optional: a pinch of ground nutmeg or cinnamon for garnish
- Optional: colored sugar or sprinkles for decoration
How Much Time Will You Need?
This delightful recipe will take about 30 minutes to prepare and 10-15 minutes to bake. You’ll want to set aside at least 2 hours to chill the dough (or overnight for best results). Plus, let’s not forget some time for cooling before icing—so, expect the whole process to take a few hours, including chilling and setting time!
Step-by-Step Instructions:
1. Prepare the Gingerbread Dough:
In a medium bowl, whisk together the all-purpose flour, baking soda, ginger, cinnamon, cloves, nutmeg, and salt until well combined. In a large bowl, beat the softened butter and brown sugar together until the mixture is light and fluffy. This might take a few minutes, but it’s worth it! Then, mix in the egg, molasses, and vanilla extract until everything is well blended. Now, gradually add the dry ingredients to the wet mixture, stirring until just combined. Once the dough is ready, divide it in half, flatten each half into a disk, wrap them in plastic wrap, and pop them in the fridge for at least 2 hours. Chilling the dough makes it much easier to roll out.
2. Bake the Cookies:
When you’re ready to bake, preheat your oven to 350°F (175°C) and line your baking sheets with parchment paper. On a floured surface, take one disk of dough and roll it out to about 1/4 inch thick. Use cookie cutters to cut out your desired shapes. Place the cookies about 1 inch apart on the prepared baking sheets. Bake them in the oven for about 8-10 minutes—watch them closely! They should be set at the edges but not too dark. Once they’re done, let them cool on the baking sheets for about 5 minutes before transferring them to wire racks to cool completely.
3. Make the Eggnog Icing:
After your cookies are cooled, it’s time to whip up the icing! In a bowl, combine the sifted powdered sugar, eggnog, and vanilla extract. Whisk until smooth! If the icing is too thick, just add a little more eggnog, a tablespoon at a time, until you reach your desired consistency. For a thicker icing suitable for sandwiching, use less eggnog.
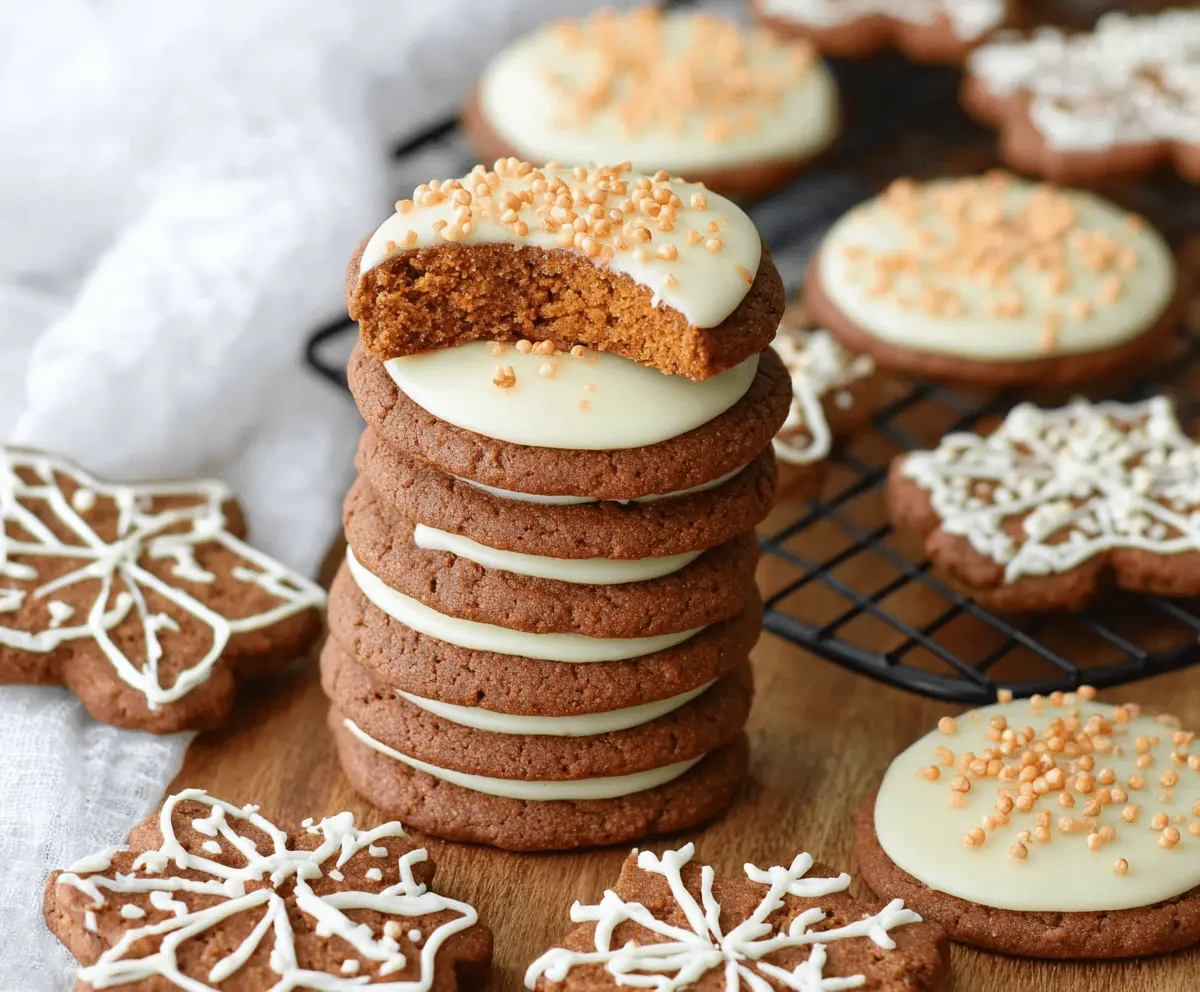
4. Decorate and Assemble:
Once the cookies are completely cool, spread a thin layer of icing on top of each one. If you’re making sandwich cookies, spread icing on one cookie and top with another. If you like, sprinkle a pinch of nutmeg or cinnamon on top of the icing, or add some festive colored sugar or sprinkles before the icing sets. Let the icing set completely before serving or storing your cookies.
5. Storage:
Keep your cookies in an airtight container at room temperature for up to a week. If you’ve iced them, it’s best to layer them with parchment paper to keep them from sticking together.
Enjoy your festive Eggnog Iced Gingerbread Cookies with a glass of eggnog or your favorite holiday drink! Happy baking!
Can I Use Whole Wheat Flour Instead of All-Purpose Flour?
Yes, you can! However, using whole wheat flour may result in denser cookies. If you prefer a lighter texture, consider using a mix of whole wheat and all-purpose flour, starting with a 50/50 ratio.
Do I Need to Refrigerate the Dough Overnight?
While refrigerating the dough for at least 2 hours is essential for ease of rolling, it’s not mandatory to leave it overnight. Just ensure it’s firm enough to handle easily before rolling out.
How Can I Make the Icing Thicker or Thinner?
To achieve a thicker icing, use less eggnog when mixing. If it’s too thick, gradually add more eggnog, a teaspoon at a time, until you reach your desired consistency. This way, you’ll have perfect icing for both spreading and detail work!
What’s the Best Way to Store Iced Cookies?
Store your iced cookies in an airtight container at room temperature for up to a week. For best results, separate layers with parchment paper to prevent sticking and keep their decorative icing intact.