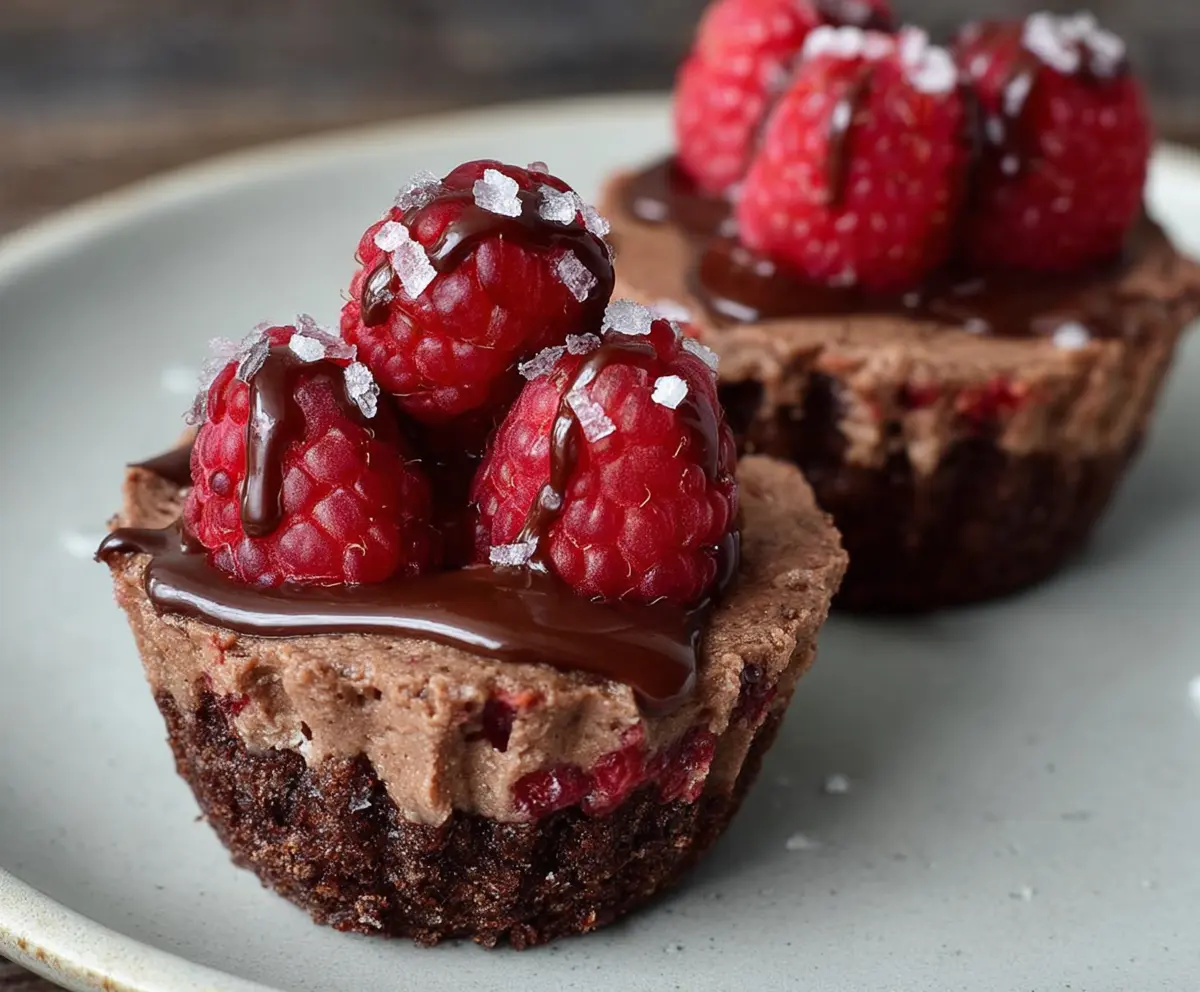
These Marry Me Raspberry Chocolate Mousse Cups are a perfect sweet treat! They combine rich chocolate mousse with tart raspberry flavor, all served in cute little cups.
They’re quick to whip up, and trust me, they look fancy—perfect for impressing your friends or that special someone. I love serving them with fresh raspberries on top; it adds a beautiful touch!
Key Ingredients & Substitutions
Chocolate Cookie Crumbs: I use crushed Oreos for the crust because they add great flavor. If you’re looking for a healthier option, try using crushed whole-grain cookies or even almond flour mixed with cocoa powder.
Chocolate: Semi-sweet or dark chocolate gives the mousse its rich taste. If you prefer a sweeter flavor, use milk chocolate instead. For a dairy-free option, try using vegan chocolate.
Heavy Cream: Cold heavy cream is perfect for whipping up a light mousse. If you want a lighter version, you can substitute half-and-half, but the mousse will be less airy.
Fresh Raspberries: Fresh raspberries provide a nice tartness. No fresh ones? You can use frozen raspberries, just thaw and drain them well first, or substitute with another berry like strawberries or blueberries.
How Do I Get My Mousse to Be Light and Airy?
One of the key challenges in making mousse is achieving that perfect light and airy texture. Start by whipping the cold heavy cream until stiff peaks form; this means the cream should hold its shape but not be over-beaten. Gently fold the whipped cream into the cooled chocolate mixture. This keeps it lighter!
- Make sure your chocolate is cooled to room temperature before mixing.
- Fold in the whipped cream slowly and gently, using a spatula to lift the mixture up and over the chocolate without deflating it.
- Lastly, be careful when adding in the raspberries. Just fold them in gently so they retain their shape.
How to Make Marry Me Raspberry Chocolate Mousse Cups
Ingredients You’ll Need:
For the Crust:
- 1 1/2 cups chocolate cookie crumbs (e.g., crushed Oreos or chocolate graham crackers)
- 6 tbsp unsalted butter, melted
For the Chocolate Mousse:
- 6 oz semi-sweet or dark chocolate, chopped
- 1 cup heavy cream, cold and divided
- 1/4 cup granulated sugar
- 1 tsp vanilla extract
- Pinch of salt
- 1/2 cup fresh raspberries (plus extra for topping)
For Garnish:
- 2 oz semi-sweet or dark chocolate, for drizzling
- Flaky sea salt, for sprinkling
How Much Time Will You Need?
This recipe takes about 15 minutes of prep time and then you’ll need at least 2 hours for chilling in the fridge. Overall, it’s a bit of a wait, but totally worth it for that delightful experience when you finally enjoy these fancy mousse cups!
Step-by-Step Instructions:
1. Preheat Your Oven:
Start by preheating your oven to 350°F (175°C). You can line a muffin tin with paper liners or just grease a mini muffin pan to prepare it for the crust.
2. Make the Crust:
In a medium bowl, mix together the chocolate cookie crumbs and melted butter until they’re well combined. Take about 1 to 1 1/2 tablespoons of this mixture and press it firmly into the bottom of each muffin cup. This will be your yummy crust!
3. Bake the Crust:
Pop the muffin tin into the oven and bake for 8-10 minutes until the crust is set. Once done, remove from the oven and let it cool completely.
4. Prepare the Chocolate Mousse:
In a small saucepan, heat about 1/4 cup of the heavy cream until it starts to simmer. Pour this hot cream over the chopped chocolate in a heatproof bowl and let it sit for 2 minutes. Then, stir gently until the chocolate is smooth. Allow this mixture to cool down to room temperature.
5. Whip the Cream:
In a separate bowl, beat the remaining 3/4 cup of cold heavy cream, the granulated sugar, vanilla extract, and a pinch of salt until you achieve stiff peaks. This means the cream stands tall when you lift the mixer—it’s going to make your mousse nice and fluffy!
6. Combine the Mixtures:
Gently fold the whipped cream into the cooled chocolate mixture. Be careful not to deflate the mixture; you want to keep it light and airy!
7. Add the Raspberries:
Now, gently fold in the 1/2 cup of fresh raspberries. This will add bursts of flavor while keeping the berries intact.
8. Fill the Cups:
Spoon or pipe the lovely chocolate mousse mixture over the cooled crusts in the muffin pan, filling each cup generously with deliciousness!
9. Chill the Cups:
Cover the muffin pan and chill the mousse cups in the refrigerator for at least 2 hours or until they are fully set and ready to enjoy.
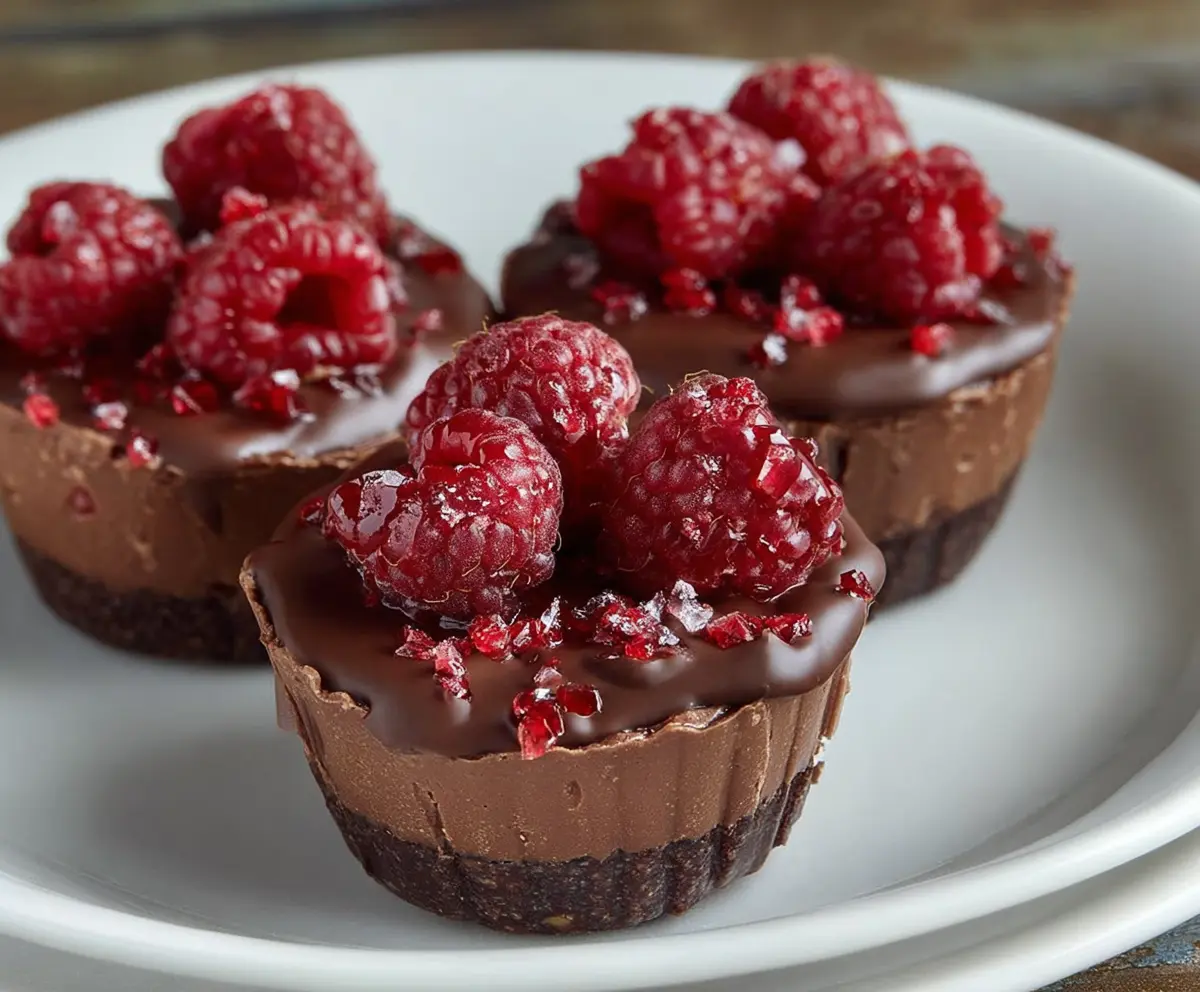
10. Drizzle and Garnish:
Before serving, melt the 2 oz of chocolate over a double boiler or in the microwave in short bursts until it’s smooth. Drizzle this melted chocolate over the mousse cups for an extra touch of goodness!
11. Final Touch:
Top each mousse cup with three fresh raspberries and sprinkle a pinch of flaky sea salt for a beautiful finish that adds that perfect little salty-sweet contrast.
12. Serve and Savor:
Chill these stunning Marry Me Raspberry Chocolate Mousse Cups one last time if you like, then serve and enjoy the delightful reactions from your friends and family!
This recipe yields about 12 mini mousse cups and is the ideal dessert for special occasions or just when you’re in the mood for something elegant and dreamy!
Can I Use Different Cookies for the Crust?
Absolutely! You can use any chocolate cookies you like, such as chocolate graham crackers or even gluten-free chocolate cookies for a gluten-free option. Just make sure they are finely crushed to create a cohesive crust.
How Can I Make This Dessert Dairy-Free?
To make this recipe dairy-free, substitute the heavy cream with full-fat coconut cream, which whips up nicely, and use dairy-free dark chocolate for the mousse and drizzle. This way, you still get a rich and delicious dessert!
How Do I Store Leftover Mousse Cups?
Store any leftovers in an airtight container in the refrigerator for up to 3 days. Before serving, you might want to freshen them up with a drizzle of melted chocolate or a few fresh raspberries on top.
Can I Prepare These Mousse Cups in Advance?
Yes, you can prepare these mousse cups a day ahead! Just make sure to keep them covered in the fridge until you’re ready to serve. They will taste just as delicious, and this can save you time on the day of your event!