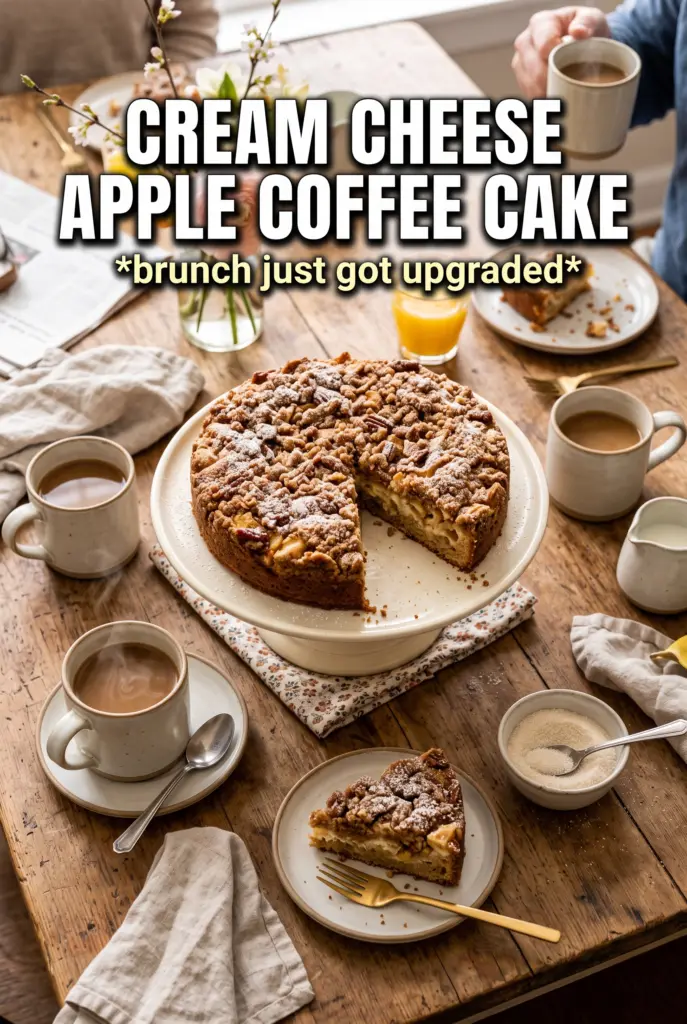
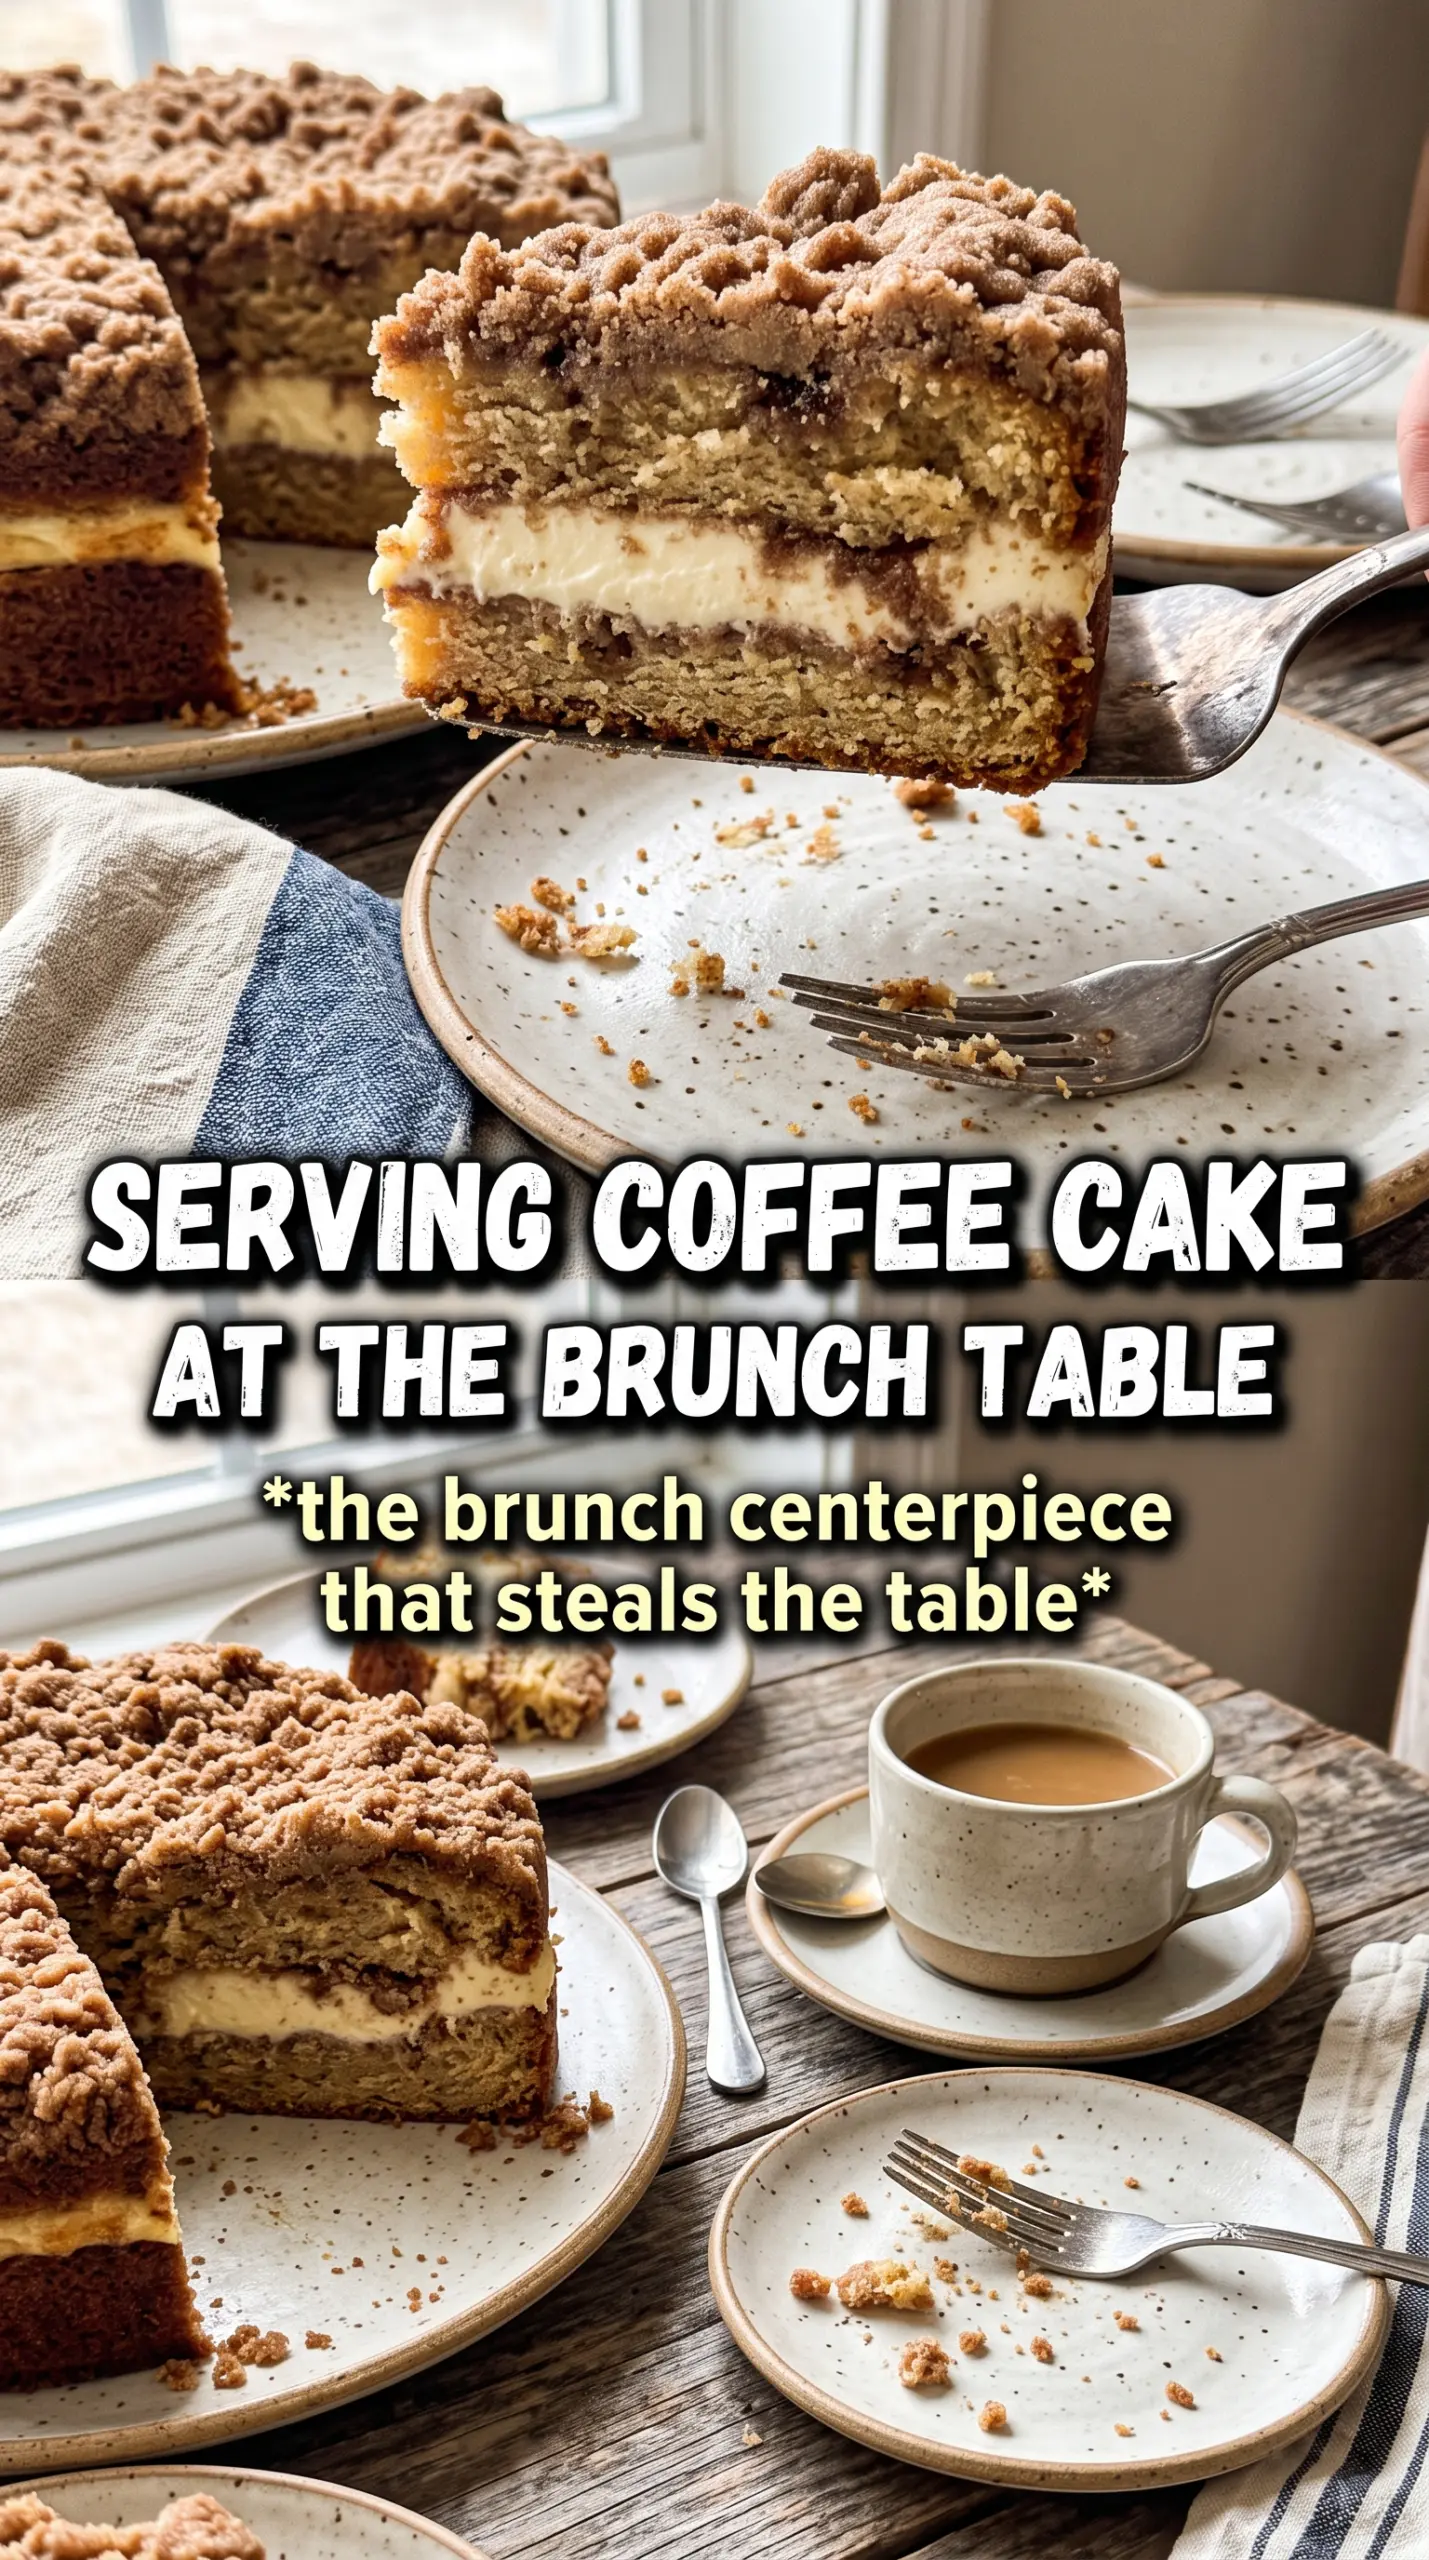
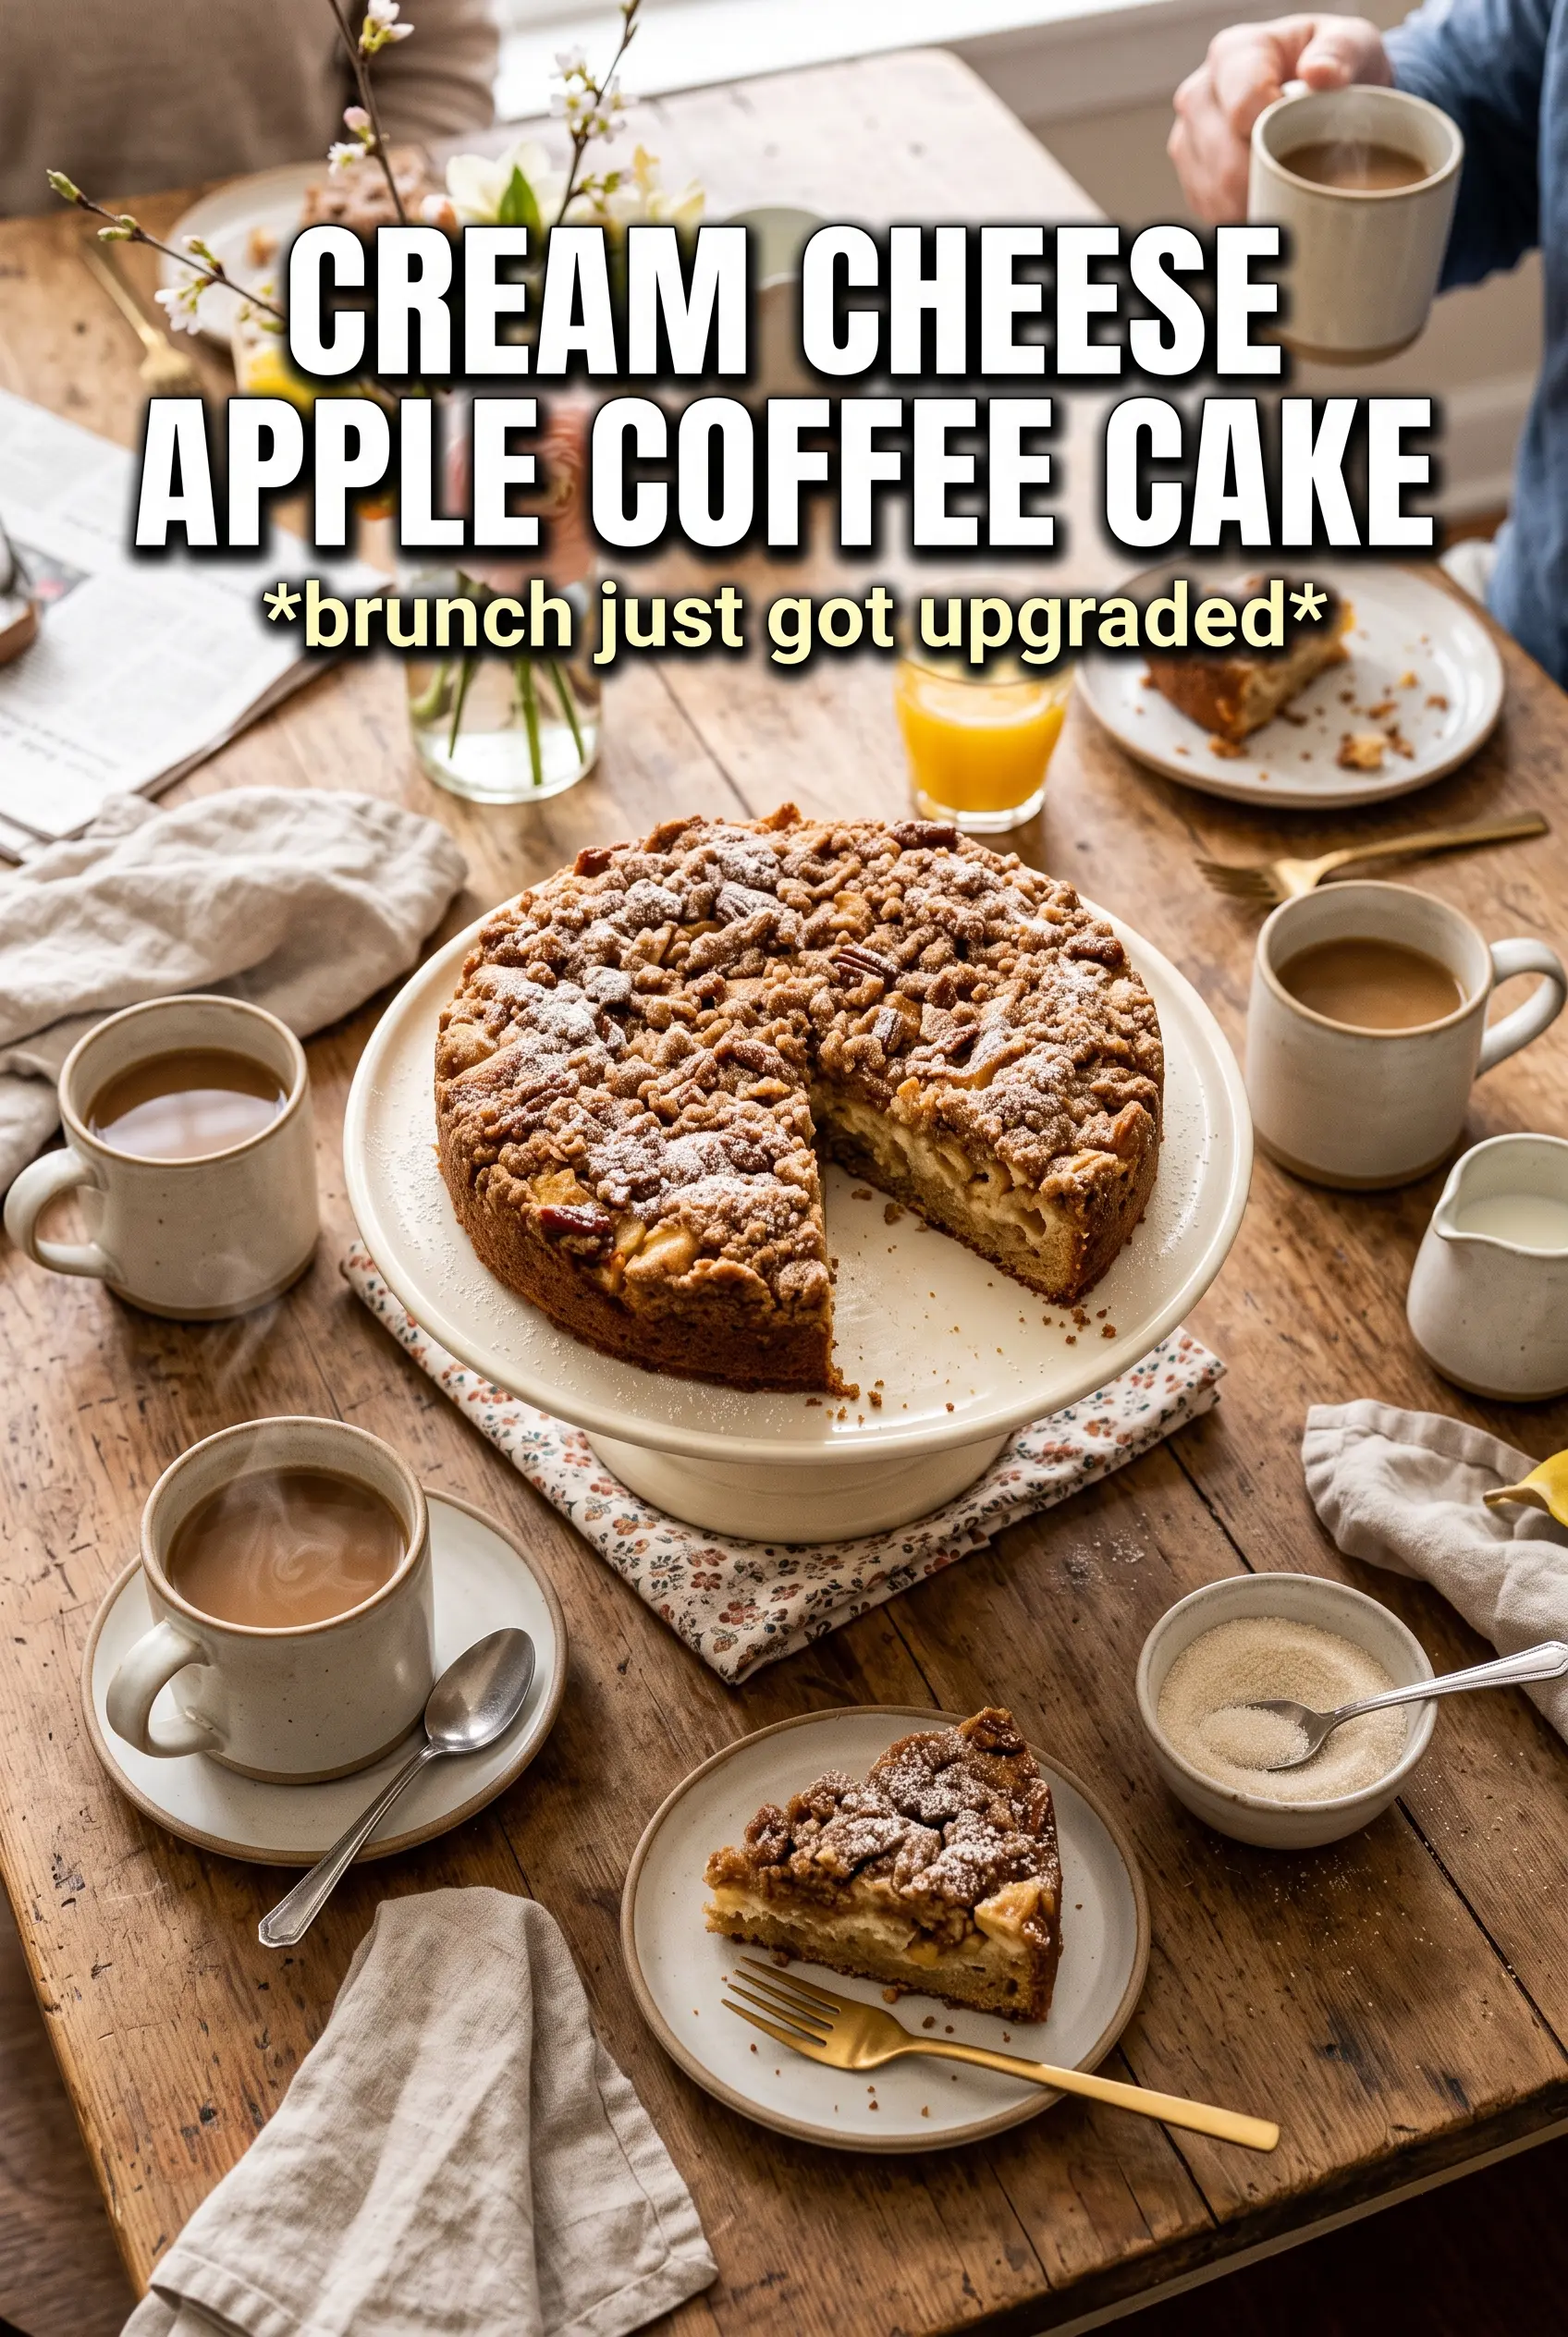
Soft cake, tangy cream cheese, and cinnamon apples stack up into a breakfast bake that slices cleanly and tastes like it came from a favorite bakery case. The streusel bakes into a crisp, browned lid, while the center stays creamy and fragrant with apples that soften just enough without turning mushy.
What makes this version work is the balance of textures. The sour cream keeps the cake tender, the cream cheese layer adds richness without making the whole pan heavy, and the apples are lightly sugared so they release just enough juice to perfume the crumb instead of soaking it. Cold butter in the streusel matters too; it melts in the oven and leaves those crisp, sandy pockets on top.
Below, I’ve noted the one step that keeps the cream cheese layer from disappearing into the batter, plus a few swaps if your apples are extra tart or you want to bake this a day ahead.
The cream cheese stayed in its own layer and the streusel came out crisp on top, even after sitting overnight. The apples were tender but not wet, and every slice held together beautifully.
Cream cheese apple coffee cake with a crisp streusel top and tender cinnamon apples is worth saving for brunch or make-ahead breakfasts.
The Layer That Keeps the Middle from Getting Lost
Most coffee cakes like this fail when the cream cheese layer melts straight into the batter or the apples sink to the bottom. The fix is structure: the base batter needs to be thick enough to hold toppings, and the cream cheese mixture needs to be smooth but not runny. If your filling is loose, it spreads instead of sitting in a distinct ribbon through the cake.
That’s why the batter is built with both butter and sour cream. Butter gives body, while sour cream keeps the crumb moist without thinning the batter. The apples go on top of the cream cheese layer, not mixed through the cake, so they soften in the oven and keep their shape instead of watering down the center.
- Sour cream — This is what keeps the crumb tender and a little plush. Plain full-fat yogurt works in a pinch, but the cake will be slightly less rich and the texture a touch lighter.
- Cream cheese — Use full-fat blocks, not whipped spread. Whipped cream cheese is too soft and usually bakes into the cake instead of staying in a defined layer.
- Apples — A firm apple like Granny Smith, Honeycrisp, or Pink Lady holds its shape best. Very soft apples turn jammy and can make the center wet.
- Cold butter for the streusel — This is what gives the topping those crisp, sandy crumbles. If the butter is too soft, the streusel turns pasty and bakes into a sheet.
What Each Layer Is Doing in the Pan
- All-purpose flour — Gives the cake enough structure to support the filling. Don’t swap in cake flour here; it’s too delicate for a layered coffee cake.
- Baking powder and baking soda — The two leaveners work together because the batter has sour cream and cream cheese in the mix. That little bit of baking soda helps with browning and balances the tang.
- Butter and sugar — Creaming them until fluffy traps air, which helps the cake rise before the heavier layers go in. If you rush this step, the cake will bake up dense.
- Eggs and vanilla — The eggs bind everything and give the cream cheese layer enough set to slice cleanly. Vanilla smooths out the tang from the dairy and keeps the whole cake tasting rounded.
- Brown sugar in the streusel — Brown sugar melts into a deeper, caramel-like topping than white sugar would. It also helps the streusel brown at the edges without drying out.
Building the Pan So the Layers Stay Separate
Make the Crumb First
Start with the streusel so it’s ready to go and the butter stays cold. Mix the flour, brown sugar, and cinnamon, then cut in the butter until the mixture looks like damp sand with pea-size bits scattered through it. If the butter starts to smear, the topping will bake up flat instead of crumbly, so stop mixing as soon as it holds together in rough clumps.
Whip the Cream Cheese Until It’s Smooth
Beat the cream cheese layer until there are no lumps left, then stop. Cold or half-softened cream cheese leaves little pockets that don’t melt evenly, and those lumps show up in the finished cake. You want it spreadable, not pourable, because a looser filling disappears into the batter.
Build the Batter and Layer in Order
Cream the butter and sugar until pale and fluffy, then add the eggs one at a time before mixing in the vanilla. Alternate the flour mixture and sour cream so the batter stays smooth and doesn’t look curdled. Spread the batter into the pan first, then dollop the cream cheese mixture over it and gently spread it toward the edges; finish with the apples and streusel. If you stir the layers together, you’ll lose the contrast that makes each bite interesting.
Bake Until the Center Sets
Bake at 350°F until the top is deep golden and the center springs back lightly when touched. A toothpick should come out mostly clean from the cake portion, though a little cream cheese is fine; what you don’t want is raw batter clinging to it. If the streusel browns too fast before the center is done, lay a loose piece of foil over the top for the last 10 minutes.
How to Adapt It for Different Tables and Timelines
Dairy-Free Version
Use plant-based butter, dairy-free cream cheese, and an unsweetened thick yogurt alternative in place of the sour cream. The texture will be a little less rich, but the cake still slices well if the dairy-free cream cheese is a firm block style rather than a soft tub spread.
Gluten-Free Swap
A 1:1 gluten-free baking blend usually works here, as long as it already includes xanthan gum. The crumb will be slightly more delicate, so let the cake cool fully before slicing or it may break at the cream cheese layer.
Using Pears Instead of Apples
Firm pears can stand in for apples if that’s what you have, but choose fruit that still feels slightly firm at the stem. Pears soften faster, so the fruit layer will be juicier and a little more delicate, with a softer bite.
Storage and Reheating
- Refrigerator: Store covered for up to 4 days. The cream cheese layer firms up a bit in the fridge, but the cake stays moist.
- Freezer: Freeze sliced portions tightly wrapped for up to 2 months. Thaw overnight in the refrigerator for the best texture; the streusel won’t stay as crisp after freezing, but the cake still holds up.
- Reheating: Warm individual slices in the microwave for 15 to 20 seconds or in a 300°F oven until just heated through. Reheat gently so the cream cheese layer doesn’t separate and the cake doesn’t dry out.
Answers to the Questions Worth Asking
Cream Cheese Apple Coffee Cake
Ingredients
Equipment
Method
- Preheat the oven to 350F and grease a 9x13 dish, so it’s ready for assembly. Visual cue: the pan looks evenly coated with a thin sheen.
- Combine flour, brown sugar, and cinnamon, then cut in cold butter until crumbly. Visual cue: you should see small, sandy clumps rather than a smooth paste.
- Beat the cream cheese layer ingredients until smooth. Visual cue: the mixture becomes glossy and free of lumps.
- Toss the apple layer ingredients together until the diced apples are evenly coated. Visual cue: the apples look lightly speckled and slightly glossy.
- Beat the butter and sugar until fluffy, then add eggs and vanilla. Visual cue: the mixture lightens in color and looks thicker.
- Alternate adding the flour mixture and sour cream, mixing just until combined. Visual cue: the batter looks smooth and holds together without streaks.
- Spread the batter in the pan, then dollop the cream cheese over the top and spread gently. Visual cue: cream cheese forms swirls and streaks rather than fully mixing in.
- Top with cinnamon apples, then scatter the streusel over everything. Visual cue: the surface is covered with a crumbly, golden-brown potential topping.
- Bake for 45-50 minutes until a toothpick comes out clean. Visual cue: the top is golden and the center no longer looks wet.