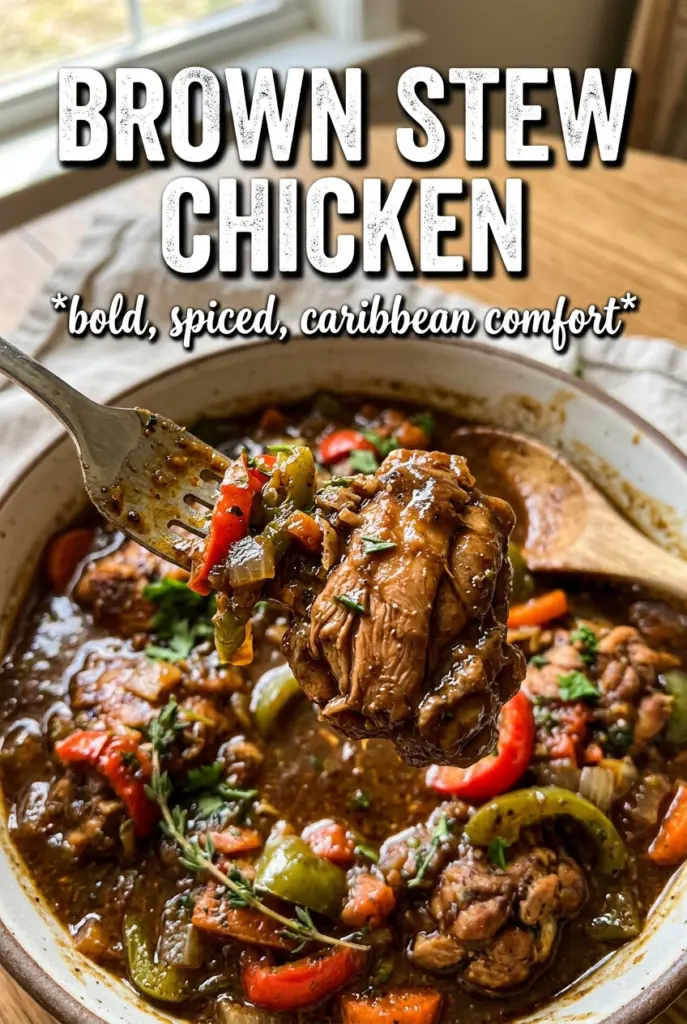
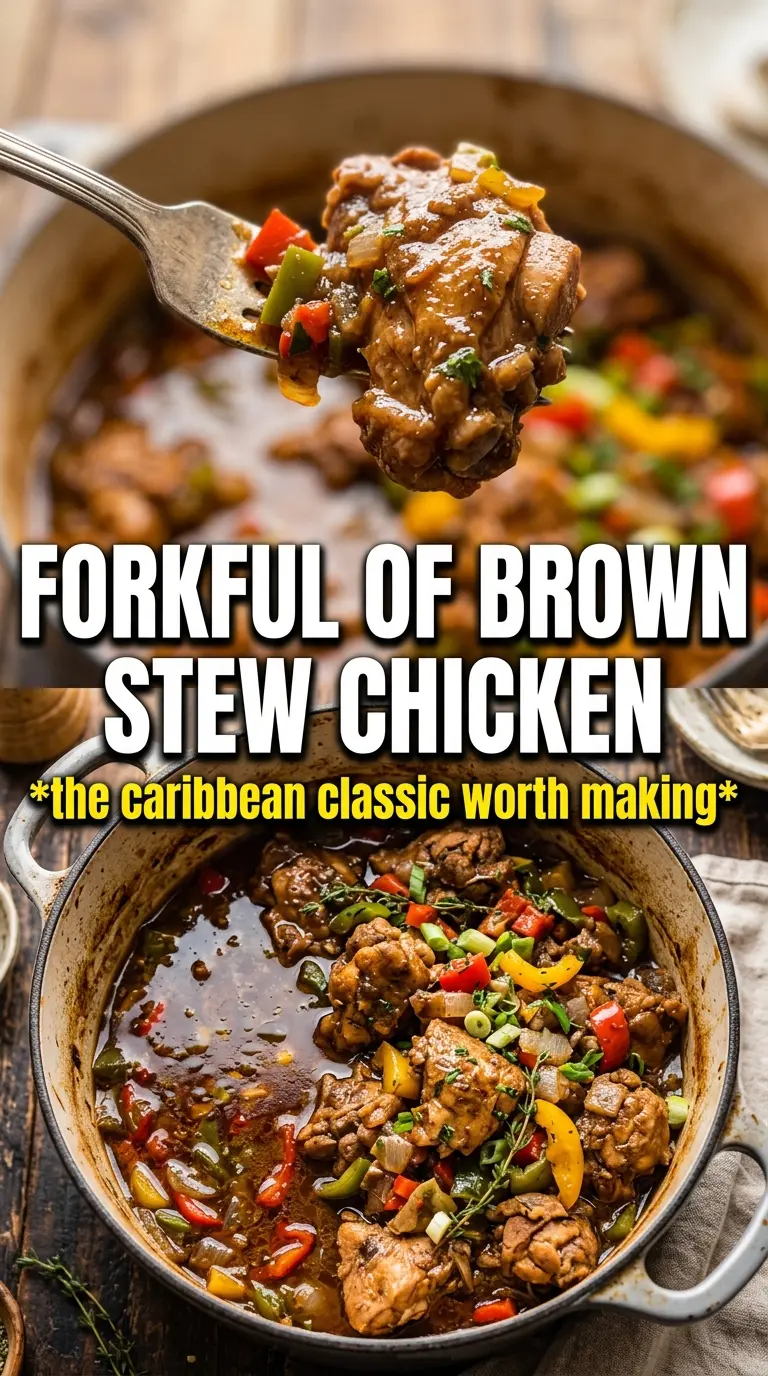
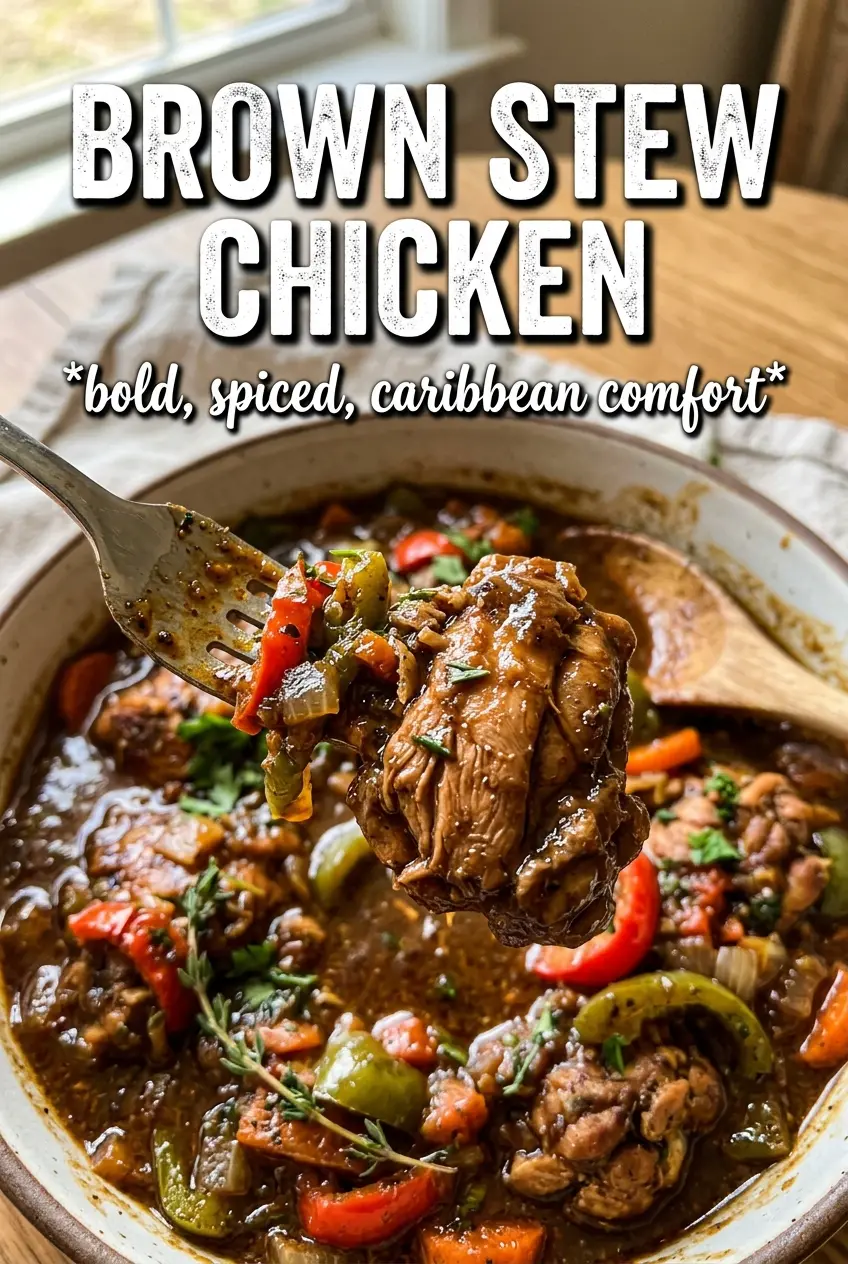
Brown stew chicken lands in the bowl with deep color, tender meat, and a gravy that clings to rice instead of running all over the plate. The flavor starts before the pot even heats up: the chicken gets seasoned ahead of time, then browned in caramelized sugar so the sauce ends up rich, dark, and layered instead of thin and flat. When it’s done right, the skinless pieces turn fork-tender while the peppers and onions melt into the broth and thicken everything naturally.
The trick is patience in two places. First, let the chicken sit in the marinade long enough for the seasoning to get inside the meat. Second, let the sugar take on a true amber color before the chicken goes in. That step gives the stew its signature mahogany color and a gentle sweetness that balances the Scotch bonnet, thyme, and all-purpose seasoning. Rush either part and you lose the depth that makes this dish worth making.
Below, I’m walking through the parts that matter most: how to keep the caramel from burning, how to build a gravy that actually thickens, and what to change if you want a milder version without losing the Jamaican character.
The gravy turned out dark and silky, and the chicken was tender all the way through after the simmer. I served it with rice and my husband said the caramelized flavor tasted like something from a restaurant.
Save this brown stew chicken for when you want deep caramel color, tender chicken thighs, and a gravy built for rice.
The Caramel Is the Flavor Base, Not Just the Color
Brown stew chicken looks simple, but the part that separates a good pot from a flat one is the caramelized sugar. That sugar is carrying more than color. It gives the gravy a toasted edge that plain browning sauce alone can’t create, and it helps the chicken take on that dark, lacquered finish Jamaican stew is known for. If the sugar goes too far, though, the pot turns bitter in a flash, which is why the moment it reaches a deep golden brown is the moment the chicken goes in.
The other place people go wrong is skipping a true sear after the marinade. The seasoned coating should cling to the meat and brown in spots, not wash off in the pan. Those sticky bits left behind become part of the sauce once the broth goes in, which is where the stew gets its depth.
- Caramelized sugar — This is the backbone of the stew’s color and flavor. Let it reach a rich amber, not dark brown, because it keeps cooking for a few seconds after the chicken hits the pan.
- Browning sauce — This helps reinforce the color and gives the chicken a darker starting point. It’s useful, but it doesn’t replace the caramelized sugar.
- Chicken thighs and drumsticks — Bone-in pieces hold up during the long simmer and give the gravy a fuller taste. Boneless chicken will cook faster, but it won’t stay as juicy.
- Scotch bonnet or habanero — This brings the heat that cuts through the rich gravy. Leave it out for a mild pot, but don’t replace it with a sweet pepper if you want the same Jamaican-style finish.
What Each Ingredient Is Actually Doing in This Recipe
- Primary ingredient (the star) — Quality matters most. Choose the best you can find.
- Cooking medium (oil, butter, or broth) — This carries flavors and prevents dryness.
- Seasonings (salt, pepper, spices, herbs) — Layer flavors so nothing overpowers. Build depth gradually.
- Aromatics (garlic, onion, herbs) — Cook with fat to bloom flavors. Become the foundation.
- Supporting ingredients — Complement the main ingredient without overpowering it.
- Sauce or liquid (if applicable) — Brings flavors together. Balance richness with acid.
- Acid (lemon, vinegar, wine, or other) — Brightens and prevents flat-tasting results.
- Final finish (garnish, glaze, or sauce) — Prevents one-dimensional taste and adds visual appeal.
Building the Stew in the Right Order
Marinate Until the Seasoning Actually Penetrates
Mix the chicken with the browning sauce, all-purpose seasoning, garlic powder, onion powder, thyme, salt, and pepper, then let it sit for at least 2 hours. Overnight gives you even better flavor because the seasoning has time to work into the meat instead of sitting on the surface. If you rush this part, the stew still tastes fine, but the chicken tastes like it was seasoned at the end rather than cooked all the way through.
Caramelize the Sugar Before Anything Else
Heat the oil first, then add the sugar and watch it closely as it melts and turns golden. Stir only enough to keep it even. If it goes from amber to very dark in a matter of seconds, pull the pan off the heat before adding the chicken. That keeps the pot from turning bitter and saves you from the burnt-sugar smell that can take over the whole dish.
Brown the Chicken and Scrape Up the Fond
Add the marinated chicken to the caramel and let it brown deeply on all sides. You want color, not a pale simmer. Once the pieces are in, resist the urge to crowd the pan; too many pieces at once drop the temperature and steam the meat instead of searing it. When the chicken comes out, the bottom of the pan should be dotted with browned bits that will melt into the gravy later.
Finish With a Slow Simmer
Sauté the onion, peppers, garlic, green onions, and Scotch bonnet just long enough to soften and smell fragrant, then return the chicken and add the broth. Bring it up to a boil, then lower the heat and cover it so the sauce can tighten while the chicken turns tender. If the gravy looks thin near the end, uncover the pot for the last 10 minutes and let it reduce until it coats a spoon.
How to Adjust This Pot Without Losing the Jamaican Character
Mild Version Without the Scotch Bonnet
Leave out the Scotch bonnet and use extra black pepper if you still want a little bite. The stew keeps its caramel depth, thyme, and savory backbone, just without the sharp heat. This is the best swap when you’re feeding people who want the flavor but not the burn.
Chicken Thighs Only for Extra Juicy Meat
Use all thighs if you want the most tender result with the least risk of overcooking. Drumsticks add a little variety, but thighs stay juicier in the simmer and shred beautifully into the gravy. This is the version I’d pick if I wanted leftovers that still taste excellent the next day.
Gluten-Free by Checking the Seasoning Blend
The stew itself can be gluten-free as long as your all-purpose seasoning and browning sauce are certified gluten-free. That’s the only place hidden gluten usually slips in. Serve it with rice or another gluten-free side and you’re set.
Storage and Reheating
- Refrigerator: Store for up to 4 days. The gravy thickens as it chills, and the flavor gets even deeper.
- Freezer: Freezes well for up to 2 months. Cool completely, pack it with some of the gravy, and thaw overnight in the refrigerator.
- Reheating: Warm gently on the stovetop over low heat with a splash of broth or water. High heat can dry out the chicken and make the sauce reduce too fast.
Answers to the Questions Worth Asking
Brown Stew Chicken
Ingredients
Equipment
Method
- Combine all marinade ingredients and rub them over the bone-in chicken thighs and drumsticks. Cover and marinate for at least 2 hours (or overnight) in the refrigerator for deeper flavor.
- Heat vegetable oil in a large skillet or Dutch oven, then add sugar and cook until it caramelizes to a golden brown. Keep an eye on it so it turns amber without burning.
- Add the marinated chicken pieces and cook until deeply golden on all sides, turning as needed. Remove the chicken to a plate while you cook the vegetables.
- In the same pot, sauté onion, bell peppers, garlic, green onions, and scotch bonnet for 4 minutes. Stir frequently until fragrant and slightly softened.
- Return the chicken to the pot and add chicken broth, then bring everything to a boil. Scrape up any browned bits for a thicker, richer gravy.
- Reduce the heat to low, cover, and simmer for 35-40 minutes until the chicken is fall-apart tender and the gravy is thick. Uncover for the last few minutes if you need more reduction.
- Serve the brown stew chicken with rice and sprinkle fresh thyme for garnish. Spoon the thick mahogany gravy over the chicken while it’s hot.