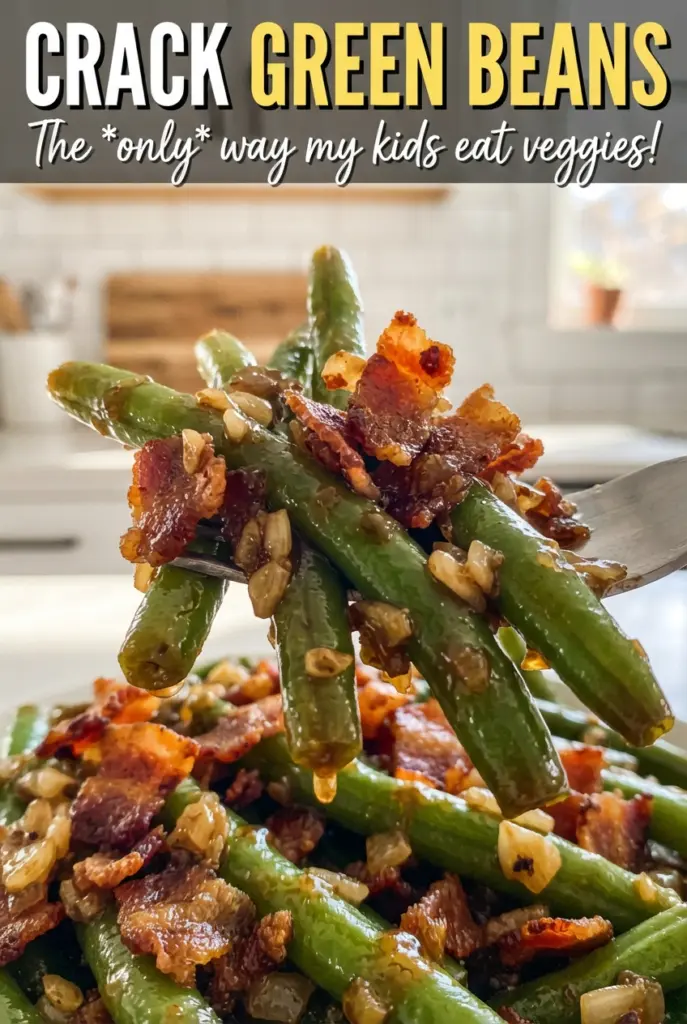
Crack green beans come out sticky, savory, and just sweet enough to keep people reaching back for another forkful. The green beans stay tender but still have a little bite, while the brown sugar soy glaze turns glossy and caramelized around the bacon. It’s the kind of side dish that disappears fast, even next to the main course.
What makes this version work is the balance: blanching the beans first keeps them bright and prevents them from drying out in the oven, and the quick stir halfway through helps the glaze coat everything evenly instead of pooling at the bottom of the dish. The bacon doesn’t need to be fully crisp before baking because it finishes in the oven and stays woven through the beans instead of turning brittle. That little bit of garlic in the sauce also keeps the sweetness in check.
Below, I’ve included the part that matters most if you want the glaze to cling instead of slide off, plus a few smart swaps for making this side fit different meals. If you’ve ever had green bean casseroles go watery or bland, this one fixes both problems.
The glaze turned out sticky and caramelized instead of runny, and the beans still had a little snap. My husband went back for seconds before I even sat down.
Save these sticky, caramelized crack green beans for the nights when you need a side dish that comes out glossy, savory-sweet, and packed with bacon.
The Step That Keeps the Beans From Going Soft
Blanching the green beans for a few minutes before baking is what keeps this dish from turning heavy. If you skip that step, the beans need a longer stay in the oven, and by the time the glaze gets sticky, the vegetables can drift into limp territory. The short boil sets the color, starts the cooking, and gives you a cleaner bite at the end.
The other thing that matters is stirring once during baking. The glaze starts at the bottom of the dish, and as it heats, it needs a little help climbing over the beans instead of just caramelizing around the edges. That quick stir also keeps the bacon from settling in one corner and the sugar from scorching in spots.
What Each Ingredient Is Doing in the Glaze
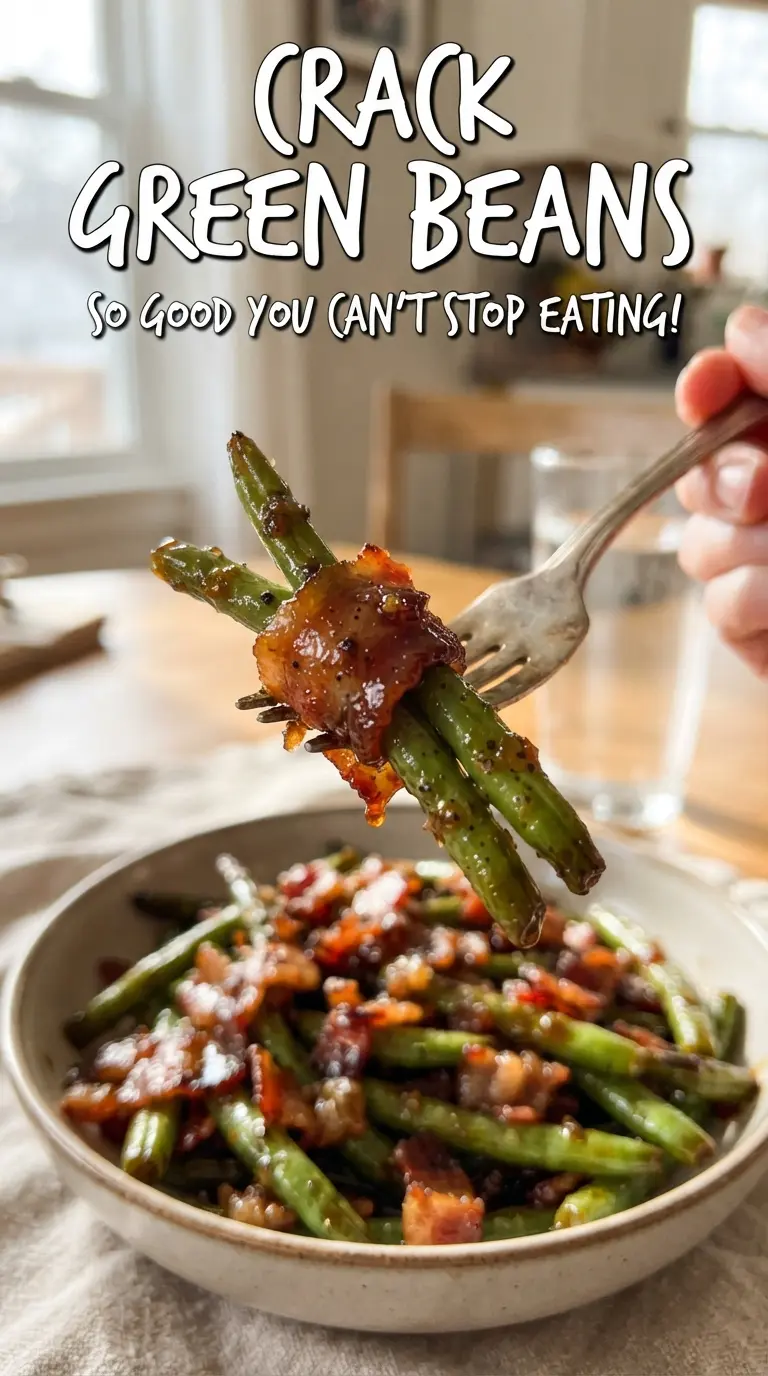
- Fresh green beans — Fresh beans hold their shape and keep a little snap after baking. Frozen beans can work in a pinch, but they’ll soften more and won’t give you the same clean texture.
- Bacon — Bacon brings salt, fat, and a smoky edge that keeps the dish from tasting like straight brown sugar. Cook it until mostly crisp so it doesn’t turn chewy in the oven, but don’t take it all the way to brittle.
- Brown sugar — This is what gives the glaze its sticky finish and deep molasses note. Light or dark brown sugar both work; dark brown sugar makes the dish taste a little richer.
- Butter — Melted butter helps the sugar dissolve and gives the sauce enough body to coat the beans. If you use margarine, the glaze won’t taste as round or caramel-like.
- Soy sauce — Soy sauce keeps the sweetness grounded and adds the savory backbone that makes the dish addictive. Low-sodium soy sauce works if you want a softer salt level, but don’t leave it out.
- Garlic — Garlic wakes up the whole pan and keeps the glaze from tasting flat. Mince it finely so it disperses evenly and doesn’t stay sharp in clumps.
Building the Sticky Glaze So It Clings
Blanching the Beans
Drop the trimmed green beans into boiling water for about three minutes, just until they turn brighter green and soften slightly. They should still feel firm when you drain them. If they go too long, they’ll keep cooking in the oven and lose the fresh snap that makes this dish work.
Cooking the Bacon
Cook the bacon until it’s mostly crisp and drain it well on paper towels. You want enough fat rendered out that the pieces don’t taste greasy, but a little softness is fine because the bacon will finish with the beans. If the bacon is undercooked, it can taste chewy after baking; if it’s overcooked, it can go dry and hard.
Mixing and Baking the Sauce
Whisk the brown sugar, melted butter, soy sauce, garlic, and pepper until smooth, then pour it over the beans and bacon in the baking dish. Bake uncovered so the moisture can cook off and the glaze can concentrate. Stir once during baking to pull the sauce back up from the bottom, and stop when it looks sticky and glossy rather than watery.
How to Tweak Crack Green Beans Without Losing the Point
Make It Ahead for a Crowd
Blanch the beans and cook the bacon a day ahead, then store them separately in the fridge. Mix the glaze just before baking so the sugar doesn’t settle or clump. The final bake still needs the full time, but the prep window gets much easier if you split it up.
Use Turkey Bacon
Turkey bacon works if you want a lighter dish, but it won’t render the same smoky fat or crisp up the same way. Add a teaspoon of neutral oil to the pan when cooking it so it browns a little better, and expect a less rich finish.
Gluten-Free Version
Use tamari or a certified gluten-free soy sauce in place of regular soy sauce. The flavor stays balanced and savory, and the glaze behaves the same way. This is the easiest swap in the whole recipe because it doesn’t change the texture at all.
Less Sweet, More Savory
Cut the brown sugar back by 2 to 3 tablespoons if you want the soy sauce and bacon to lead. The glaze will still caramelize, but it’ll come out a little thinner and less candy-like. That works well if you’re serving the beans with a richer main dish.
Storage and Reheating
- Refrigerator: Store leftovers in an airtight container for up to 4 days. The glaze will thicken and the beans will soften a little as they sit.
- Freezer: It freezes, but the texture of the beans changes enough that I’d only do it if you’re okay with a softer result after thawing.
- Reheating: Reheat in a 325F oven, covered loosely with foil, until warmed through. The microwave works for a quick serving, but don’t blast it too long or the sauce can turn oily and the beans can go mushy.
Answers to the Questions Worth Asking
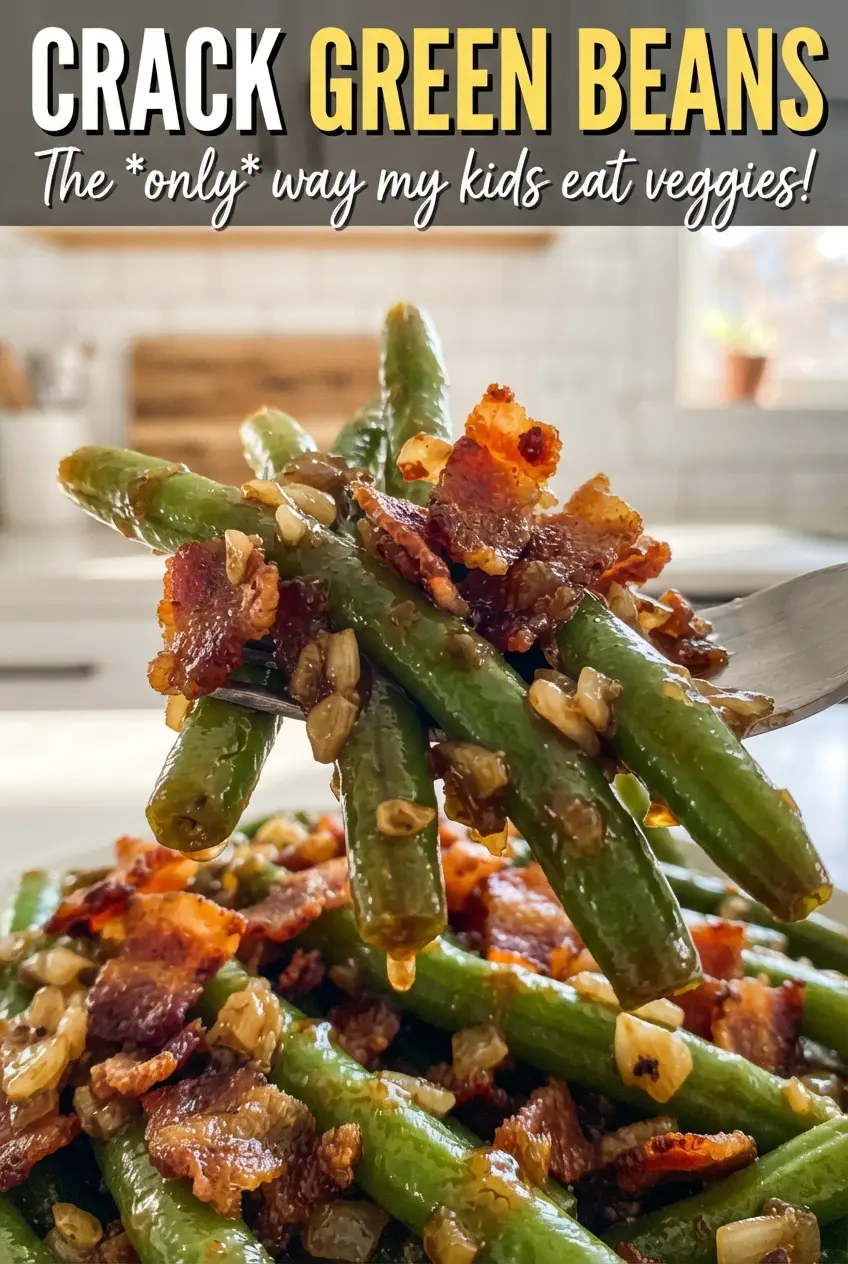
Crack Green Beans
Ingredients
Equipment
Method
- Preheat the oven to 350F. Bring a pot of boiling water and blanch the trimmed green beans for 3 minutes, then drain.
- Cook the chopped bacon until mostly crisp, then drain on paper towels.
- Place the blanched green beans in a 9x13-inch baking dish and top with the mostly crisp bacon. Spread the beans into an even layer for better caramelization.
- Whisk the packed brown sugar, melted butter, soy sauce, minced garlic, and black pepper until smooth. Pour the glaze evenly over the beans.
- Bake uncovered for 30 minutes. Stir the beans once during baking so the sticky glaze coats everything.
- Continue baking until the glaze is sticky and caramelized, about 5 to 10 minutes more. Rest briefly before serving so the glaze sets and clings.


