This Easy Homemade Cappuccino Ice Cream is creamy and delicious, perfect for coffee lovers! Made with rich espresso, milk, and a delightful touch of cocoa, every scoop is a treat!
I love serving this ice cream on a hot day, and it feels like a cozy café experience at home. Trust me, once you start, you won’t want to stop! ☕🍦
Key Ingredients & Substitutions
Whole Milk: This gives a creamy texture. You can substitute with 2% milk for a lighter version, but the ice cream may be less creamy.
Sugar: Regular granulated sugar works well, but you could use brown sugar for a deeper flavor or a sugar alternative like honey or agave syrup.
Heavy Cream: This adds richness. If you want a lighter treat, you could replace some of it with more milk, but it might change the texture.
Instant Espresso Powder: I love this for its convenience, but you can also use strong brewed espresso. Just make sure it’s cooled to avoid melting the mixture!
Cocoa Powder: This adds a chocolatey flavor. If you’re a chocolate lover, try adding more cocoa, or use Dutch-process cocoa for a smoother taste.
Egg Yolks: They help make the ice cream creamy. If you want to avoid eggs, you can use a custard base recipe, but it may require additional ingredients and steps.
How Do You Properly Temper Eggs?
Tempering eggs is crucial to prevent them from scrambling in your mixture. Here’s how to do it right:
- Whisk the egg yolks in a bowl until they’re smooth.
- Slowly add a small amount of the warm milk mixture to the yolks while whisking. This warms the eggs gradually.
- Once mixed, pour the egg yolk mixture back into the saucepan with the rest of the milk mixture, stirring constantly.
This method ensures a silky, smooth texture in your ice cream, making it taste rich and delicious! Don’t rush—taking a bit of time here pays off.
Easy Homemade Cappuccino Ice Cream
Ingredients You’ll Need:
- 1 cup whole milk
- 3/4 cup sugar
- 2 cups heavy cream
- 2 tbsp instant espresso powder (or finely ground espresso)
- 1 tbsp cocoa powder
- 4 large egg yolks
- 1 tsp vanilla extract
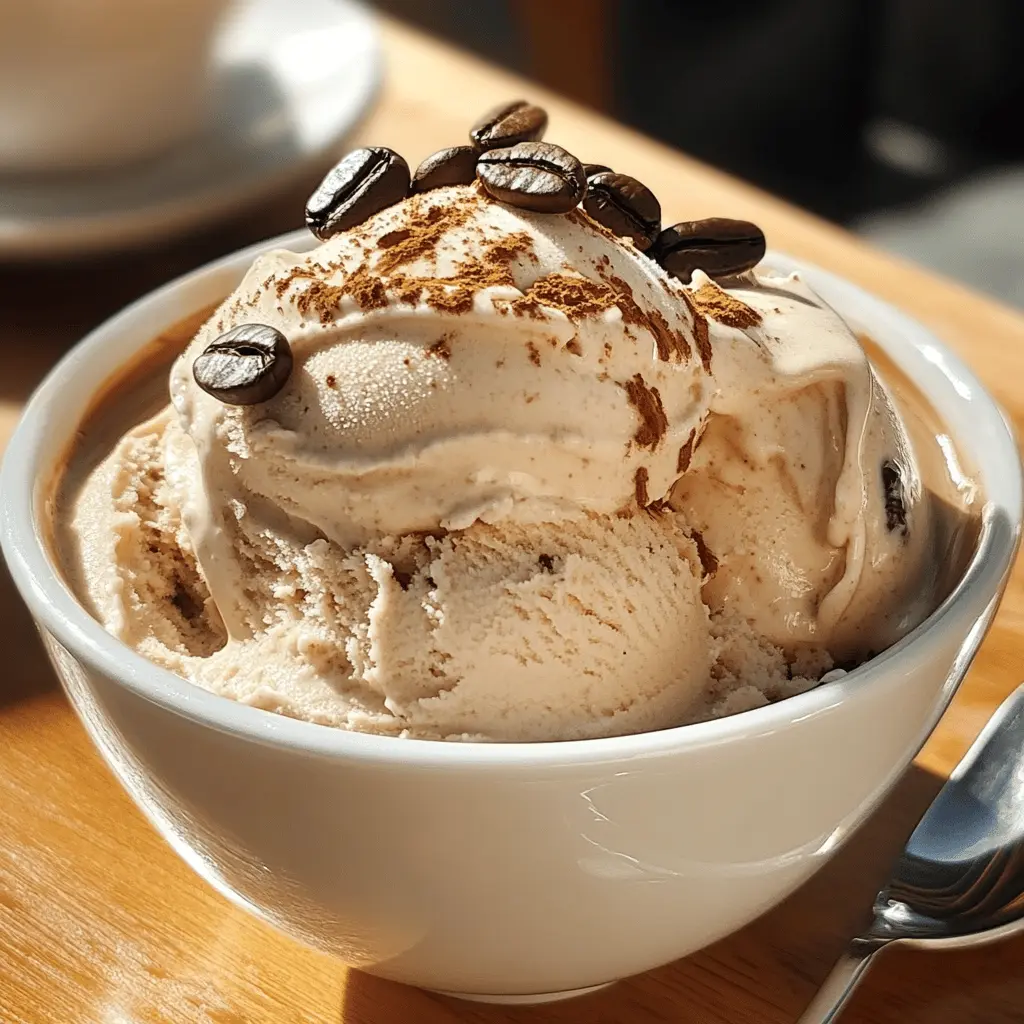
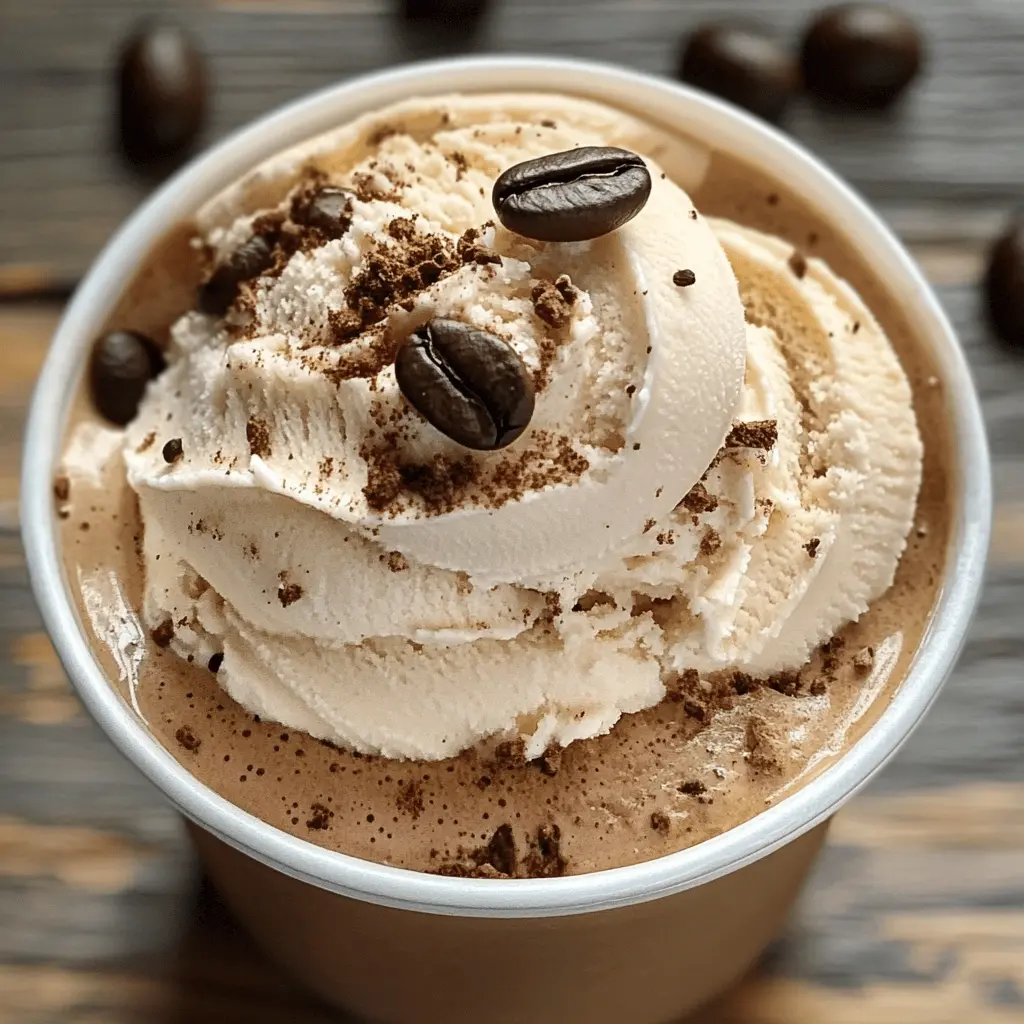
- Coffee beans for garnish (optional)
How Much Time Will You Need?
This homemade cappuccino ice cream takes about 20 minutes to prepare and cook, plus 4 hours or overnight for chilling. After churning in your ice cream maker, it’ll need at least 2 hours in the freezer to firm up. So, plan for about 6-8 hours in total before you enjoy your treat!
Step-by-Step Instructions:
1. Heat the Milk Mixture:
In a medium saucepan, pour in the whole milk and heat it over medium flame until it’s warm, but be careful not to let it boil. Stir in the sugar, instant espresso powder, and cocoa powder until everything is dissolved and combined well.
2. Whisk the Egg Yolks:
While your milk mixture is warming, take a separate bowl and whisk the egg yolks until they look smooth and a bit pale. This helps to create a creamy texture!
3. Temper the Eggs:
Now, here’s the important part: slowly pour a small amount of the warm milk mixture into the egg yolks while whisking constantly. This process is called tempering and prevents the eggs from scrambling when you mix them into the hot milk.
4. Combine and Cook:
Once tempered, gradually add the egg yolk mixture back into the saucepan with the remaining milk mixture, stirring continuously to mix well. Cook over low heat, stirring with a wooden spoon or spatula until the mixture thickens enough to coat the back of the spoon. This should take about 5-7 minutes. It should be around 170-175°F (77-80°C).
5. Add Cream and Vanilla:
Remove the saucepan from the heat and stir in the heavy cream and vanilla extract. Mix until fully combined.
6. Chill the Mixture:
Let the mixture cool down to room temperature, then cover it and refrigerate for at least 4 hours. For the best flavor and texture, refrigerating overnight works wonders!
7. Churn the Ice Cream:
Once chilled, pour the mixture into your ice cream maker. Follow the manufacturer’s instructions and churn until you reach a soft-serve consistency.
8. Freeze to Firm Up:
Transfer the churned ice cream to an airtight container and freeze it for at least 2 hours to firm up properly.
9. Serve and Enjoy:
When you’re ready to indulge, scoop generous portions of your homemade cappuccino ice cream into bowls or cones. For a decorative touch, garnish with a few coffee beans or a sprig of mint. Enjoy your delicious and rich homemade treat!
This creamy cappuccino ice cream will surely be a hit with family and friends!
Frequently Asked Questions (FAQ)
Can I Use Different Types of Milk?
Yes, you can use alternatives like 2% milk or even almond milk for a lighter version, but keep in mind that it may affect the creaminess of the finished ice cream.
How Do I Prevent Ice Crystals in My Ice Cream?
To help prevent ice crystals, make sure to churn the mixture in your ice cream maker according to the manufacturer’s instructions and freeze it in an airtight container to keep out air. Storing it at a consistent temperature in the freezer also helps!
Can I Make This Recipe Without Eggs?
Absolutely! If you prefer an egg-free version, you can use a store-bought custard base instead of making the custard yourself or look for a no-churn recipe that suits your taste.
How Long Does This Ice Cream Last in the Freezer?
This cappuccino ice cream can last in the freezer for about 2-3 weeks, but for best flavor and texture, it’s ideal to enjoy it within 1-2 weeks!