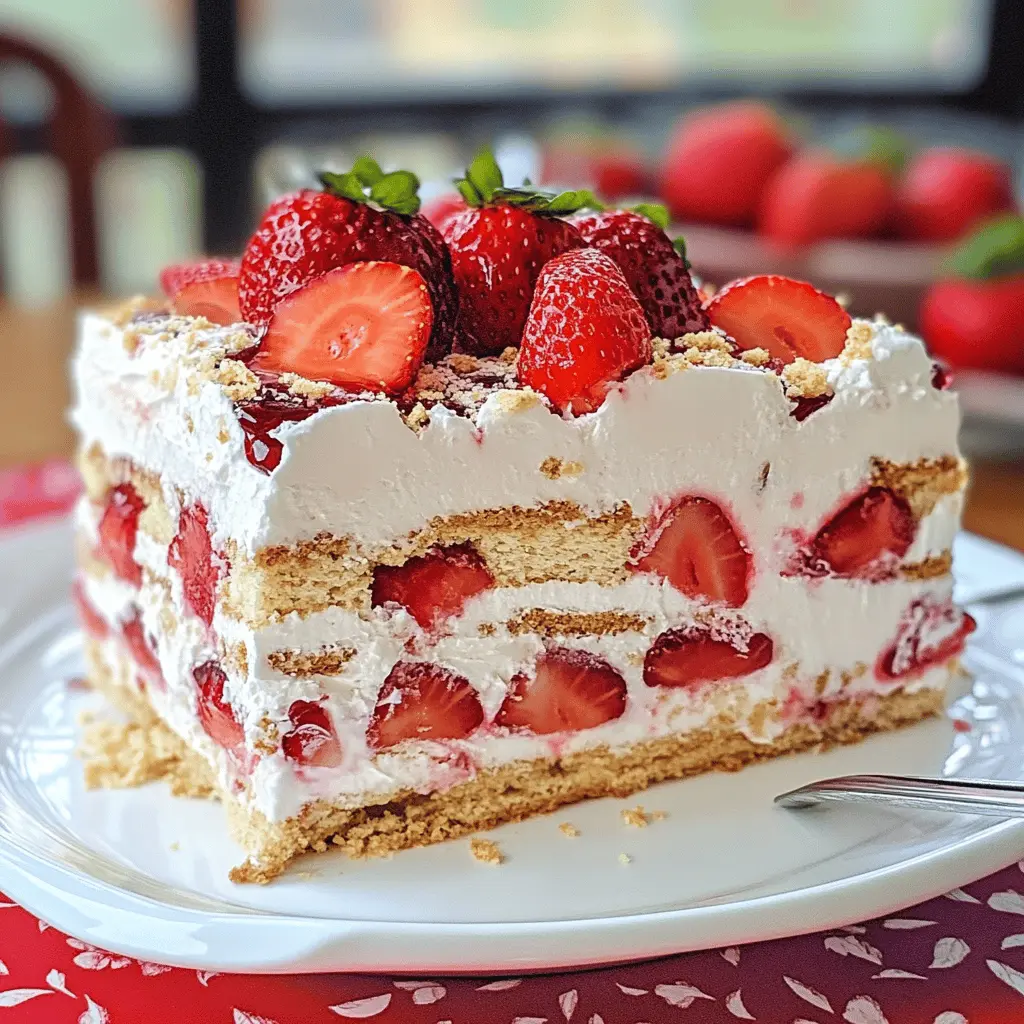
This no-bake Strawberry Icebox Cake is a dreamy treat! Layered with fluffy whipped cream and juicy strawberries, it’s super easy to make and perfect for hot days.
I love how refreshing and light it is—just like a slice of summer! You can whip it up quickly and watch it disappear from the fridge in no time. 🍓🍰
Ingredients & Substitutions
Heavy Whipping Cream: This is crucial for a fluffy texture in your cake. You can substitute it with coconut cream for a dairy-free version, but it may alter the flavor slightly.
Powdered Sugar: This sweetens your whipped cream nicely. If you want a healthier option, you can use granulated sugar or even honey, but the texture will differ slightly. Just remember, for honey, reduce the liquid a bit.
Vanilla Extract: This adds depth to the cream. If you’re out, almond extract works well, but use less since it’s stronger. Pure vanilla gives the best flavor, though.
Strawberries: Fresh strawberries bring brightness to the cake. If they aren’t in season, you can use other berries like raspberries or blueberries, or even canned fruit, though fresh is always best for texture.
Graham Crackers or Ladyfinger Cookies: Both are great, but for gluten-free options, use gluten-free graham crackers or even sponge cake. Ladyfingers tend to be softer and soak up the cream nicely.
How Do You Whip Cream to Stiff Peaks?
Whipping cream to stiff peaks is key to hold the layers of your cake together. Start with cold cream—it whips better! Here’s how:
- Use a large mixing bowl (chilled helps) and a high-speed mixer.
- Mix the cream, sugar, and vanilla on low initially to combine, then switch to high.
- Watch closely! Once you see stiff peaks, immediately stop to avoid over-whipping, which can turn it grainy.
Stiff peaks mean that the cream holds its shape well and fluffs up nicely for that creamy texture in your cake. Enjoy the fun of layering!
How to Make a No-Bake Strawberry Icebox Cake
Ingredients You’ll Need:
For the Whipped Cream:
- 2 cups heavy whipping cream
- ½ cup powdered sugar
- 1 teaspoon vanilla extract
For the Layers:
- 3 cups strawberries, hulled and sliced
- 1 package (14 ounces) of graham crackers or ladyfinger cookies
- Additional strawberries for garnish
How Much Time Will You Need?
This delightful Strawberry Icebox Cake takes about 15 minutes of prep time and needs to chill in the fridge for at least 4 hours, or overnight if you can wait! You will love how easy it is to put together.
Step-by-Step Instructions:
1. Whip the Cream:
Start by taking a large mixing bowl and adding the heavy whipping cream, powdered sugar, and vanilla extract. Use an electric mixer to whip the mixture on high speed. Keep mixing until you see stiff peaks forming, which should take about 4-5 minutes. This is the delicious whipped cream that will be the star of your cake!
2. Layer the Ingredients:
Take a rectangular baking dish—around 9×13 inches is perfect. Begin by laying down a layer of graham crackers or ladyfinger cookies at the bottom of the dish. This will be the base of your cake.
3. Spread the Whipped Cream:
Using a spatula, spread a layer of the whipped cream mixture over the cookies. Make sure to smooth it out evenly so every bite is delicious!
4. Add Strawberries:
Now, it’s time to add some flavor! Place a layer of sliced strawberries over the whipped cream. This will add a fresh and juicy element to your cake.
5. Repeat the Layers:
Keep building your cake by repeating the layers. Add another layer of graham crackers, then more whipped cream, followed by another layer of strawberries. Do this until you’ve used up all your ingredients, finishing with a nice thick layer of whipped cream on top.
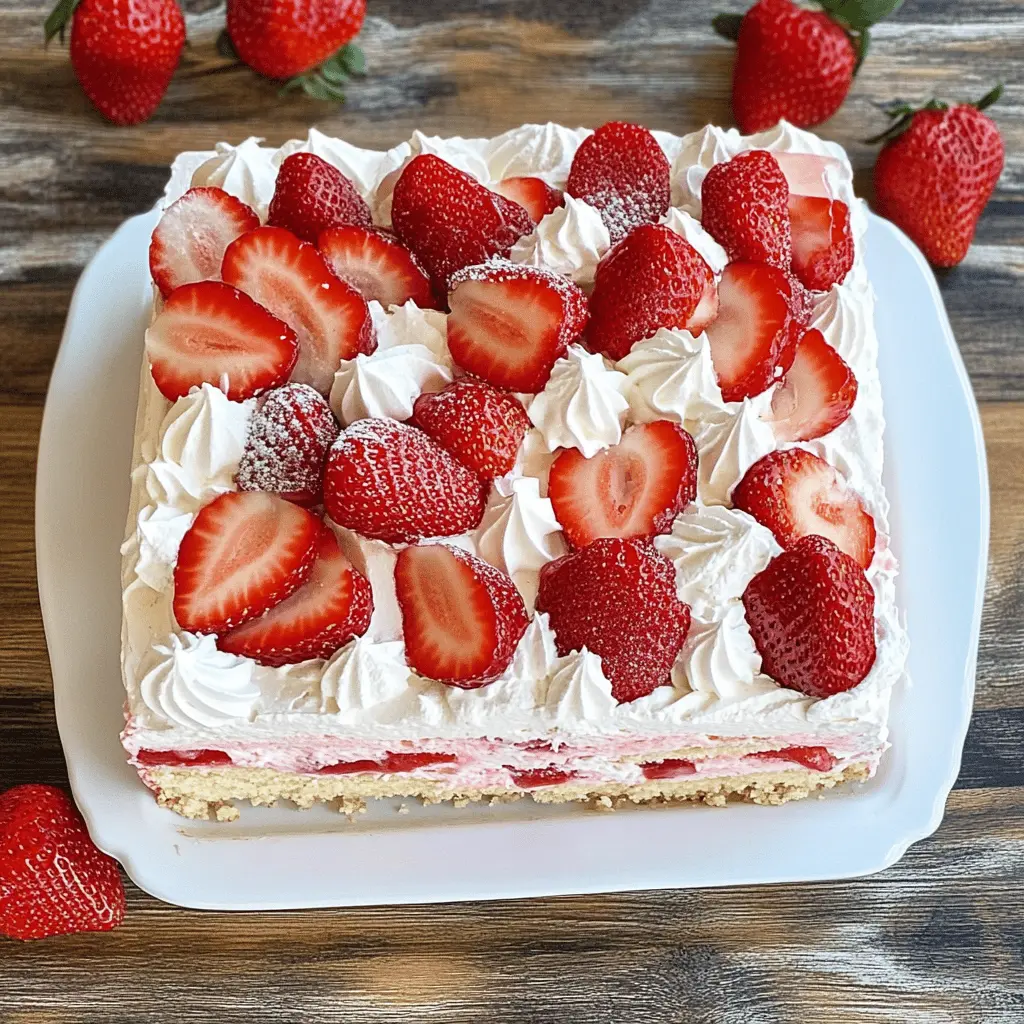
6. Garnish the Top:
Take some extra strawberries and slice them up to use as a lovely decoration on the top of your cake. This adds a beautiful touch!
7. Chill the Cake:
Cover your dish with plastic wrap and pop it in the fridge. Let it chill for at least 4 hours, but if you can wait overnight, it will taste even better as the flavors meld and the cookies soften!
8. Serve and Enjoy:
Once your cake is chilled and set, it’s time to slice and serve it cold. Enjoy your refreshing and easy no-bake Strawberry Icebox Cake!
Can I Use Other Fruits Instead of Strawberries?
Absolutely! You can use other fruits like blueberries, raspberries, or sliced peaches for a delicious twist. Just ensure the fruits are fresh and ripe for the best flavor!
What If I Don’t Have Heavy Whipping Cream?
If you don’t have heavy whipping cream, you can substitute it with a can of coconut cream for a dairy-free version! Just chill the can beforehand and scoop out the solid cream at the top to whip.
How Long Can I Store Leftovers?
You can keep leftover Strawberry Icebox Cake in the fridge for up to 3 days. Be sure to cover it tightly to keep it fresh and prevent it from absorbing other odors in the fridge.
Can I Make This Cake Gluten-Free?
Yes! Simply use gluten-free graham crackers or ladyfinger cookies. There are many gluten-free brands available that will work wonderfully in this recipe!