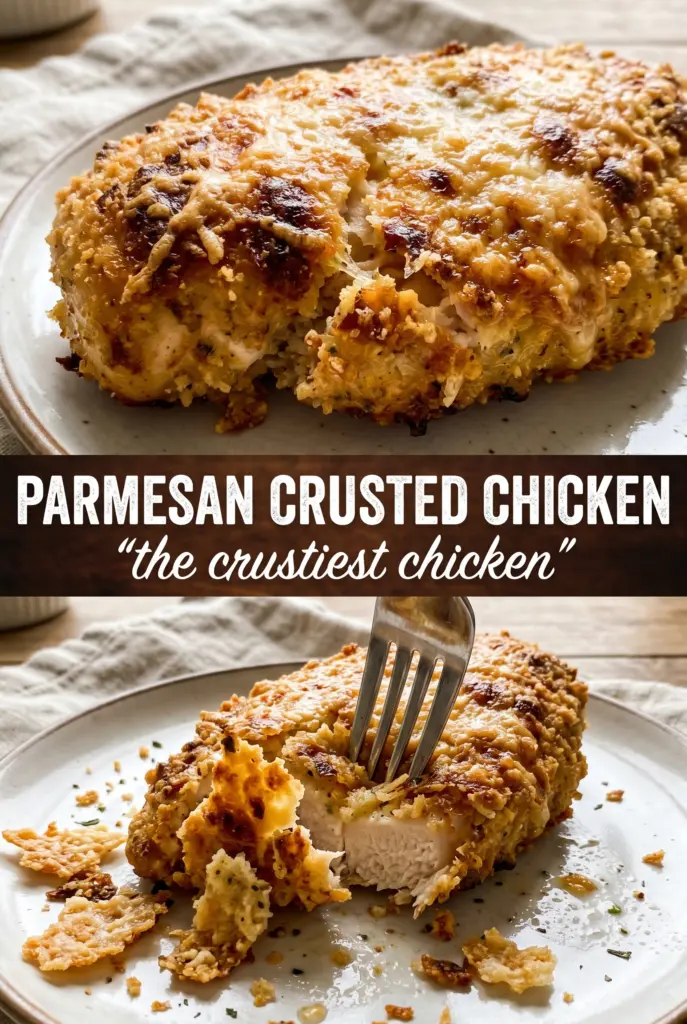
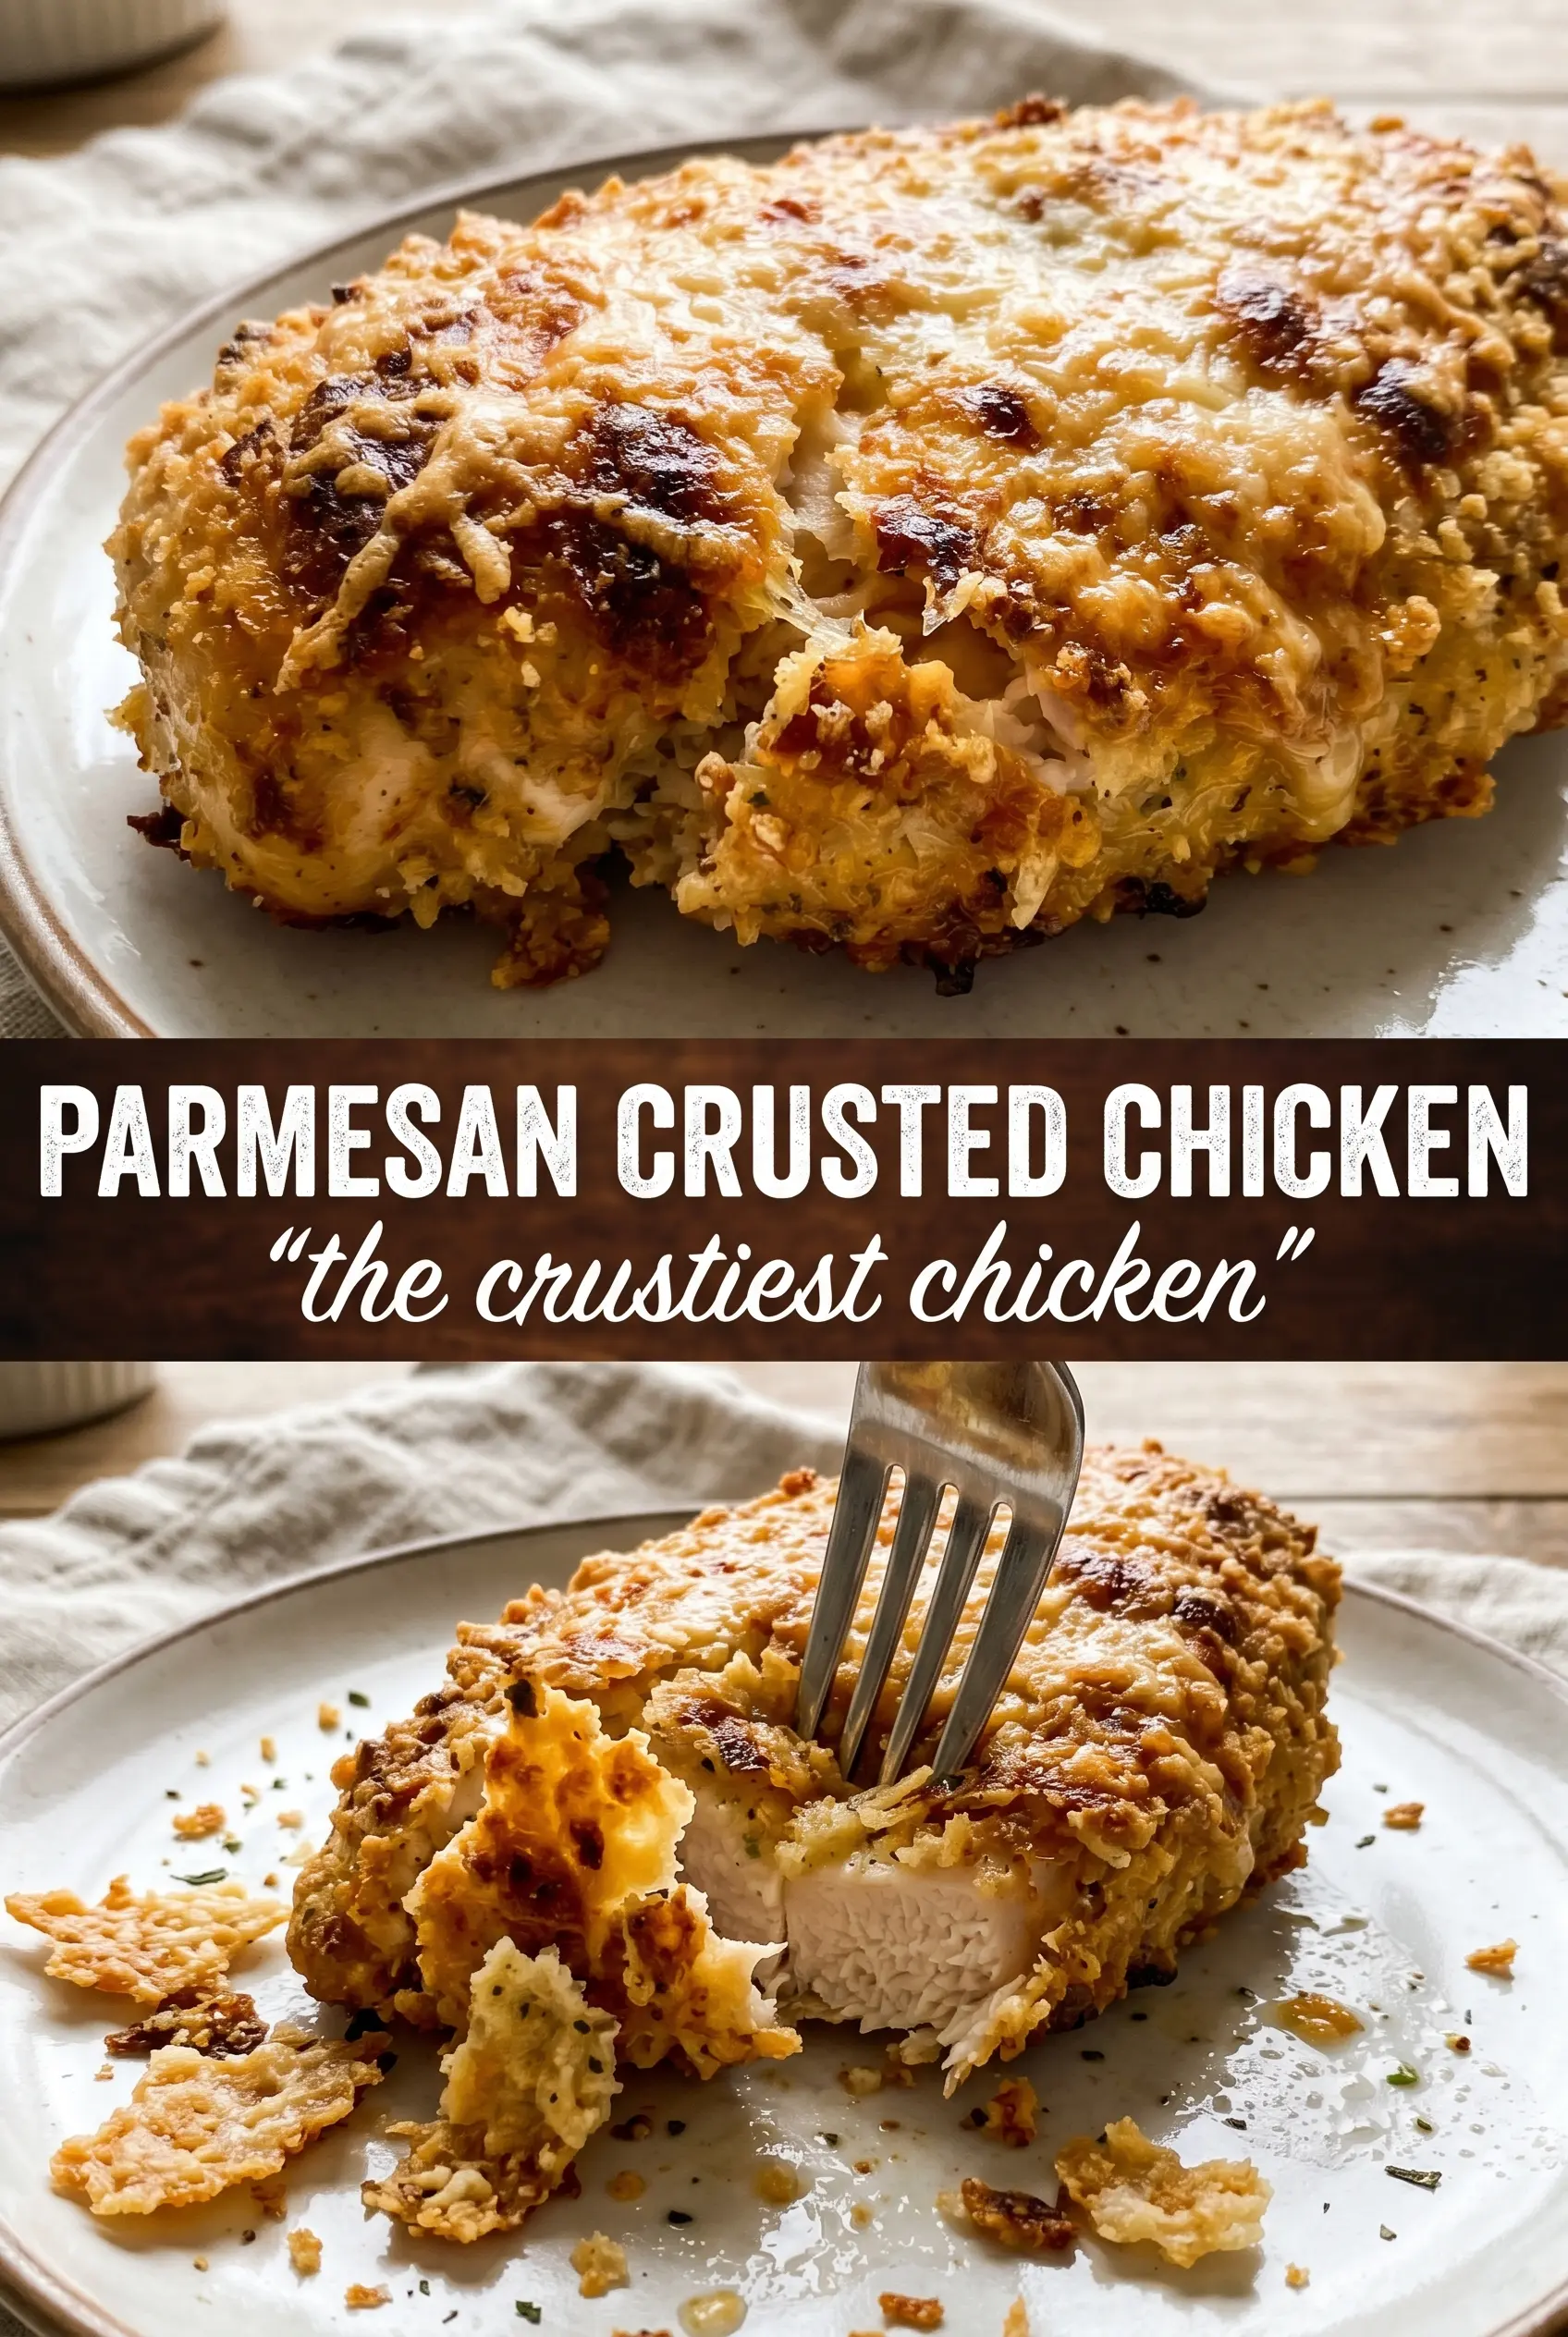
Thick chicken breasts with a shatteringly crisp Parmesan crust are one of those dinners that disappear fast because the coating stays crunchy while the chicken underneath stays juicy. The best part is the contrast: salty, nutty cheese on the outside and tender meat inside, with enough seasoning in the breading to taste good on its own. Baked right, it gives you that fried-chicken energy without standing over a pan of oil.
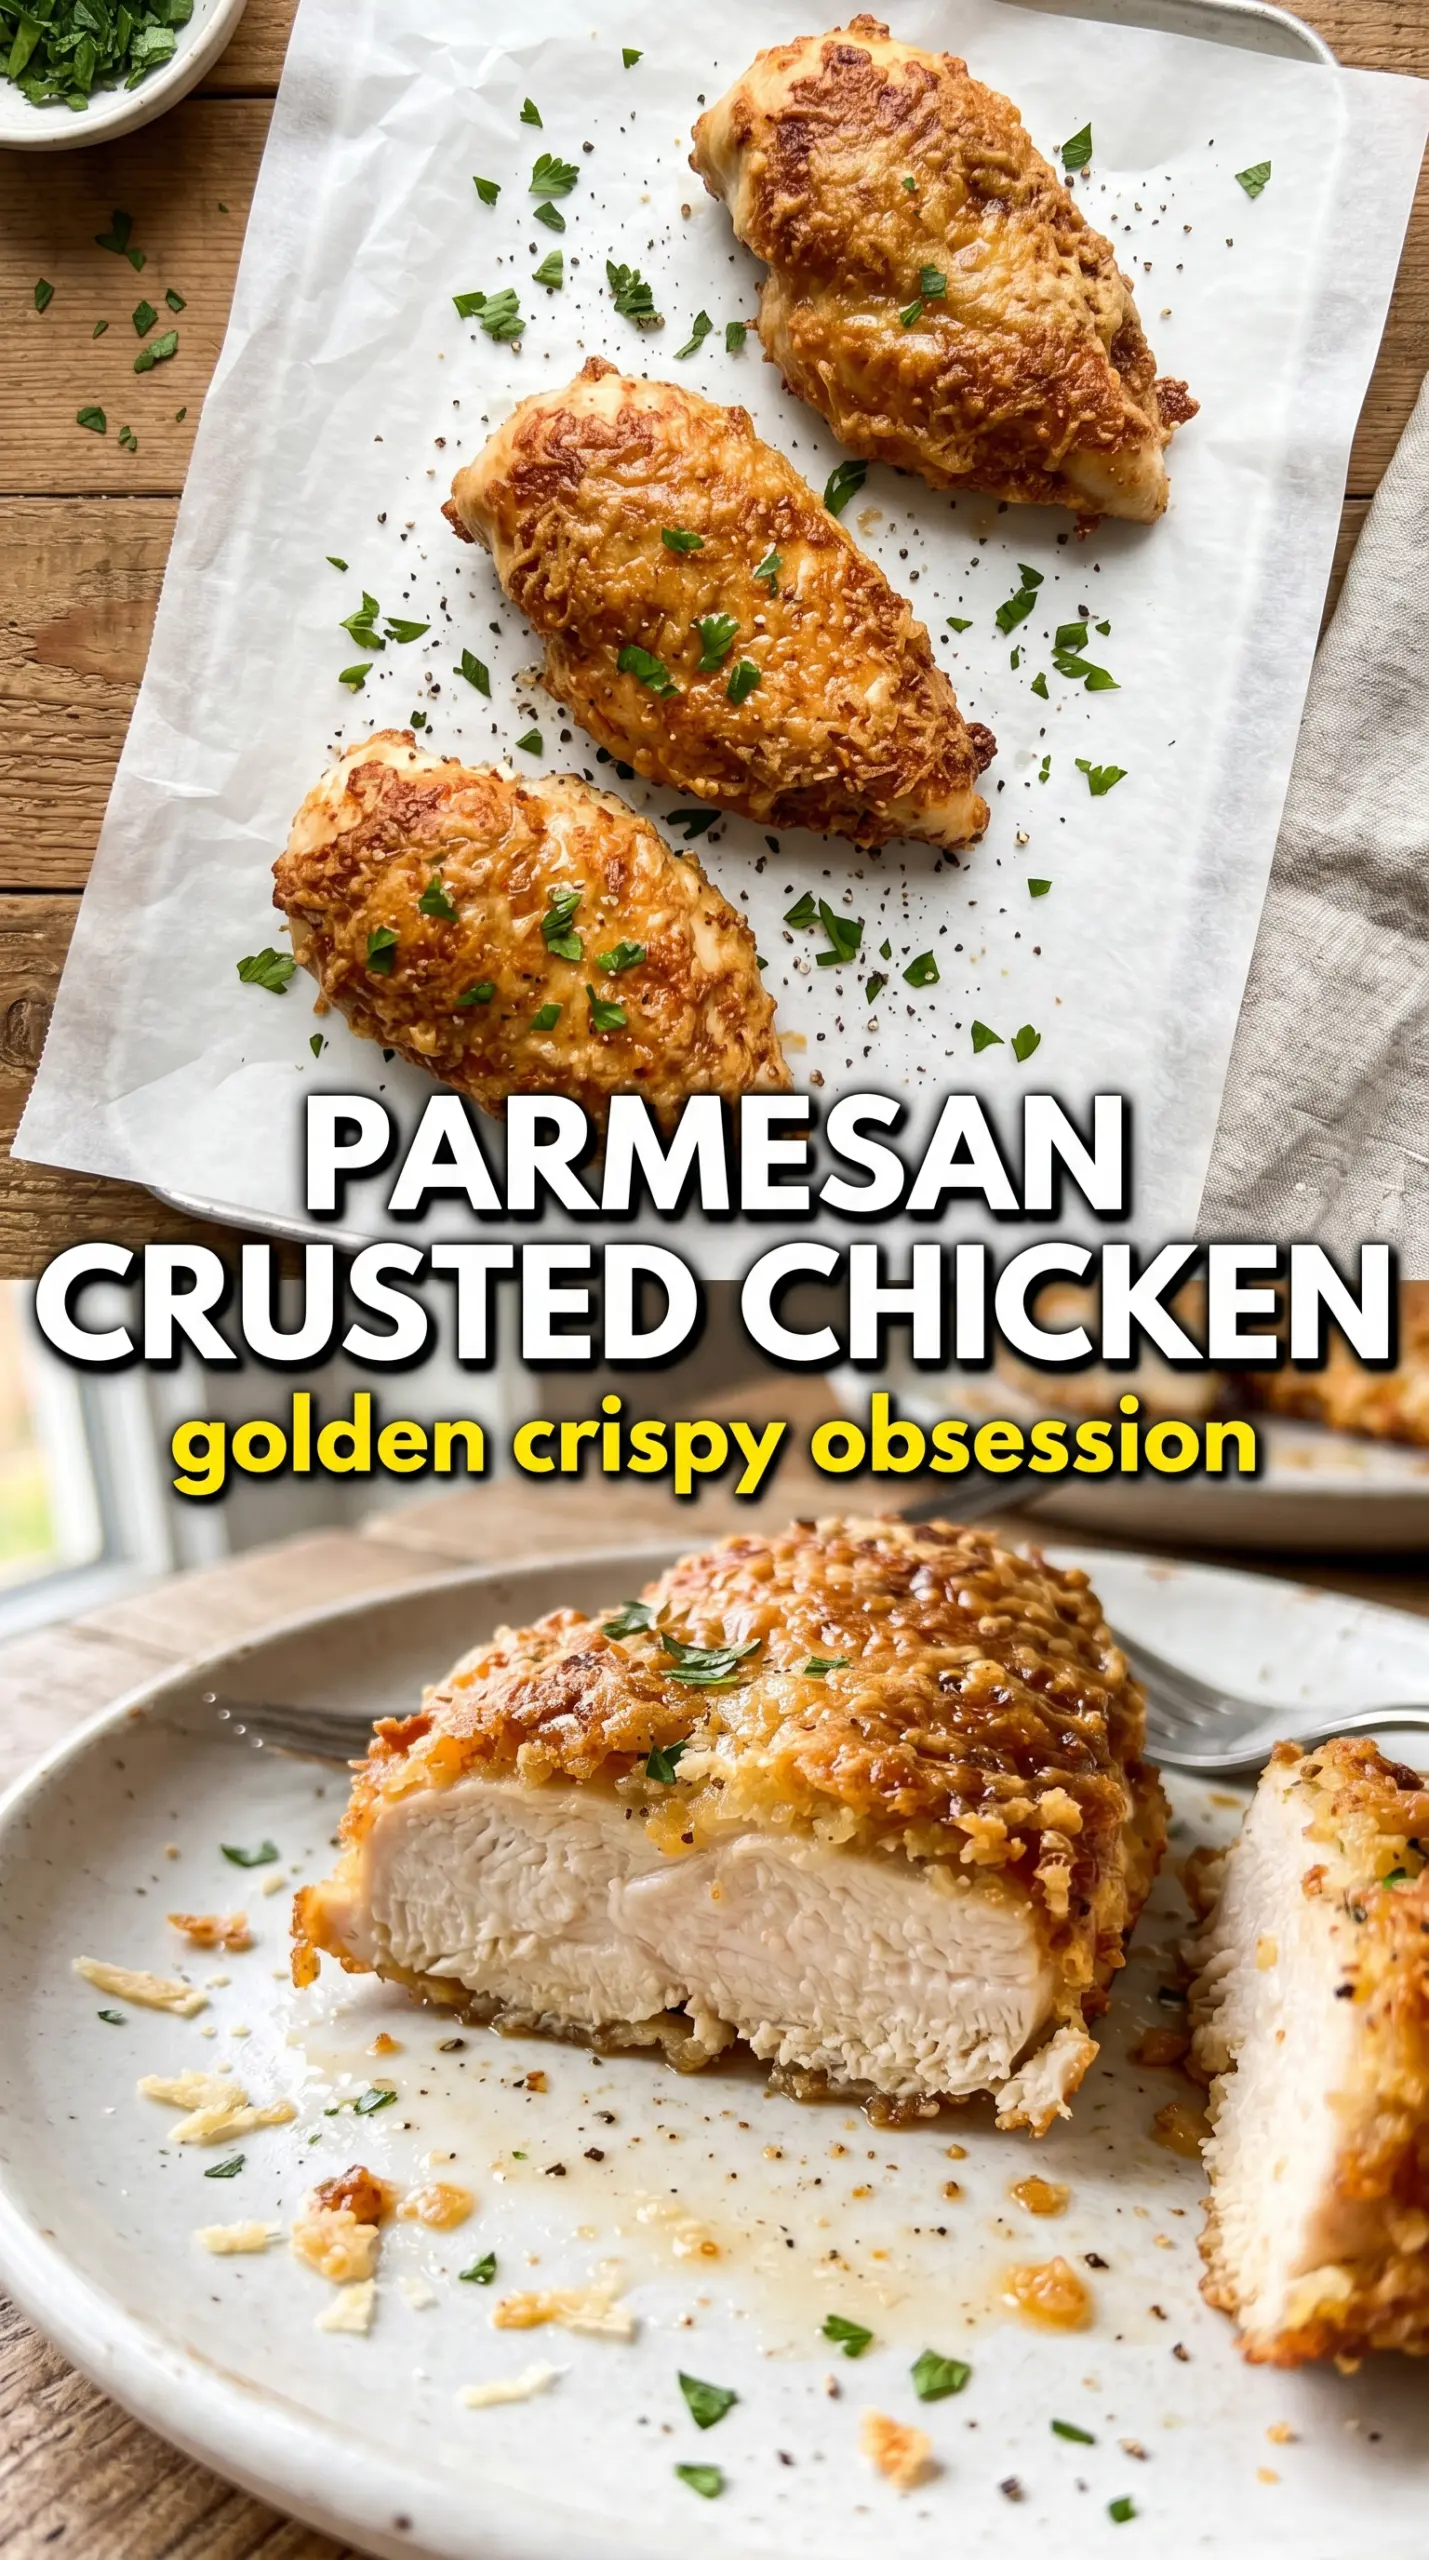
This version works because the breading has structure. Flour gives the egg something to grab, the egg acts like glue, and panko keeps the crust light instead of dense. Freshly grated Parmesan matters here because it melts and browns more evenly than the shelf-stable stuff, and a quick hit of olive oil on top helps the crust turn deep golden in the oven instead of drying out.
Below, I’m walking through the part that matters most: how to keep the coating attached, how to get that crackly finish, and what to change if you need to work with what’s already in the kitchen.
The crust stayed crunchy all the way through dinner, and the Parmesan flavor came through without tasting greasy. I followed the wire rack tip and the bottom never went soggy.
Save this Parmesan Crusted Chicken for the nights when you want a crispy baked chicken breast that actually stays crunchy.
The Crust Stays Crisp Because the Chicken Bakes on a Rack
Most breaded chicken softens on the bottom before the center is done. That happens when the coating sits flat against a hot pan and traps steam underneath it. A wire rack changes the whole result because hot air can move around the chicken, so the bottom crisps instead of steaming.
The other part that matters is the chicken thickness. If one end is much thicker than the other, the thin side dries out before the thick side reaches 165°F. Pounding the breasts to an even thickness gives you a more even bake and a better crust, since everything finishes at the same time.
- Wire rack: This is what keeps the coating dry and crisp. If you skip it, the underside will brown unevenly and soften faster.
- Panko breadcrumbs: Panko brings the light, jagged crunch. Regular breadcrumbs will work, but the crust comes out tighter and less airy.
- Freshly grated Parmesan: Use the fine side of a grater so it blends into the panko instead of clumping. Pre-grated cheese often has anti-caking powder, which can make the coating less cohesive.
- Olive oil: A light drizzle or spray helps the crust color in the oven. Too much oil weighs it down, so keep it thin.
What Each Ingredient Is Actually Doing in This Dish
The flour layer gives the chicken a dry surface, which is what lets the egg grip instead of sliding off. That step sounds fussy, but it’s the difference between a crust that clings and one that flakes away after baking. Season the flour lightly too, because it’s the first layer of flavor that actually touches the meat.
The Parmesan and panko do different jobs. Parmesan adds saltiness and that nutty, browned edge, while panko brings the crisp structure. Italian seasoning, garlic powder, and smoked paprika keep the coating from tasting one-note, and the paprika gives the crust a deeper color without making it taste smoky in an obvious way. Lemon at the end is worth keeping — it cuts through the richness and wakes everything up.
- Chicken breasts: Thick pieces are best here because they stay juicy long enough for the crust to brown. If yours are very large, slice them horizontally or pound them to an even thickness before breading.
- Parmesan: Grate it fresh if you can. The texture and melting behavior are better, and it browns more cleanly.
- Panko: This is the ingredient that keeps the crust shattery instead of heavy. If you only have regular breadcrumbs, use them, but expect a denser finish.
- Eggs: Beaten eggs create the tacky layer the crust needs. If the egg washes off into the flour and gets watery, the breading will slide.
The Breading Order That Keeps the Coating on the Chicken
Season the Chicken First
Start by seasoning the chicken directly with salt, pepper, and garlic powder. That keeps the meat itself from tasting plain under the crust. If you only season the breading, every bite tastes salty on the outside and flat in the middle.
Build the Three-Station Dredging Line
Set out flour, beaten eggs, and the panko-Parmesan mixture in separate shallow bowls. Work one piece of chicken at a time so your hands don’t turn the whole setup into a gummy mess. The flour should coat lightly, not mound on the surface, or the breading will look dusty instead of crisp.
Press, Don’t Sprinkle
After the egg dip, press the chicken firmly into the Parmesan panko so it sticks on all sides. This is where most people go wrong: they pat the coating on loosely and then wonder why it falls off. A little pressure helps the cheese and crumbs lock into the egg layer before the chicken goes into the oven.
Bake Until the Crust Is Deep Gold
Set the breaded chicken on the prepared rack, then drizzle or spray the top with olive oil. Bake at 425°F until the crust is deep golden and the thickest part of the chicken hits 165°F. If the crust is browning too slowly, keep baking; if it’s darkening too fast, the chicken may need a few extra minutes at a slightly lower rack position, but don’t pull it early or the center will still be undercooked.
Make It Gluten-Free With One Smart Swap
Use a 1:1 gluten-free flour blend for the first dredge and gluten-free panko for the crust. The texture stays crisp, though the crumbs can be a little more delicate, so press them on well and handle the chicken gently when moving it to the rack.
Skip the Dairy Without Losing the Crunch
You can swap in a dairy-free Parmesan-style topping, but the flavor will be less sharp and less nutty. If you go this route, add a pinch more salt and a little extra garlic powder to keep the crust from tasting muted.
Turn It Into Cutlets for Faster Cooking
Slice the breasts into thinner cutlets before breading if you want a quicker bake and more crust per bite. The tradeoff is less juicy center, so watch the oven closely and start checking early; thin cutlets can overcook in just a few minutes.
Storage and Reheating
- Refrigerator: Store leftovers in an airtight container for up to 3 days. The crust softens a bit, but it still eats well.
- Freezer: Freeze after baking if needed, wrapped tightly and then sealed in a freezer bag. The coating won’t stay quite as crisp after thawing, but it’s still usable for a quick meal.
- Reheating: Reheat on a wire rack in a 375°F oven until hot. The biggest mistake is microwaving, which turns the crust soggy before the chicken is warmed through.
Answers to the Questions Worth Asking
Parmesan Crusted Chicken
Ingredients
Equipment
Method
- Preheat oven to 425°F and line a baking sheet with a wire rack; spray with cooking spray to prevent sticking.
- Pound the chicken breasts to even thickness so they cook through at the same rate.
- Season chicken with salt, pepper, and garlic powder; keep the seasoning even across the surface.
- Mix the panko, Parmesan, Italian seasoning, garlic powder, and smoked paprika in a third station so every bite has the flavor blend.
- Prepare three stations: flour for dredging, beaten eggs for adhesion, and the seasoned Parmesan panko for coating.
- Dredge chicken in flour, then dip in egg so the crust can bind firmly.
- Press chicken firmly into the Parmesan panko to coat all sides for a shatter-crisp crust.
- Drizzle or spray olive oil over the breaded chicken and place on the prepared rack to promote browning on all sides.
- Bake at 425°F for 20-22 minutes until the crust is deep golden and the internal temperature reaches 165°F.
- Rest chicken for 3 minutes so juices settle and the crust stays crisp.
- Garnish with fresh parsley and serve with lemon wedges for brightness alongside the baked crust.