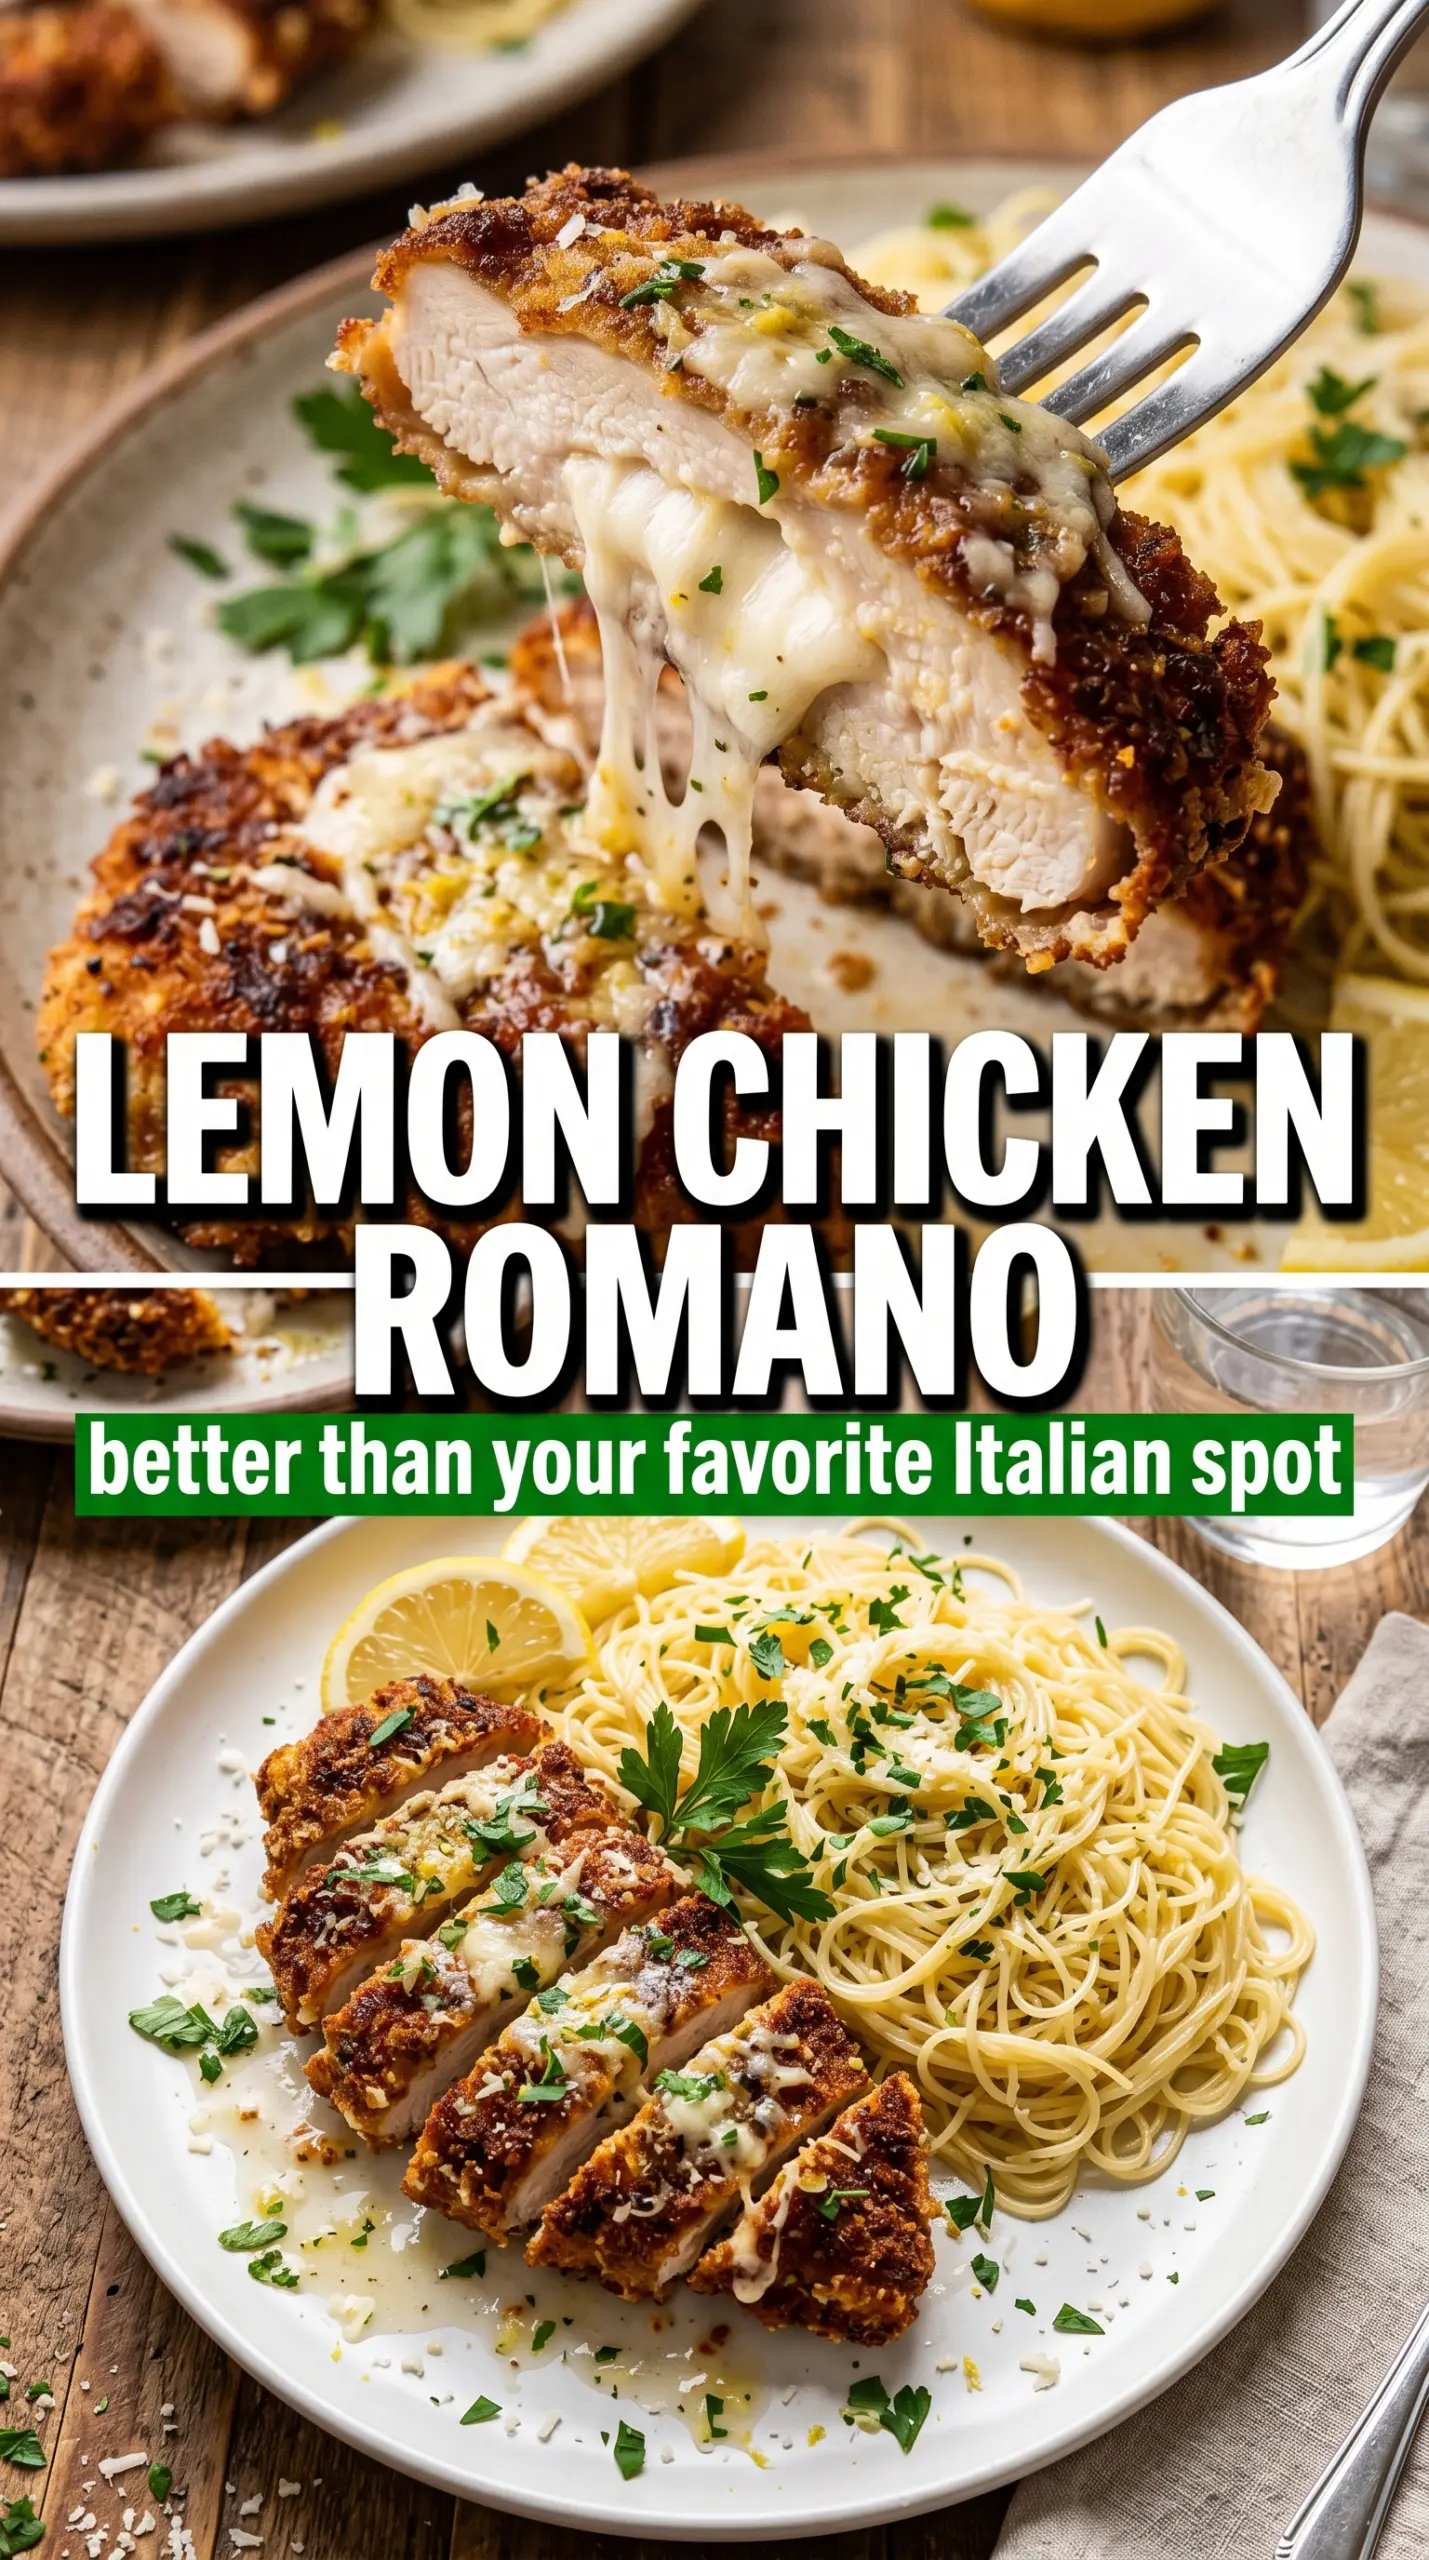
Thin chicken cutlets with a crisp Romano crust and a bright lemon butter sauce earn their place on the table fast. The coating stays shattery instead of bready, the sauce clings to every ridge of the crust, and the capers cut through the richness just enough to keep each bite lively.
What makes this version work is the balance between the breading and the pan sauce. Pecorino Romano brings salt and sharpness, while panko keeps the crust light enough to brown properly without turning heavy. The cutlets are thin on purpose, which means they cook through before the cheese coating has a chance to burn.
Below you’ll find the little details that matter here: how to keep the crust from sliding off, when to pull the chicken from the pan, and how to finish the sauce so it turns glossy instead of greasy. Those are the differences between a decent chicken dinner and one you’ll want to make again next week.
The Romano crust stayed crisp even after I spooned the lemon-caper sauce over it, and the chicken cooked through in the time listed. My husband kept saying the sauce tasted like something from a restaurant.
Crave that crisp Romano crust and glossy lemon-caper sauce? Save Lemon Chicken Romano for your next easy Italian dinner.
The Trick to Keeping the Romano Crust Crisp Under Sauce
The biggest mistake with chicken Romano is letting the coating turn soft before it ever reaches the plate. That usually happens when the chicken is too thick, the pan isn’t hot enough, or the sauce gets poured on too early. Thin cutlets fix the first problem. A properly heated pan fixes the second. Waiting until the very end to sauce the chicken fixes the third.
The breading here also needs a firm press into the Romano-panko mix. Romano cheese gives you flavor, but it doesn’t behave like plain breadcrumbs. It browns faster and can shed if the chicken is handled too much in the pan. Once it hits the oil, leave it alone until the underside is deeply golden and releases on its own.
- Pecorino Romano — This is the sharp, salty backbone of the crust. Finely grate it so it blends evenly with the panko and melts into a tight, lacy coating instead of clumping.
- Panko breadcrumbs — Panko keeps the crust lighter and crunchier than regular breadcrumbs. If you only have regular breadcrumbs, use them, but expect a denser finish.
- Chicken breasts — Halving them into thin cutlets is not optional here. Thin pieces cook quickly and stay juicy while the coating browns instead of burns.
- Dry white wine — This lifts the browned bits from the pan and gives the sauce depth. Use something you’d drink, not a sweet wine, because sweetness can make the sauce flat.
What Each Ingredient Is Doing in the Pan
- Flour — The flour layer gives the egg something to grab onto, which helps the Romano coating stay put. Shake off the excess or you’ll get a pasty layer instead of a crisp crust.
- Egg — Egg is the glue. Beat it until it’s completely uniform so every cutlet picks up an even coating.
- Olive oil and butter — The oil keeps the butter from scorching while still giving the crust good browning. The first two tablespoons of butter help fry the cutlets; the last two are for finishing the sauce, where their cold temperature helps it emulsify.
- Garlic, lemon juice, and capers — These are the bright, salty finish that makes the whole dish taste balanced. Garlic needs only a brief cook or it turns bitter, and the lemon goes in after the wine so the sauce stays sharp instead of harsh.
Cooking the Cutlets So the Crust Stays Put
Set Up a Dry, Even Breading Station
Line up the flour, beaten eggs, and Romano-panko mixture before the chicken goes anywhere near the pan. Season the cutlets first so the seasoning lands directly on the meat, not just in the coating. If the cutlets are wet, pat them dry; extra moisture is the fastest way to end up with a patchy crust. Press the cheese mixture onto each piece with real pressure so the coating looks almost packed on.
Fry Until the Crust Releases Cleanly
Heat the oil and butter over medium-high until the butter foams and the pan feels hot enough that the chicken sizzles immediately. Lay the cutlets in and don’t crowd them, or the pan will drop in temperature and the coating will steam. After 3 to 4 minutes, peek at the edge; if it’s deeply golden and the cutlet lifts without sticking, flip it. The second side should brown just as fast.
Build the Lemon Butter Sauce in the Same Pan
Keep the browned bits in the skillet. That’s the flavor. Add the garlic for about 30 seconds, just until fragrant, then pour in the wine and scrape the bottom clean. Let it simmer before the lemon juice and capers go in. Finish with cold butter off the heat or over very low heat so the sauce turns glossy instead of breaking into an oily layer.
How to Adapt Lemon Chicken Romano Without Losing the Point
Gluten-Free Version
Swap the all-purpose flour for a light gluten-free flour blend and use gluten-free panko. The texture stays crisp, but the coating can be a little more delicate, so press it on firmly and leave the chicken alone in the pan until it’s ready to flip.
No Wine, Still Good Sauce
Use low-sodium chicken broth instead of wine if that’s what you have. The sauce will be a little softer and less sharp, so let it reduce a touch longer before adding the butter. That extra simmer keeps it from tasting thin.
Make It a Little Lighter
You can pan-fry with a little less butter and lean on the olive oil for the crust. The chicken will still brown well, but the sauce won’t taste quite as rich. If you go this route, keep the lemon juice and capers in place so the dish still feels bright and balanced.
Storage and Reheating
- Refrigerator: Store the chicken and sauce separately for up to 3 days. The crust will soften once chilled, but the flavor stays strong.
- Freezer: The cooked cutlets freeze better than the sauced dish. Wrap them tightly and freeze for up to 2 months; freeze the sauce separately only if you don’t mind a slightly less silky texture after thawing.
- Reheating: Reheat the chicken on a rack in a 375°F oven until hot, then warm the sauce in a small pan and spoon it over just before serving. The common mistake is microwaving everything together, which turns the crust soggy and can make the sauce split.
Questions I Get Asked About This Recipe

Lemon Chicken Romano
Ingredients
Equipment
Method
- Season the chicken cutlets with salt and pepper to taste, then arrange a breading station with flour, beaten egg, and the Romano cheese mixed with panko.
- Dredge each cutlet in flour, dip into egg, and press firmly into the Romano coating so it adheres.
- Heat the olive oil and 2 tablespoons butter in a cast iron skillet over medium-high heat until shimmering, then pan-fry the cutlets for 3-4 minutes per side until deeply golden.
- Transfer the cutlets to a plate while you make the sauce in the same pan.
- In the same pan, cook the minced garlic for 30 seconds, then deglaze with the dry white wine.
- Stir in the fresh lemon juice and capers, then simmer for 3 minutes.
- Swirl in the remaining 2 tablespoons cold butter until the sauce is glossy.
- Plate the cutlets and pour the lemon-caper butter sauce over each one, then garnish with fresh parsley.