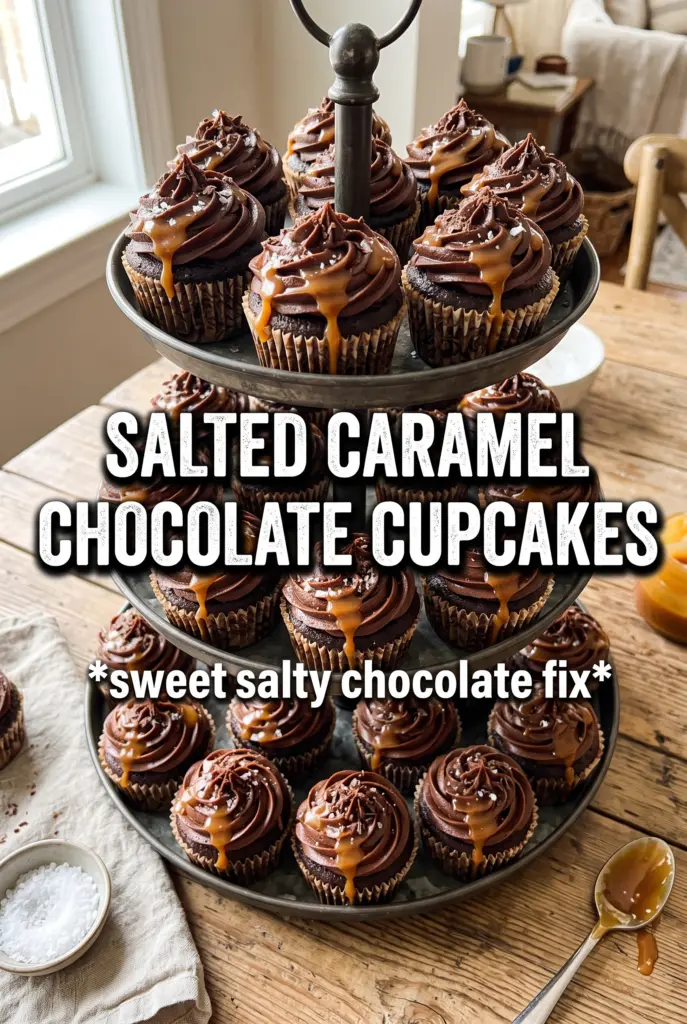
These salted caramel chocolate cupcakes hit the sweet spot between rich and balanced: tender cocoa cake, a sticky caramel center, and a frosting that stays fluffy instead of turning greasy or dense. The first bite gives you chocolate, then caramel, then that little pop of salt on top that keeps the whole thing from tasting flat.
What makes this version work is the way the batter stays simple and sturdy enough to hold a filling without collapsing. Buttermilk keeps the crumb soft, while the cocoa powder gives the cupcakes a deep chocolate base that stands up to the caramel instead of disappearing under it. The frosting uses both cocoa and caramel sauce, which gives it a layered taste instead of making the caramel feel like an afterthought.
Below, I’ll walk through the part that matters most: how to core and fill the cupcakes without tearing them apart, how to keep the frosting smooth, and the small tweaks that help these bake up neatly every time.
The caramel center stayed thick instead of soaking into the cake, and the frosting piped beautifully after just a minute on low speed. My coworkers kept asking if I bought them from a bakery.
Save these salted caramel chocolate cupcakes for the day you want a dark chocolate cake, a gooey caramel center, and a dramatic sea salt finish.
The Trick to Keeping the Caramel in the Middle
The most common failure with filled cupcakes is a thin batter that can’t hold the filling, or a cupcake that’s still warm when you add the caramel and turns the whole center into a mess. This batter is thick enough to bake into a neat crumb, which means it can be cored without crumbling apart. Cooling the cupcakes all the way matters just as much. Warm cake softens the caramel and makes it sink instead of sitting in that clean little pocket you want.
The other part that matters is restraint. Don’t overfill the cupcakes before baking, and don’t carve out half the cupcake when you core them. A small, deep cavity gives you enough room for caramel without making the top collapse. That keeps the cupcakes looking bakery-style instead of patched together.
What Each Ingredient Is Actually Doing in This Cupcake
- All-purpose flour — This gives the cupcakes enough structure to hold the caramel center. Cake flour will make them a little softer, but it can also make them fragile when you core them.
- Cocoa powder — Use a good unsweetened cocoa if you can. It’s the backbone of the chocolate flavor, and the stronger the cocoa, the less likely the caramel will taste like it’s sitting on top of a bland cake.
- Butter and sugar — Beating these until fluffy traps air and gives the cupcakes lift before the baking powder and baking soda finish the job. If you rush this step, the crumb will be tighter and heavier.
- Buttermilk — This keeps the cake soft and gives the cocoa a little tang. If you don’t have it, mix 1 cup milk with 1 tablespoon lemon juice or vinegar and let it sit for 5 minutes.
- Thick caramel sauce — Thicker caramel stays put in the center instead of soaking into the cake. Thin sauce tastes fine, but it tends to disappear into the crumb.
- Flaky salt — Use the flaky kind on top. Fine salt blends in too much and misses the point of that last salty crunch.
Building the Cupcakes Without Losing the Crumb
Mix the Base Until It’s Light, Not Puffy
Start by whisking the dry ingredients together so the cocoa and leaveners are evenly distributed. Beat the butter and sugar until it looks pale and fluffy, then add the eggs one at a time with the vanilla. When you alternate the flour mixture with the buttermilk, stop as soon as the batter turns smooth. Overmixing after the flour goes in is what makes chocolate cupcakes tough instead of tender.
Bake Just Until the Centers Set
Fill the liners about two-thirds full and bake at 350°F until the tops spring back lightly and a toothpick comes out with a few moist crumbs, about 18 to 20 minutes. If the cupcakes dome too sharply or crack hard across the top, they’re likely baking a little too long. Pull them before they dry out; the caramel filling adds sweetness, but it won’t save a dry cupcake.
Core, Fill, and Finish Cleanly
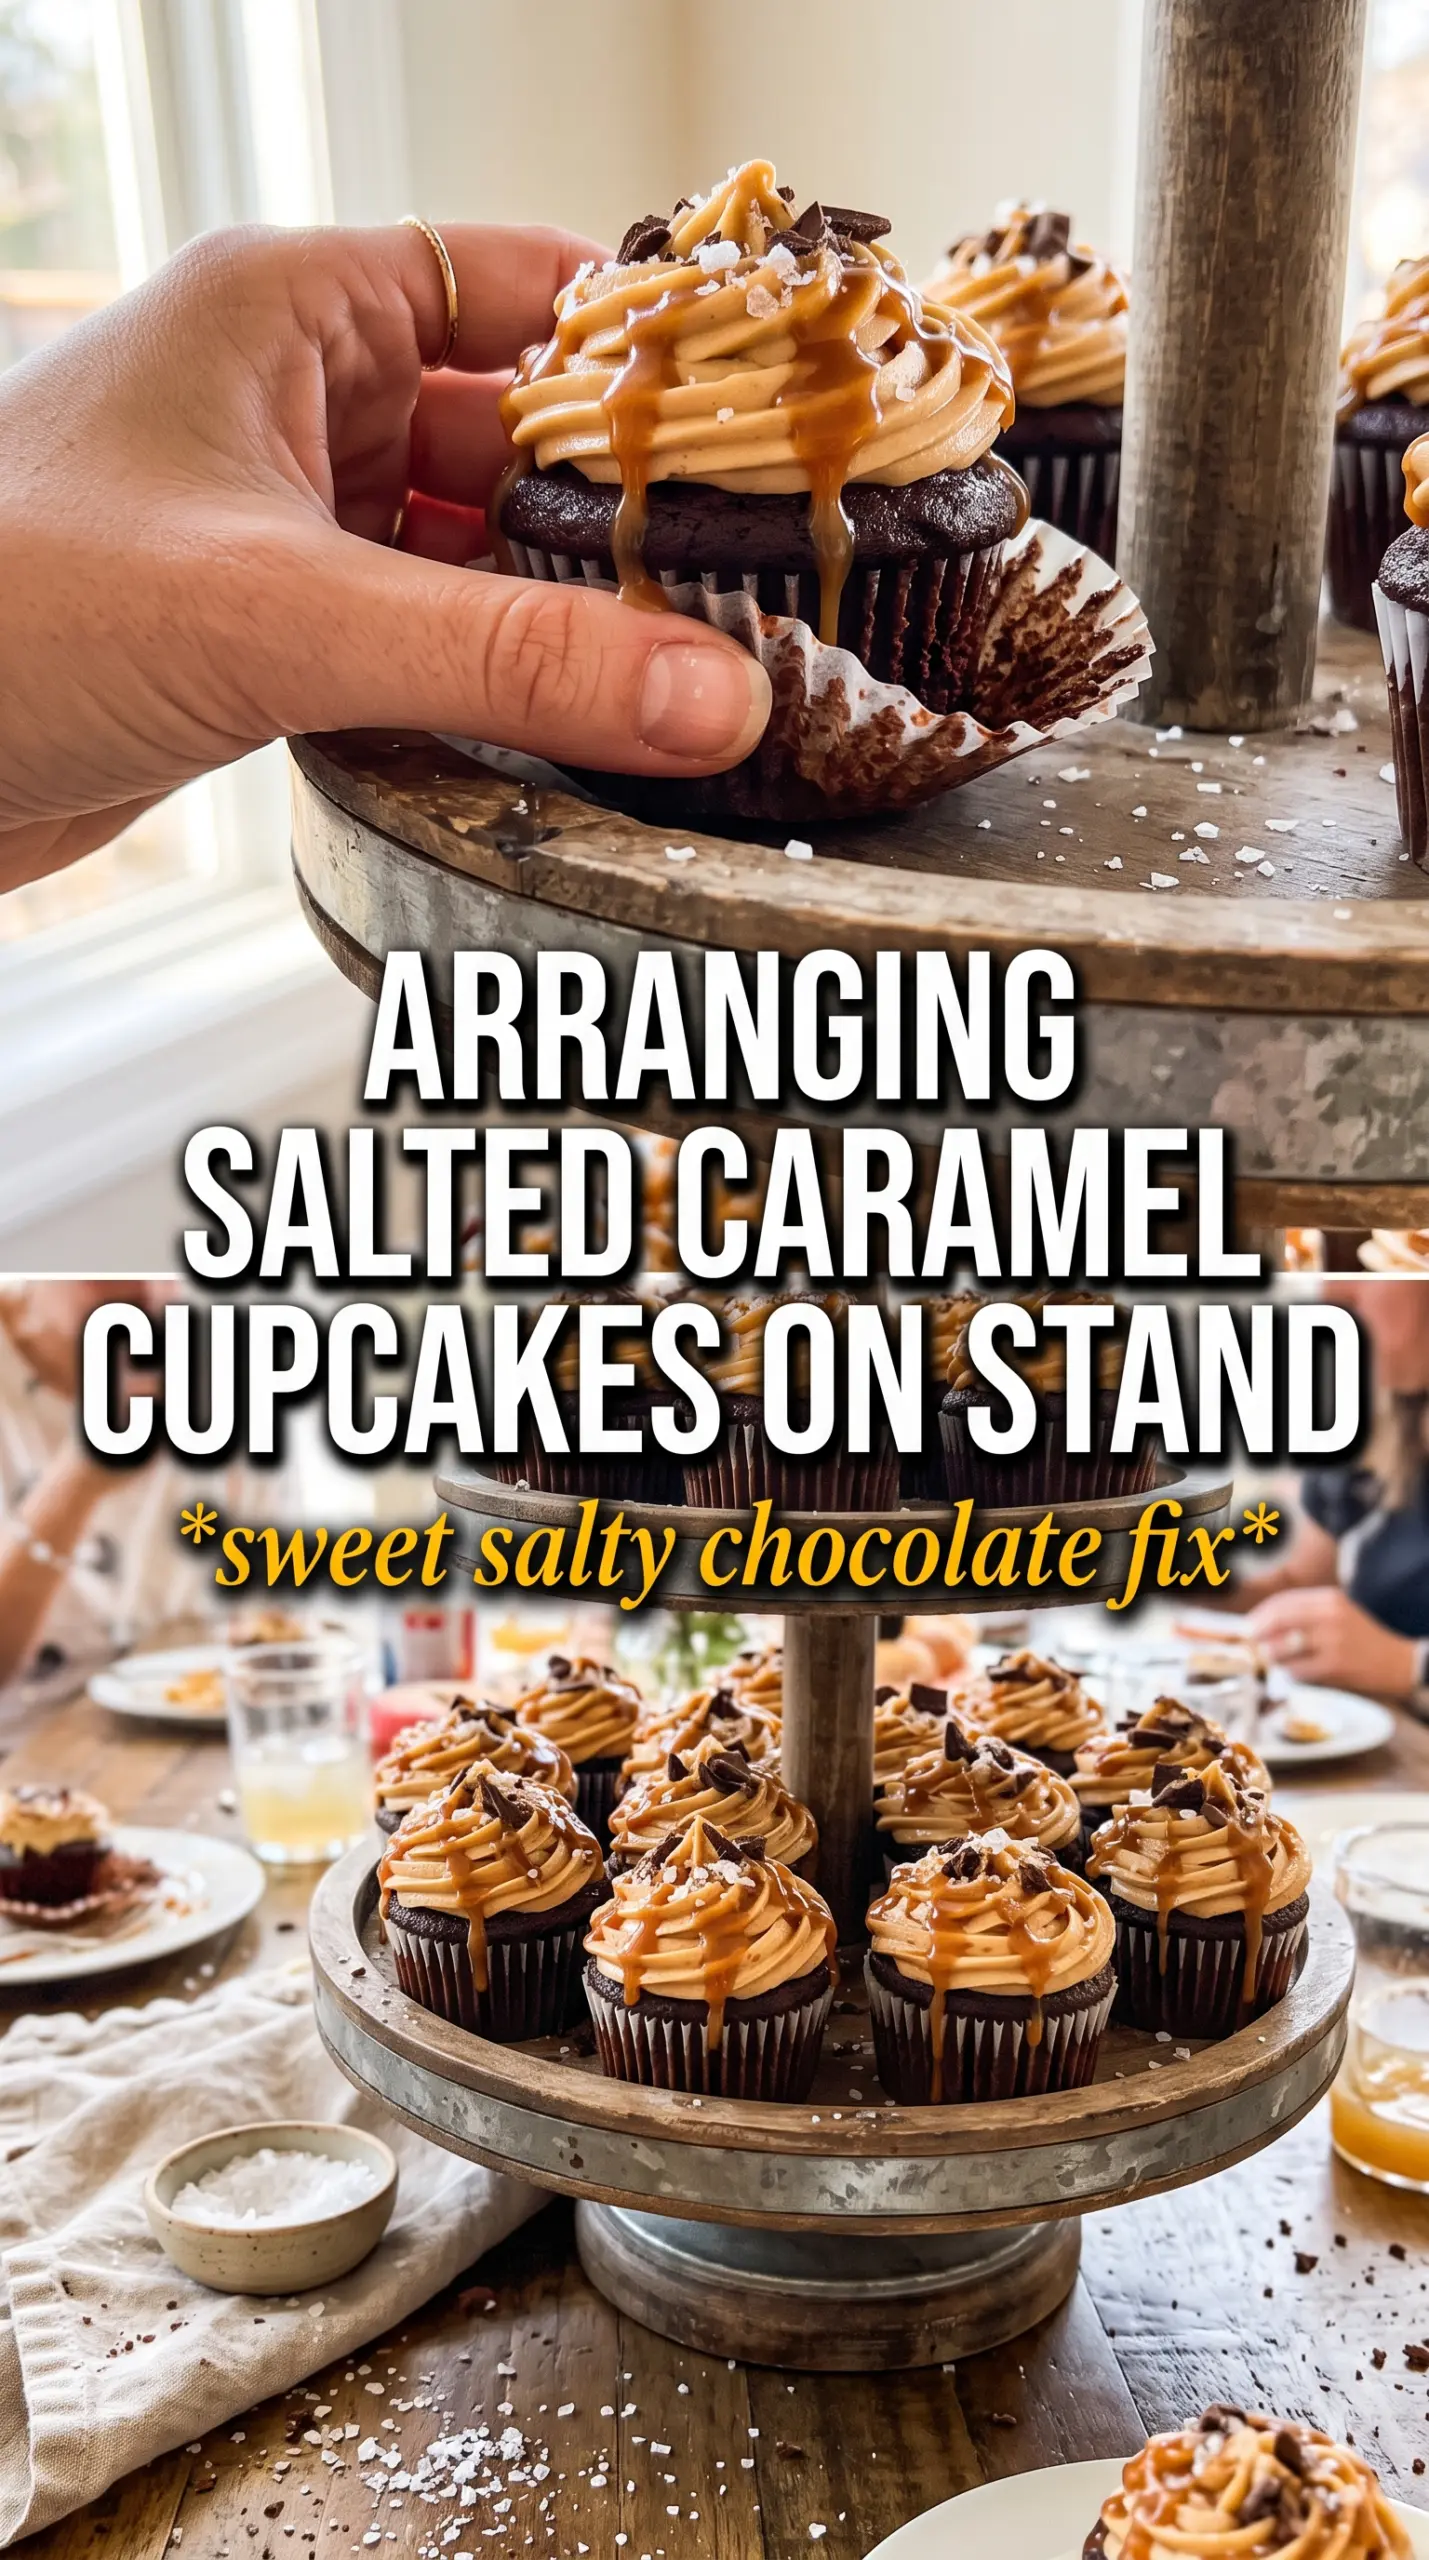
Cool the cupcakes completely before you cut into them. Use a small knife or cupcake corer to remove a center plug, then spoon or pipe in the caramel sauce until the cavity is full but not overflowing. Beat the frosting until smooth and pipe it on top once the cupcakes are cool; if the frosting looks grainy, it usually means the caramel was too thick or the butter was too cold. Finish with a drizzle of caramel and a light sprinkle of flaky salt.
Three Ways to Adjust These Without Losing the Point
Dairy-Free Version
Use a plant-based butter for both the cupcakes and frosting, and swap the buttermilk for a dairy-free milk mixed with 1 tablespoon lemon juice. The texture will stay soft, but the frosting may need a touch more powdered sugar to hold its shape.
Extra-Salty Finish
If you like the salt to stand out more, add one small pinch of flaky salt to the caramel filling as well as the top. Keep it light. Too much salt in the filling can make the cupcakes taste sharp instead of balanced.
Make-Ahead Storage
Bake the cupcakes a day ahead and store them unfrosted, then fill and frost them the day you plan to serve them. That keeps the caramel center from soaking into the crumb and keeps the frosting looking fresh.
Storage and Reheating
- Refrigerator: Store frosted cupcakes in an airtight container for up to 4 days. The frosting stays fine, but the cake is best within the first 2 days.
- Freezer: Freeze the unfrosted cupcakes for up to 2 months. Wrap them tightly and thaw at room temperature before filling and frosting.
- Reheating: These aren’t meant to be reheated once frosted. If you want a softer caramel center, let a chilled cupcake sit at room temperature for 20 to 30 minutes before serving.