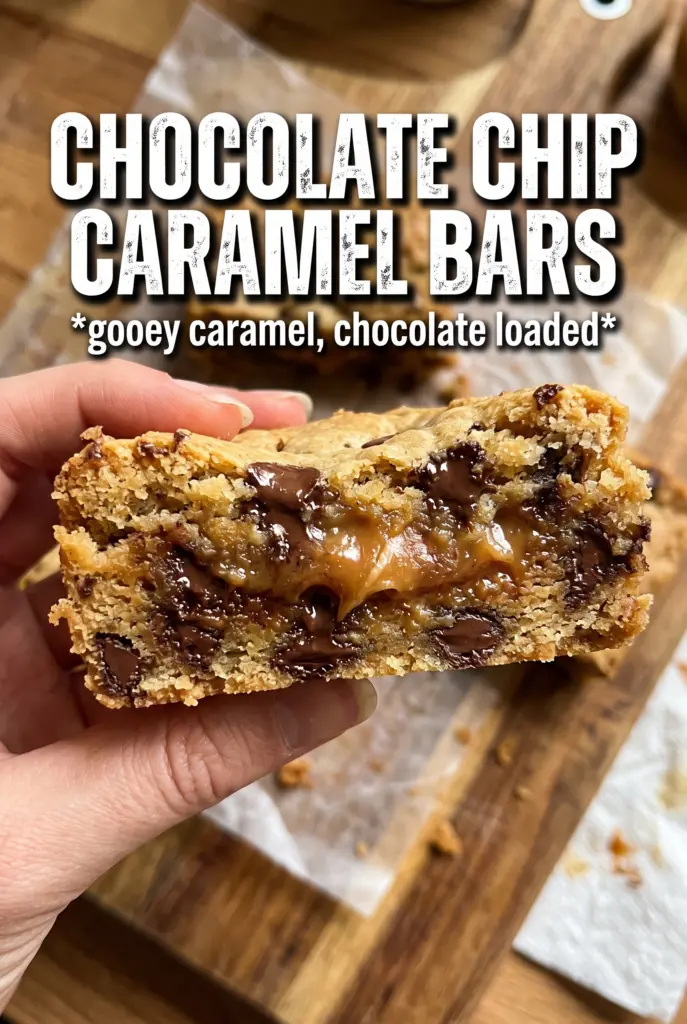
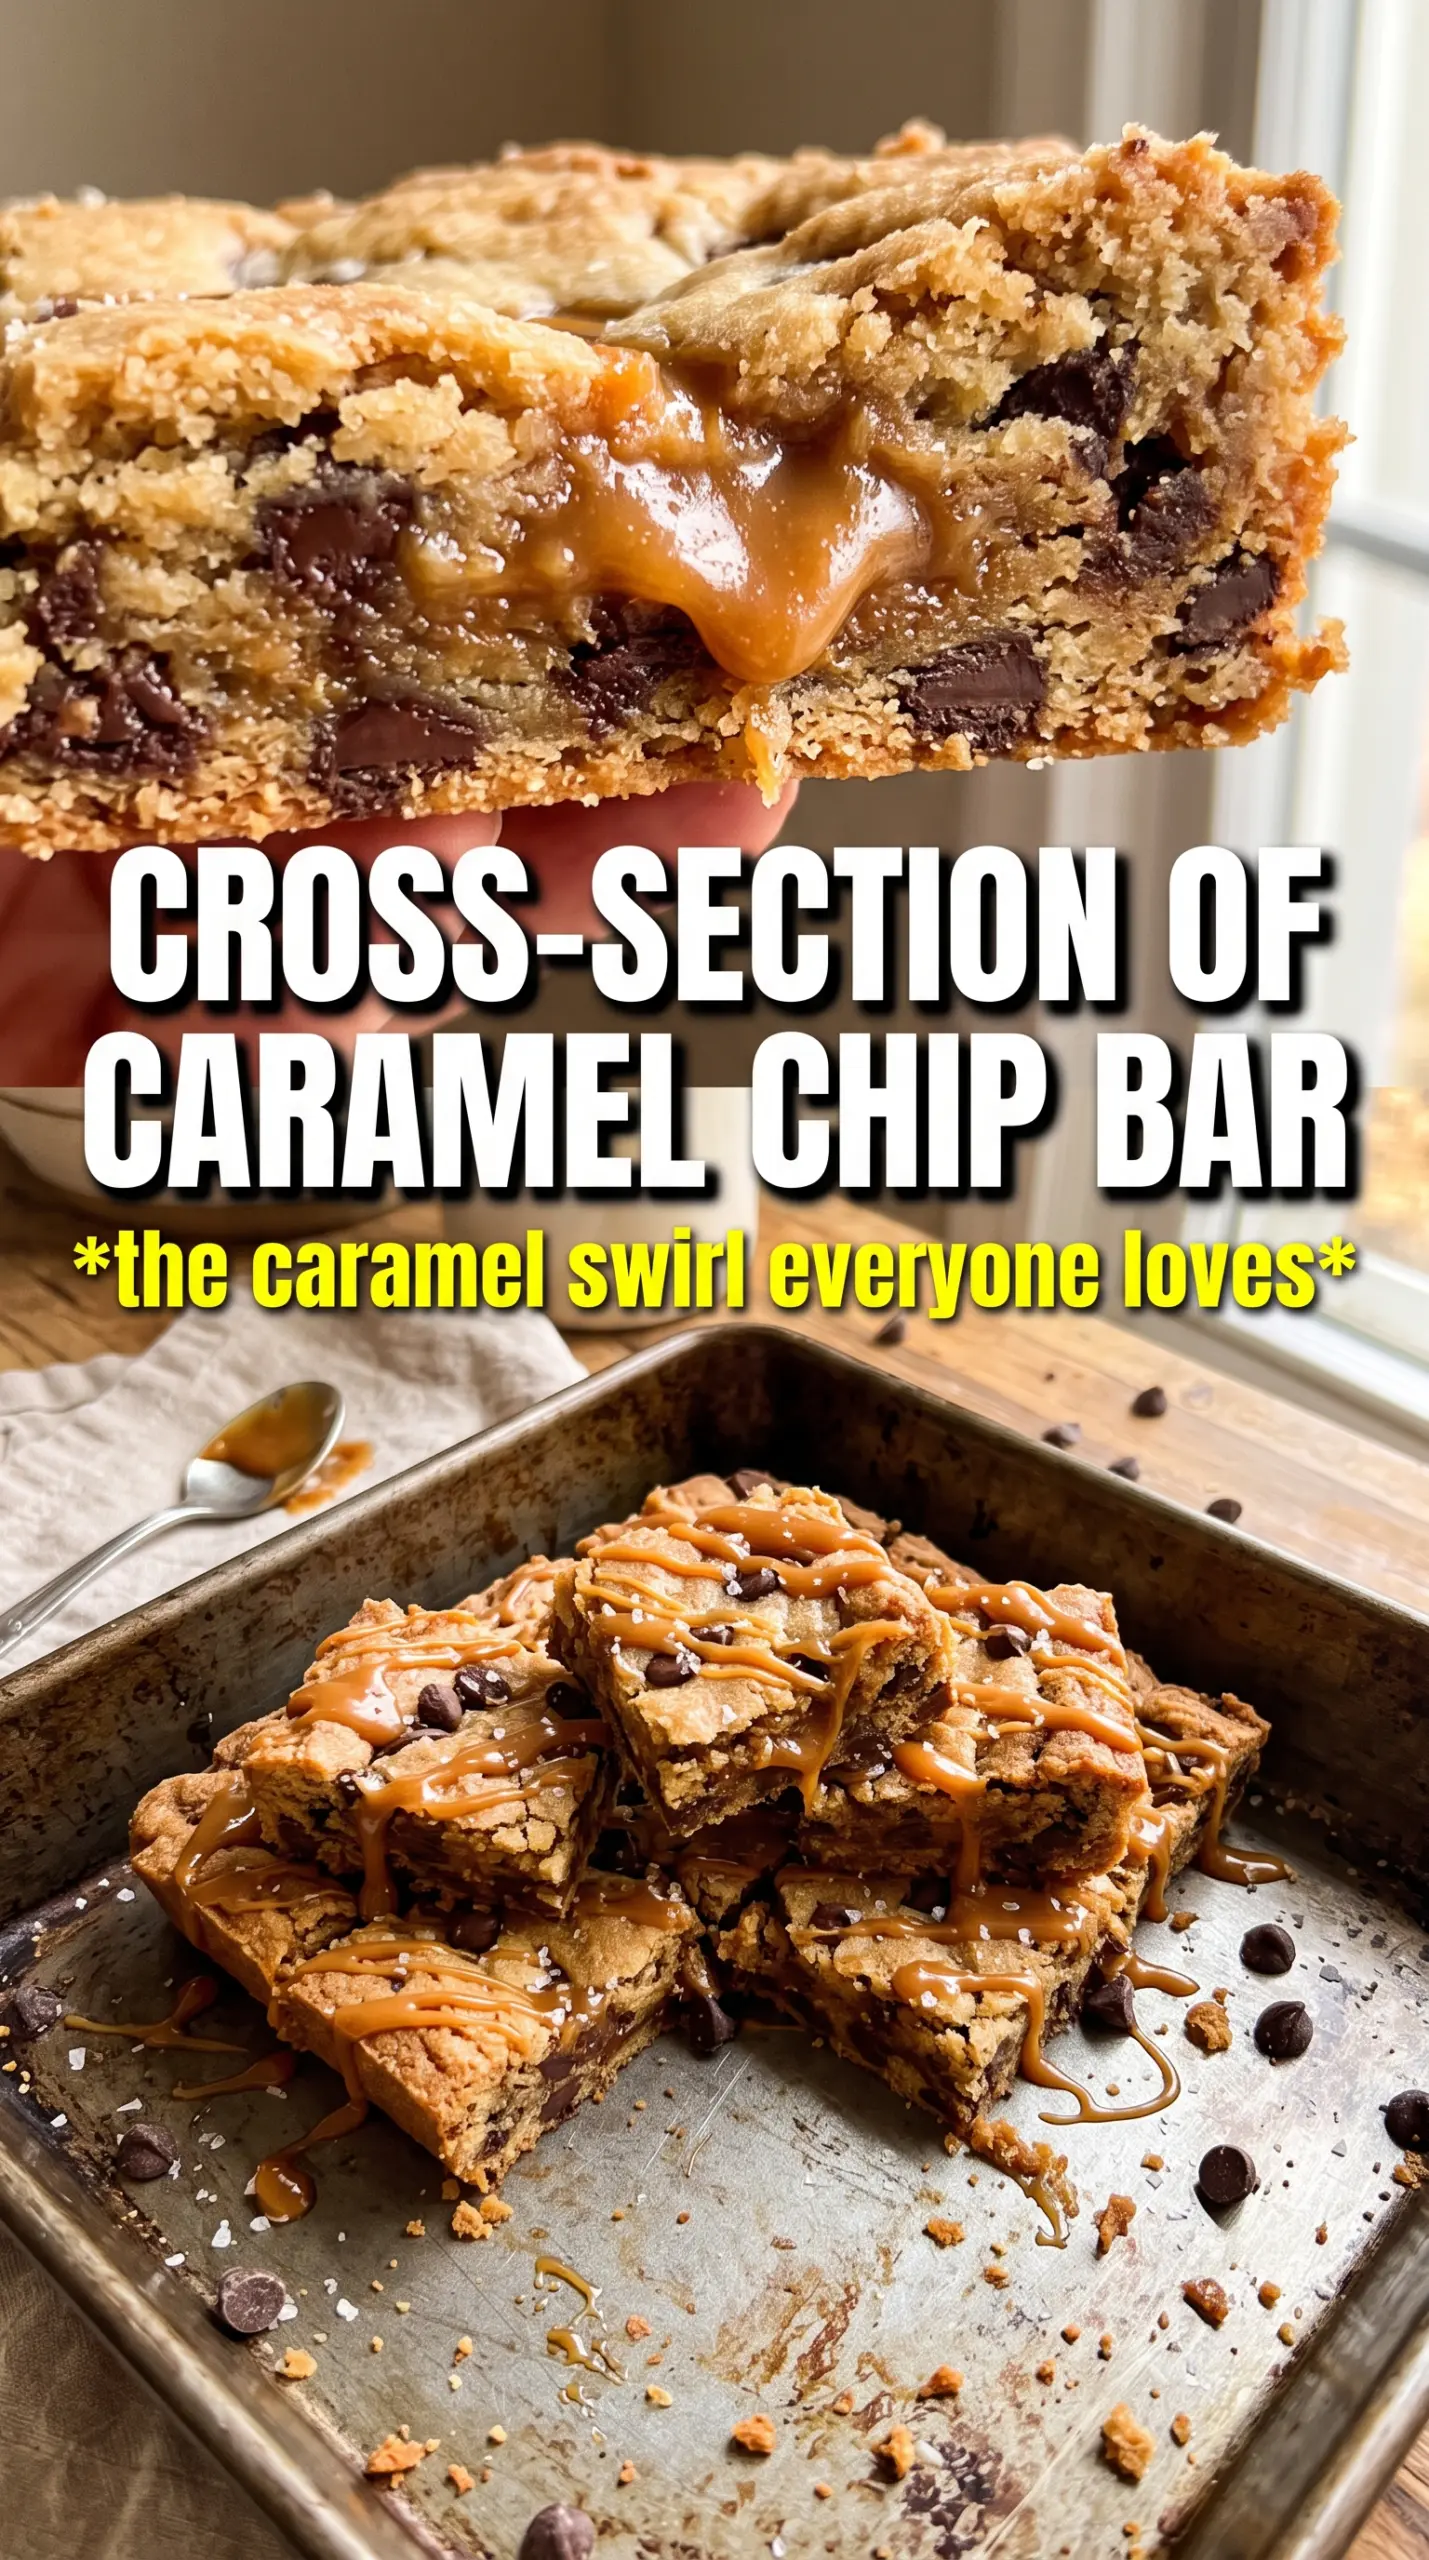
Chocolate chip caramel bars hit that sweet spot between chewy, buttery, and gooey that keeps people reaching for “just one more” square. The base bakes up like a soft oatmeal cookie bar, the caramel stays plush in the middle, and the top turns golden with little pockets of melted chocolate and a salty finish that keeps the sweetness in check.
What makes these work is the contrast: part of the dough gets pressed into the pan and baked first so the bars have a sturdy bottom, then the caramel goes on while that base is still hot enough to help it settle into a smooth layer. A little heavy cream loosens the caramel just enough to slice cleanly later without turning runny. The rest of the dough stays crumbled on top, which gives you those uneven, crisped edges and soft centers that make bar desserts worth baking in the first place.
Below you’ll find the details that matter most — how to keep the caramel layer from squeezing out, why these bars need a full cool-down before cutting, and a few easy swaps if you want to lean more chocolatey or make them gluten-free.
The caramel layer stayed soft but didn’t leak everywhere, and the oats gave the bars a chewy texture that held together beautifully once they cooled. My kids kept sneaking slices until the pan was half gone.
Like these chocolate chip caramel bars? Save them to Pinterest for the days when you want a chewy oat bar with a gooey caramel center and a salty chocolate finish.
The Reason These Bars Slice Cleanly Instead of Smearing
The most common failure in caramel bars is impatience. If you cut them while the caramel is still warm, the middle slides, the top crumbles, and you lose that distinct layered look. Baking the base first gives it enough structure to hold the filling, and the extra bake after the caramel goes in sets the topping without drying it out.
The other thing that matters here is thickness. Press the bottom layer firmly and evenly, but don’t compact the top crumble the same way or you’ll end up with a dense lid instead of a soft, craggy topping. The bars need that contrast: a settled base, a gooey center, and a loose, golden top that breaks apart in the oven.
What Each Ingredient Is Actually Doing in This Pan
- Rolled oats — These give the bars their chew and keep the crumb from tasting flat or one-note. Quick oats will work in a pinch, but the texture gets softer and less defined.
- Brown sugar — This is where the deep caramel note starts before the filling even goes in. Packed brown sugar adds moisture, which is part of why the bars stay tender for days.
- Melted butter — Melted butter makes the dough easy to toss together and gives you a more rustic, cookie-bar texture than creamed butter would. If you only have salted butter, cut the added salt back a little.
- Caramel sauce and heavy cream — The cream loosens the caramel just enough to spread into a smooth layer and keeps it from setting into a hard candy sheet. Use a good store-bought sauce if that’s what you have; the important part is that it’s thick enough to stay put after baking.
- Semi-sweet chocolate chips — Semi-sweet keeps the bars from crossing into cloying territory. Milk chocolate melts faster and tastes sweeter, which is fine if that’s what you want, but it makes the bars richer and softer.
The Order That Keeps the Filling Where It Belongs
Building the Oat Dough
Mix the dry ingredients first so the baking soda and salt are evenly distributed, then drizzle in the melted butter and toss until everything looks evenly damp. You want clumpy, sandy dough that holds together when squeezed, not wet paste. If there are dry floury patches, they’ll bake into pale pockets, so keep tossing until the color looks uniform.
Prebaking the Bottom Layer
Press about two-thirds of the mixture firmly into the lined pan and bake it until the edges just start to take on color. This first bake gives the bars a base that can support the caramel without sinking. If the layer is patchy or too thin in the corners, the caramel will find those weak spots and leak through.
Spreading the Caramel
Whisk the caramel with the cream until it loosens and pours smoothly, then spread it over the hot crust right away. That warmth helps the caramel level out without needing to overwork it. If it looks streaky, keep it gentle; aggressive stirring can drag crumbs into the filling and make the center cloudy instead of clean and glossy.
Finishing With Chocolate and Crumble
Scatter the chocolate chips over the caramel, then break the remaining dough over the top in uneven pieces. Don’t try to cover every inch. The open spots are what let the caramel peek through and keep the top from turning into a solid cookie lid. Bake until the crumble is golden and the center looks set at the edges but still a little soft in the middle.
How to Adjust These Bars Without Losing the Gooey Center
Gluten-Free Bars That Still Hold Together
Swap in a good 1:1 gluten-free flour blend and use certified gluten-free oats. The texture will be a little more delicate, but the bars still slice well once fully cooled. Don’t use almond flour alone here; it won’t give the base enough structure.
Dairy-Free Version
Use a plant-based butter that behaves like real butter in baking and swap in coconut cream or a dairy-free caramel sauce. The bars will still be chewy, but the filling may set a little firmer, so let them cool completely before cutting.
Extra Chocolate, Less Caramel
If you want a more chocolate-forward bar, increase the chips by 1/2 cup and spread the caramel a little thinner. You’ll get a slightly less gooey center, but the bars will lean more toward cookie than candy, which is a good trade if you want them less sweet.
Storage and Reheating
- Refrigerator: Store in an airtight container for up to 5 days. The caramel firms up in the fridge, but the bars stay chewy.
- Freezer: These freeze well. Wrap individual bars tightly and freeze for up to 2 months, then thaw in the refrigerator so the caramel doesn’t weep.
- Reheating: Warm a bar in the microwave for 10 to 15 seconds if you want the caramel soft again. Don’t overheat it or the chocolate chips will turn greasy and the filling will start to run.
Questions I Get Asked About These Bars
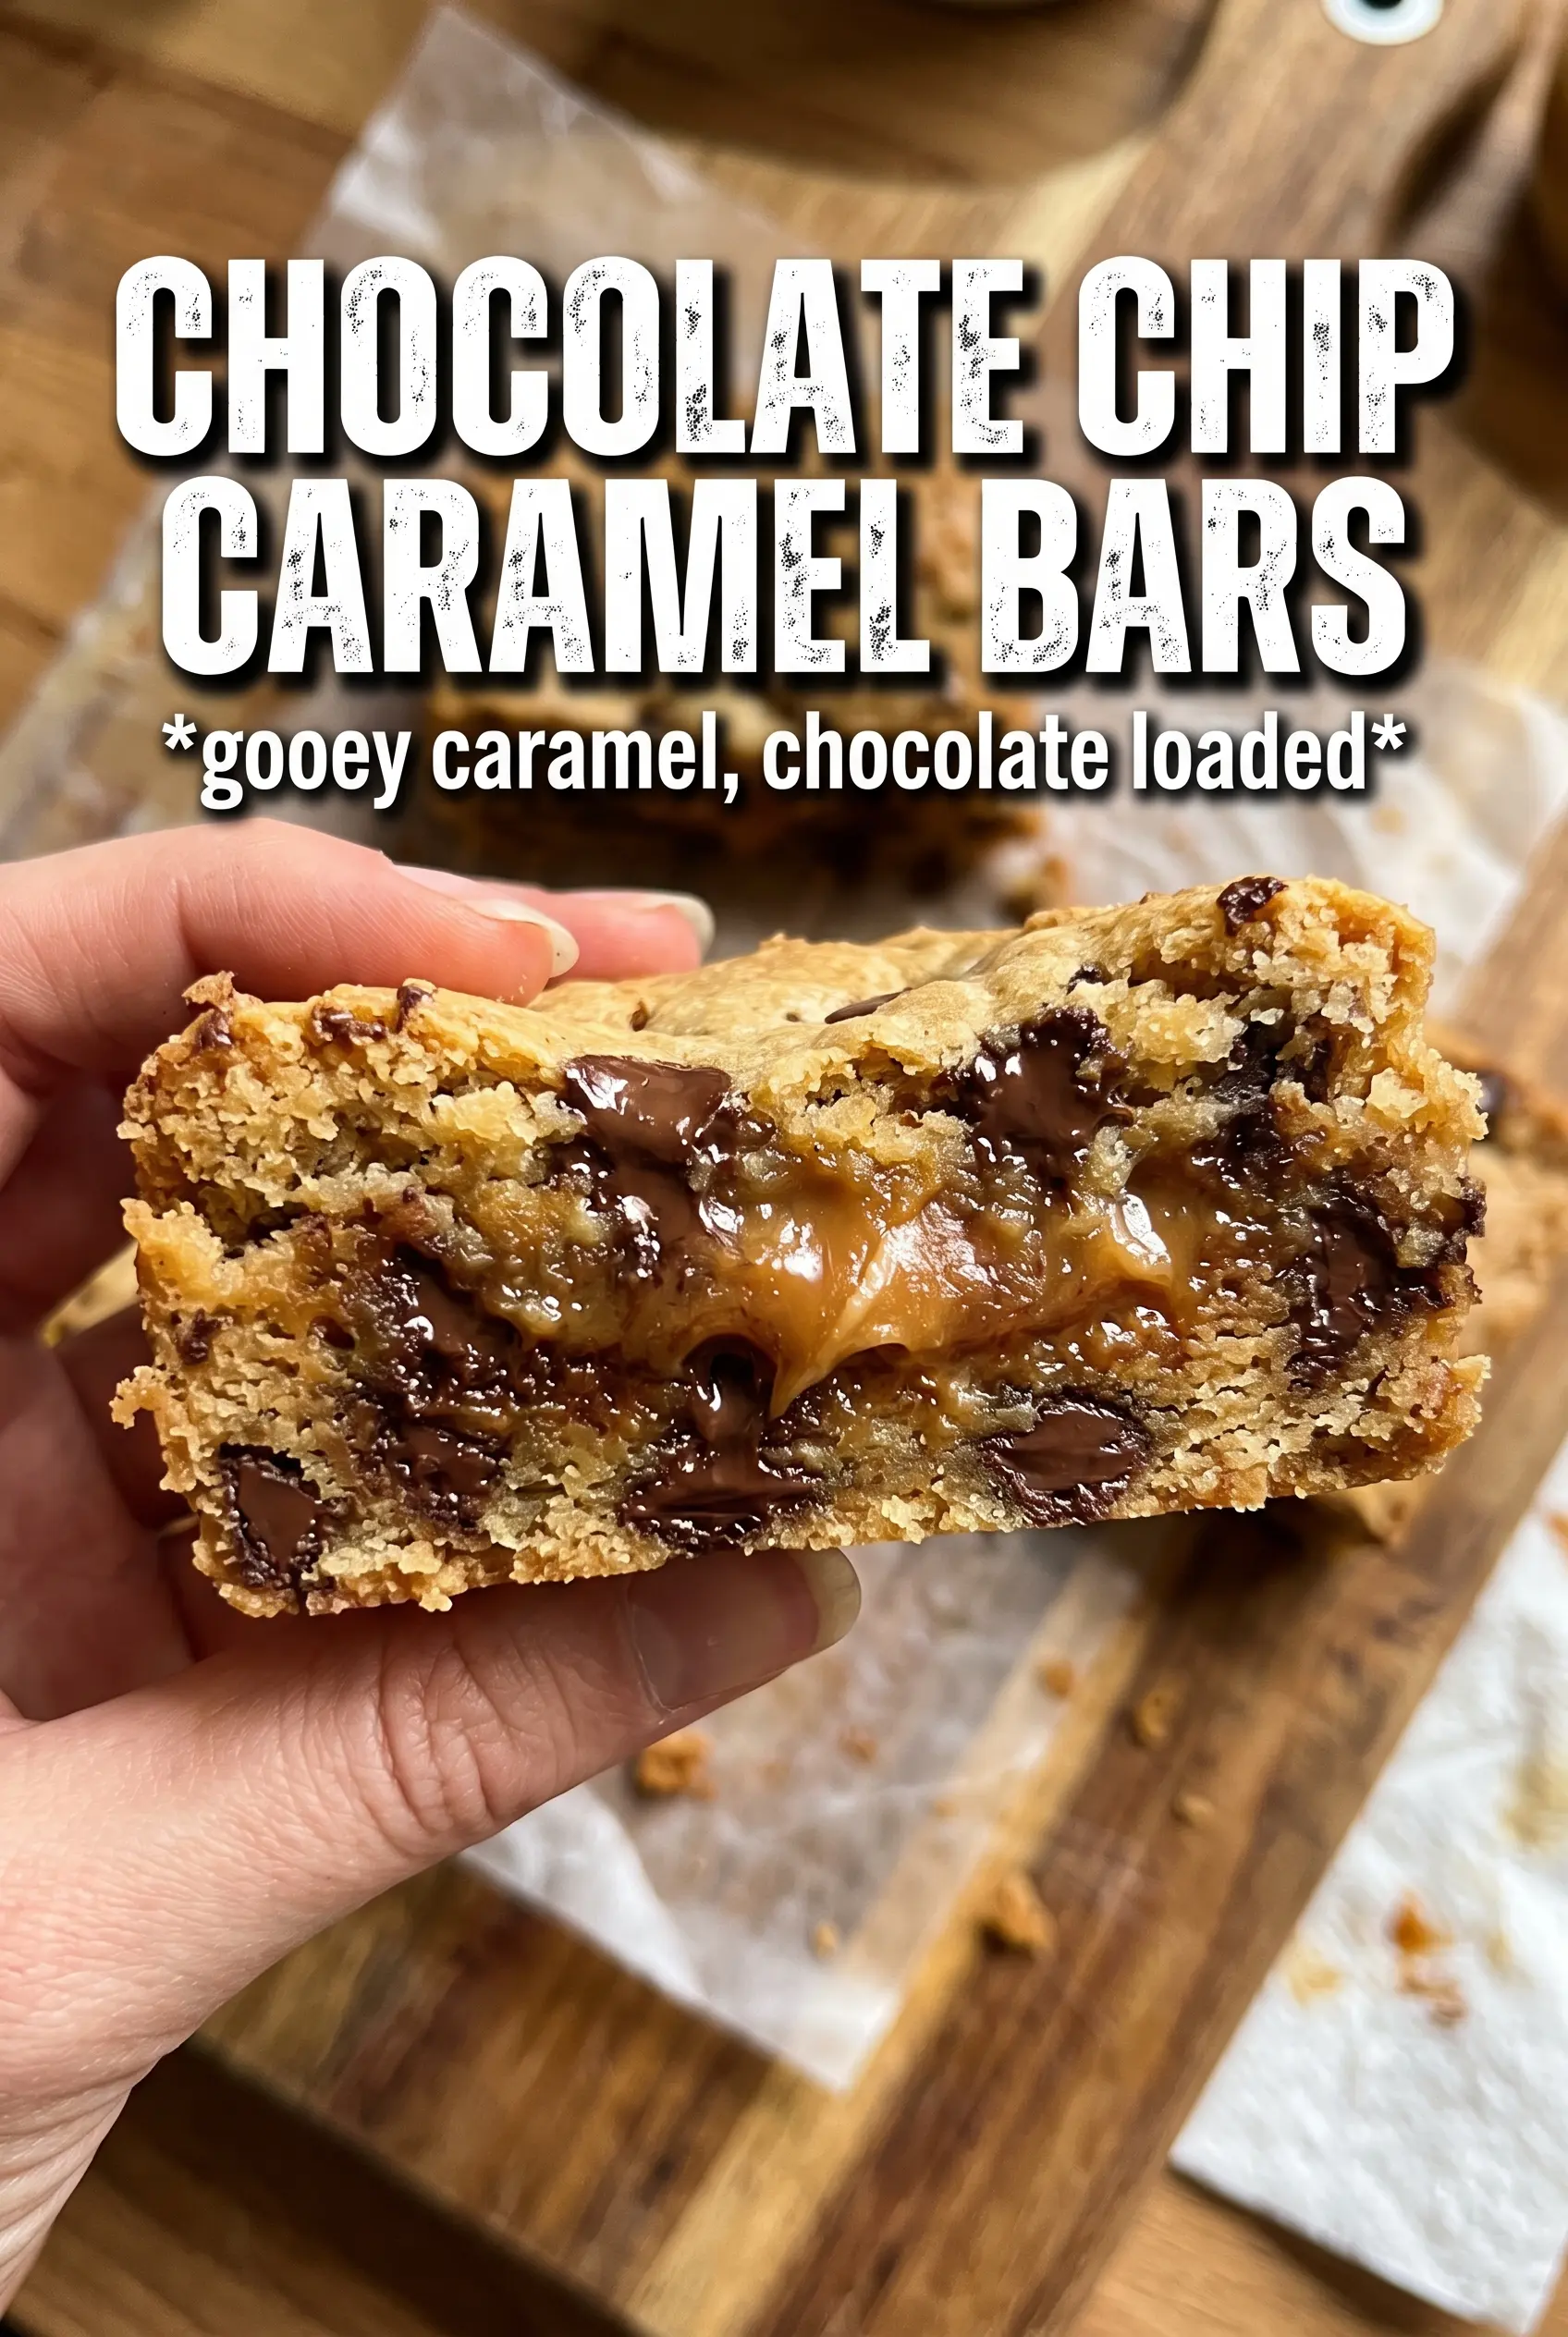
Chocolate Chip Caramel Bars
Ingredients
Equipment
Method
- Preheat oven to 350F and line a 9x13 pan with parchment paper.
- Mix all-purpose flour, rolled oats, brown sugar, granulated sugar, baking soda, and salt, then drizzle in melted unsalted butter and toss until evenly moistened.
- Press 2/3 of the mixture firmly into the prepared pan and bake for 10 minutes.
- Whisk caramel sauce and heavy cream until smooth, then pour over the hot baked base.
- Scatter semi-sweet chocolate chips over the caramel, then crumble the remaining dough on top.
- Bake for 20-22 more minutes until the topping is golden.
- Sprinkle flaky sea salt over the warm bars.
- Cool completely before slicing so the caramel layer sets.