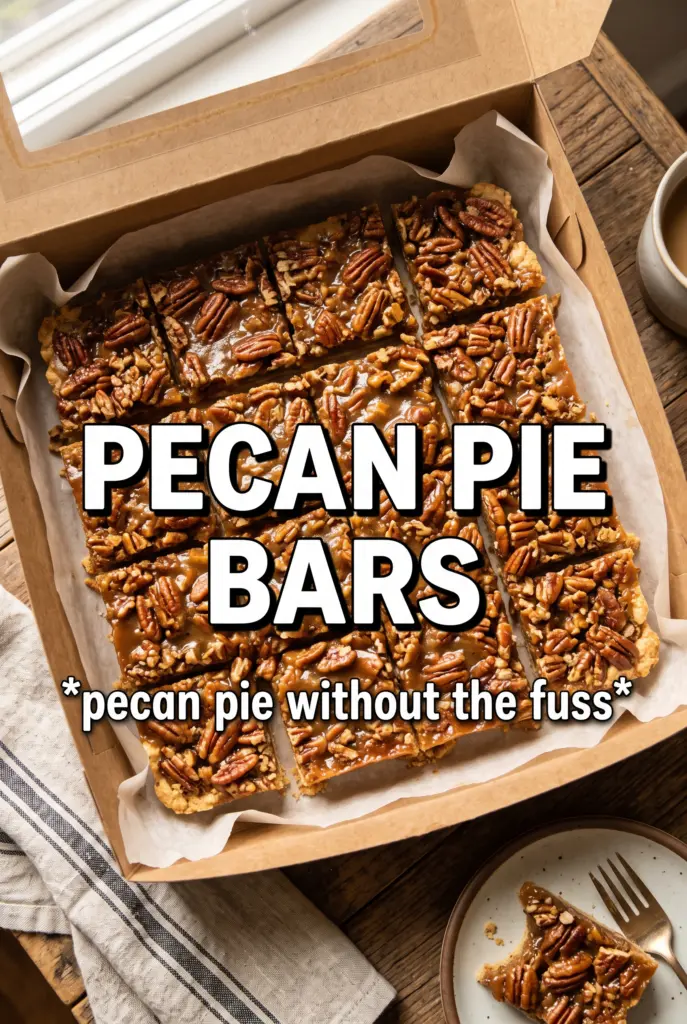
Pecan pie bars give you everything people love about pecan pie — the buttery crust, the sticky caramel filling, the crackly top, the toasty nuts — without the drama of rolling dough or slicing a wobbling pie. The shortbread base stays tender but sturdy, and the filling bakes up glossy and set, so each square holds cleanly without falling apart on the plate.
What makes this version work is the balance between the base and the topping. The crust leans on powdered sugar and cornstarch for a melt-in-your-mouth texture that still cuts neatly, while the filling uses honey and cream to keep the caramel rich without turning grainy. A quick boil is enough to thicken everything before it goes over the hot crust, and that hot crust helps the bars finish baking into one solid layer instead of two separate parts.
Below, I’ll walk you through the parts that matter most: how to keep the crust from getting tough, how to know when the filling has cooked long enough, and how to slice the bars cleanly once they’ve cooled.
The shortbread baked up so crisp around the edges and the filling set perfectly after cooling. I loved that the bars sliced cleanly and the flaky salt kept the sweetness from feeling heavy.
Save these pecan pie bars for the kind of dessert that bakes into a buttery shortbread base and glossy pecan topping with clean, easy squares.
The Shortbread Crust Has to Be Baked Before the Filling Goes On
With bars like these, the biggest mistake is underbaking the base and hoping the filling will finish the job. It won’t. The shortbread needs to go in first so it can set and turn lightly golden before that heavy pecan layer lands on top. If the crust is still pale and soft when you add the filling, the bars can come out greasy or sink in the middle when you slice them.
The other thing that matters is pressing the dough evenly into the pan. Uneven spots bake at different speeds, and the thin edges can turn dry before the center is ready. Aim for a flat layer from corner to corner, then bake it just until the surface looks matte and faintly golden at the edges.
What the Butter, Honey, and Cornstarch Are Doing Here
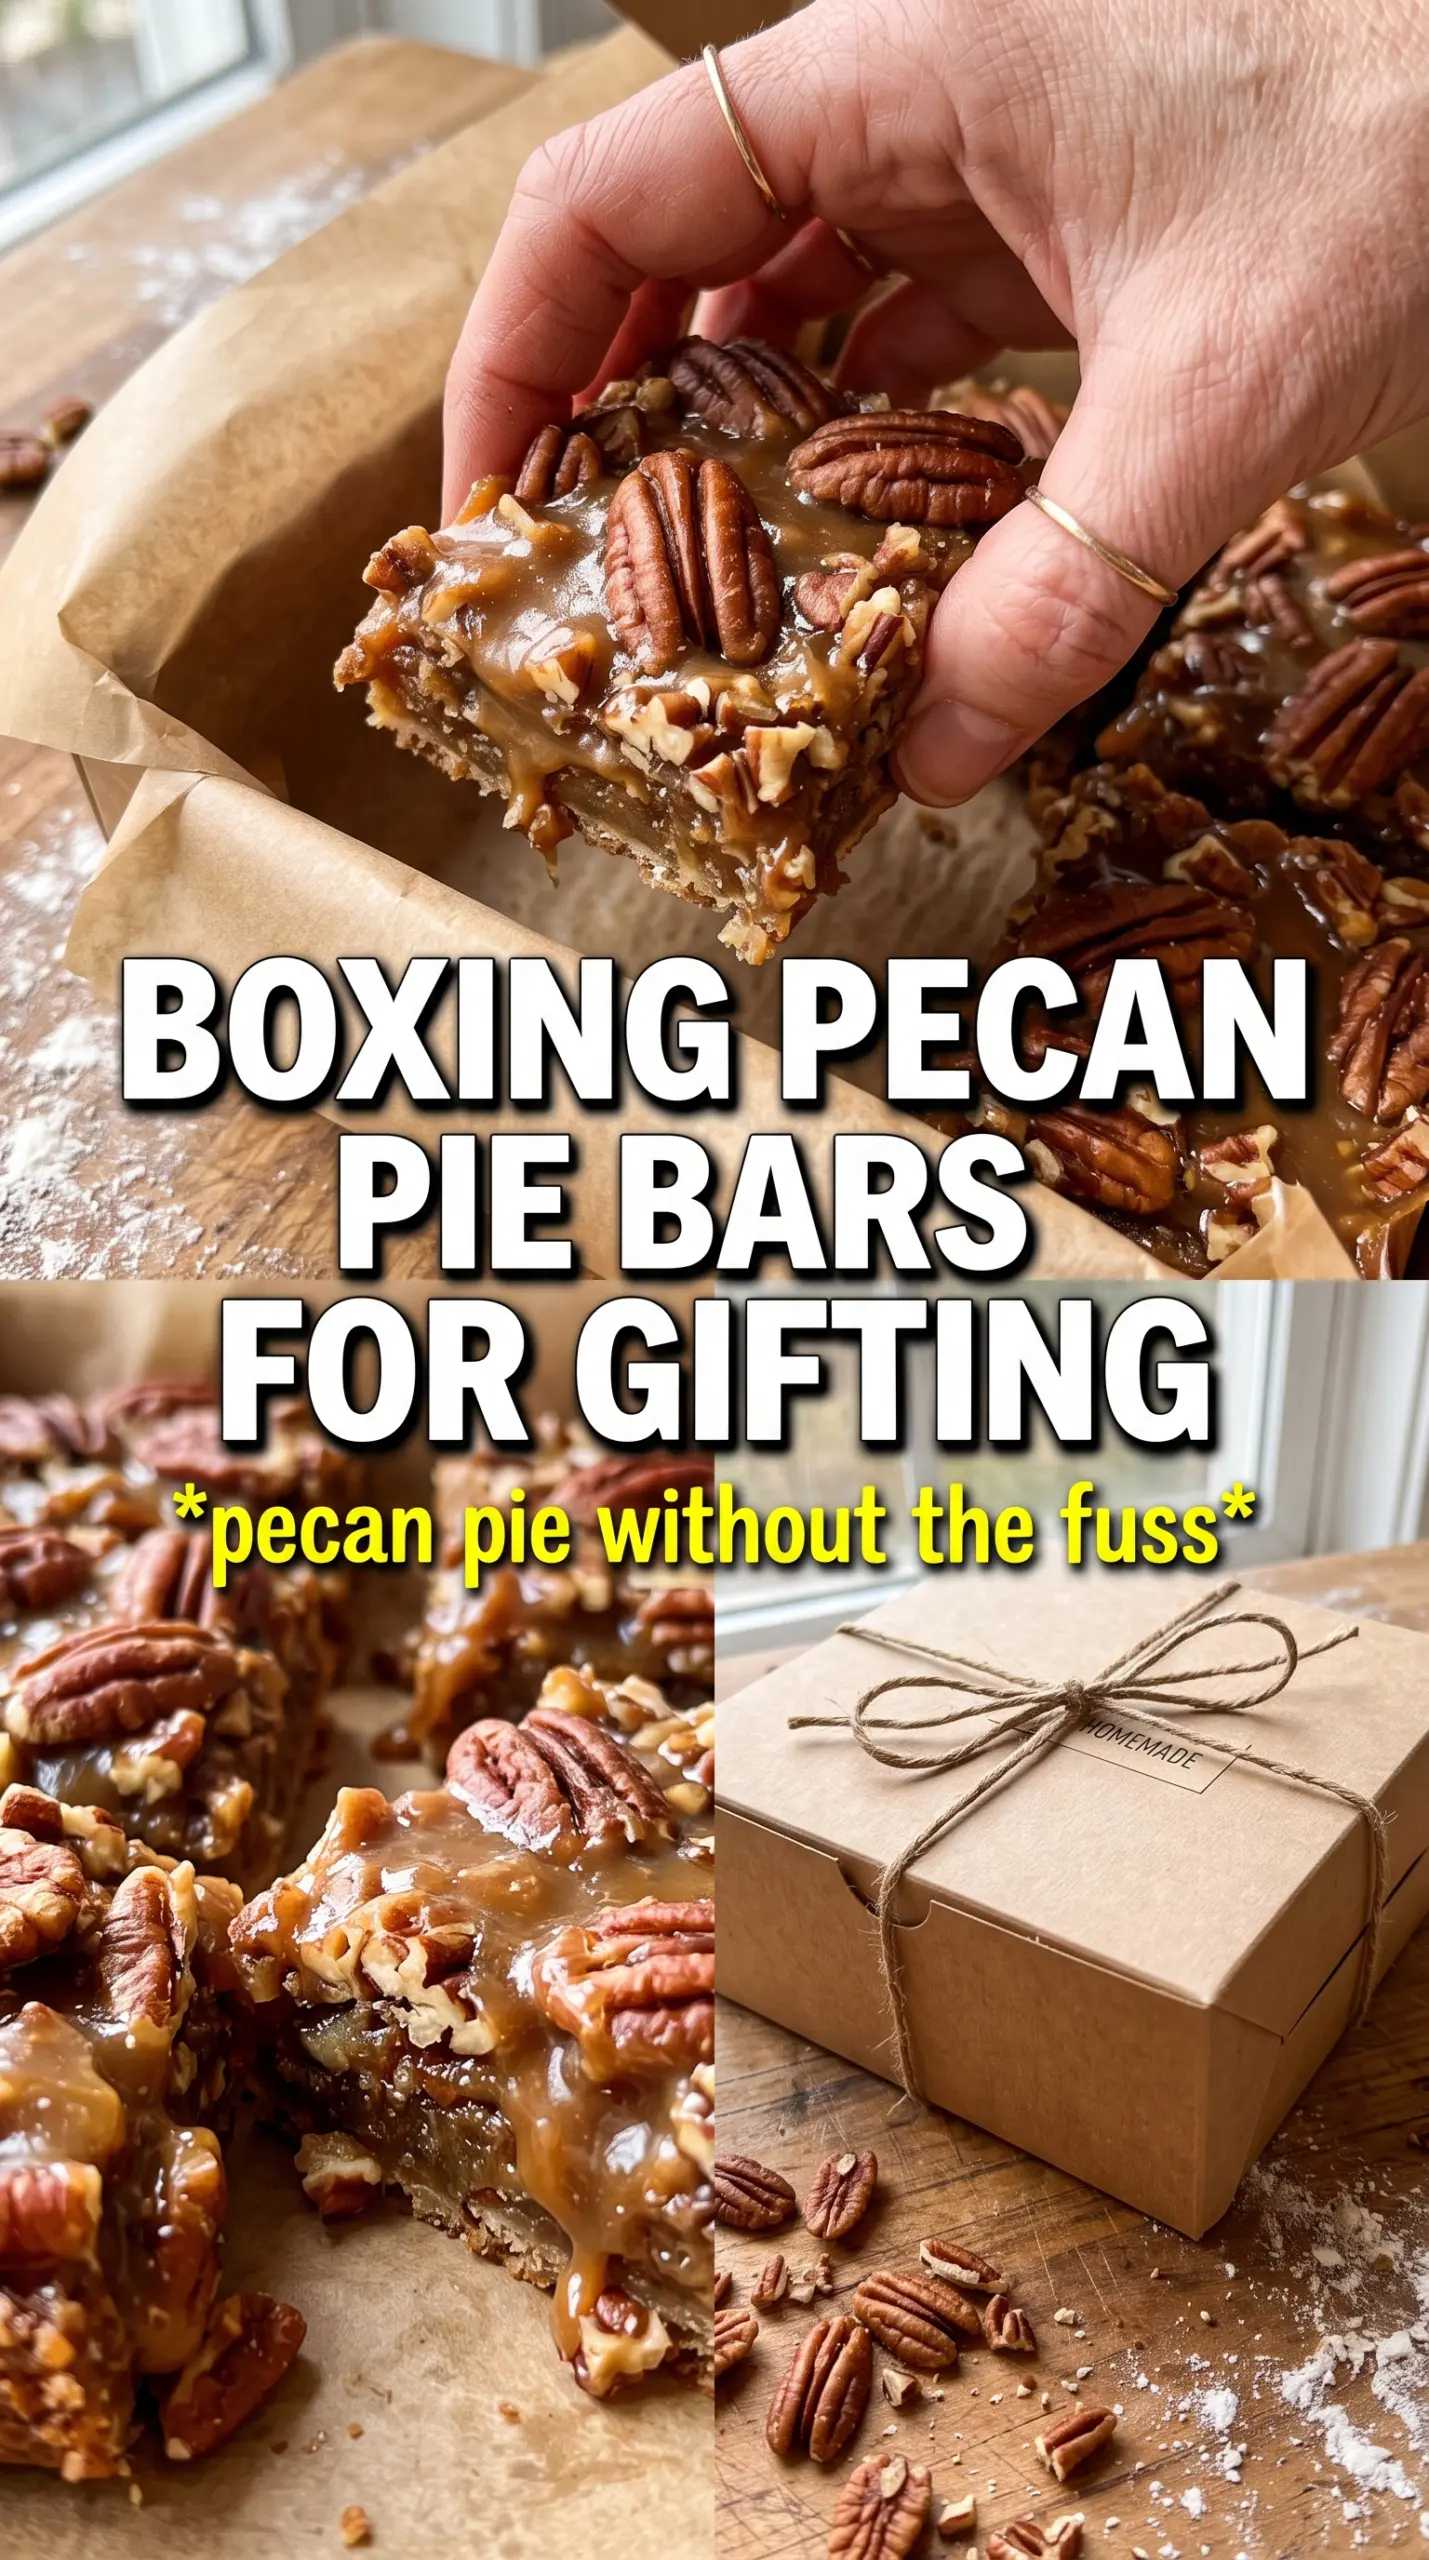
- All-purpose flour — This gives the crust its structure. You need it here; cake flour would be too soft, and a gluten-free blend will need its own testing.
- Powdered sugar — It melts smoothly into the shortbread and keeps the texture delicate. Granulated sugar won’t give the same tender crumb.
- Cornstarch — This is the quiet trick in the crust. It softens the bite so the base stays short and sandy instead of bready.
- Cold unsalted butter — Cold butter is what keeps the crust from turning dense. Cube it, cut it in quickly, and stop mixing when the dough just comes together.
- Honey — Honey helps the filling stay glossy and gives it that cooked-caramel depth. Maple syrup can work in a pinch, but the bars will taste less classic and a little more woodsy.
- Heavy cream — This keeps the filling rich and helps it set into a sliceable layer instead of turning stiff and brittle.
- Whole pecans — Whole pecans give the bars that old-fashioned look and a better bite than chopped nuts. If all you have are halves, break some up by hand so you get a mix of textures.
- Flaky sea salt — Don’t skip it. A few pinches on top keep the filling from reading one-note sweet and make the caramel flavor pop.
Boiling the Filling Long Enough Without Turning It Grainy
Start by cooking the butter, brown sugar, honey, and cream together until the mixture comes to a real boil, not just a few lazy bubbles at the edges. Once it’s boiling, give it two full minutes. That brief cook helps the sugar dissolve and thickens the filling enough that it sets instead of running when you cut the bars. If you rush this part, the filling can stay loose and drip apart after cooling.
Take the pan off the heat before you add the salt, vanilla, and pecans. Vanillin and salt lose some of their punch if they simmer too long, and the nuts stay fresher tasting when they go in at the end. Pour the filling over the hot crust right away so it spreads evenly and bakes into one clean layer.
Press, Bake, and Set the Base
Line the pan with parchment so you can lift the bars out later without a fight. Press the dough firmly into every corner, then bake until the crust is pale gold and set on top. The edges should look slightly deeper in color than the center, but don’t wait for a dark crust or you’ll lose that tender shortbread texture. Hot crust is the right target here, because it gives the filling a stable landing spot.
Cook the Caramel Until It Thickens
Once the sugar mixture boils, keep it moving enough that nothing scorches on the bottom, but don’t stir constantly once it’s fully rolling. You’re looking for a thicker, glossy sauce that coats the back of a spoon. If it looks thin and watery, it needs the full boil time. If it starts to look sandy, the heat is too high and the sugar is crystallizing.
Cool Completely Before You Slice
The bars need patience at the end. Let them cool all the way in the pan so the filling firms up and the shortbread finishes setting. If you cut too soon, the centers slump and the caramel sticks to the knife. For the cleanest squares, chill the slab briefly after cooling, then use a sharp knife wiped clean between cuts.
How to Adjust These Bars Without Losing the Texture
Dairy-Free Version
Use a good plant-based butter in both the crust and filling, and swap the heavy cream for a full-fat dairy-free creamer that can handle heat. The bars will still set, but the filling may taste a little less rich and the shortbread can brown faster, so watch the edges closely.
Gluten-Free Crust
A 1:1 gluten-free baking flour can work in place of the all-purpose flour, but the crust will be a touch more fragile. Press it firmly into the pan and let it cool completely before moving or slicing so it doesn’t crumble at the edges.
Extra Nutty, Less Sweet
Toast the pecans first if you want a deeper, drier nut flavor that cuts through the caramel. You can also scatter a few chopped pecans over the top with the whole ones for better coverage, but don’t reduce the sugar unless you’re ready for a softer set.
Storage and Reheating
- Refrigerator: Store covered for up to 5 days. The filling firms up in the fridge, so the bars slice even cleaner the next day.
- Freezer: These freeze well. Wrap the cut bars tightly and freeze for up to 2 months, then thaw in the fridge so the topping doesn’t weep.
- Reheating: Serve at room temperature or warm briefly in a low oven. Don’t microwave them too long or the filling can turn greasy and the crust softens too much.
Answers to the Questions Worth Asking
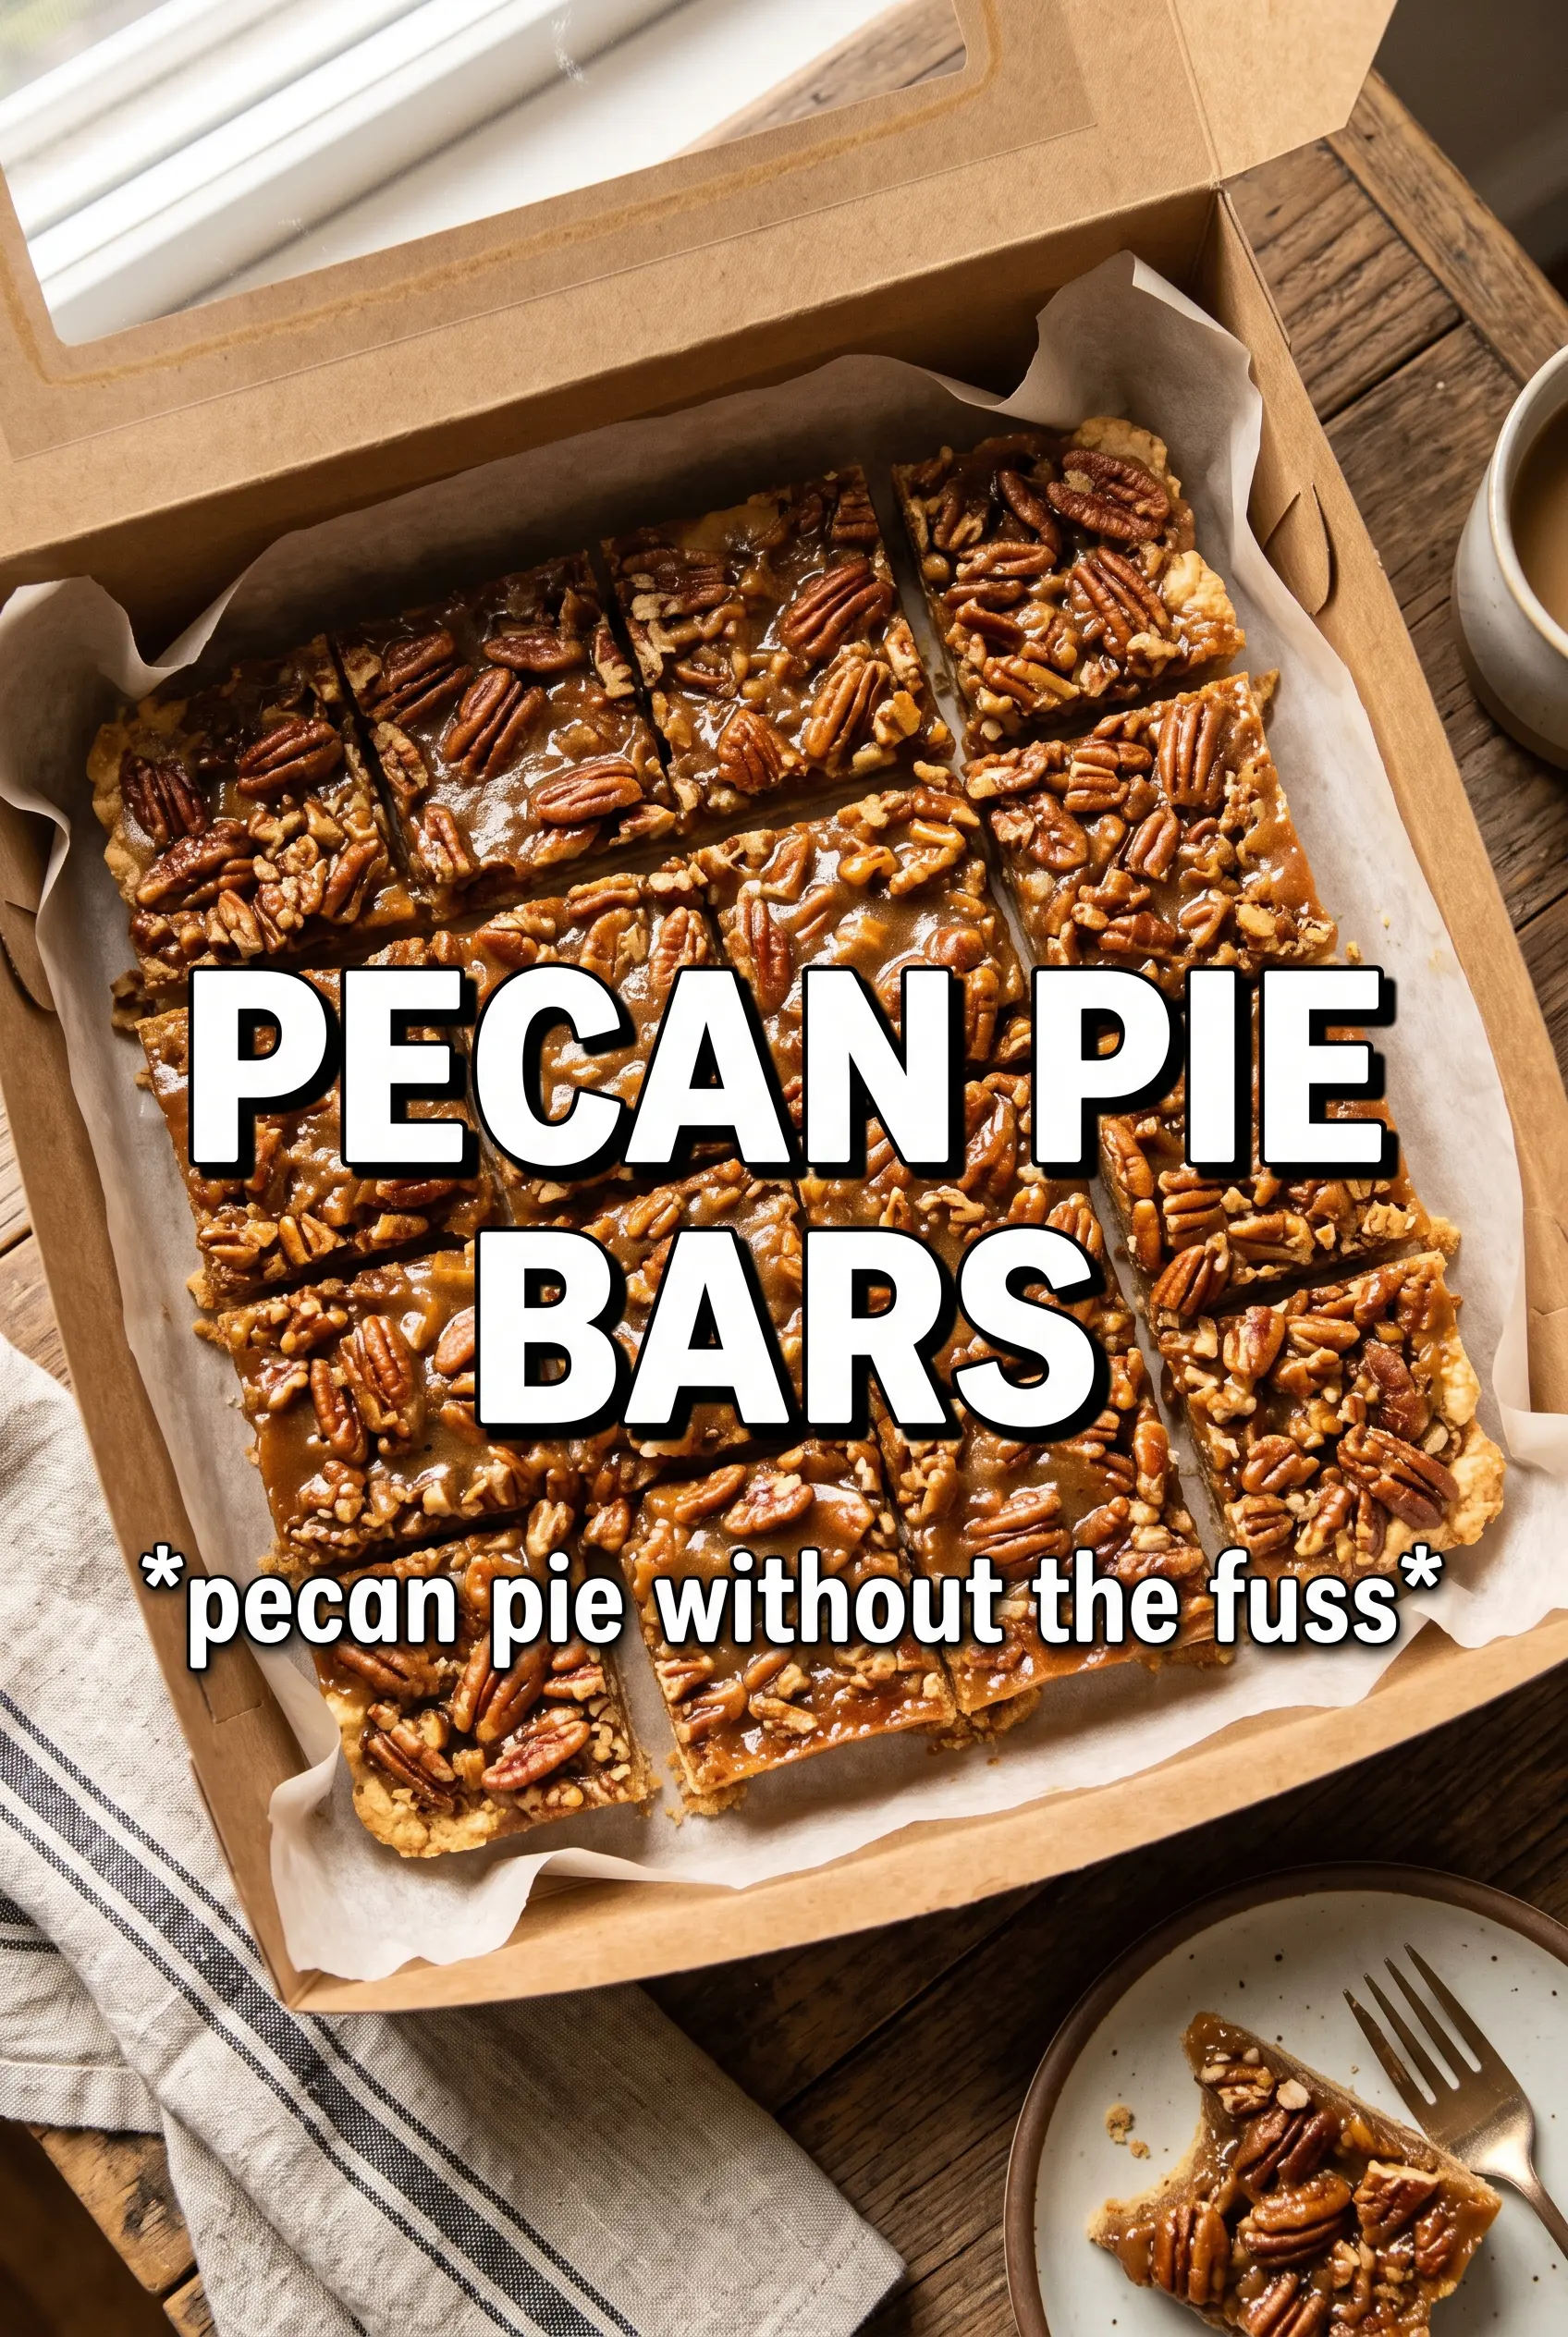
Pecan Pie Bars
Ingredients
Equipment
Method
- Preheat the oven to 350F, then line a 9x13 pan with parchment so the bars lift out easily after baking. Your oven should be fully heated before you start baking the crust.
- Combine all-purpose flour, powdered sugar, cornstarch, and salt, then cut in cold unsalted butter until the dough just comes together. Stop mixing once you no longer see dry flour and the mixture looks crumbly with small butter pieces.
- Press the shortbread dough firmly and evenly into the prepared pan, using the bottom of a measuring cup to compact it if needed. Keep the thickness uniform so it bakes into an even base.
- Bake at 350F for 18-20 minutes, until the shortbread is pale golden. Look for light color around the edges and a set, lightly dry surface.
- Melt unsalted butter, brown sugar, honey, and heavy cream over medium heat in a saucepan. Stir until the sugar dissolves and the mixture looks smooth and glossy.
- Bring the mixture to a boil and cook for 2 minutes over medium heat, stirring constantly. Watch for bubbles that hold their shape briefly before they pop.
- Remove from the heat and stir in salt, vanilla extract, and whole pecans. The pecans should be evenly coated and the filling should look thick and slightly shiny.
- Pour the pecan filling over the hot shortbread and spread it into an even layer. Bake at 350F for 20-25 more minutes until the filling is set and no longer wobbles in the center.
- Sprinkle flaky sea salt over the warm bars for a crisp, salty contrast. Use a light hand so the topping stays visible without overpowering the sweetness.
- Cool completely before slicing so the filling firms up for clean bars. Once cool, cut into 24 pieces with a sharp knife for straight edges.