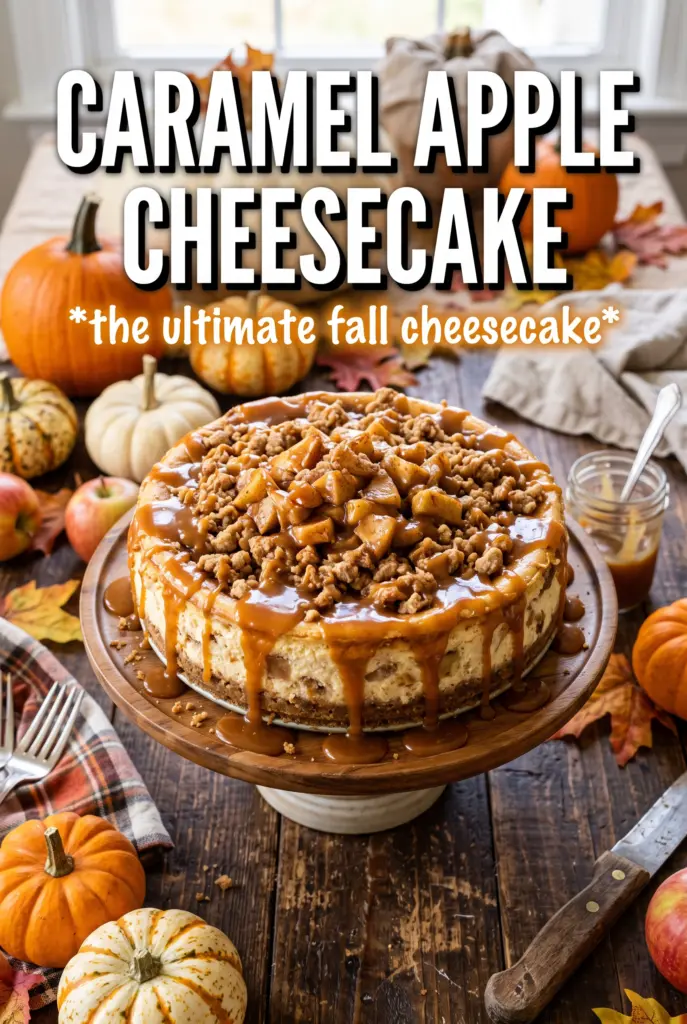
Caramel Apple Cheesecake lands in that sweet spot between cozy apple dessert and a proper bakery-style cheesecake. The filling stays creamy and tangy, the apple layer bakes into soft, cinnamon-spiced pieces, and the oat streusel gives you a crisp little crunch on top so every bite has contrast. A final caramel drizzle ties it together without making the whole thing cloying.
What makes this version work is balance. The apples are cooked briefly with cornstarch before they go on the cheesecake, which keeps the fruit from turning watery and sliding around in the pan. The water bath matters too. It gives the cheesecake a gentler bake, so the center sets without the edges drying out or cracking. The streusel bakes right on top, where it stays golden instead of getting soggy.
Below, I’ve included the timing cue I rely on when baking cheesecake, plus a few smart swaps for apples and caramel so you can make this with what you have on hand.
The apple layer stayed put and the cheesecake set up beautifully after chilling overnight. The streusel was still crisp the next day, and the caramel drizzle made each slice taste like a bakery dessert.
Caramel Apple Cheesecake with that crisp streusel top is the one to keep for a make-ahead dessert that slices cleanly and looks impressive.
The Water Bath Is What Keeps the Center Creamy
A cheesecake like this lives or dies by gentle heat. Without a water bath, the outer ring sets too fast while the center is still trying to catch up, and that’s when you get cracks, overbaked edges, or a grainy texture. The steam from the water bath evens out the oven’s heat and keeps the custard smooth.
The other mistake is baking until the whole pan looks firm. It should still have a slight wobble in the center when you pull it out, more like set Jell-O than liquid batter. It finishes setting as it cools, then firms up fully in the fridge.
- Don’t overbake the filling — if the center is completely still in the oven, it’s already gone too far.
- Cool it slowly — sudden temperature changes can pull the cheesecake apart as it contracts.
- Use a springform pan with a tight wrap — if water sneaks in, the crust turns soggy and the whole base loses definition.
What Each Layer Is Doing in This Dessert
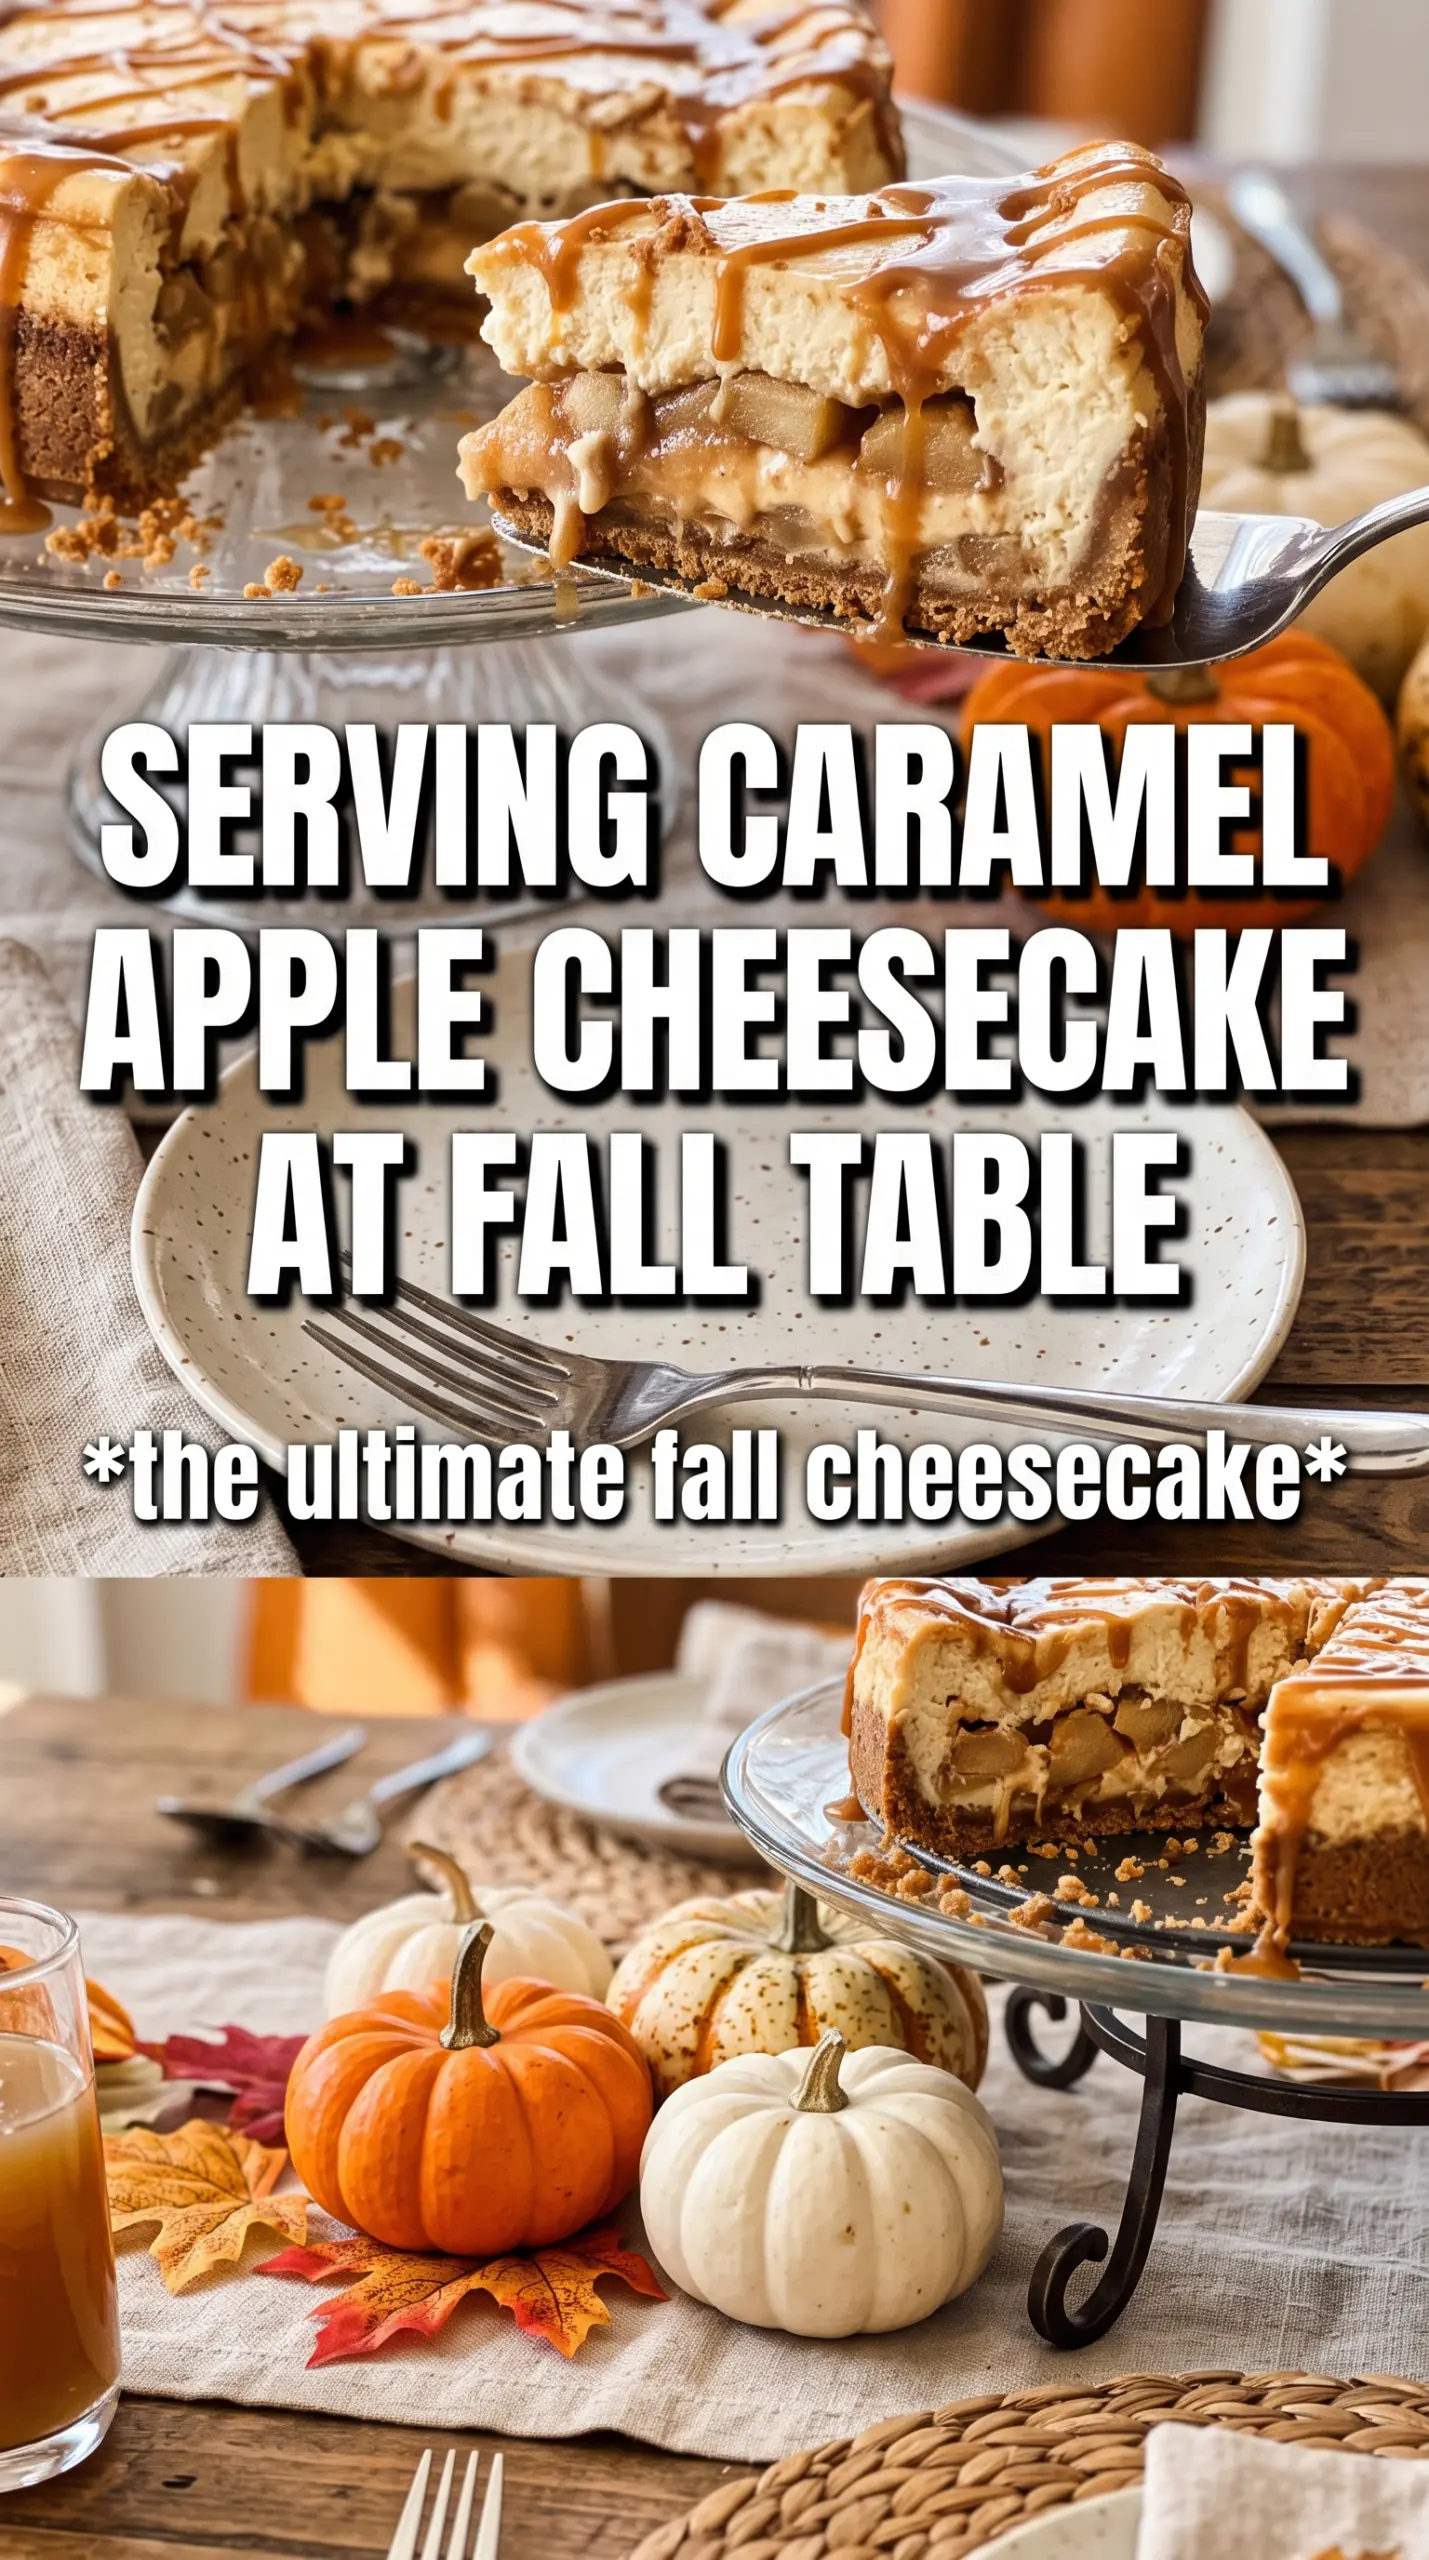
- Cream cheese — use full-fat blocks, not tub-style cream cheese. The blocks beat smooth and bake into a dense, velvety filling; lighter versions can turn soft or watery.
- Sour cream — this gives the cheesecake its tang and helps keep the texture supple. Full-fat sour cream is worth using here because it blends in cleanly and doesn’t thin the batter.
- Apples — a firm baking apple like Honeycrisp, Granny Smith, or Braeburn holds its shape after cooking. If your apples are soft to begin with, they’ll disappear into the filling instead of giving you a clear fruit layer.
- Oats and flour streusel — the oats bring a toasty chew and the flour helps the topping clump into craggy pieces. Keep the butter cold and work it in just until the mixture looks like damp sand with pebbles.
- Caramel sauce — drizzle it at the end, not before chilling. If it goes on too early, it can soak into the streusel and blur the layers you worked to build.
Building the Layers Without Slumping or Sinking
Press and pre-bake the crust
Mix the graham crumbs, sugar, and melted butter until the crumbs look evenly damp, then press them firmly into the springform pan. Use the bottom of a measuring cup to pack the sides and base so the crust holds together when sliced. Ten minutes in the oven sets the butter and keeps the base from turning sandy under the filling.
Cook the apple layer until it goes glossy
Cook the diced apples with brown sugar, cinnamon, butter, and cornstarch until the juices thicken and coat the fruit. You’re looking for soft edges and a glossy, spoonable mixture, not applesauce. If the mixture still looks thin, it will leak into the cheesecake and create a wet middle, so give it the full few minutes over medium heat.
Beat the filling just until smooth
Start with softened cream cheese so it blends without lumps, then mix in the sugar, eggs, sour cream, vanilla, and cinnamon. Stop as soon as the batter looks smooth and glossy. If you beat in too much air, the cheesecake puffs in the oven and sinks as it cools, which usually leads to cracks.
Bake until the center still wobbles
Spread the apple layer over the batter, scatter the streusel on top, and set the pan in the water bath. Bake until the edges are set and the center jiggles slightly when you tap the pan. That small wobble is the sign you want; carryover heat and chilling will finish the job, and cutting it hot will give you a soft, messy slice.
How to Adapt This for Different Apples and Different Kitchens
Gluten-Free Version
Swap the graham crumbs for gluten-free crumbs and use a 1:1 gluten-free flour blend in the streusel. The texture stays close to the original, though the topping may brown a little faster, so keep an eye on it during the last 15 minutes of baking.
Dairy-Free Swap
Use dairy-free cream cheese, dairy-free butter, and a thick coconut-based sour cream alternative. The filling will be a little less tangy and a touch softer, but the apple layer and streusel still carry the dessert well if you chill it fully before slicing.
Using Only Tart Apples
If all you have are Granny Smith apples, add a spoonful more sugar to the apple layer. Tart apples give you a brighter, less sweet filling, which works well here, but they need a little more sugar to keep the whole dessert balanced against the caramel.
Storage and Reheating
- Refrigerator: Store covered for up to 5 days. The crust stays sturdy, and the streusel softens slightly after day one but keeps its texture.
- Freezer: Freeze slices without the caramel drizzle, wrapped tightly, for up to 2 months. Thaw overnight in the refrigerator so the filling doesn’t weep.
- Reheating: Cheesecake is best served cold or just barely cool. If you want the apple layer a little softer, let a slice sit at room temperature for 20 to 30 minutes instead of microwaving it, which can make the filling greasy.
Answers to the Questions Worth Asking
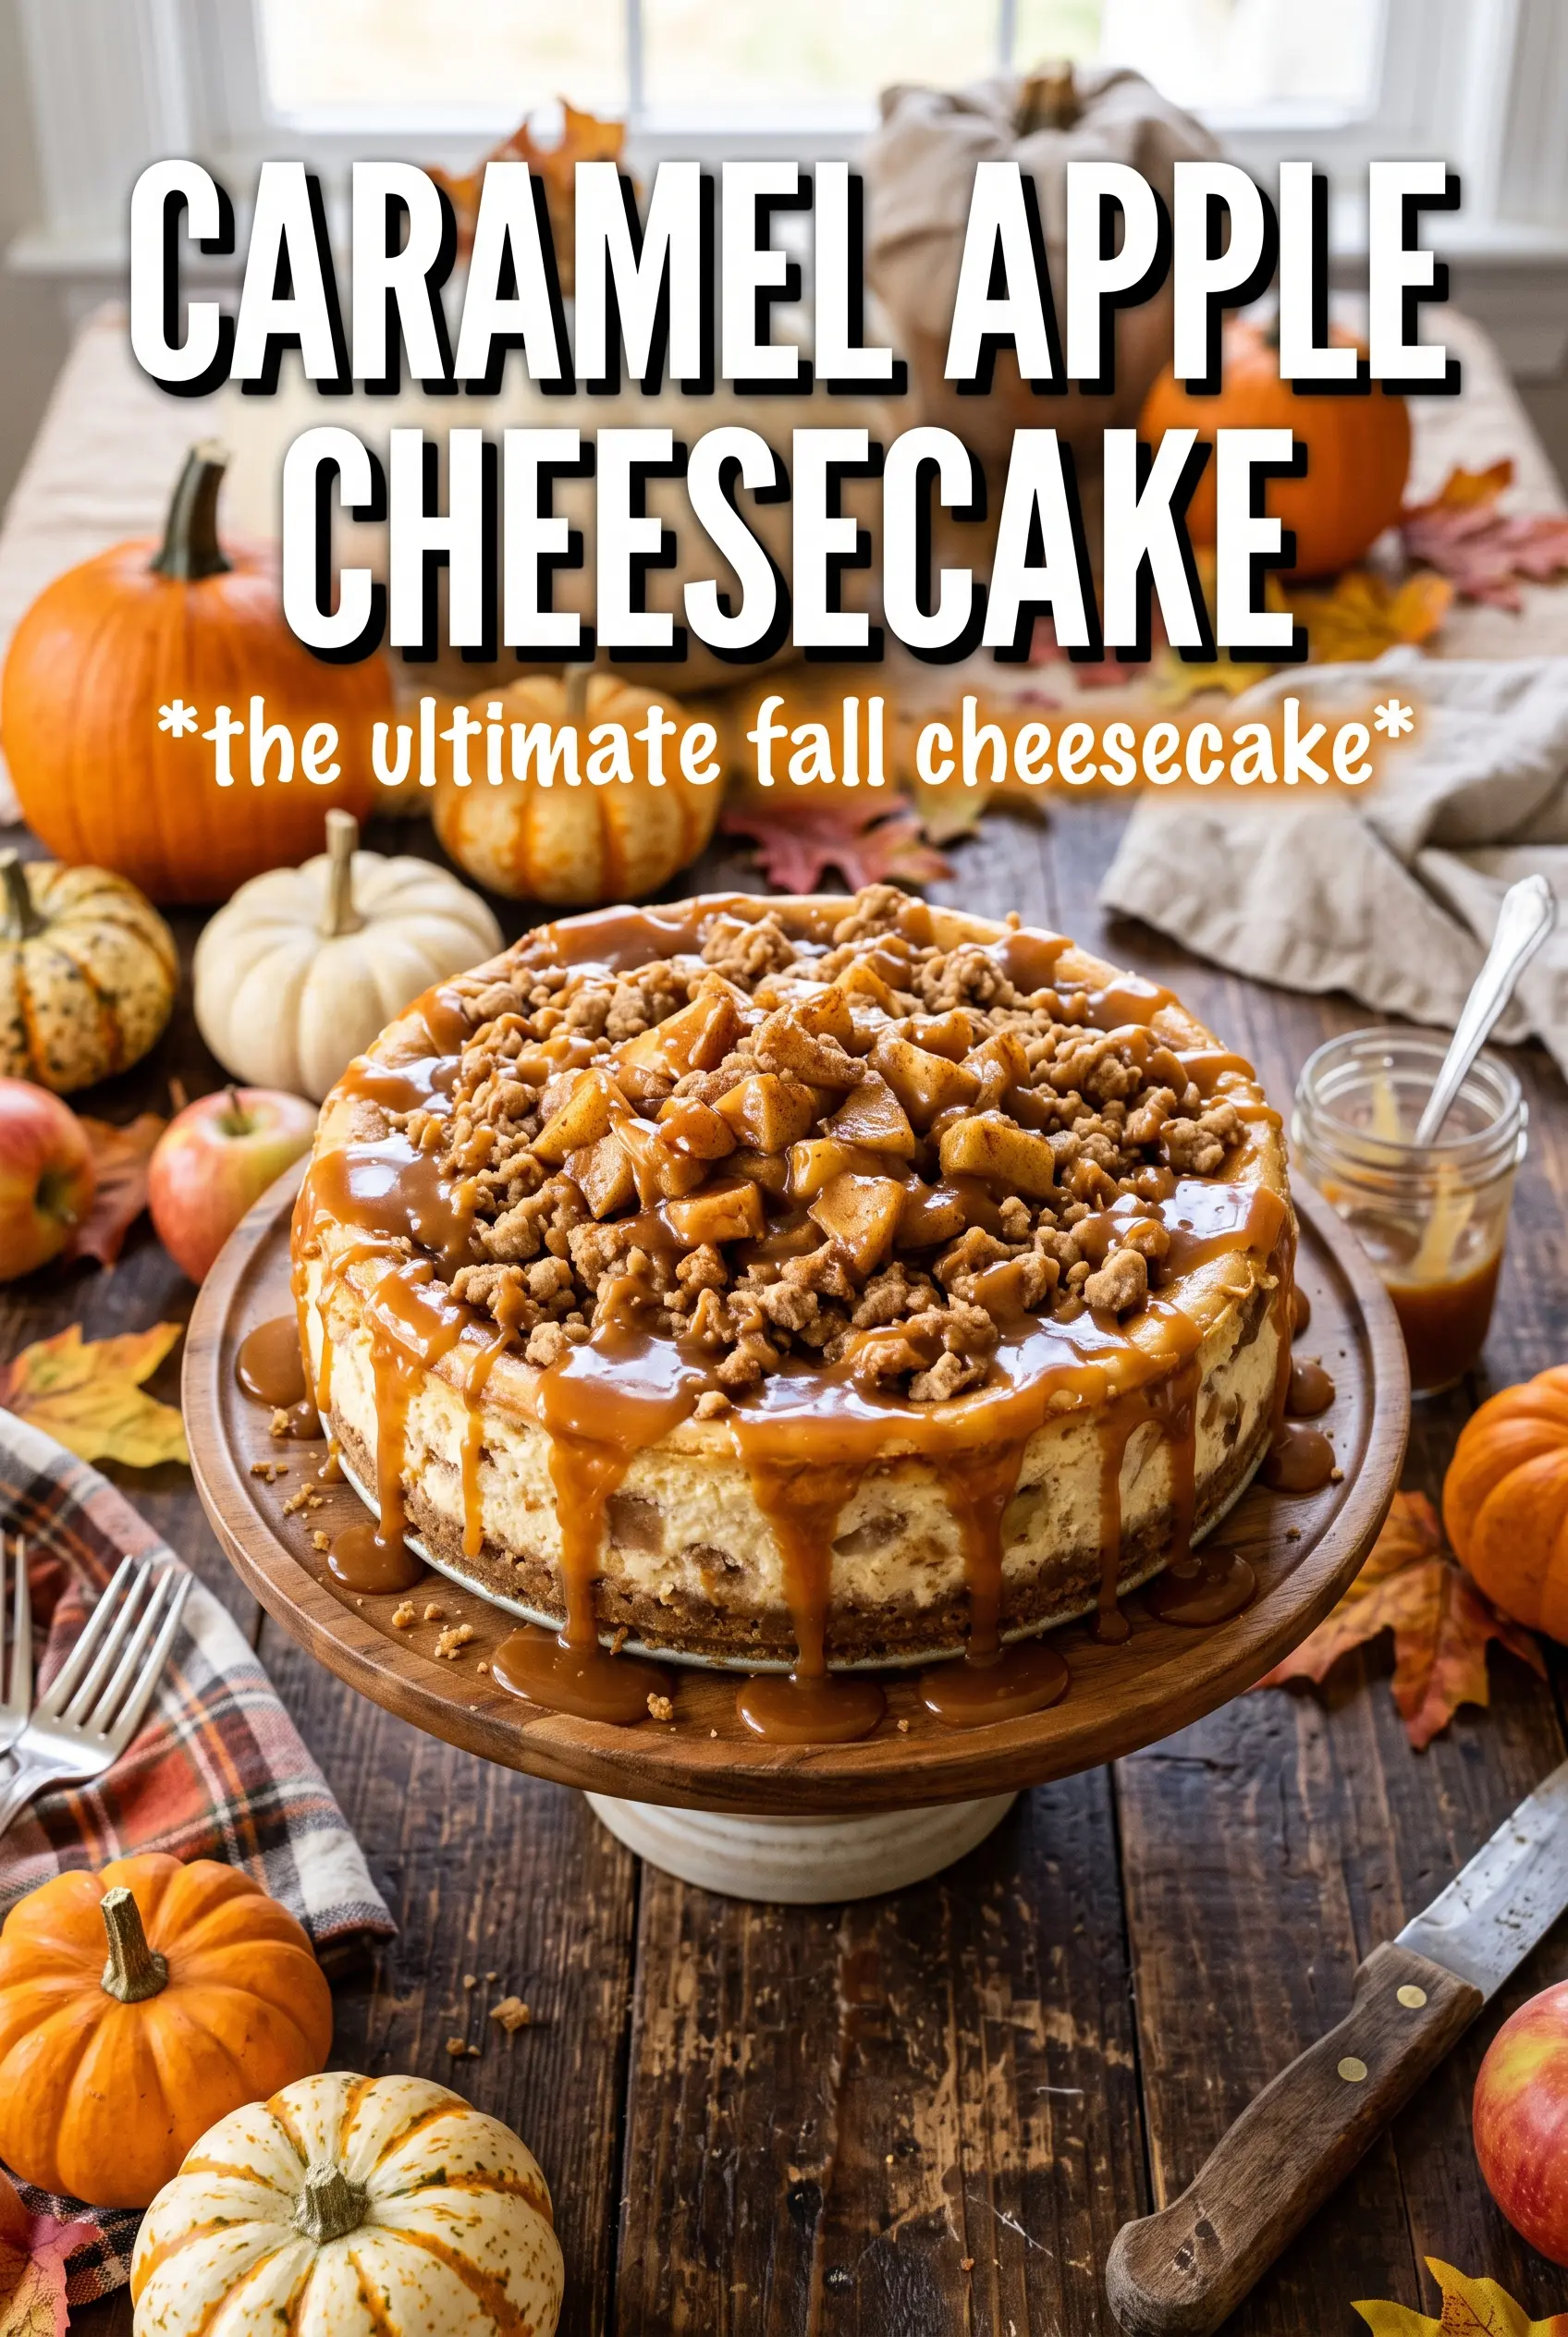
Caramel Apple Cheesecake
Ingredients
Equipment
Method
- Preheat oven to 325°F. Press graham cracker crumbs and sugar into a 9-inch springform pan, then press in melted butter until it looks evenly packed with no dry spots.
- Bake the crust for 10 minutes until fragrant and lightly set. Cool briefly so the base doesn’t melt when the filling is added.
- Cook apples with brown sugar, cinnamon, butter, and cornstarch for 5 minutes until the mixture turns glossy and thickened. Visual cue: the juices should cling to the apples instead of pooling.
- Cool the thickened apple mixture completely before assembling. It should hold together when spooned, not look wet.
- Beat cream cheese with sugar until smooth, then beat in eggs one at a time. Keep mixing until the batter is creamy with no visible lumps.
- Mix in sour cream, vanilla, and cinnamon until fully incorporated. The batter should look thick and smooth.
- Pour the cheesecake batter over the baked crust. Tap the pan lightly so the surface settles level.
- Top the cheesecake with the cooled apple layer. Spread gently so it’s even across the surface.
- Scatter streusel over the top in an even layer. The top should look speckled with oat crumbles.
- Bake in a water bath at 325°F for 60 to 65 minutes until just set. Visual cue: the center should jiggle slightly like firm gelatin, not slosh.
- Cool the cheesecake completely at room temperature after baking. The surface should stop looking loose around the edges.
- Refrigerate the cheesecake for 6 hours to fully chill. It should slice cleanly and feel firm in the center.
- Drizzle caramel sauce over the top and down the sides before serving. Visual cue: thin ribbons should cascade and pool slightly at the base of each slice.