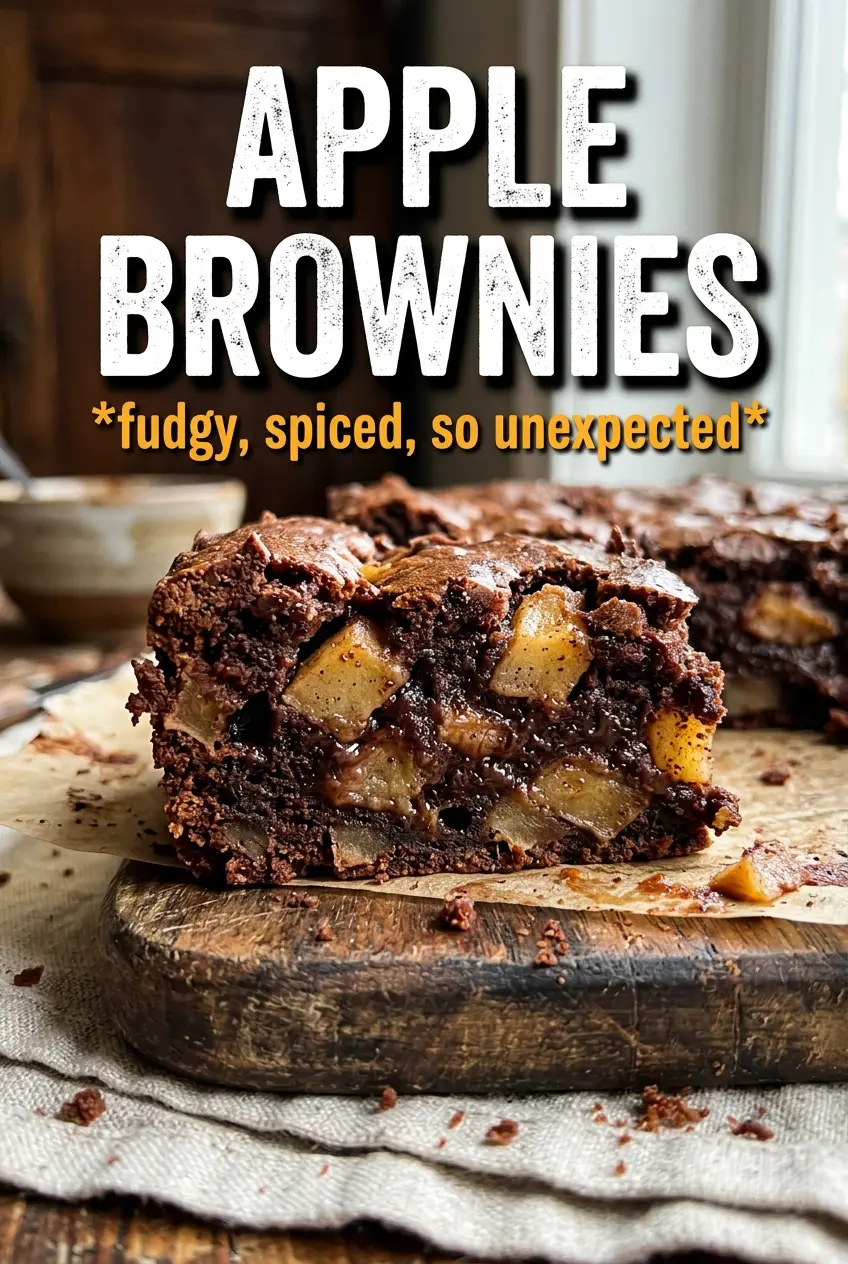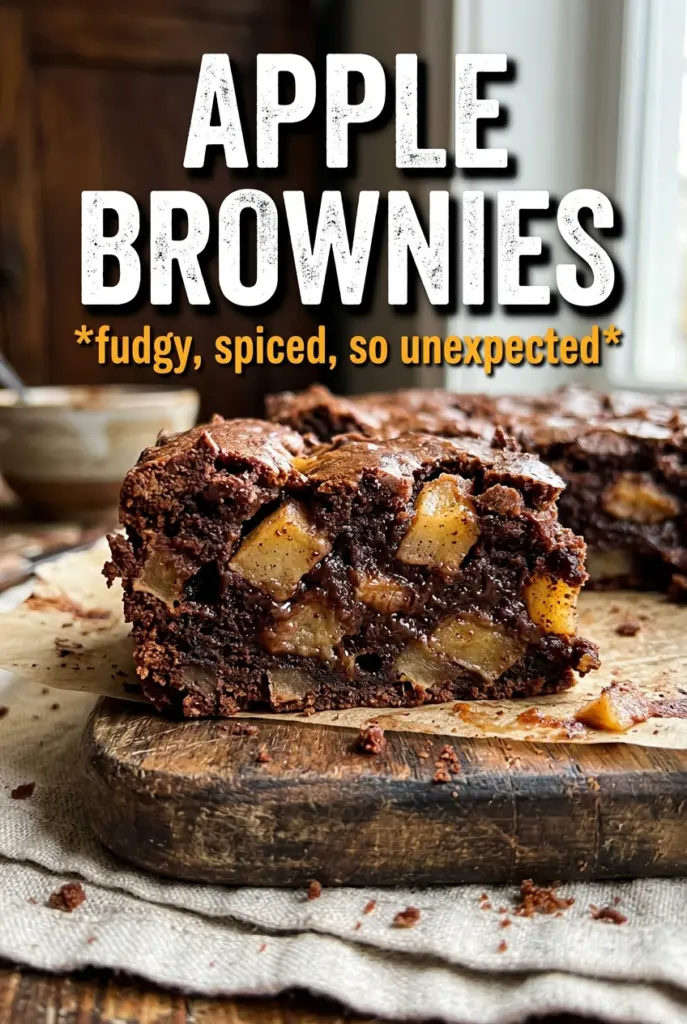
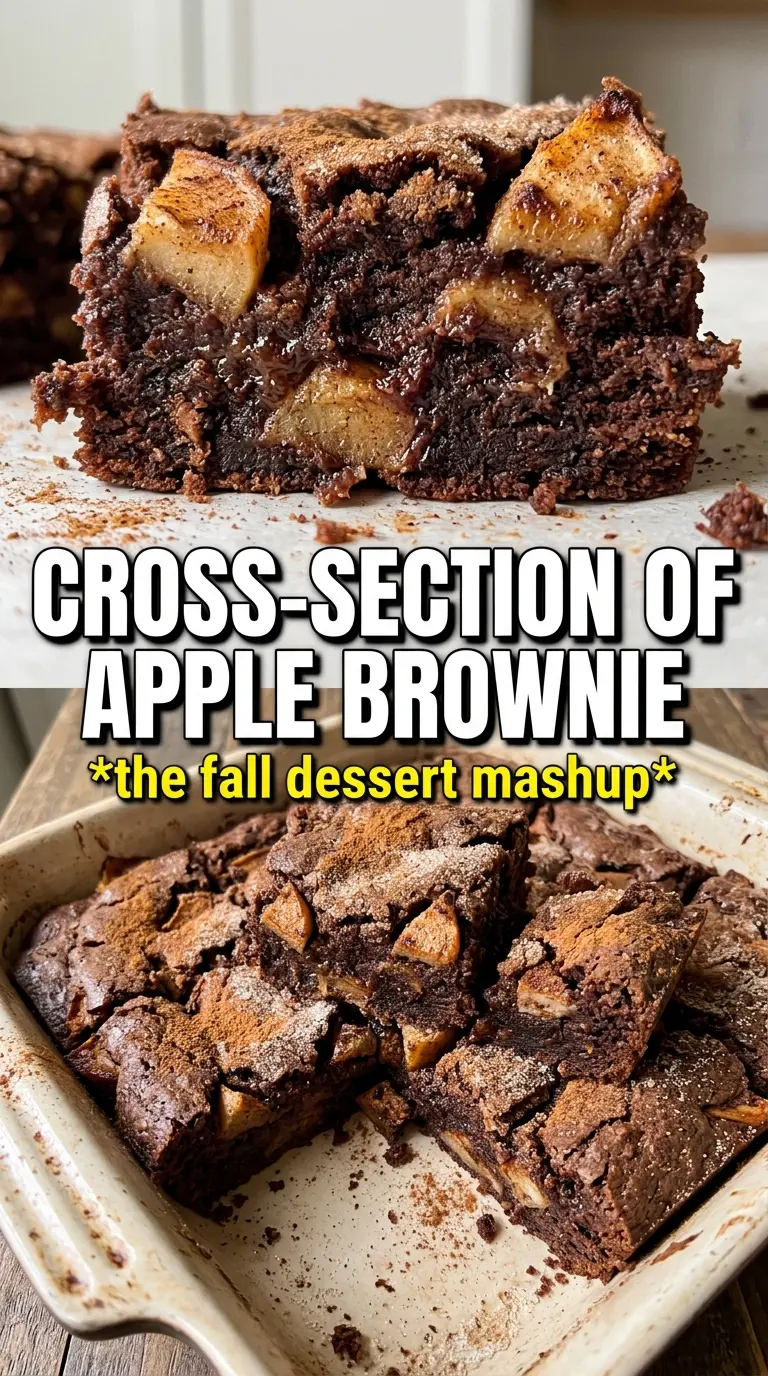
Apple brownies bake up with the dense, fudgy bite of a bar cookie and the warm, spiced softness of tender apples in every square. The edges set into a light crackly crust while the center stays moist and chewy, and the caramel drizzle on top pulls the whole pan into dessert territory fast. They slice cleanly once cooled, which makes them the kind of treat you can set on a platter without fuss.
What keeps this version from turning cakey is the way the batter comes together. Melted butter gives you that rich, chewy base, while the flour stays low enough to hold the apples without drying them out. Finely dicing the apples matters here. Big chunks release too much juice and leave wet pockets; small pieces soften into the crumb and bake evenly through the bars.
Below, I’ve included the one thing that matters most for the texture, the ingredient choices that actually change the outcome, and a few ways to adapt the bars if you want to switch the nuts or skip them altogether.
The bars baked up chewy in the middle with that little crackly top, and the diced apples stayed tender instead of disappearing. I brought them to a potluck and there wasn’t a crumb left.
Save these apple brownies for the days when you want chewy bars, warm spice, and a caramel finish in one pan.
The Trick to Keeping Apple Brownies Chewy Instead of Cakey
The biggest mistake with apple bars is treating them like cake batter. Once you beat in too much flour or overmix after it goes in, the bars bake up puffy and dry instead of dense and fudgy. This batter should look thick and a little rough before the apples go in, and the flour should disappear with just a few stirs.
The other thing that matters is moisture control. Apples bring their own juice, and that is a good thing as long as the pieces are small enough to soften without flooding the pan. If you want chewy bars with a clean slice, stop mixing as soon as the last streaks of flour vanish and let the oven do the rest.
- Apples — Finely diced apples melt into the crumb better than large chunks. Use a firm baking apple if you have one; softer apples can work, but they break down more and make the bars a little wetter.
- Melted butter — This gives the bars their dense, brownie-like texture. Softened butter won’t give the same chew, and browned butter changes the flavor toward nutty and deeper, which is nice if you want a little more richness.
- Brown sugar — Packed brown sugar is what adds chew and keeps the bars moist. You can swap in part of it for more granulated sugar, but the texture gets looser and less fudgy.
- Walnuts or pecans — These are optional, but they add crunch and keep the bars from feeling one-note. Toast them first if you want a deeper, more noticeable nut flavor.
What Each Ingredient Is Actually Doing in This Recipe
- Primary ingredient (the star) — Quality matters most. Choose the best you can find.
- Cooking medium (oil, butter, or broth) — This carries flavors and prevents dryness.
- Seasonings (salt, pepper, spices, herbs) — Layer flavors so nothing overpowers. Build depth gradually.
- Aromatics (garlic, onion, herbs) — Cook with fat to bloom flavors. Become the foundation.
- Supporting ingredients — Complement the main ingredient without overpowering it.
- Sauce or liquid (if applicable) — Brings flavors together. Balance richness with acid.
- Acid (lemon, vinegar, wine, or other) — Brightens and prevents flat-tasting results.
- Final finish (garnish, glaze, or sauce) — Prevents one-dimensional taste and adds visual appeal.
Building the Batter So the Apples Stay Evenly Suspended
Whisk the dry ingredients first
Start with the flour, baking powder, spices, and salt in one bowl so the cinnamon and nutmeg don’t clump in one bite. You want the mix evenly seasoned before it hits the wet ingredients. If you skip this, the spice can streak through the batter instead of blending into the crumb.
Mix the butter and sugars until smooth
Whisk the melted butter with both sugars until the mixture looks glossy and a little grainy, then add the eggs and vanilla. The batter should smooth out and thicken slightly. If the butter is too hot, it can scramble the eggs or make the batter look oily, so let it cool for a minute or two after melting.
Fold in the flour and apples last
Once the dry ingredients go in, stir only until you stop seeing flour. Then fold in the diced apples and nuts gently so the batter stays thick and the fruit doesn’t sink. Spread it into the pan right away; if you let it sit too long, the apples start leaking juice and the texture turns less even.
Three Useful Ways to Change the Pan Without Losing the Texture
Gluten-Free Apple Brownies
Use a good 1:1 gluten-free baking blend in place of the all-purpose flour. The bars will still hold together, but they may be a touch more delicate when warm, so let them cool completely before slicing. The apples and caramel still carry the flavor, and the texture stays pleasantly chewy.
Nut-Free Version
Leave out the walnuts or pecans and the bars will bake up a little softer and more uniform. You don’t need to replace them with anything unless you want extra texture; if you do, use a handful of rolled oats for a subtle chew. The flavor stays focused on apple, spice, and caramel.
Extra-Spiced Bars
If you want a deeper spice note, add a pinch more cinnamon or a little extra nutmeg, but don’t overdo it. The apples need room to stay the main flavor, and too much spice makes the bars taste heavy instead of warm. A small bump is enough to make the pan smell like you did something special.
Storage and Reheating
- Refrigerator: Store covered for up to 5 days. The bars stay moist, and the spice flavor deepens a little by day two.
- Freezer: Freeze sliced bars tightly wrapped for up to 2 months. Thaw at room temperature; the caramel drizzle is best added after thawing so it stays glossy.
- Reheating: Warm an individual bar in the microwave for 10 to 15 seconds if you want the center soft again. Don’t overheat it or the apples will turn mushy and the edges can dry out.