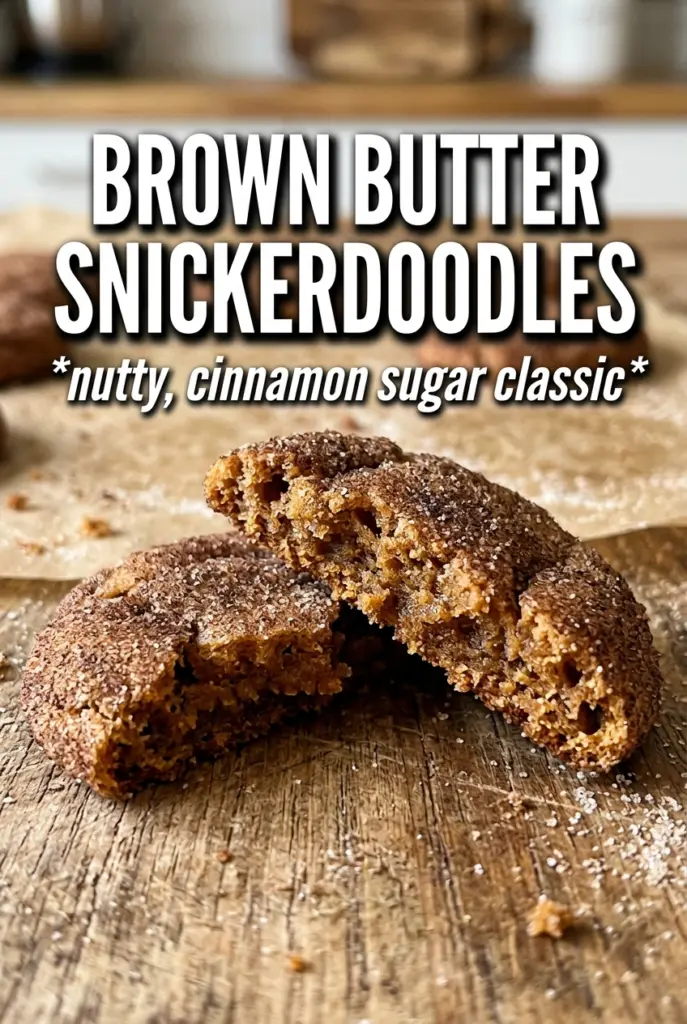
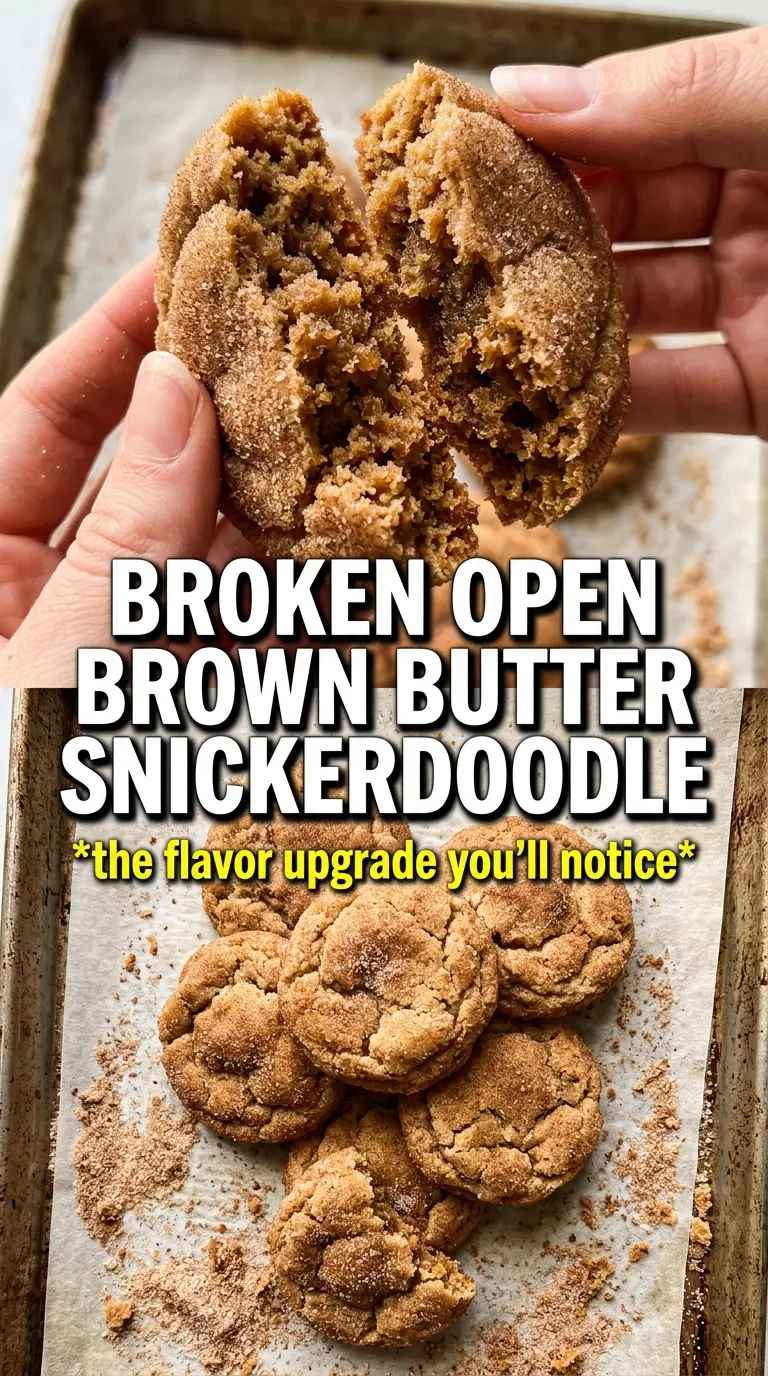
Brown Butter Snickerdoodles bake up with crisp cinnamon-sugar edges, soft centers, and that unmistakable nutty depth you only get from browned butter. They taste familiar at first bite, then the caramel-like finish comes through and makes the whole cookie feel a little more grown-up without losing the classic snickerdoodle charm.
The key is patience with the butter. Browning it builds flavor, but it also means the dough needs to be made with butter that has fully solidified again, or the cookies can spread too much and bake up greasy. Cream of tartar keeps that signature tangy snickerdoodle bite, and the extra cinnamon in the dough gives the cookies more warmth so the coating doesn’t do all the work.
Below, I’ll walk you through the part that matters most: how to get the brown butter back to the right texture before mixing, plus the rolling trick that gives every cookie a thick, crinkled sugar crust.
The browned butter made these taste like a bakery cookie, and the cinnamon sugar coating baked into that perfect crinkly crust. Mine were done right at 11 minutes and stayed soft in the middle after cooling.
Save these brown butter snickerdoodles for the days when you want a deeply caramelized cookie with a soft center and a cinnamon-sugar crust.
The Trick Is Getting the Brown Butter Back to the Right Texture
Brown butter gives these cookies their best flavor, but it also changes the dough in a way that catches people off guard. If you use it while it’s still warm and liquid, the cookies spread before the structure sets, and you lose that thick, crinkled snickerdoodle look. Once the butter has been browned, it needs to cool and solidify until it has the texture of softened but not greasy butter.
That step is what keeps the dough from turning sloppy in the bowl. You want it pliable enough to cream with the sugar, but firm enough that the cookies hold their shape in the oven. The cream of tartar still gives the classic tang, and the added cinnamon in the dough means the spice reads all the way through, not just on the surface.
- Browned butter — This is the whole reason the cookies taste deeper and more toasty than a standard snickerdoodle. Chill it until solid, then let it come back to a spreadable texture before beating it with the sugar.
- Cream of tartar — Don’t skip it. It’s what gives snickerdoodles their slight tang and their tender, chewy bite. There isn’t a true substitute if you want the classic result.
- Cinnamon in the dough — A little spice inside the dough keeps the cookie from tasting flat. The rolling mixture gives you the surface crunch, but the dough cinnamon gives you warmth in every bite.
- Nutmeg in the rolling sugar — It’s tiny, but it adds a faint bakery-style background note. If you don’t have it, leave it out rather than replacing it with too much extra cinnamon.
What Each Ingredient Is Actually Doing in This Recipe
- Primary ingredient (the star) — Quality matters most. Choose the best you can find.
- Cooking medium (oil, butter, or broth) — This carries flavors and prevents dryness.
- Seasonings (salt, pepper, spices, herbs) — Layer flavors so nothing overpowers. Build depth gradually.
- Aromatics (garlic, onion, herbs) — Cook with fat to bloom flavors. Become the foundation.
- Supporting ingredients — Complement the main ingredient without overpowering it.
- Sauce or liquid (if applicable) — Brings flavors together. Balance richness with acid.
- Acid (lemon, vinegar, wine, or other) — Brightens and prevents flat-tasting results.
- Final finish (garnish, glaze, or sauce) — Prevents one-dimensional taste and adds visual appeal.
How to Build the Dough So the Cookies Stay Thick and Crinkled
Brown the Butter Until the Milk Solids Turn Deep Gold
Cook the butter over medium heat and keep it moving as it foams. The moment the foam clears, watch the bottom of the pan closely; you’re looking for brown specks and a nutty smell, not dark black bits. Pull it off the heat as soon as it smells toasted and looks amber-gold, then pour it into a bowl right away so it doesn’t keep cooking in the pan.
Cool It Until It’s Solid, Not Soft and Runny
Let the butter chill until it firms up again. If it’s still liquid when you mix the dough, the sugar can’t cream properly and the dough will bake flatter. The ideal texture is solid but not icy hard, so it beats smoothly with the sugar and traps a little air.
Mix Just Until the Flour Disappears
Once the dry ingredients go in, stop mixing as soon as the flour streaks are gone. Overmixing develops gluten and makes the cookies tougher instead of tender. The dough should hold together cleanly, and it will feel a little rich from the browned butter, which is exactly what you want.
Roll Generously for That Classic Crackled Finish
Use a shallow bowl and coat each dough ball heavily in the cinnamon sugar. A light dusting won’t give you the same crust, and the sugar layer helps the tops crack as the cookies expand in the oven. Bake just until the edges are set and the centers still look a little soft; they finish on the pan, not in the oven.
What to Change When You Need a Different Version
Gluten-Free Brown Butter Snickerdoodles
Use a 1:1 gluten-free flour blend with xanthan gum already included. The cookies will still spread a little, but the browned butter and cinnamon sugar keep the texture and flavor close to the original. Don’t use almond flour here; it changes the structure too much and the cookies won’t hold that classic snickerdoodle shape.
Dairy-Free Version
Swap in a plant-based butter that browns well, then watch it closely because some alternatives go from golden to burnt faster than dairy butter. The flavor won’t be quite as nutty, but the cinnamon sugar coating still carries most of the cookie’s character. Use the same chilling step so the dough firms up properly.
Extra Cinnamon, Less Tang
If you want a more cinnamon-forward cookie, add another 1/2 teaspoon cinnamon to the dough and leave the coating as written. If you cut back the cream of tartar, the cookies lose the snickerdoodle identity and start tasting more like a generic sugar cookie, so keep it in unless you’re deliberately changing the style.
Storage and Reheating
- Refrigerator: Store baked cookies in an airtight container for up to 5 days. They stay soft, though the cinnamon sugar coating will soften a little.
- Freezer: Freeze baked cookies for up to 2 months, or freeze the portioned dough balls and roll them in sugar right before baking. Freezing the dough is the better move if you want that fresh-baked texture.
- Reheating: Warm baked cookies in a 300°F oven for 4 to 5 minutes. Don’t microwave them for long or the centers turn rubbery and the sugar coating gets sticky instead of crisp.