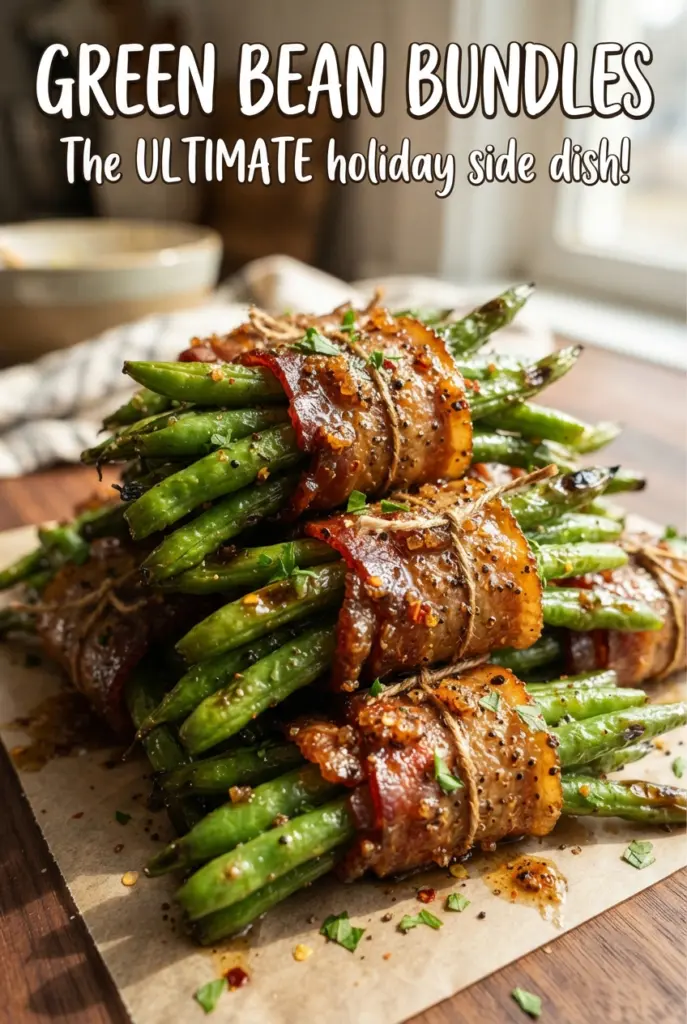
Green bean bundles hit that sweet spot between side dish and event food: tender beans tucked inside crisp bacon, finished with a sticky brown sugar garlic glaze that clings to every bite. They come out savory, salty, and just a little glossy, with enough texture contrast to keep them interesting from the first bundle to the last.
The trick is starting with blanched green beans. That quick dip in boiling water gives the beans a head start so they stay bright and tender in the oven instead of turning wrinkled and dull while the bacon finishes. The glaze matters too. Melted butter carries the brown sugar and garlic across the pan, while a small splash of soy sauce deepens the flavor and keeps the sweetness from tasting flat.
Below, I’ve included the small details that matter most: how many beans to tuck into each bundle, why seam-side down helps the bacon stay put, and what to watch for at the end so the glaze bubbles without burning.
The bacon crisped up perfectly and the brown sugar garlic glaze bubbled into the dish just like you said. I made these for Sunday dinner and every bundle disappeared before the main course was gone.
Save these green bean bundles for the nights when you want a side dish with crisp bacon, tender beans, and sticky brown sugar glaze.
The Part That Keeps the Bacon Crisp Instead of Soggy
The biggest mistake with bacon-wrapped green beans is skipping the blanch. Raw beans and raw bacon do not finish at the same pace, and if you leave the beans uncooked at the start, you end up either with limp bacon or beans that still taste green and tough. A three-minute boil followed by an ice bath gives the beans a soft head start and locks in that bright color before they go into the oven.
The other detail that matters is how the bundles sit in the pan. Seam-side down helps the bacon hold its shape while it renders, and a baking dish keeps the glaze pooled around the bundles so it can bubble and coat instead of disappearing onto a sheet pan. You want the bacon to look browned and crisp at the edges, not pale and rubbery. If the pan looks dry halfway through, the glaze is reducing too fast, which means your oven is running hot.
What Each Ingredient Is Doing in These Green Bean Bundles
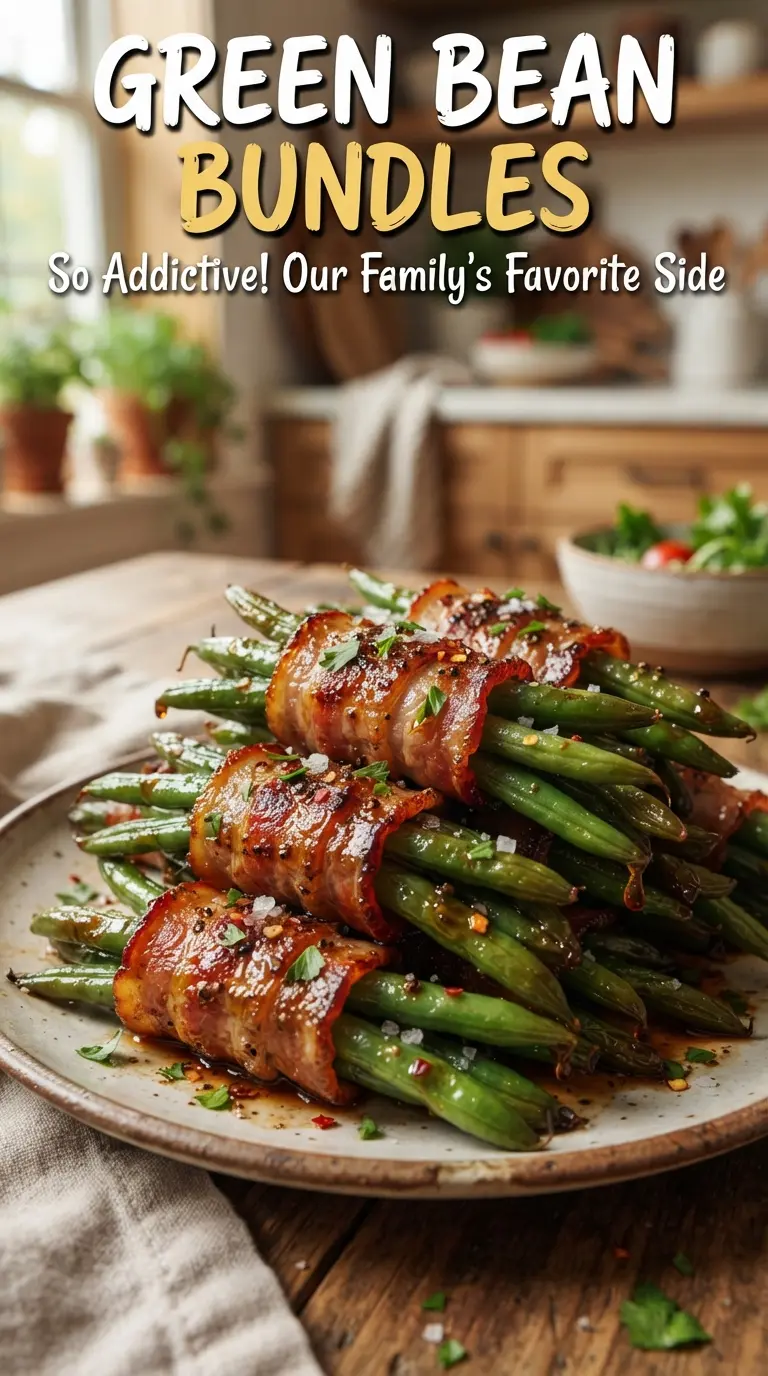
- Fresh green beans — These need to be fresh and trimmed cleanly because they’re the structure of the dish. Thin, tender beans work best since they soften quickly and bundle neatly. Frozen beans won’t hold up here; they turn watery and collapse under the bacon.
- Bacon — Bacon does double duty by holding the bundles together and bringing the salty, crisp finish. Regular-cut bacon is the sweet spot. Thick-cut takes too long to crisp and can leave the beans underdone by the time it finishes rendering.
- Brown sugar — This is what gives you that sticky lacquer on the pan. Light or dark brown sugar both work, but dark brown sugar makes the glaze taste deeper and a little more molasses-heavy. If you want less sweetness, reduce it a little, but don’t leave it out or the glaze loses its body.
- Butter — Melted butter helps the sugar dissolve and gives the glaze a rich base so it coats instead of clumping. You can swap in salted butter if that’s what you have; just hold back a little added salt elsewhere, though this recipe doesn’t need much extra anyway.
- Soy sauce and garlic — These are the flavor anchors. The soy sauce adds salt and depth, while garlic keeps the glaze from tasting one-note sweet. Fresh minced garlic gives the best punch; garlic powder works in a pinch, but it won’t bring the same sharp, savory edge.
How to Build the Bundles So They Hold and Caramelize
Blanching the Beans First
Bring a pot of salted water to a boil, drop in the trimmed green beans, and count out about three minutes. They should turn bright green and stay firm, not soft. Move them straight into ice water so they stop cooking fast; if they keep steaming in a colander, they’ll lose that crisp-tender bite before they ever reach the oven. Dry them well after the ice bath, because excess water can thin the glaze and make the bacon steam instead of brown.
Wrapping and Arranging the Bundles
Gather eight to ten beans for each bundle, depending on their size, then wrap each bundle with half a slice of bacon. Keep the wrap snug but not tight enough to squeeze the beans flat. Place each bundle seam-side down in the baking dish so the bacon stays put as it cooks. If the bundles are crowded, the bacon won’t crisp properly, so give them a little breathing room.
Glazing and Baking
Whisk the melted butter, brown sugar, garlic, soy sauce, and black pepper until the sugar looks mostly dissolved, then pour it evenly over the bundles. Bake at 400°F for 25 to 30 minutes. You’re looking for bubbling glaze, browned bacon, and beans that are tender when pierced with a fork. If the bacon is still soft at the end, leave the dish in for a few more minutes and watch closely so the sugar doesn’t darken too far.
Serving with the Pan Glaze
Spoon the glaze from the bottom of the dish over the bundles right before serving. That pooled sauce is where the strongest flavor lives, and it’s what gives each bite that glossy finish. Serve them warm so the bacon stays crisp around the edges. If they sit too long, the glaze firms up and the bacon softens, so get them from the oven to the table without much delay.
How to Adapt These Green Bean Bundles for Different Tables
Make Them Ahead for a Busy Dinner
Blanch and dry the beans, then wrap the bundles and refrigerate them uncooked for a few hours. Mix the glaze separately and keep it covered until baking time. This keeps the bacon from getting soggy and gives you a cleaner, crisper finish in the oven.
Dairy-Free Version
Swap the butter for a neutral dairy-free butter alternative with a good fat content. The glaze will still bubble and coat the bundles, though it may taste a little less rich. Keep the rest of the method the same so the beans stay tender and the bacon still crisps.
Lower-Sugar Glaze
Cut the brown sugar back a little if you want a less sticky finish, but don’t reduce it too far or the glaze turns thin and oily. You’ll get a more savory side dish with less caramelization on the pan. A teaspoon of Dijon can help replace some of the depth if you trim the sweetness.
Storage and Reheating
- Refrigerator: Store leftovers in an airtight container for up to 3 days. The bacon softens as it sits, and the glaze will thicken in the fridge.
- Freezer: These don’t freeze well after baking because the beans lose their texture and the bacon gets chewy.
- Reheating: Warm them in a 350°F oven until heated through, about 10 minutes. The oven brings the bacon back to life much better than the microwave, which turns the bundles limp and unevenly hot.
Answers to the Questions Worth Asking
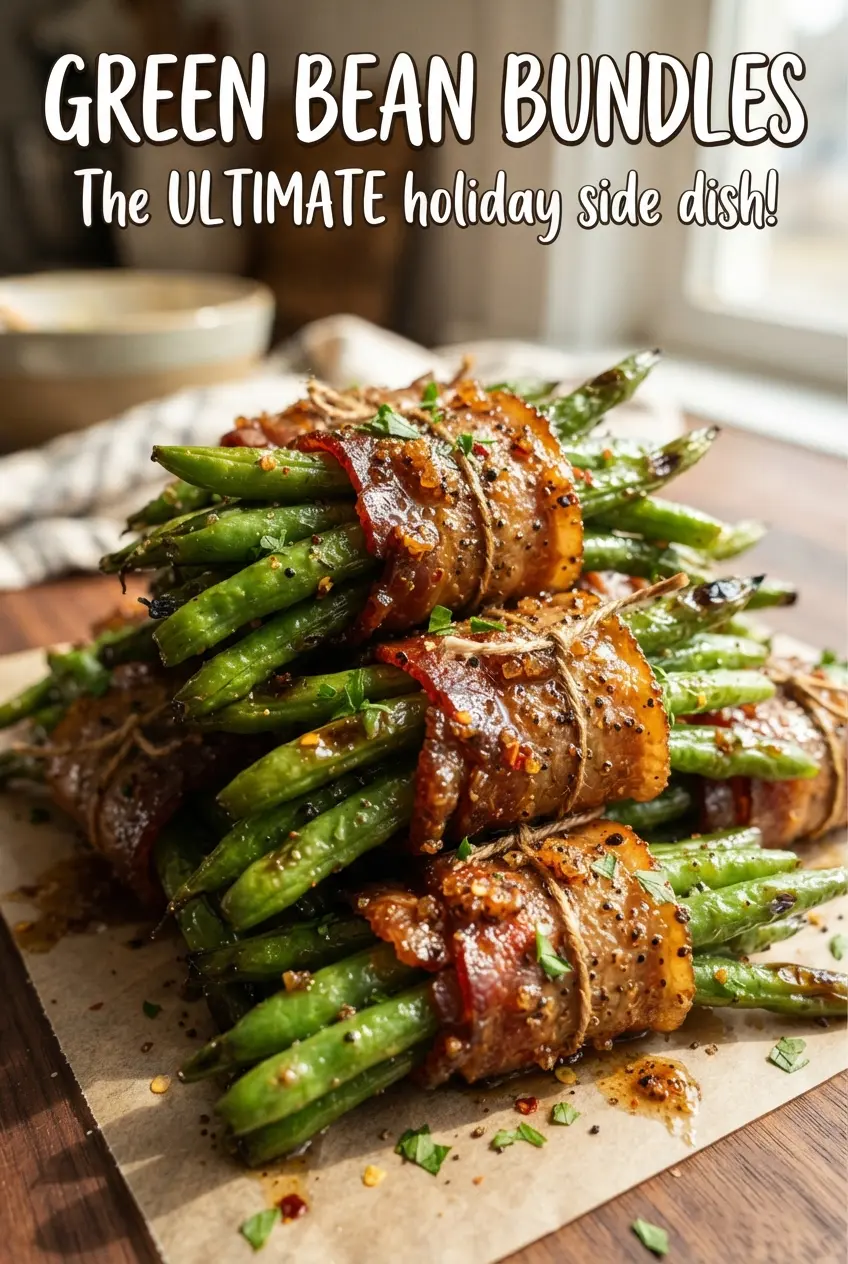
Green Bean Bundles
Ingredients
Equipment
Method
- Preheat oven to 400F. Blanch green beans in boiling water for 3 minutes, then plunge into ice water and drain to lock in the bright color.
- Gather 8-10 green beans into a bundle and wrap with a half slice of bacon, seam-side down in a baking dish so the bacon stays in place while baking.
- Whisk melted butter, brown sugar, garlic, soy sauce, and black pepper until smooth and pourable, with the sugar visibly dissolved.
- Pour the glaze evenly over the bundles. Bake for 25-30 minutes at 400F until the bacon is crisp and the glaze is bubbly, with a glossy sheen.
- Spoon pan glaze over the bundles and serve warm for the best sticky coating.