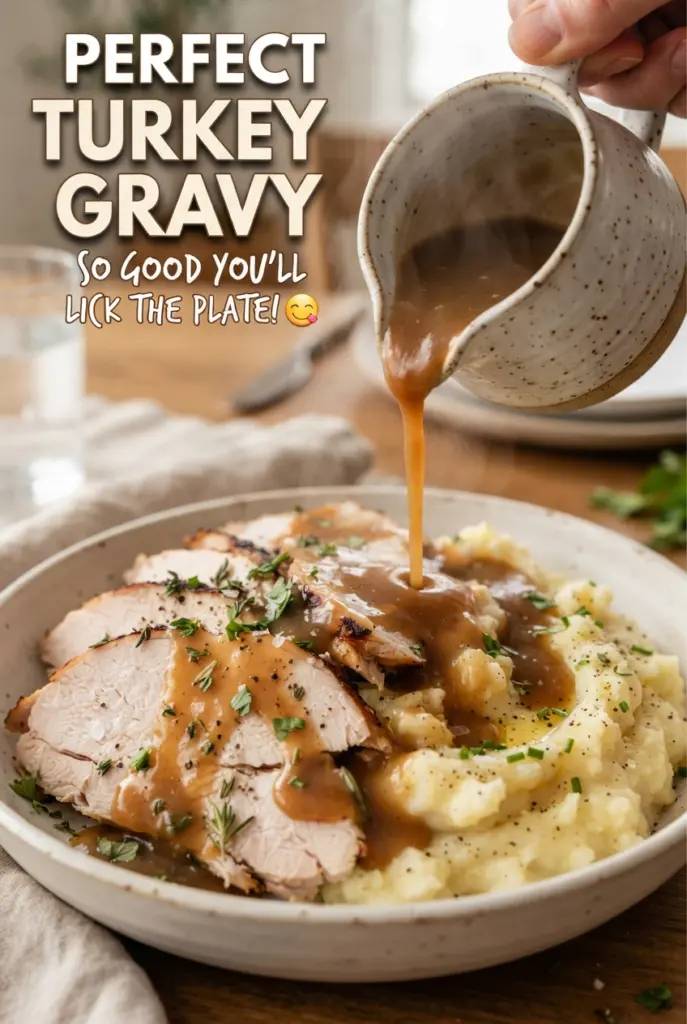
Silky turkey gravy earns its place on the table because it turns the drippings from a roast into something you’d be happy to spoon over everything on the plate. When it’s done right, it clings to mashed potatoes, glosses sliced turkey, and settles into that rich, savory place where no one asks for extra sauce because the first ladle already did the job.
The key is building a roux from the fat in the pan drippings instead of rushing straight to the stock. That step gives the gravy body and a cooked, nutty base that keeps it from tasting floury. Warm stock matters too; cold liquid can seize the roux and leave you whisking out lumps longer than you should have to. A little soy sauce sounds small, but it deepens the color and rounds out the turkey flavor without making the gravy taste like soy sauce.
Below, you’ll find the small timing details that keep the gravy smooth, plus the easiest way to adjust it if your drippings are light or you need to stretch it for a crowd.
The roux browned beautifully and the gravy thickened into that perfect silky texture without tasting pasty. I used the thyme and the soy sauce exactly as written and it tasted like it had been simmering all afternoon.
Save this turkey gravy for Thanksgiving plates, mashed potatoes, and any roast dinner that needs a glossy, spoon-coating finish.
The Roux Is What Keeps This Gravy from Turning Thin and Starchy
A lot of gravy fails in the first five minutes, not the last ten. If the flour never gets cooked in fat long enough, the gravy tastes raw and dusty even if the seasoning is right. If the stock goes in too fast, the roux clumps before it has a chance to loosen, and you end up chasing lumps around the pot instead of building body.
Let the roux reach a light golden brown before you add the liquid. That color means the flour has cooked enough to lose its raw edge and pick up a deeper, nuttier flavor. Whisking in warm stock gradually gives the roux time to absorb the liquid smoothly, which is why the gravy turns silky instead of grainy.
What the Drippings, Stock, and Soy Sauce Are Each Doing Here

- Turkey drippings — This is where the deepest roasted flavor comes from. Measure the fat separately from the juices so you can build the roux with fat, not watery pan liquid. If you don’t have enough drippings, butter works, but the gravy loses that roasted turkey edge.
- Flour — All-purpose flour gives the gravy its body without making it heavy. Cook it in the fat for a few minutes so the final gravy doesn’t taste pasty. If you skip that step, the texture can stay chalky even after simmering.
- Warm stock plus pan juices — Warm liquid blends into the roux much more easily than cold stock. Use turkey stock if you’ve got it; chicken stock works well and still tastes full once the drippings go in. The deglazed pan juices matter because they carry the browned bits that make this taste like actual roast turkey gravy, not just seasoned sauce.
- Thyme and soy sauce — Thyme gives the gravy that familiar holiday backbone, while soy sauce deepens color and savory flavor. It doesn’t make the gravy taste Asian or salty; it just boosts the meaty notes that turkey gravy sometimes needs. Add both at the end of the simmer so you can taste the finished balance before seasoning.
Building the Gravy So It Stays Smooth from First Whisk to Final Ladle
Separating the Fat from the Juices
Pour the roasting pan drippings into a measuring cup and let them sit long enough for the fat to rise. You need that top layer for the roux, while the darker juices underneath go into the stock. If you mix them together and add everything at once, the gravy can still work, but you lose control over the thickness and the final flavor will be less concentrated.
Cooking the Roux Until It Smells Nutty
Whisk the flour into the hot fat and keep it moving over medium heat until it turns golden brown, not pale beige. The mixture should smell like cooked toast, not raw flour. If it gets much darker than a light caramel color, it can turn bitter, so stay close and don’t walk away while it’s on the stove.
Whisking in the Liquid Without Making Lumps
Add the warm stock a little at a time, whisking until the mixture loosens before pouring in more. The first splash will look thick and almost paste-like; that’s normal. Keep going slowly and the sauce will turn glossy and smooth. If lumps appear, they usually come from dumping in too much liquid too fast, and the fix is a strong whisk plus a little patience, not higher heat.
Finishing with the Right Thickness
Simmer the gravy for 8 to 10 minutes until it coats the back of a spoon and leaves a clean line when you drag a finger through it. That simmer cooks out the starchiness and lets the flavor come together. If it gets too thick, loosen it with a splash of warm stock. If it’s thin, keep simmering instead of cranking the heat, which can make the bottom catch before the gravy has time to reduce.
Three Ways to Adjust This Gravy Without Losing the Good Part
Use butter when the drippings are scarce
If your roast didn’t give you a full 1/4 cup of fat, top it off with butter. Butter gives the roux the same thickening power, but you’ll lose a little of the roasted depth, so lean on the pan juices and stock for flavor. This is the best fix when the turkey was lean or you’re making gravy from a smaller bird.
Make it gluten-free with a cornstarch slurry
Swap the flour roux for 2 tablespoons cornstarch mixed with 2 tablespoons cold water, then whisk that into simmering stock and drippings after the liquid is hot. The gravy will thicken faster and look a little glossier, but it won’t have the same buttery depth as a roux-based version. Don’t boil it hard after the slurry goes in or it can thin back out.
Skip the soy sauce if you need a lighter salt profile
If you’re avoiding soy, leave it out and season the finished gravy with salt a little at a time. The gravy will still taste rich, but the color may be slightly lighter and the savory finish less rounded. A splash of Worcestershire can fill a similar role if soy isn’t the issue and you just want another layer of depth.
Storage and Reheating
- Refrigerator: Store in an airtight container for up to 4 days. It will thicken as it chills.
- Freezer: Freezes well for up to 3 months. Cool completely, then freeze in a sealed container with a little headspace for expansion.
- Reheating: Warm gently in a saucepan over low heat with a splash of stock or water. Whisk as it heats so it loosens evenly; high heat can make it look broken or too thick before it’s fully hot.
Answers to the Questions Worth Asking
Perfect Turkey Gravy
Ingredients
Equipment
Method
- Pour the roasting pan drippings into a measuring cup and let the fat rise to the top, without stirring, until separated.
- Spoon 1/4 cup of the fat into a saucepan and set it over medium heat.
- Whisk in the all-purpose flour to form a roux and cook for 3-4 minutes, whisking constantly, until the roux turns golden brown.
- Gradually whisk in the warm turkey or chicken stock (including the deglazed pan juices) until smooth, with no lumps.
- Add the fresh thyme leaves and soy sauce, then simmer 8-10 minutes until thick enough to coat a spoon, stirring occasionally as it bubbles.
- Season with salt and pepper to taste, then strain if desired for a finer texture.
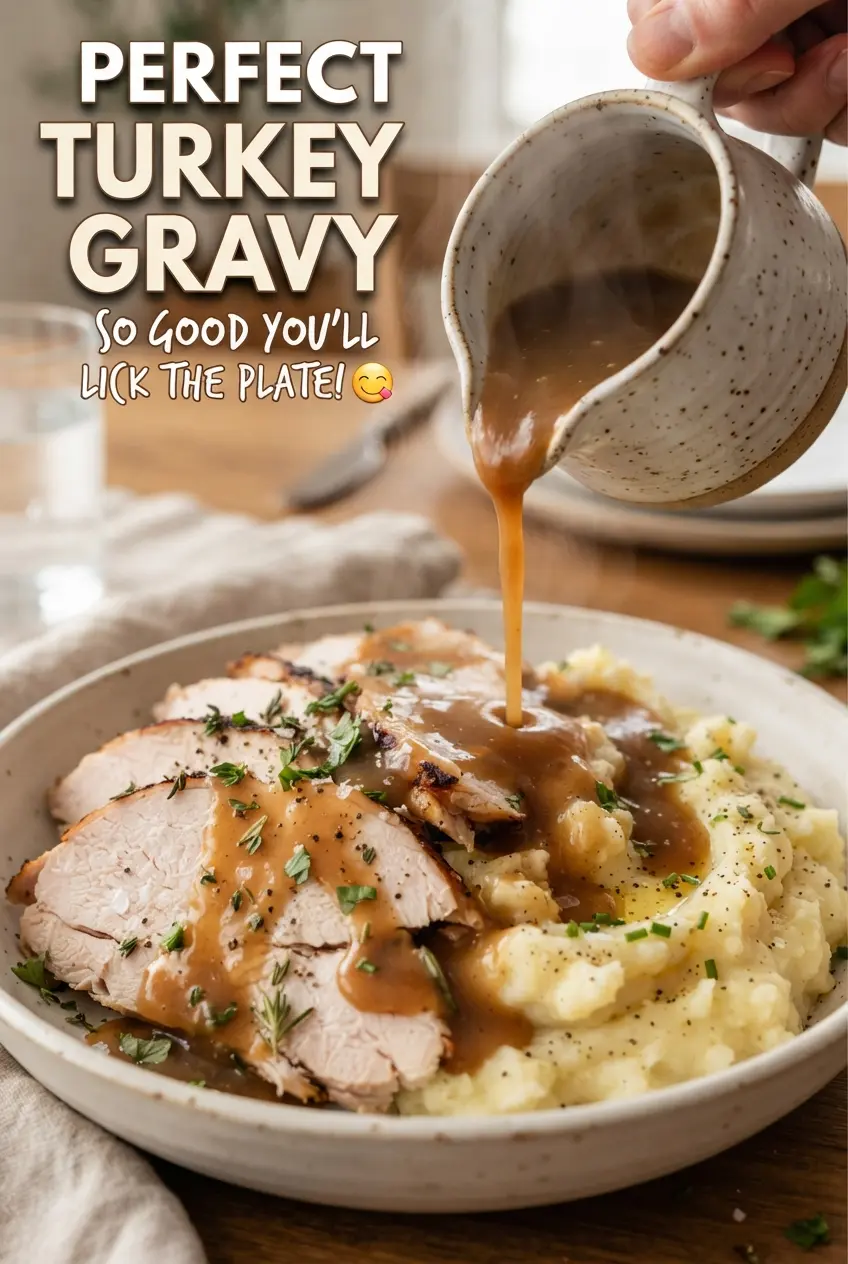
- Serve the gravy hot, steaming and glossy over sliced turkey or mashed potatoes.