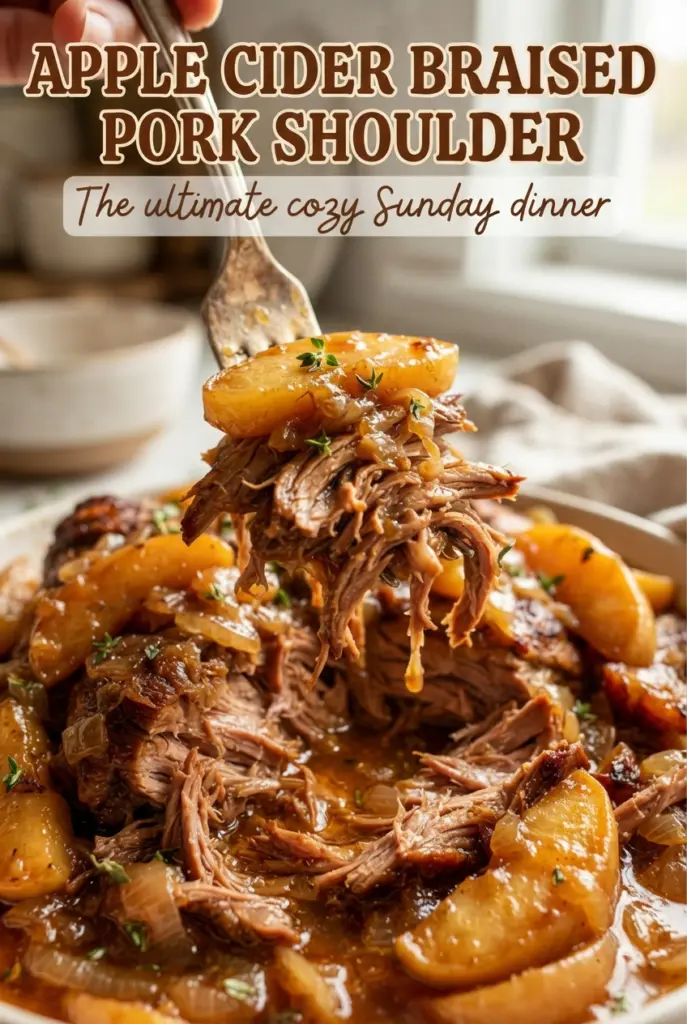
Tender braised pork shoulder with apples and onions is the kind of dinner that fills the house with a rich, savory-sweet smell long before it ever reaches the table. The meat turns spoon-soft after a slow oven braise, the cider cooks down into a glossy sauce, and the apples keep just enough shape to give each bite a little sweetness without turning mushy. It’s the sort of pot dinner that feels steady and reliable, the kind you make once and then keep coming back to because it never disappoints.
This version works because the pork gets a hard sear first, which builds a deep browned base for the braising liquid. The cider, broth, Dijon, and vinegar balance each other instead of making the sauce cloying, and the apples go in late so they soften without disappearing. The herbs matter here too: thyme and rosemary hold up through the long cook and keep the sauce tasting savory, not sugary.
Below, I’ll walk through the part that makes the biggest difference: how to keep the braising liquid flavorful enough to serve as-is after it’s reduced. There’s also a quick note on what to do if you want to make it ahead, because this pork reheats beautifully.
The pork got so tender it shredded with a fork, and the cider sauce reduced into something deep and glossy instead of watery. I loved that the apples held their shape and didn’t turn into applesauce.
Save this Apple Cider Braised Pork Shoulder for the nights when you want fork-tender pork, soft apples, and a cider pan sauce that practically makes itself.
The Seared Crust Is What Gives the Braise Its Depth
A braise can taste flat if the meat goes straight into liquid without enough browning. The sear on this pork shoulder isn’t cosmetic; it’s the flavor base for the whole pot. You want a dark golden crust that releases on its own from the Dutch oven, not pale patches that steam and stick.
The other mistake people make is rushing the onions before the fond has a chance to stay in the pan. Once the pork comes out, the onions should pull up those browned bits as they soften, and the cider mixture should scrape the bottom clean. That’s where the finished sauce gets its roasted, savory edge.
What Each Ingredient Is Doing in the Pot
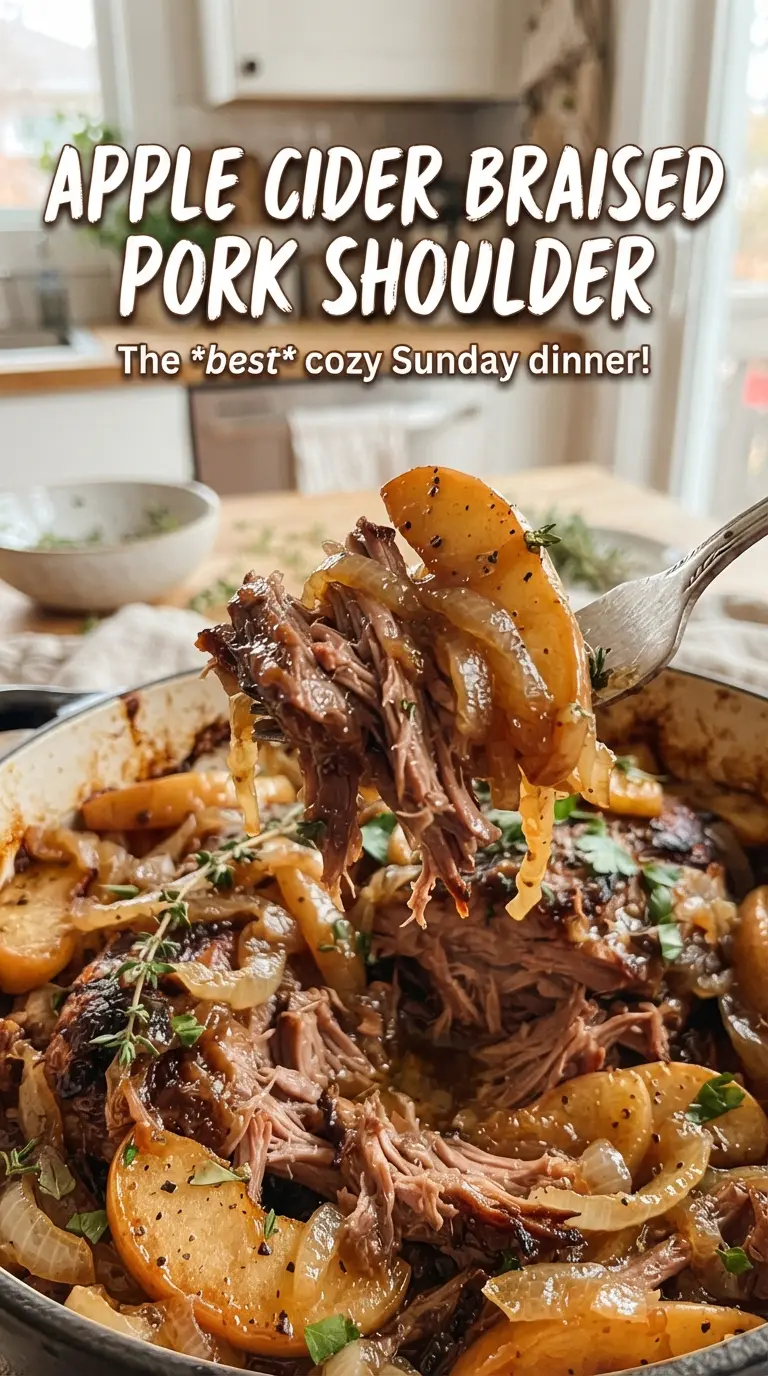
- Pork shoulder — This cut has enough fat and connective tissue to stay succulent through a long braise. Don’t swap in lean pork loin here; it’ll dry out before the sauce has time to develop. If you can only find one larger piece, that works fine.
- Apple cider — Use real cider, not apple juice, if you can. Cider has a fuller, more tart apple flavor that holds up after three hours in the oven. Juice works in a pinch, but the sauce will taste sweeter and less layered.
- Dijon mustard and apple cider vinegar — These keep the sauce from drifting into dessert territory. Dijon adds body and a quiet sharpness, while vinegar brightens the finished braise. Don’t skip both unless you’re willing to accept a much sweeter pot.
- Apples — Choose a firm baking apple that keeps its shape, like Honeycrisp or Granny Smith. Softer apples collapse too fast and disappear into the sauce. Add them near the end so they turn tender instead of mushy.
- Fresh thyme and rosemary — Dried herbs can work in a pinch, but the fresh sprigs give the braise a cleaner, woodsy finish. Rosemary is potent, so keep it whole and remove it if the flavor starts to dominate.
Building the Braise So the Sauce Finishes Rich, Not Watery
Seasoning and Searing the Pork
Coat the pork pieces evenly with salt, pepper, and smoked paprika before they hit the pan. Once the oil is hot, the meat should sizzle immediately and then slowly darken into a deep crust over 4 to 5 minutes per side. If the pork is sticking hard, leave it alone another minute; it usually releases when the browning is ready.
Softening the Onion Base
After the pork is out, the onion goes into the same pot and starts loosening the stuck-on browned bits. Give it time to turn soft and a little translucent before the garlic goes in, because garlic burns fast and brings bitterness with it. You’re not looking for color here, just a sweet softened base that can carry the cider.
Layering the Braising Liquid
Stir in the cider, broth, vinegar, Dijon, and brown sugar, then scrape the bottom until the pot looks clean. The liquid should smell balanced already — fruity, sharp, and savory at the same time. If it tastes flat at this stage, the final sauce will too, so the salt and browning need to be right before the oven goes on.
Finishing the Braise and Reducing the Sauce
Cover the pot and let the pork go low and slow until a fork slides in without resistance. The apples join only for the last stretch so they keep their shape. When the pork comes out, reduce the liquid on the stove until it lightly coats a spoon; if you stop too soon, the sauce will taste thin and pool around the meat instead of clinging to it.
How to Adapt This Braise Without Losing What Makes It Work
Make it gluten-free without changing the method
This recipe is naturally gluten-free as written as long as your broth and Dijon are certified gluten-free. The texture and braise time stay the same, so there’s no special adjustment needed. Just check the label on the broth, since that’s the ingredient most likely to hide a gluten issue.
Swap the pork shoulder for bone-in country-style ribs
Country-style ribs braise well and give you a similar rich result, though they may finish a little sooner than a full shoulder. Start checking for tenderness around the 2-hour mark. You’ll get less shredding and more chunked meat, but the cider sauce still works beautifully with them.
Use chicken instead of pork for a lighter dinner
Bone-in chicken thighs can work if you want the same cider-and-herb flavor in a shorter cook. They won’t need the long braise, and the sauce should be reduced less aggressively so it stays balanced with the lighter meat. You’ll lose the rich shreddable texture of pork shoulder, but the apples and onions still make sense.
Storage and Reheating
- Refrigerator: Store leftovers for up to 4 days. The flavor gets even better overnight, and the sauce thickens as it chills.
- Freezer: Freezes well for up to 3 months. Cool it completely, pack the pork with plenty of sauce, and leave some headspace so the liquid can expand.
- Reheating: Warm it gently on the stove or in a covered baking dish at 325F with a splash of broth if needed. High heat dries out the pork and can make the reduced sauce taste salty.
Answers to the Questions Worth Asking
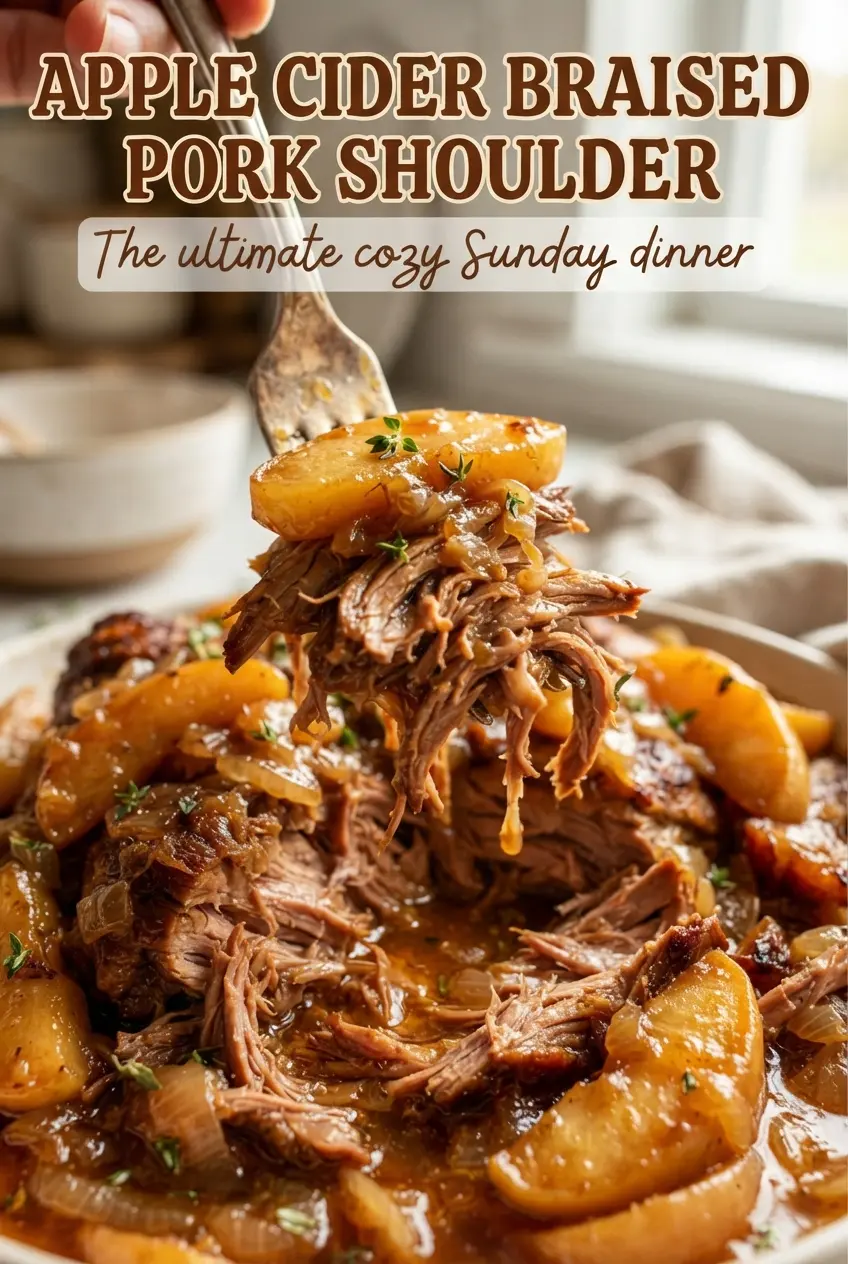
Apple Cider Braised Pork Shoulder
Ingredients
Equipment
Method
- Preheat oven to 325F, then season pork with salt, black pepper, and smoked paprika. Pat the seasoning onto all sides so it forms a browned crust later.
- Heat olive oil in a Dutch oven over high heat, then sear pork until well browned, 4-5 minutes per side, and remove. Look for deep golden-brown edges before taking it out.
- Cook onion in the Dutch oven for 5 minutes, stirring, until softened. Add garlic and cook 1 minute to bloom its aroma.
- Stir in apple cider, chicken broth, apple cider vinegar, Dijon mustard, and brown sugar, scraping up the browned bits. Bring the mixture to a simmer and make sure the sauce looks cohesive.
- Return pork to the Dutch oven with fresh thyme and fresh rosemary, then cover and braise 2 1/2 hours at 325F. The meat should be nearly tender when you check it.
- Add apples and braise 45 minutes more, covered, at 325F until pork is fork-tender. The apples should be soft and the sauce should be lightly thickened.
- Shred pork into large pieces, then simmer the liquid on the stove for 10 minutes to reduce. Watch for the sauce to coat the back of a spoon.
- Serve pork with the reduced sauce and apples. Spoon extra sauce over the meat so each bite is well glossed.