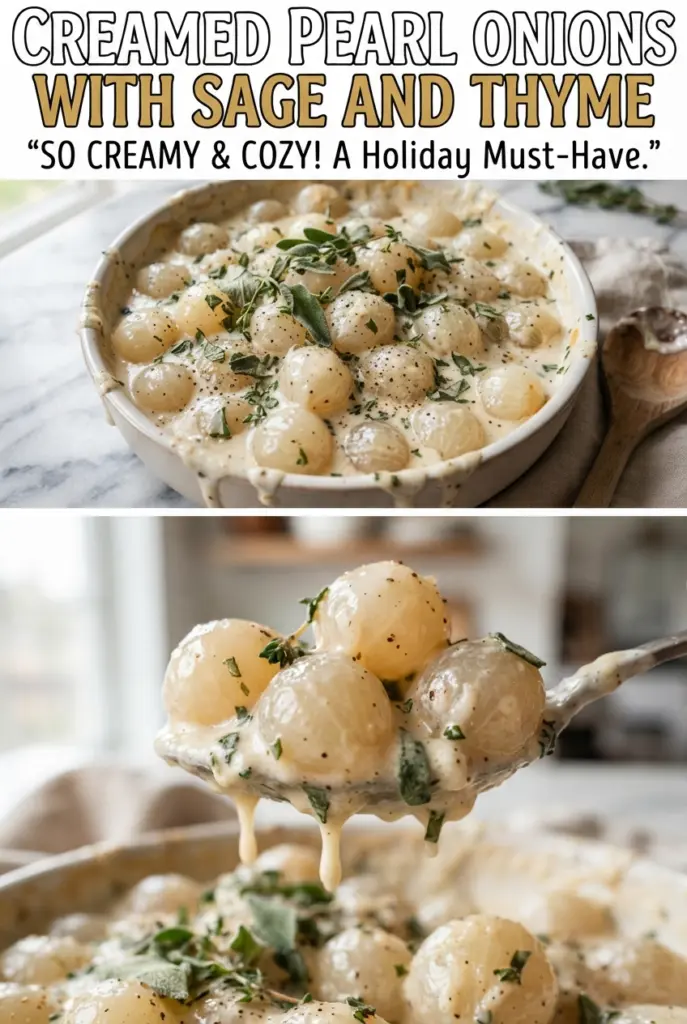
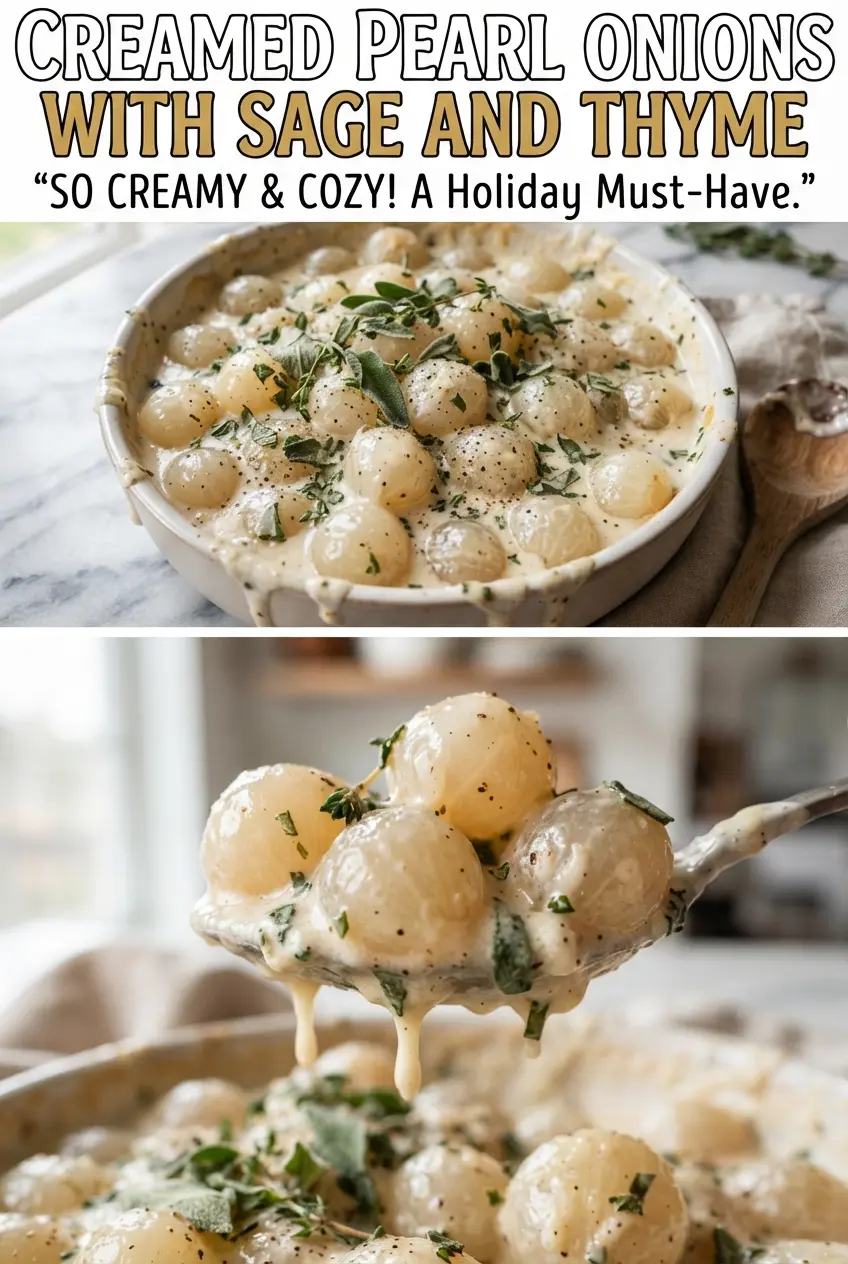
Glossy pearl onions in a velvety cream sauce have a way of stealing the whole table, even when they’re tucked in beside the main dish. The onions stay tender but still hold their shape, the sauce clings instead of pooling, and the sage brings a clean, woodsy note that keeps the cream from feeling heavy. Crispy sage leaves on top finish the dish with a little crunch and a lot of character.
Frozen pearl onions make this much easier without giving up the texture that matters. Thawing them first keeps the skillet from flooding with extra water, which is the difference between onions that brown and onions that steam. A short cook in butter builds color before the flour and dairy go in, and that quick base gives the sauce enough body to coat every onion instead of sliding off.
Below, I’ve broken down the part that matters most: how to keep the sauce smooth while the onions turn tender, plus a few smart swaps if you need to adapt what’s on hand. There’s also a storage note for making this ahead, because side dishes like this are easier when you know exactly how they behave after reheating.
The onions turned tender without falling apart, and the sauce thickened into that silky coating that actually stayed on the spoon. I loved the crispy sage on top — it made the whole dish taste finished.
Save these creamed pearl onions with sage and thyme for the holiday side dish that brings silky sauce, tender onions, and crisp sage together.
The Reason Frozen Pearl Onions Need a Head Start in the Skillet
Frozen pearl onions are the shortcut here, but they still need one important step before the cream goes in: enough time in butter to lose their raw edge and pick up a little color. If they go straight into the sauce, they taste flat and the pan never develops the savory base that makes the dish worth serving. A light golden surface gives the finished onions more depth and helps the sauce taste built, not assembled.
The other thing that matters is moisture. Thawed onions release less water, so the flour can actually thicken the sauce instead of fighting stray liquid in the pan. That’s why the sauce ends up glossy and smooth instead of thin and slightly grainy.
- Thawed frozen pearl onions — These give you the right size and texture without the chore of peeling fresh ones. Drain them well and pat them dry if they seem wet; extra surface moisture is the fastest way to lose browning.
- Butter — This carries the sage flavor and gives the onions their first bit of color. Don’t swap in oil if you want the sauce to taste rich.
- Fresh sage and thyme — Fresh herbs matter here because they perfume the cream without turning bitter. Dried thyme can work in a pinch, but use about one-third as much.
- Heavy cream and Parmesan — The cream brings body, and the Parmesan gives the sauce a little salty backbone. Half-and-half will make a thinner sauce; it works, but don’t expect the same velvet texture.
What Each Ingredient Is Actually Doing in This Recipe

- Primary ingredient (the star) — Quality matters most. Choose the best you can find.
- Cooking medium (oil, butter, or broth) — This carries flavors and prevents dryness.
- Seasonings (salt, pepper, spices, herbs) — Layer flavors so nothing overpowers. Build depth gradually.
- Aromatics (garlic, onion, herbs) — Cook with fat to bloom flavors. Become the foundation.
- Supporting ingredients — Complement the main ingredient without overpowering it.
- Sauce or liquid (if applicable) — Brings flavors together. Balance richness with acid.
- Acid (lemon, vinegar, wine, or other) — Brightens and prevents flat-tasting results.
- Final finish (garnish, glaze, or sauce) — Prevents one-dimensional taste and adds visual appeal.
Building the Sauce So It Stays Smooth Around the Onions
Crisping the Sage First
Melt the butter in a large skillet over medium heat, then fry a few whole sage leaves just until they darken slightly and go crisp, about 30 seconds. Pull them out right away; they’ll keep cooking from the heat of the pan and can turn bitter if left in too long. Those leaves are your garnish, but they also tell you the butter is hot enough to start the onions properly.
Giving the Onions Some Color
Add the thawed pearl onions and cook them until they start to pick up light golden spots, 8 to 10 minutes. Don’t rush this stage with high heat, because the outside will scorch before the onions lose their raw, starchy taste. You want a little browning and a little tenderness before the flour goes in.
Thickening Without Lumps
Stir in the chopped sage, thyme, and flour and cook for a minute so the flour stops tasting raw. Then whisk in the broth and cream gradually, scraping the bottom of the pan as you go. If the mixture looks a little patchy at first, keep whisking; it smooths out as the flour hydrates and the sauce comes up to a simmer.
Finishing to a Spoon-Coating Texture
Let the sauce simmer for 6 to 8 minutes until the onions are tender and the sauce clings to them instead of running around the skillet. Stir in the Parmesan, salt, white pepper, and nutmeg off to the side of the heat if the sauce is bubbling hard, because dairy sauces tighten up better when they’re not boiling. Top with the crispy sage leaves just before serving so they stay snappy.
How to Adapt This for Different Tables and Timing
Make It a Little Lighter
Swap half-and-half for part of the cream if you want a softer sauce, but expect it to be thinner and less lush. If you go this route, simmer a little longer before adding the Parmesan so the sauce has time to reduce.
Gluten-Free Version
Use a cup-for-cup gluten-free flour blend in place of the all-purpose flour. The sauce will thicken in the same basic way, but whisk it a little longer to make sure there’s no sandy texture from the starches.
No Chicken Broth on Hand
Vegetable broth works fine and keeps the dish meat-free. The flavor will be a little cleaner and less savory, so lean on the Parmesan and don’t skip the nutmeg, which helps round out the cream.
Storage and Reheating
- Refrigerator: Store in an airtight container for up to 3 days. The sauce will thicken as it chills, which is normal.
- Freezer: I don’t recommend freezing this dish. Cream sauces can separate after thawing, and the onions lose their clean texture.
- Reheating: Warm gently in a skillet over low heat with a splash of broth or cream. High heat is the mistake here; it can make the sauce break before the onions are hot through.
Answers to the Questions Worth Asking
Creamed Pearl Onions with Sage and Thyme
Ingredients
Equipment
Method
- Melt butter in a large skillet over medium heat. Fry a few whole sage leaves for 30 seconds until crisp and set aside.
- Add the pearl onions to the skillet and cook 8-10 minutes, stirring occasionally, until lightly golden. Keep the heat at medium so the onions brown without burning the butter.
- Stir in chopped sage, thyme, and flour and cook for 1 minute, until the flour smells toasty. The mixture should look slightly thick and glossy.
- Whisk in chicken broth and heavy cream. Simmer for 6-8 minutes, whisking as needed, until thick and the onions are tender.
- Stir in grated Parmesan, salt, white pepper, and nutmeg until fully melted and smooth. Taste and adjust seasoning if needed.
- Top with the crispy sage leaves and serve warm. The onions should look coated in a velvety cream sauce.