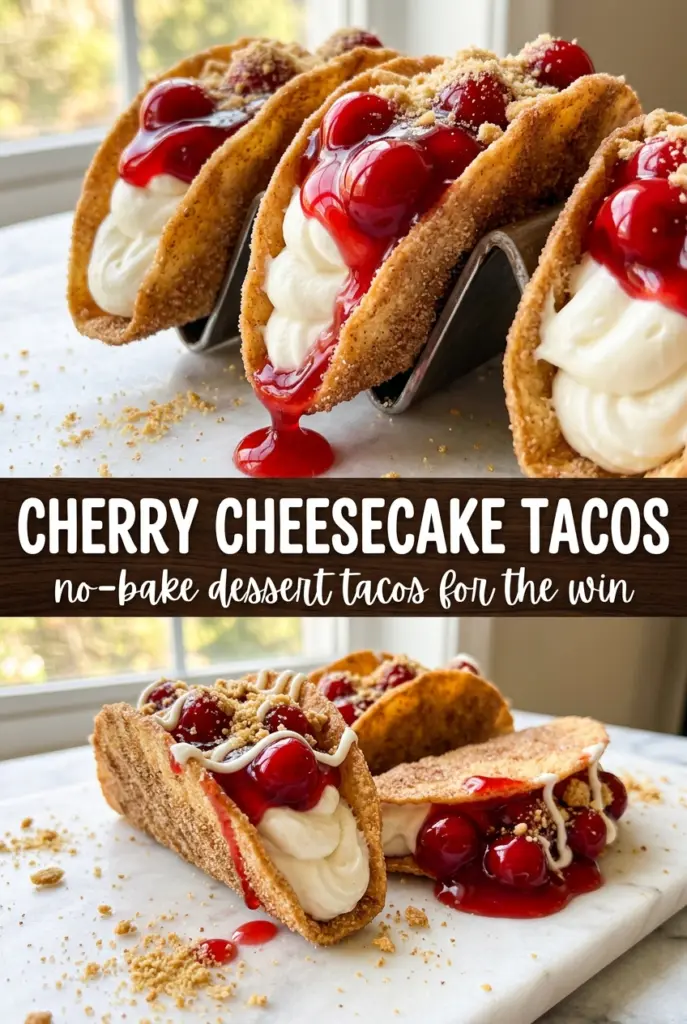
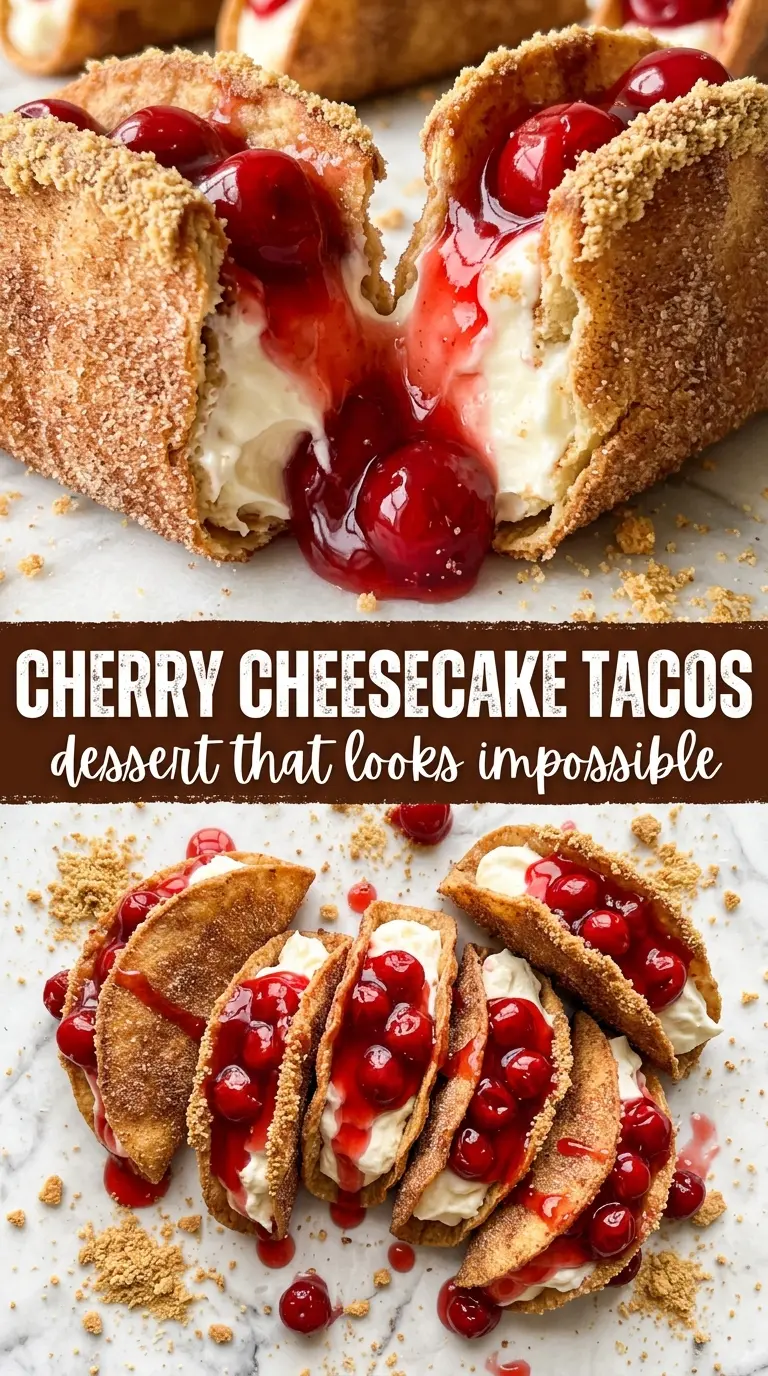
Crispy cinnamon-sugar taco shells with a cool, fluffy cheesecake filling are the kind of dessert that disappears before you’ve had time to set the plate down. The contrast is what makes them work: crackly edges on the outside, creamy filling in the middle, and a bright spoonful of cherries on top that keeps each bite from tasting heavy. They look playful, but the flavor lands squarely in classic cheesecake territory.
The trick is treating the tortillas like shells, not just warming them. A quick brush of butter helps them turn golden and crisp in the oven, and shaping them while they bake gives you that sturdy taco form without frying. The filling stays light because the whipped cream gets folded into the cream cheese after it’s beaten smooth, which keeps it airy instead of dense. If the cream cheese is even a little cold, the mixture turns grainy fast, so room-temperature cream cheese matters here.
Below you’ll find the small details that keep the shells crisp, the filling fluffy, and the cherries from sliding right off the top. There’s also a storage note for the components, since these are best assembled right before serving.
The shells came out crisp in 5 minutes and the cheesecake filling stayed light instead of heavy. My kids ate theirs before the cherries even hit the plate.
Save these cherry cheesecake tacos for the nights when you want a crisp shell, fluffy filling, and a fast no-bake-style dessert finish.
The Part That Keeps the Shell Crispy Instead of Soft
The biggest mistake with dessert tacos is filling them too soon. Once the cream cheese mixture and cherry topping sit inside, the shells start pulling moisture from the filling and losing that shattering bite. Bake them until the tortillas are golden and set, then let them cool completely before you add anything creamy.
Another detail that matters is the shape. A tortilla that looks just slightly curved while it bakes will hold the filling better than one folded aggressively into a hard crease. You want a shell that’s crisp but still open enough to scoop through without cracking in half at the first bite.
What Each Ingredient Is Doing in These Cheesecake Tacos
- Flour tortillas — These bake into sturdy dessert shells with a neutral flavor that lets the cinnamon sugar and filling take over. Corn tortillas won’t give you the same texture here.
- Butter — This helps the shells brown and gives the cinnamon sugar something to cling to. You need the full coating on both sides or the tortillas can dry out instead of crisping evenly.
- Cream cheese — Full-fat cream cheese gives the filling its cheesecake body. Reduced-fat versions can work, but they tend to be looser and less rich.
- Powdered sugar — This sweetens the filling without leaving any grit. Granulated sugar won’t dissolve the same way and can make the mixture feel sandy.
- Heavy cream — Whipping it first and folding it in keeps the filling light. If you skip that step and pour in liquid cream, the filling turns softer and won’t hold as neatly in the shell.
- Cherry pie filling — This brings the bright, glossy fruit topping that makes the dessert taste like cheesecake rather than sweetened cream in a shell. You can swap in blueberry or strawberry pie filling, but cherries give the best tart balance.
- Vanilla extract — A small amount rounds out the filling and makes it taste more like a proper cheesecake base.
How to Bake the Shells and Keep the Filling Light
Shaping the Tortillas
Brush each tortilla with melted butter on both sides, then drape it over an oven-safe skillet edge or an upside-down oven-safe bowl so it forms a taco shape. The shell needs support while it bakes or it’ll flatten back out in the oven. Watch for the edges to turn lightly golden and feel dry, not bendy.
Mixing the Cheesecake Filling
Beat the softened cream cheese and powdered sugar until the mixture is completely smooth before anything else goes in. If there are lumps at this stage, they’ll stay there. Fold in the whipped cream and vanilla with a light hand so the filling stays fluffy; stirring hard knocks out the air and makes it dense.
Filling and Finishing
Fill the cooled shells right before serving. A spoonful of filling goes first, then the cherry topping, then a little whipped cream and cinnamon sugar. If you assemble these too early, the shells soften fast, so the final step should happen at the table or within a few minutes of serving.
Make Them With Different Fruit Toppings
Blueberry, strawberry, or mixed berry pie filling all work here. Cherry gives the most classic cheesecake feel, while strawberry tastes sweeter and a little softer. If you use fresh fruit, cook it down briefly with a spoonful of sugar so it doesn’t make the shells soggy.
Dairy-Free Version
Use a dairy-free cream cheese and whipped topping substitute, then stop once the filling is light and smooth. The texture will be a little softer, but the shells and cherry topping still carry the dessert. Brush the tortillas with melted vegan butter or neutral oil instead of dairy butter.
Gluten-Free Swap
Use certified gluten-free tortillas and watch them closely in the oven, since some brands crisp faster than standard flour tortillas. They can be a little more fragile, so let them cool on the pan for a minute before moving them. The filling and topping don’t need any other changes.
Storage and Reheating
- Refrigerator: Store the shells and filling separately for up to 3 days. The shells soften if they sit assembled, so keep the components apart.
- Freezer: The cheesecake filling freezes well for about 1 month, but the baked shells do not freeze well because they lose their crunch. Thaw the filling in the fridge and whisk it briefly before using.
- Reheating: If the shells soften, re-crisp them in a 350°F oven for 2 to 3 minutes. Don’t microwave them, or they’ll turn limp before you can fill them.
Answers to the Questions Worth Asking

Cherry Cheesecake Tacos
Ingredients
Equipment
Method
- Preheat the oven to 400°F and place an oven-safe skillet or tortilla warmer in the oven to heat through.
- Brush each flour tortilla with melted butter on both sides.
- Mix granulated sugar and ground cinnamon in a small bowl.
- Drape each tortilla over the hot oven-safe skillet (or an oven-safe bowl) to form a taco shell shape.
- Bake for 5 minutes, until golden and crispy, then remove and let cool.
- Beat the softened cream cheese with powdered sugar until smooth.
- Fold in the whipped heavy cream and vanilla extract until light and fluffy.
- Fill each crunchy taco shell with a dollop of the cheesecake mixture.
- Top generously with cherry pie filling and additional whipped cream.
- Dust with cinnamon sugar and serve immediately.