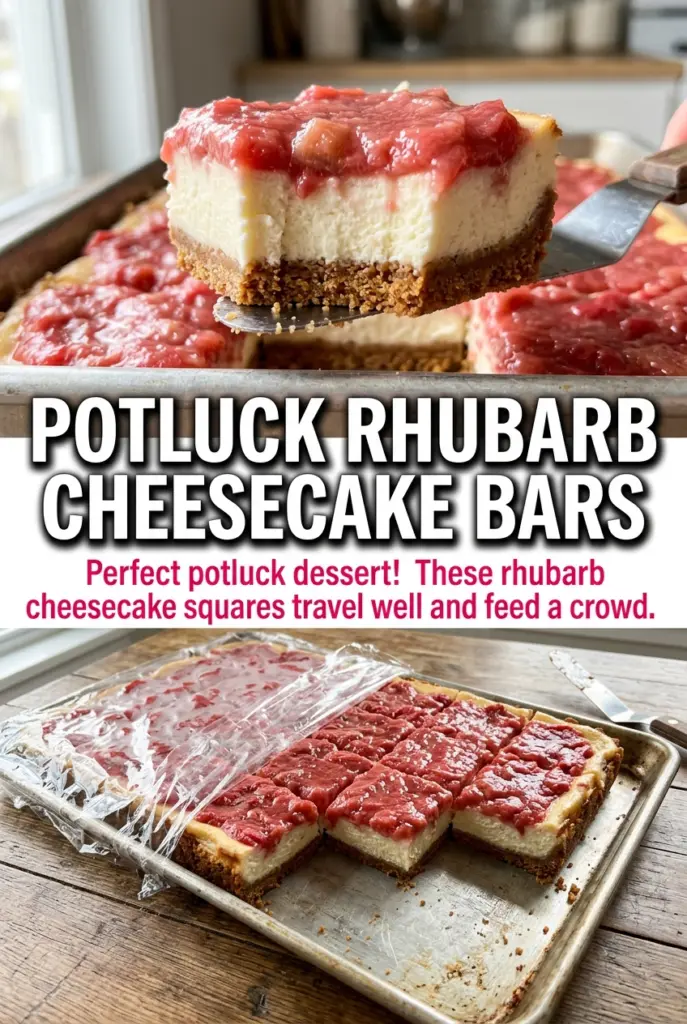
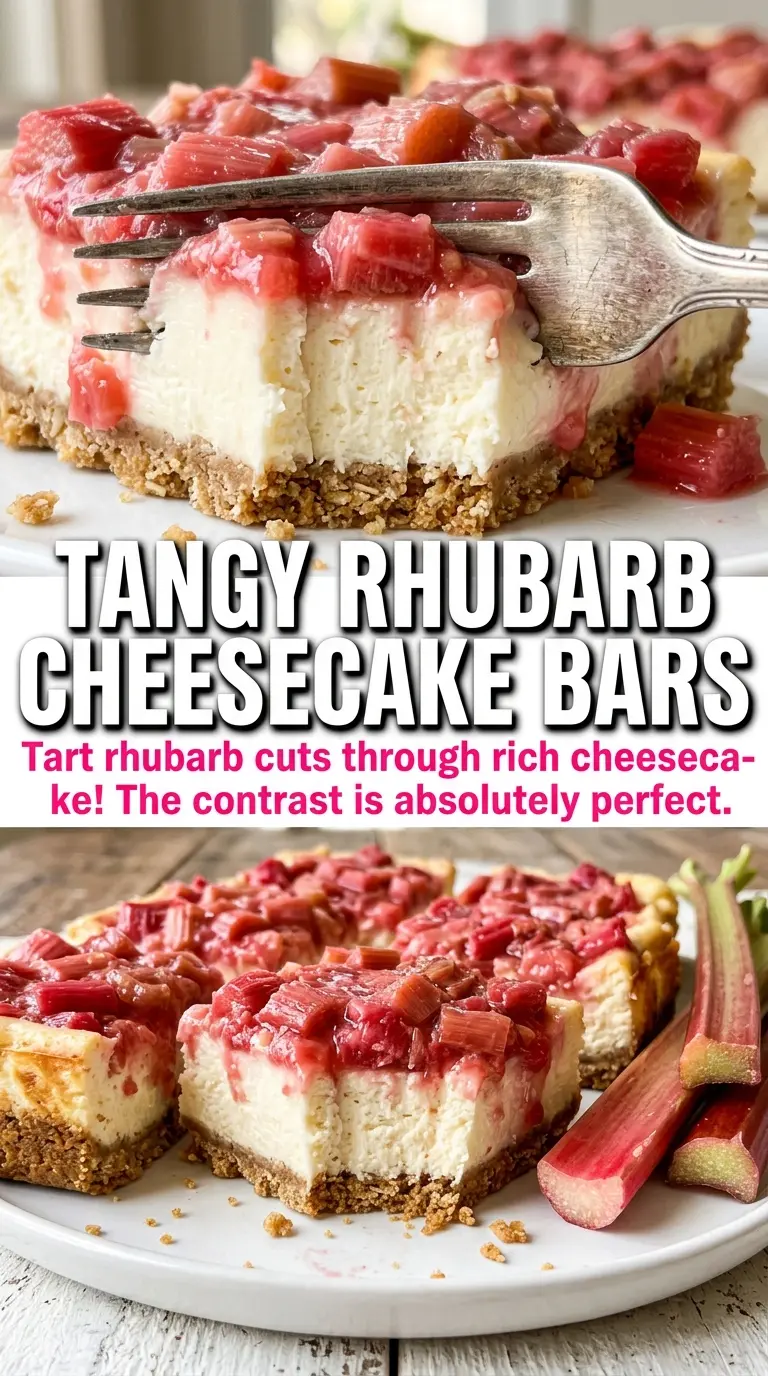
Rhubarb cheesecake squares hit that sweet-tart middle ground that keeps people reaching for a second piece. The crust stays crisp enough to give you a clean bite, the cheesecake layer bakes up smooth and tangy, and the rhubarb topping settles into a glossy pink layer that tastes bright without turning sharp. Cut into squares, they look polished enough for a dessert tray but still feel like something you’d make on a regular baking day.
What makes this version work is the balance of texture. The graham crust gets a short bake first, which keeps it from turning soggy under the cheesecake. The filling stays simple on purpose: cream cheese, sugar, eggs, and vanilla beaten until smooth and then baked just until set. After that, the rhubarb is cooked separately with cornstarch, so it thickens on its own instead of leaking juice into the bars and making the top slide around.
Below, I’m breaking down the one part people usually get wrong with rhubarb bars, plus the ingredient choices and storage notes that make these easier to cut neatly and serve well chilled.
The rhubarb topping set up beautifully and the squares cut clean after chilling overnight. My husband kept sneaking back for “just one more” because the cheesecake layer stayed creamy without being too heavy.
Save these rhubarb cheesecake squares for the next time you want a tangy cheesecake bar with a clean-cut topping and a buttery graham crust.
The Part Most Rhubarb Bars Get Wrong: Too Much Juice in the Top Layer
The biggest mistake with rhubarb dessert bars is letting the topping stay loose. Rhubarb gives off a lot of liquid as it cooks, and if you just pile it on raw or undercooked, that juice soaks into the cheesecake and softens the crust. Cooking the rhubarb with sugar first, then thickening it with cornstarch, gives you a topping that sits on top instead of leaking through.
There’s another small but important detail here: the cheesecake layer gets baked before the rhubarb goes on. That keeps the layers distinct and gives the filling enough structure to hold clean squares once everything chills. If the center still looks a little soft in the oven, that’s fine. It firms up as it cools, and overbaking is what gives you a dry, crackly cheesecake instead of a creamy one.
What Each Ingredient Is Actually Doing in These Squares
- Graham cracker crumbs — These make the crust sturdy, sweet, and familiar. If you want the cleanest cut, use fine crumbs rather than coarse ones, because they pack tighter and slice more neatly.
- Butter — Melted butter binds the crust and helps it bake into a firm base. I wouldn’t swap in oil here; it won’t set with the same snap once chilled.
- Cream cheese — This is the backbone of the filling, so full-fat cream cheese matters. It gives you that smooth, tangy layer that holds up under the fruit without turning watery.
- Eggs — They set the cheesecake layer as it bakes. Beat them in just until combined; overmixing adds air, and too much air can cause the filling to puff and sink.
- Fresh rhubarb — Fresh rhubarb gives the topping its best color and texture. If you use frozen, thaw it first and drain off extra liquid so the topping doesn’t get thin and soupy.
- Cornstarch — This is what turns the cooked rhubarb into a sliceable topping. Flour won’t give the same clear, glossy finish, and you’ll need more of it to get the same thickness.
Building the Layers So They Cut Cleanly
Pressing and Baking the Crust
Mix the graham crumbs, melted butter, and sugar until the texture looks like damp sand, then press it firmly into the lined pan. Use the bottom of a measuring cup to pack it down evenly, especially into the corners. Bake it just long enough to smell toasted and look set at the edges. If you leave it pale and soft, it won’t hold up under the filling.
Mixing the Cheesecake Without Whipping in Air
Beat the softened cream cheese and sugar until smooth before adding the eggs and vanilla. Stop as soon as the mixture turns creamy and even. You’re not trying to make it fluffy. Too much mixing gives you a batter full of air pockets that can crack or bake up with a bouncy texture instead of a dense, silky one.
Cooking the Rhubarb Until It Thickens
Cook the diced rhubarb with sugar and water until the pieces start to soften and break down. Stir in the cornstarch slurry and keep cooking until the mixture turns glossy and thick enough to mound on a spoon. If it still looks thin in the pan, it will spread and run after it cools on the cheesecake. Let it cool slightly before spreading so it doesn’t melt the top layer.
Chilling Before You Slice
Refrigerate the assembled bars for at least 4 hours, and longer if you want the cleanest cuts. The cheesecake needs time to firm up and the topping needs time to settle. A warm knife helps, but the real secret is patience. If you cut too soon, the layers slide and the edges smear.
Three Ways to Adjust These Bars Without Losing What Makes Them Good
Make it gluten-free with a cookie crust swap
Use gluten-free graham-style crumbs or a gluten-free vanilla cookie crumb in place of the regular graham crackers. The texture stays close to the original, though some gluten-free crumbs need an extra spoonful of butter to hold together when pressed into the pan.
Use frozen rhubarb when fresh isn’t available
Frozen rhubarb works, but thaw it first and drain off any liquid before cooking. That extra moisture is the main thing that can keep the topping from setting as cleanly, so don’t skip that step if you want neat squares.
Add a little orange zest for a brighter finish
A teaspoon of finely grated orange zest in the cheesecake layer gives the bars a lighter, fresher edge that works well with rhubarb. It doesn’t overpower the fruit, but it does round out the tang and make the dessert taste a little more layered.
Make them ahead for a cleaner slice
These bars are even better the next day, after the cheesecake and rhubarb topping have had time to settle fully. If you’re serving them for guests, chill overnight and cut them with a hot knife wiped clean between slices.
Storage and Reheating
- Refrigerator: Store covered for up to 5 days. The crust softens a little over time, but the bars hold their texture well.
- Freezer: Freeze the cut squares on a tray until firm, then wrap and store for up to 2 months. Thaw in the refrigerator, not at room temperature, so the cheesecake doesn’t get wet on the surface.
- Reheating: These bars are meant to be served chilled, not warmed. If they’ve been in the freezer, let them thaw slowly in the fridge until the center is no longer icy.
Answers to the Questions Worth Asking
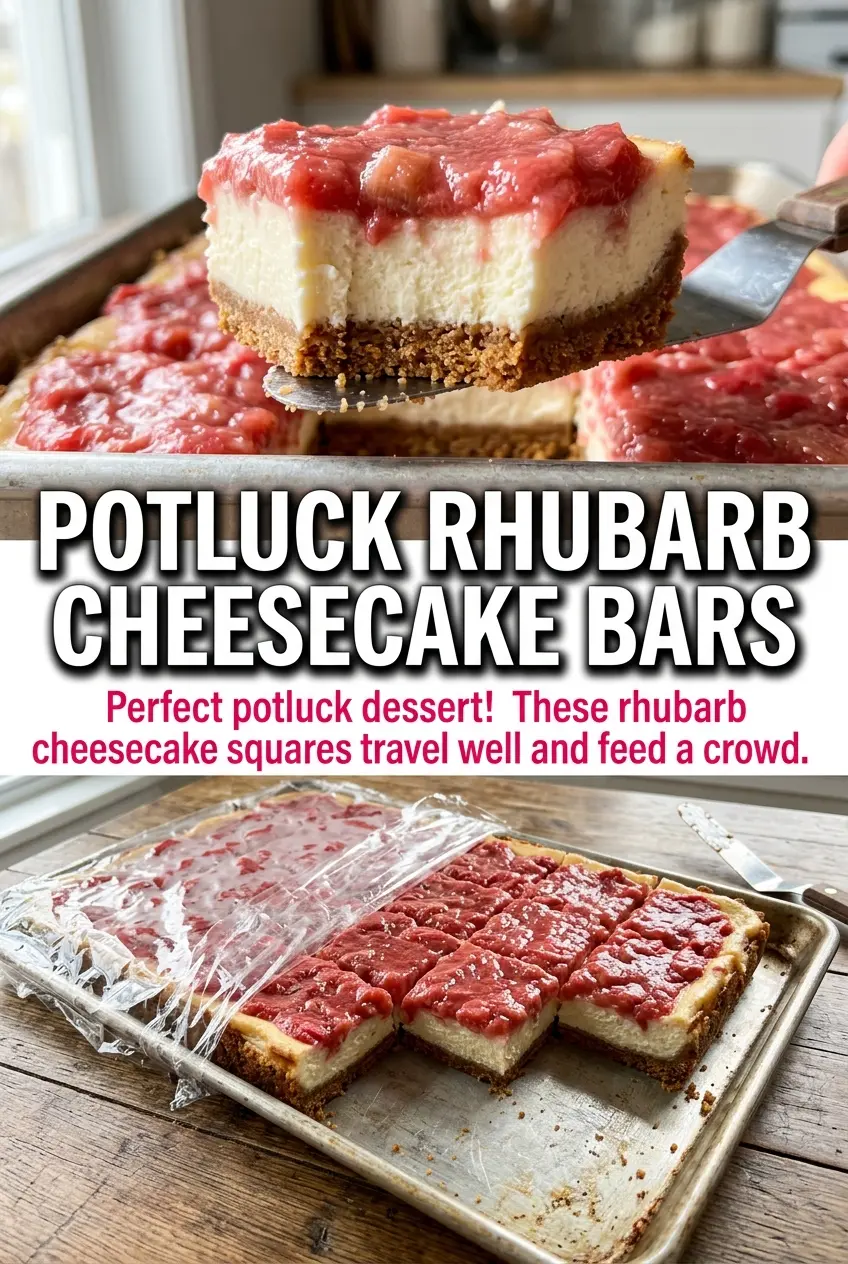
Rhubarb Cheesecake Squares
Ingredients
Equipment
Method
- Preheat the oven to 350°F and line a 9x13-inch pan with parchment paper so the bars lift out cleanly.
- Mix graham cracker crumbs, melted butter, and sugar, then press into the bottom of the pan in an even layer.
- Bake for 10 minutes, until the crust looks slightly set and fragrant.
- Beat cream cheese and sugar until smooth, then add eggs and vanilla extract and mix just until combined.
- Pour the cheesecake batter over the crust and smooth the top.
- Bake for 25-30 minutes at 350°F until the center looks set with a slight jiggle when the pan is gently shaken.
- Cool the cheesecake completely so the topping will spread without melting in.
- Simmer rhubarb, sugar, and water until the rhubarb is tender and the mixture looks glossy, stirring occasionally.
- Mix cornstarch with a little water, then pour into the simmering rhubarb and cook until thickened like a spreadable compote.
- Cool the rhubarb mixture slightly until warm-thick rather than runny.
- Spread the rhubarb compote over the cheesecake layer to create a distinct pink top.
- Refrigerate for at least 4 hours, until fully chilled and firm for clean squares.
- Cut into squares after chilling so you get three distinct layers in each piece.