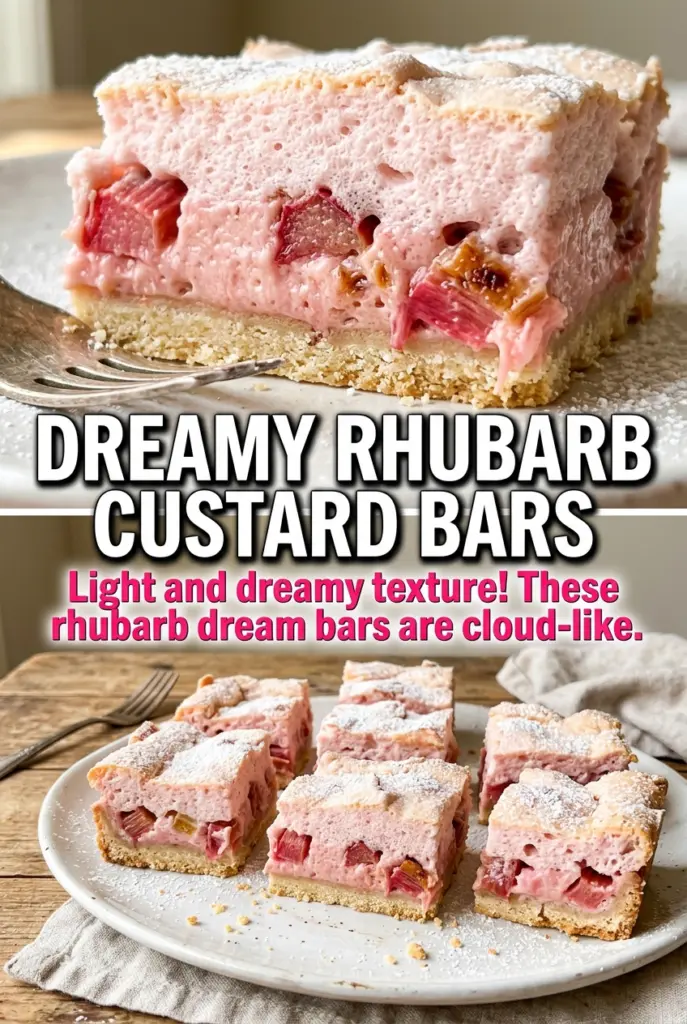
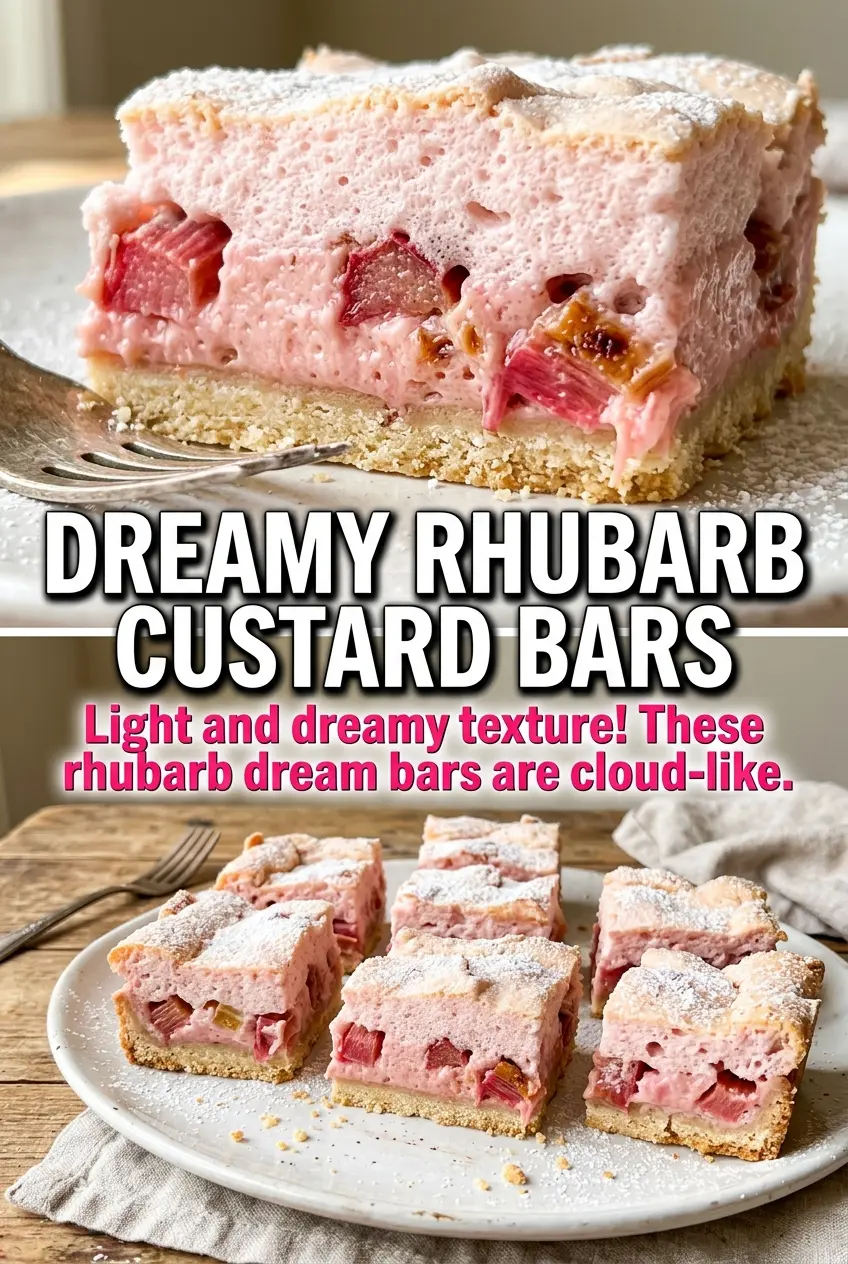
Rhubarb Dream Bars land somewhere between a custard pie and a shortbread square, and that middle ground is exactly why they disappear fast. The crust bakes up buttery and crisp enough to hold clean slices, while the filling sets into a creamy layer studded with tart pink rhubarb. Each bite gives you that sharp-sweet contrast people remember, not a mushy bar that blurs into one texture.
The trick is baking the crust first and pouring the rhubarb filling onto it while it’s still hot. That head start keeps the bottom from going soggy and helps the bars set with neat layers instead of sinking into themselves. The filling itself is simple, but the ratio of eggs, flour, and sugar matters: it needs enough structure to hold the fruit without turning rubbery.
Below, I’ve included the small details that matter here — how to keep the crust tender, when the bars are actually set, and what to do if your rhubarb is extra juicy. It’s the kind of dessert that rewards patience for the cooling time, and the cut squares are worth every minute.
The filling set up beautifully after chilling, and the rhubarb stayed bright and tangy instead of turning watery. My crust sliced cleanly after two hours in the fridge.
Keep these Rhubarb Dream Bars in mind for the rhubarb desserts with crisp layers and a creamy custard finish.
The Reason These Bars Slice Clean Instead of Falling Apart
Rhubarb bars usually fail in one of two ways: the crust goes sandy and loose, or the filling never fully sets. This version avoids both by using a shortbread-style base that gets a head start in the oven and a filling thickened with eggs plus flour, which gives it enough structure to cut neatly once chilled. The hot crust matters. It gives the filling a surface to set against instead of soaking downward into a soft bottom.
The cooling time is not optional here. If you cut these while they’re warm, the custard layer will slump and the slices will smear at the edges. After the bars are baked, they need to cool completely in the pan and then chill long enough to firm up all the way through. That’s what gives you those clean layers in every square.
What the Rhubarb, Eggs, and Cold Butter Are Each Doing
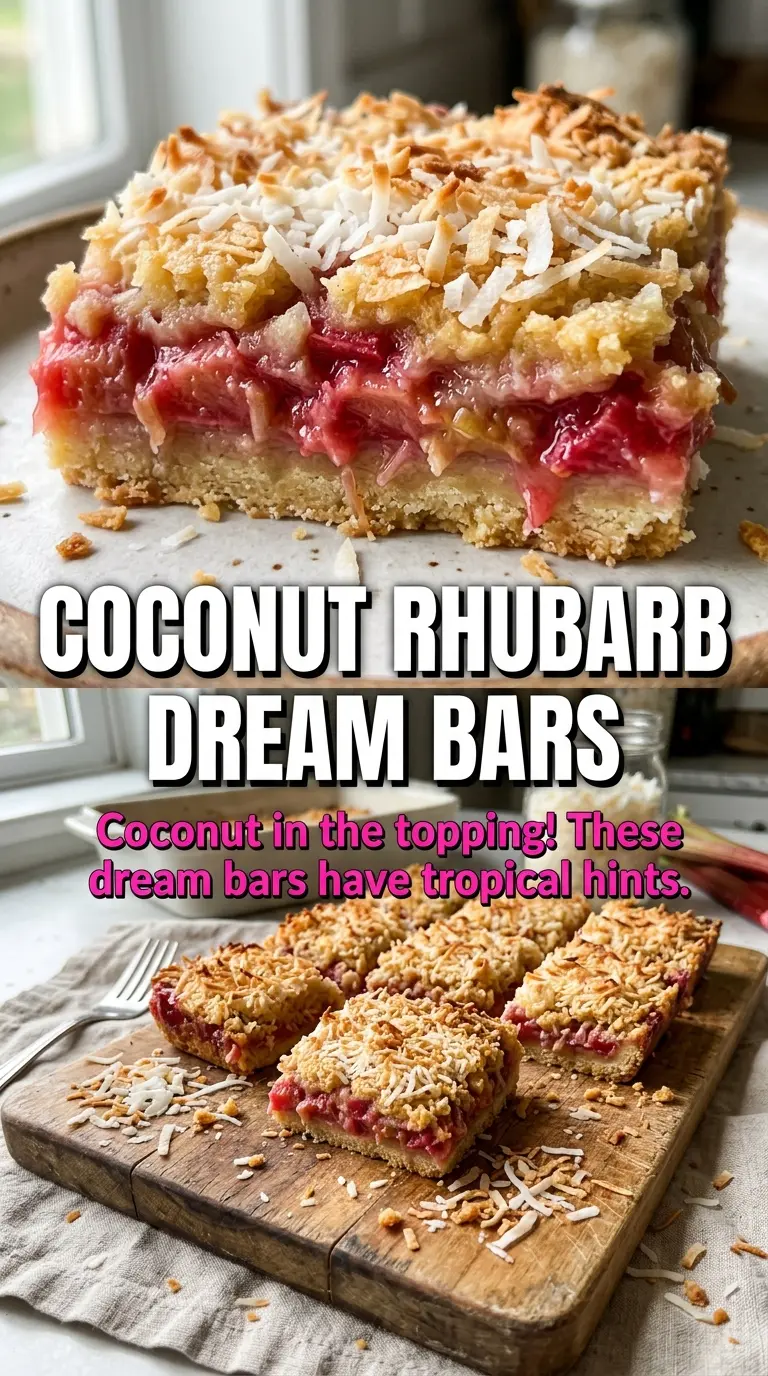
- Rhubarb — Fresh rhubarb gives these bars their bright tang and keeps the filling from tasting flat. Dice it evenly so it softens at the same pace in the oven; big chunks stay too firm while tiny pieces disappear into the custard.
- Cold butter — Cold, cubed butter is what makes the crust tender and crumbly instead of greasy. If the butter is soft when you mix it in, the base can bake up dense and lose that shortbread texture.
- Eggs — The eggs set the filling into a custard layer that can hold the fruit. Beat them until smooth before adding the flour so you don’t get streaks or pockets that bake unevenly.
- Flour in the filling — This is the quiet stabilizer. It thickens the custard just enough to keep the bars sliceable without turning them cakey, and swapping it out for cornstarch changes the texture in a way you’ll notice.
- Powdered sugar in the crust — Powdered sugar blends into the flour fast and helps the crust bake into a fine, melt-in-your-mouth base. Granulated sugar works in a pinch, but the texture will be a little more rustic and less delicate.
Building the Layers So the Bottom Stays Crisp
Pressing the Crust Without Packing It Hard
Mix the flour and powdered sugar first, then cut in the cold butter until the mixture looks sandy with a few pea-size bits left. Those bits are what give the crust a little tenderness after baking. Press it into the pan firmly enough to form an even layer, but don’t mash it so hard that it turns compact and tough. Bake it until the edges just start to take on color and the surface looks dry, not pale and powdery.
Whisking the Filling Smooth Before the Rhubarb Goes In
Whisk the sugar, eggs, flour, vanilla, and salt until the mixture looks smooth and glossy. If you see flour lumps, keep whisking before the rhubarb is added, because once the fruit goes in, those pockets are harder to break up. Fold in the diced rhubarb at the end so the pieces stay coated but don’t break down into juice too early. The filling should look loose and pourable, not foamy.
Baking Until the Center Barely Moves
Pour the filling over the hot crust and return the pan to the oven right away. Bake until the edges are golden and the center has just a slight wobble when you nudge the pan. If the middle still looks liquid, give it more time; if it puffs high like a cake, it’s gone too far and will dry out as it cools. The bars finish setting as they rest, so pull them before they look completely firm.
Make It with Frozen Rhubarb
Frozen rhubarb works if that’s what you have, but don’t thaw it first. Stir it in frozen so it doesn’t dump extra liquid into the filling before baking. The bars may need a few extra minutes in the oven, and the fruit will soften a touch more than fresh, but the flavor stays bright.
Gluten-Free Version
A good 1:1 gluten-free flour blend can replace the all-purpose flour in both the crust and filling. The crust will be a little more delicate, so let the bars chill fully before lifting them from the pan. The texture stays close to the original if your blend contains xanthan gum.
Less Sweet, More Tart
If your rhubarb is especially sharp, reduce the sugar in the filling by 1/4 to 1/2 cup. The bars will taste brighter and a little less custardy-sweet, which is a good move if you prefer the fruit to lead. Don’t cut much more than that or the filling can taste flat and lose its dessert balance.
Storage and Reheating
- Refrigerator: Store covered for up to 4 days. The filling firms up even more in the fridge, which makes the bars easier to cut.
- Freezer: These freeze well. Wrap individual bars tightly and freeze for up to 2 months, then thaw in the refrigerator so the custard doesn’t turn watery.
- Reheating: These are best served chilled or at cool room temperature, not reheated. If you want to soften them slightly after refrigeration, let them sit on the counter for 15 to 20 minutes rather than warming them in the microwave.
Answers to the Questions Worth Asking
Rhubarb Dream Bars
Ingredients
Equipment
Method
- Preheat oven to 350°F and line a 9x13-inch pan with parchment paper, keeping paper overhang for easy lifting later.
- Mix all-purpose flour and powdered sugar, then cut in cold butter until the mixture looks like coarse crumbs.
- Press the crumb mixture firmly into the bottom of the pan to form an even buttery crust.
- Bake the crust for 15 minutes, until lightly golden at the edges, then remove from oven.
- Whisk sugar and eggs until smooth, then whisk in all-purpose flour, vanilla extract, and salt.
- Fold diced rhubarb into the custard mixture until pink pieces are evenly distributed.
- Pour the rhubarb mixture over the hot crust and spread gently to level the top.
- Bake for 35-40 minutes at 350°F, until the filling is set with golden edges and a slight jiggle in the center.
- Cool completely in the pan so the custard firms up and stays layered.
- Refrigerate for at least 2 hours before cutting into bars for clean slices.