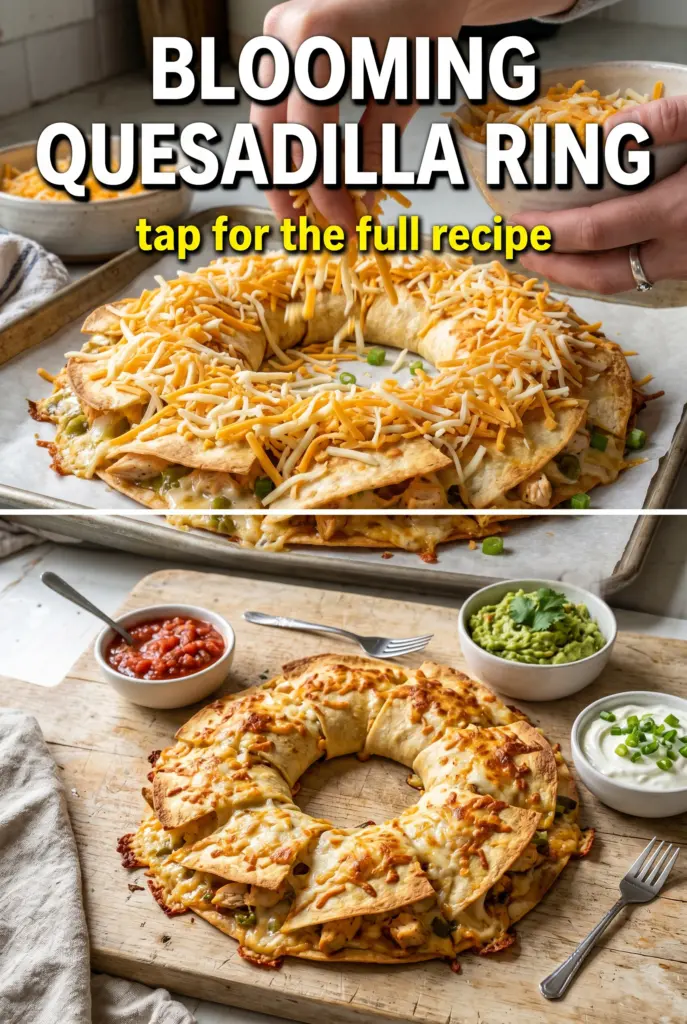
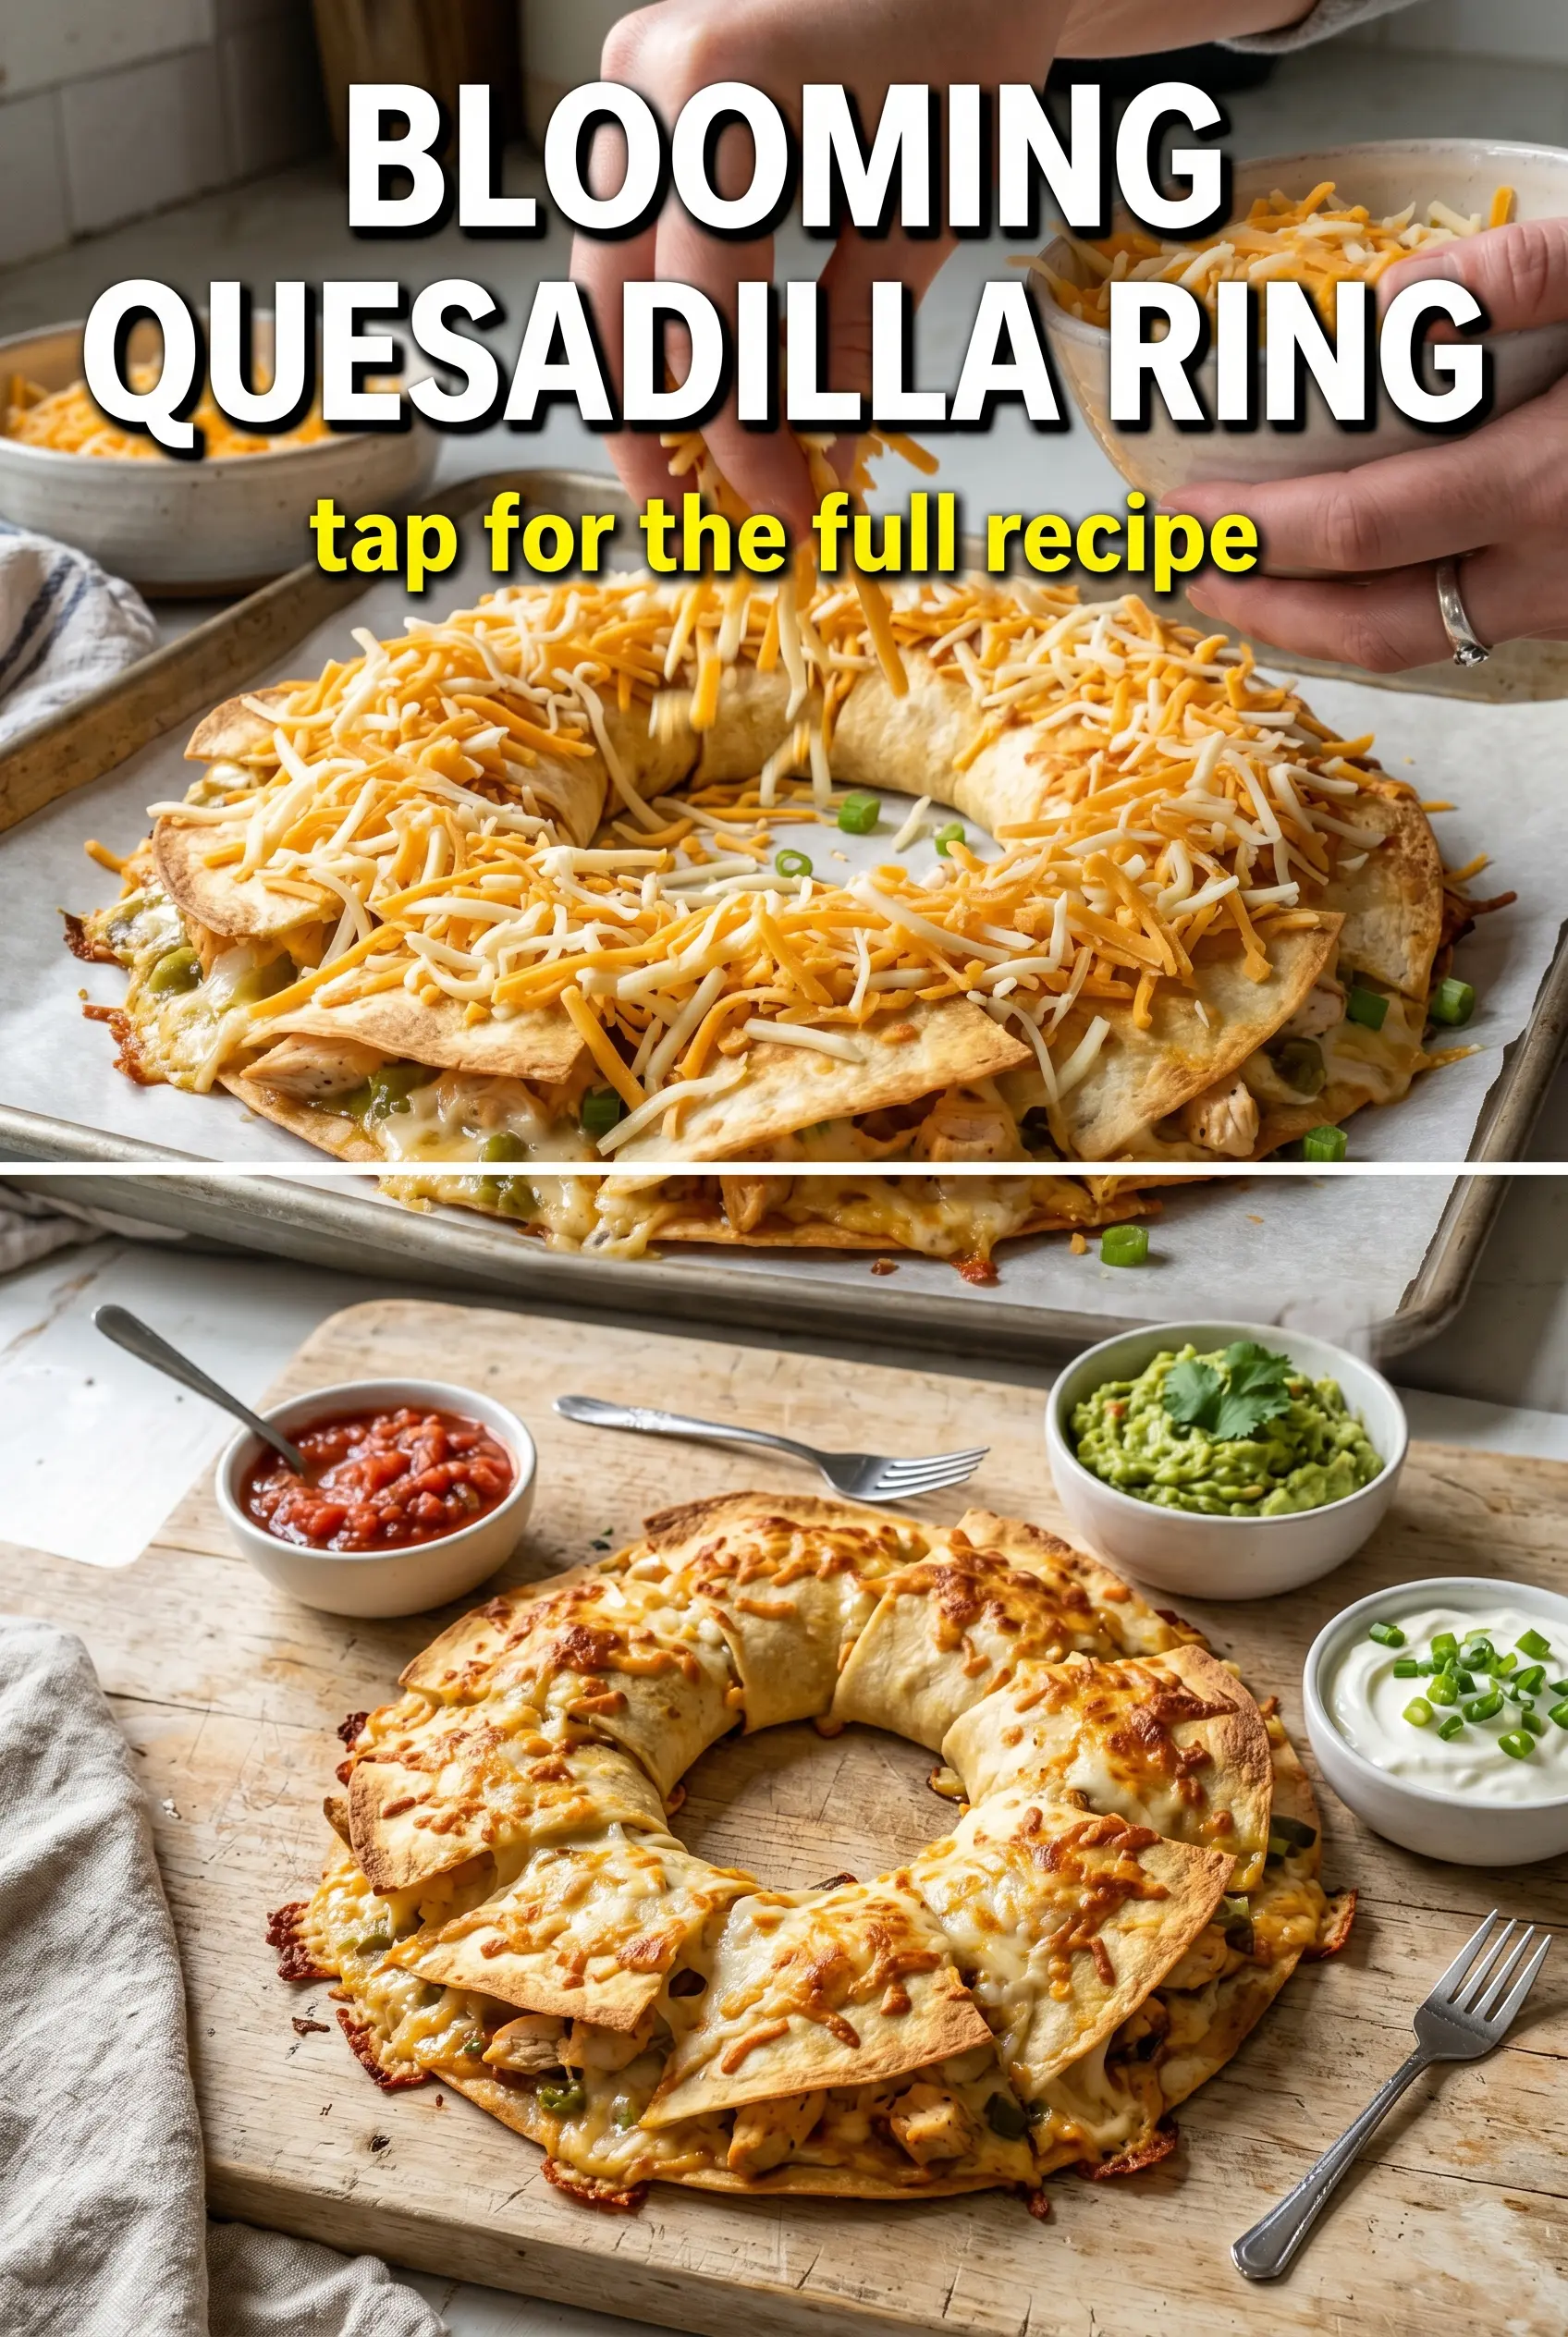
Golden quesadilla triangles standing in a circle turn an ordinary filling into the kind of appetizer people hover over before dinner even starts. The edges stay crisp, the cheese stretches between layers, and every wedge gives you a little bit of beef, pepper, onion, corn, and cilantro in one bite. It looks polished on a platter, but it eats like the best kind of crowd food: hot, cheesy, and gone fast.
The trick is in the layering and the cook. Cheese goes against the tortilla on both sides of the filling so it acts like edible glue and helps the triangles hold together once they hit the skillet. Cooking them in batches over medium-high heat gives you browned tortillas before the cheese leaks out, and letting the finished pieces rest a minute keeps the filling from sliding when you stand them up in the ring.
Below you’ll find the detail that makes the whole platter work, plus a few smart swaps if you want to change the filling or prep parts ahead for a party.
The triangles held together much better than I expected, and the cheese actually stayed inside instead of running all over the pan. The ring looked impressive on the table and the salsa-sour cream center disappeared first.
Like this blooming quesadilla ring? Save it to Pinterest for your next party when you want a crisp, cheesy centerpiece with a scoopable salsa cream dip.
The Part That Keeps the Ring Crisp Instead of Soggy
The biggest mistake with a quesadilla platter is treating it like one giant stuffed tortilla parade. Once the filling gets wet or overloaded, the tortillas steam instead of browning, and the ring collapses the second you move it to the platter. This version works because each wedge is cooked first, on its own, until the tortilla is set and the cheese has melted enough to lock everything together.
That matters even more with the salsa-sour cream center. The dip belongs in the middle, not inside the quesadillas, because moisture in the filling is the fastest way to lose that crisp edge. You want layered flavor, not a loose, damp interior.
- Shredded cheddar — Sharp cheddar melts cleanly and helps bind the filling. Pre-shredded works, but block-shredded melts smoother and gives you better stretch.
- Cooked seasoned ground beef — The meat needs to be cooked before it goes into the tortilla so the quesadillas brown in time. If you swap in leftover taco meat, drain off any extra grease first.
- Bell peppers, onion, and corn — These add color and texture without turning the filling mushy. Dice them small so the quesadilla slices cleanly and doesn’t bulge.
- Sour cream and salsa — This gives you a cool, tangy center dip that balances the richness of the ring. A thicker salsa works best; thin salsa can water down the dip.
- Flour tortillas — Large tortillas are what make the ring look dramatic and hold the filling without tearing. Smaller tortillas won’t stand up as well on the platter.
Getting the Quesadilla Triangles Browned Before the Cheese Escapes
Building the Fill and Folding the Tortilla
Lay the filling in a thin, even layer and keep it centered. If you pile it too high, the tortilla won’t seal and the filling will burst out in the skillet. Fold the tortilla cleanly in half, press it lightly, then cut it into triangles so each piece has enough sealed edge to stay together while it cooks.
Cooking in Batches Without Steaming the Pan
Use enough oil to coat the skillet, not drown it. The pan should be hot enough that the tortillas sizzle as soon as they land; if they sit there quietly, they’ll soak up oil and turn greasy before they brown. Cook just a few pieces at a time so the pan keeps its heat and the edges go crisp before the cheese can leak out.
Arranging the Bloom
Let the triangles rest for a minute so the filling settles, then stand them slightly overlapped in a ring. Start from the outside edge of the platter and work inward for the most stable shape. If a piece wants to flop, tuck it between two stronger wedges; the overlap helps the whole circle hold its form.
Finishing With the Center Dip
Stir the sour cream and salsa together until the color is even, then spoon it into the middle of the ring. Add the warm queso dip on the side so people can choose how rich they want each bite to be. Serve it while the quesadilla edges still have some snap; this dish is at its best in that first hot stretch.
How to Adapt This Blooming Quesadilla Ring for Different Crowds
Vegetarian black bean version
Swap the beef for well-drained black beans or a black bean-corn mixture. Mash about a third of the beans so the filling sticks together instead of rolling out of the tortilla, and season them well with taco spices because beans need more help than meat to carry the flavor.
Dairy-free ring
Use a good melting dairy-free cheese and skip the sour cream dip in favor of a dairy-free salsa crema or smooth guacamole. The texture won’t be quite as stretchy as cheddar, so let the triangles brown fully before moving them; that extra crust helps them hold together.
Gluten-free tortilla swap
Use sturdy gluten-free tortillas that are meant for folding, not the thin ones that crack when warmed. Warm them briefly before filling so they bend without splitting, and cook over slightly lower heat since gluten-free tortillas can brown faster on the outside before the cheese fully melts.
Make-ahead party prep
Cook the beef mixture and chop the vegetables up to a day ahead, then assemble and fry the quesadillas just before serving. If you cut and fill them too early, the tortillas soften from the filling and you lose the crisp edges that make the ring work.
Storage and Reheating
- Refrigerator: Store leftover quesadilla pieces in an airtight container for up to 3 days. The tortillas will soften, but the flavor stays good.
- Freezer: Freeze cooked wedges in a single layer, then transfer to a freezer bag for up to 2 months. Reheat from frozen for the best texture; thawing first makes them limp.
- Reheating: Warm them in a skillet or air fryer until the outside crisps back up. The microwave will melt the cheese, but it also turns the tortilla rubbery, which is the fastest way to lose the appeal of the ring.
Questions I Get Asked About This Recipe
Blooming Quesadilla Ring
Ingredients
Equipment
Method
- Layer each tortilla with shredded cheddar cheese, then add the cooked seasoned ground beef, diced red and green bell peppers, diced onion, corn, and chopped cilantro so the filling is evenly distributed.
- Fold each loaded tortilla in half and then cut into triangles to create the pieces that will stand in a ring.
- Heat the oil in a large skillet over medium-high heat until shimmering, then lay the quesadilla triangles in batches so they don’t crowd the pan.
- Cook the triangles for 2-3 minutes per side, flipping once when golden brown and ensuring the cheese is fully melted before removing to a platter.
- Arrange the cooked quesadilla pieces in a circular ring on a platter, standing them up slightly overlapped to keep the melted cheese visible between layers.
- Mix the sour cream with the salsa and spoon it into the center of the ring as the dipping sauce.
- Serve the ring immediately with warm queso dip on the side for extra dipping.