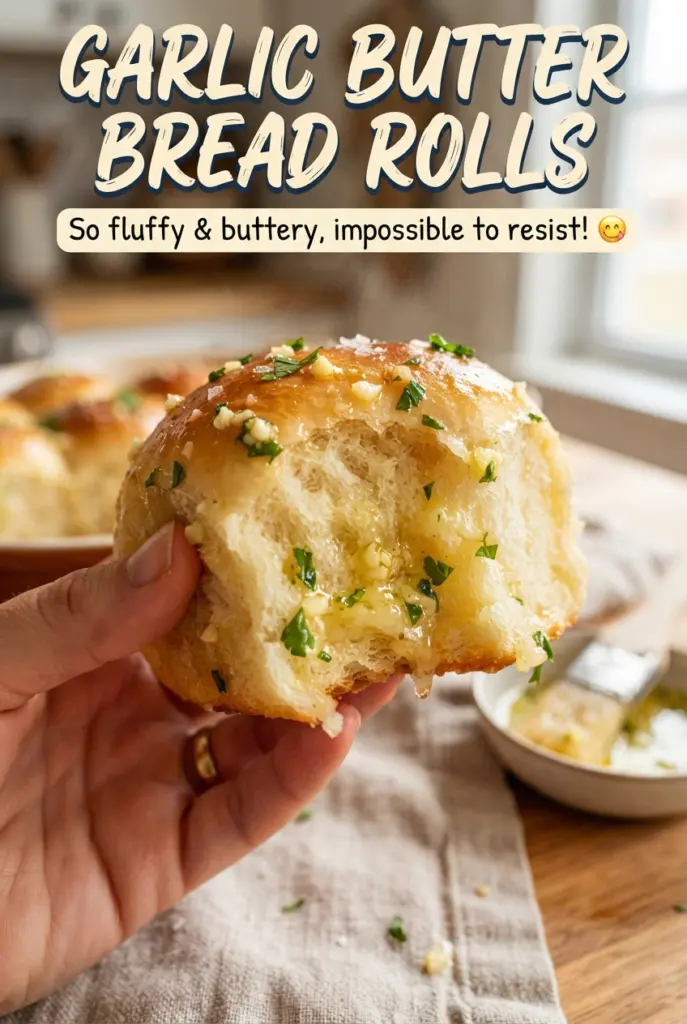
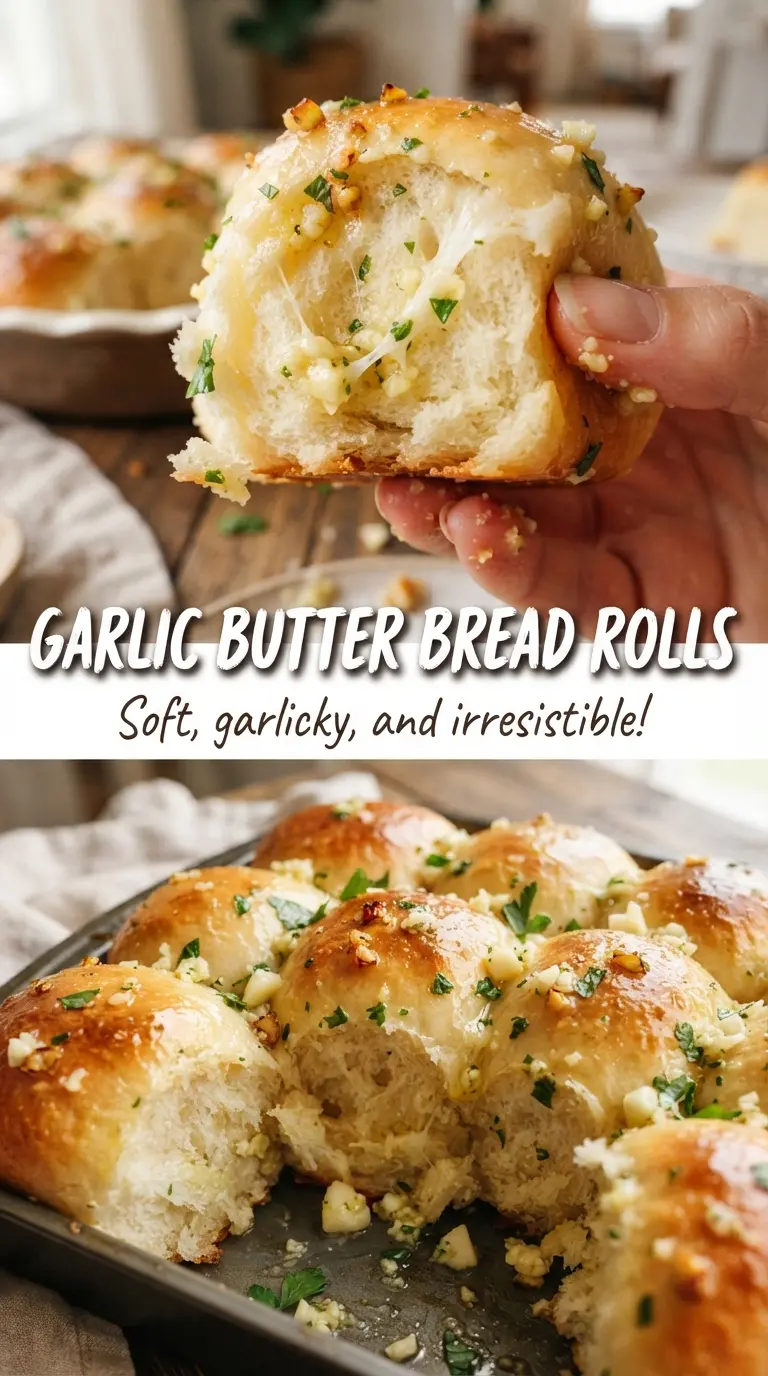
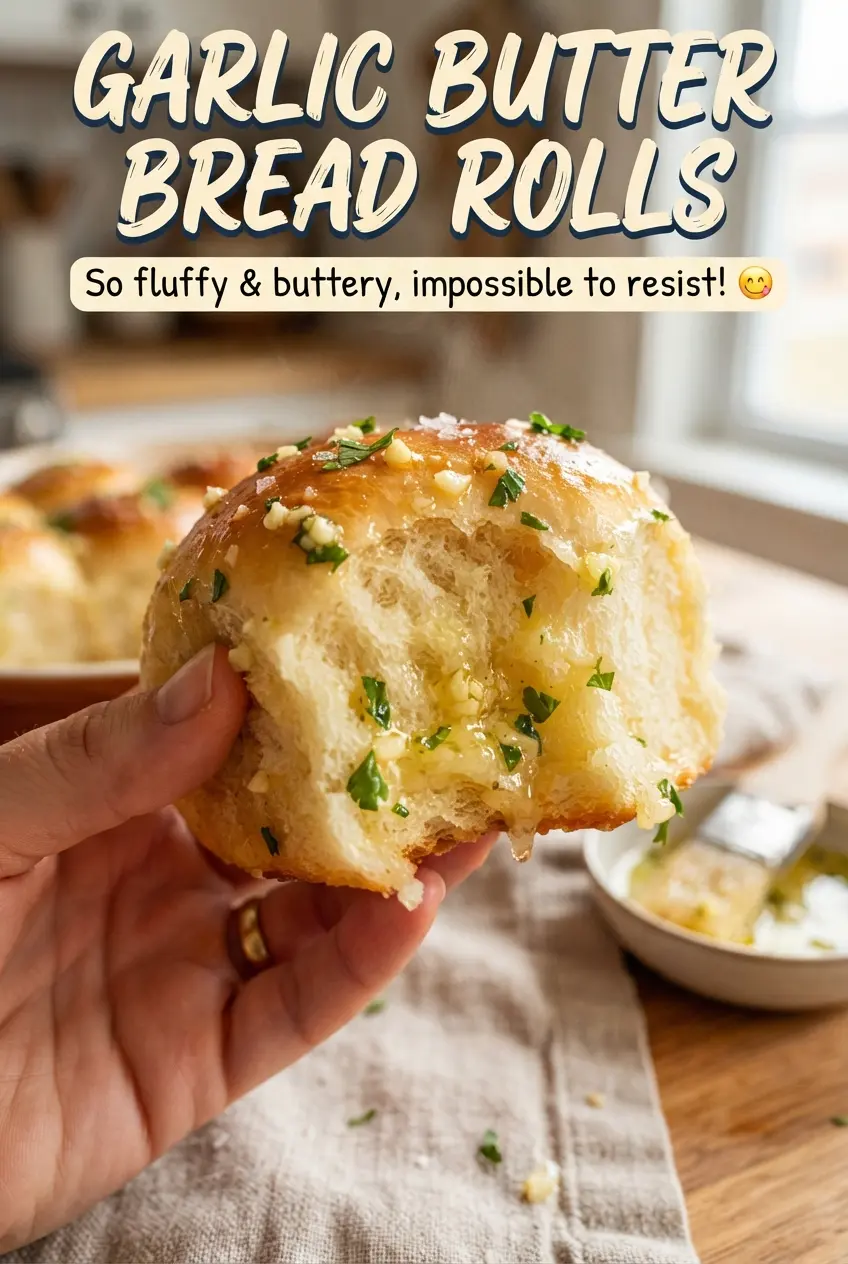
Golden garlic butter bread rolls come out soft enough to pull apart with your fingers and sturdy enough to hold onto every bit of melted butter. The tops bake to a deep, glossy brown, while the centers stay fluffy and light, which makes them the kind of side people reach for before the main dish even hits the table.
The dough is enriched with milk, butter, and egg, so it bakes up tender instead of bready or dry. The first rise builds flavor, but the second rise in the pan is what gives these rolls that close, pull-apart texture. Brushing them with garlic butter while they’re hot lets the butter soak into the cracks instead of sitting on the surface.
Below, I’ve included the small details that matter most: how to tell when the dough is kneaded enough, why the rolls should go into the pan snugly, and what to change if you want to make them ahead.
The rolls were soft and fluffy all the way through, and the garlic butter soaked into the tops without making them greasy. I loved that the second rise gave them that pull-apart texture in the pan.
Save these garlic butter bread rolls for the next dinner when you want soft pull-apart rolls with a shiny, garlicky finish.
The Part That Keeps These Rolls Soft Instead of Dry
The biggest mistake with homemade rolls is adding too much flour too soon. This dough should start out sticky and relaxed, then turn smooth after kneading; if it feels dry in the bowl, the rolls will bake up tight. Warm milk helps the yeast wake up quickly, but it should feel barely warm on your wrist, not hot. Too much heat can slow the yeast or kill it before the dough has a chance to rise.
The second thing that matters is how the rolls are arranged in the pan. Packed close together, they rise upward and inward, which gives you that soft edge-to-edge pull-apart texture. If you space them too far apart, they bake more like individual buns with more crust and less of that tender center everyone wants.
What Each Ingredient Is Doing in the Dough and the Topping
- Warm milk — This gives the dough a softer crumb than water would. Keep it around 110F so the yeast activates without getting shocked by heat.
- Instant yeast — Instant yeast mixes straight into the dough and keeps the process moving. Active dry yeast works too, but it’s worth blooming it in the warm milk first and giving it a few extra minutes.
- Butter — The butter in the dough adds tenderness, and the melted butter on top carries the garlic and parsley into every crack. Use real butter here; margarine changes both the flavor and the way it coats the rolls.
- Egg — The egg enriches the dough and helps the rolls bake up soft and lightly structured. It also gives the crumb a little more body, which matters when you’re tearing them apart warm from the pan.
- All-purpose flour — This is the right flour for a roll that stays tender instead of chewy. Add the last half cup slowly, because humidity and measuring style can change how much the dough needs.
- Garlic and parsley — Fresh garlic gives the topping its sharp, savory punch, and parsley keeps it from tasting heavy. Garlic powder won’t give the same fresh finish, though you can use it in a pinch if that’s what you have.
Building the Dough, the Rise, and the Garlic Butter Finish
Waking Up the Yeast
Whisk the warm milk, yeast, and sugar together until the sugar dissolves, then leave it alone for about 5 minutes. You’re looking for foam on top and a slightly yeasty smell. If nothing happens, the milk was probably too hot, too cool, or the yeast was old. Start over before the rest of the ingredients go in, because flat yeast means flat rolls.
Kneading Until the Dough Turns Smooth
Add the egg, melted butter, salt, and flour, then knead until the dough feels elastic and no longer ragged. It should still be a little tacky, but it shouldn’t cling to every part of your hands. If the dough tears instead of stretching, keep kneading; if it’s stiff and dry, the flour went in too fast and the rolls will bake up dense.
Shaping for a Pull-Apart Pan
After the first rise, divide the dough into 12 equal pieces and roll them into tight balls. Tight shaping matters here because loose balls spread instead of rising upward. Nestle them into a greased 9×13-inch pan with a little room between each piece, then cover and let them rise until they look puffy and the sides are touching.
Baking and Buttering While Hot
Bake until the tops are deep golden brown and the center rolls feel set when you gently press them. The moment they come out, stir the melted butter with garlic and parsley and brush it over every roll while they’re still hot. That’s when the butter slips into the cracks instead of sitting on top. Finish with flaky salt so the tops pop with a little crunch.
How to Adapt These Garlic Butter Bread Rolls Without Losing the Texture
Make Them Dairy-Free
Use unsweetened non-dairy milk and a plant-based butter that melts cleanly. The rolls will still be soft, but the flavor will be a little less rich, so keep the garlic butter topping generous. Coconut milk isn’t a great choice here because it changes the flavor in a noticeable way.
Use Active Dry Yeast Instead of Instant
You can swap active dry yeast for instant yeast in the same amount, but let it sit in the warm milk and sugar for 10 minutes instead of 5. The rise may take a little longer, which is normal. Don’t rush the dough into the oven before it looks properly puffy, or the texture will be tighter.
Turn Them Into Herb Rolls
Add finely chopped rosemary, chives, or thyme to the garlic butter for a more savory, aromatic roll. Keep the herbs fine so they don’t burn on top of the rolls. This works especially well next to roast chicken or pasta because the flavor reads more like an all-purpose dinner roll.
Storage and Reheating
- Refrigerator: Store in an airtight container for up to 3 days. The tops soften a little, but the rolls stay usable.
- Freezer: Freeze baked rolls for up to 2 months, tightly wrapped. Thaw at room temperature, then warm before serving.
- Reheating: Warm in a 300F oven for 8 to 10 minutes, covered loosely with foil so the tops don’t dry out. The common mistake is microwaving them too long, which makes the crumb chewy instead of soft.
Questions I Get Asked About These Garlic Butter Bread Rolls
Garlic Butter Bread Rolls
Ingredients
Equipment
Method
- Whisk warm milk, instant yeast, and sugar together, then let it sit 5 minutes until foamy.
- You should see bubbles and a creamy foam layer, which signals the yeast is active.
- Add the egg, melted butter, salt, and all-purpose flour, then knead 6-8 minutes until smooth and elastic.
- The dough should feel springy and elastic rather than sticky or shaggy.
- Cover the dough and let it rise for 1 hour until doubled in size.
- The dough is ready when it looks puffy and holds the impression of a gentle press.
- Divide the dough into 12 balls and place them in a greased 9x13-inch pan.
- Cover and let the rolls rise 30 minutes until puffy.
- Preheat the oven to 375F and bake the rolls for 18-20 minutes until golden brown.
- The tops should be visibly browned and the rolls should sound slightly hollow when tapped.
- Stir melted butter with minced garlic and chopped parsley, then brush generously over the hot rolls.
- Brush while the rolls are hot so the butter melts into the crevices.
- Sprinkle with flaky sea salt, then serve warm.
- Finish right before serving so the surface stays glossy and tender.