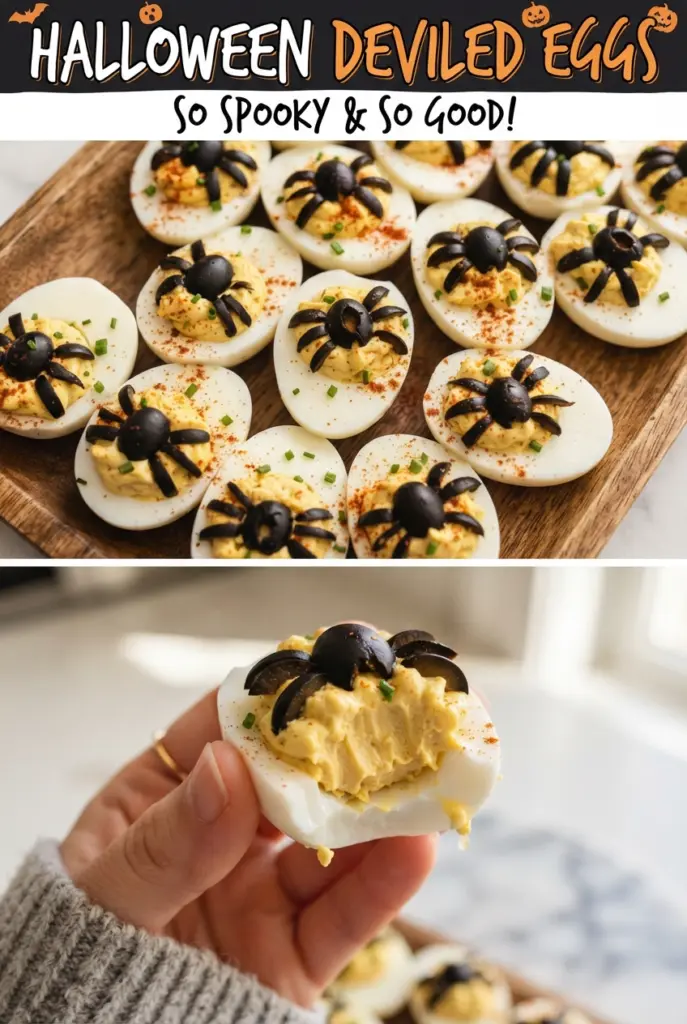
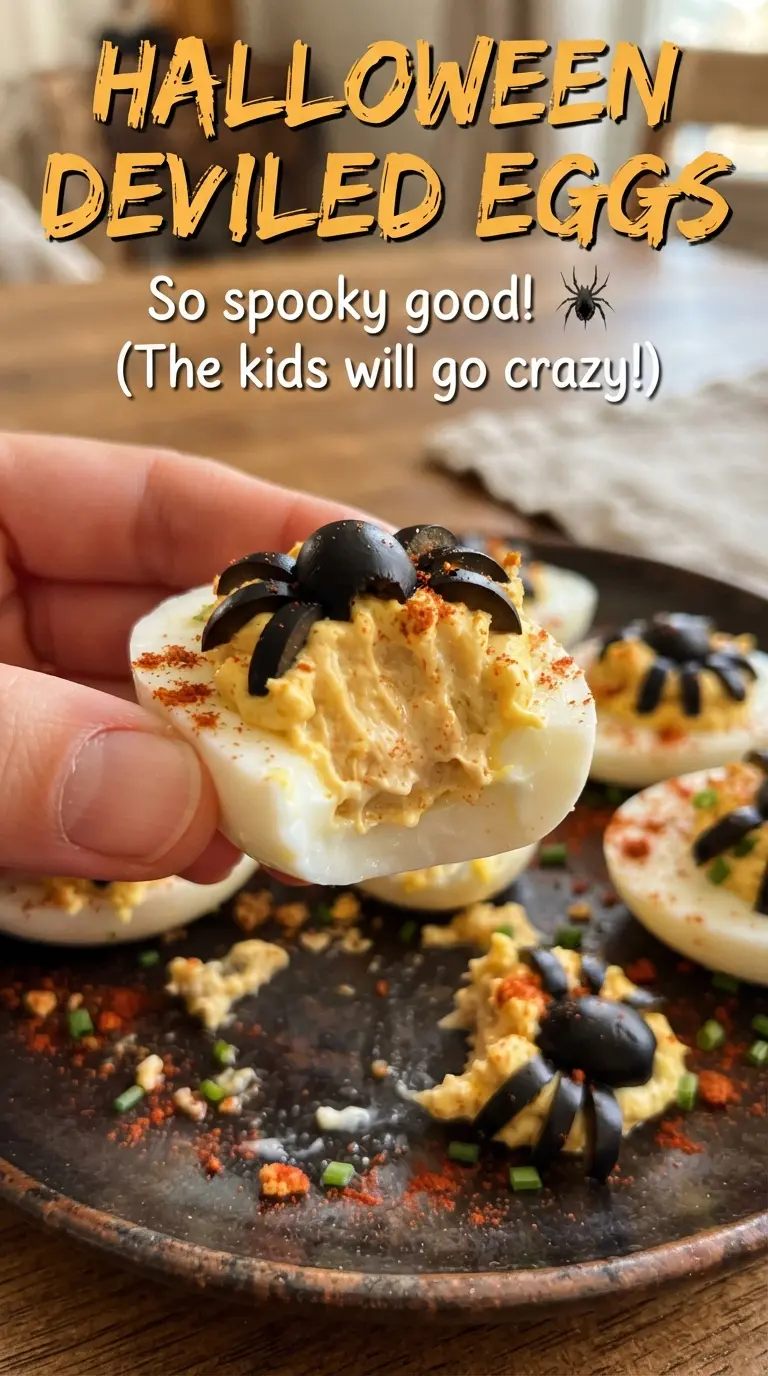
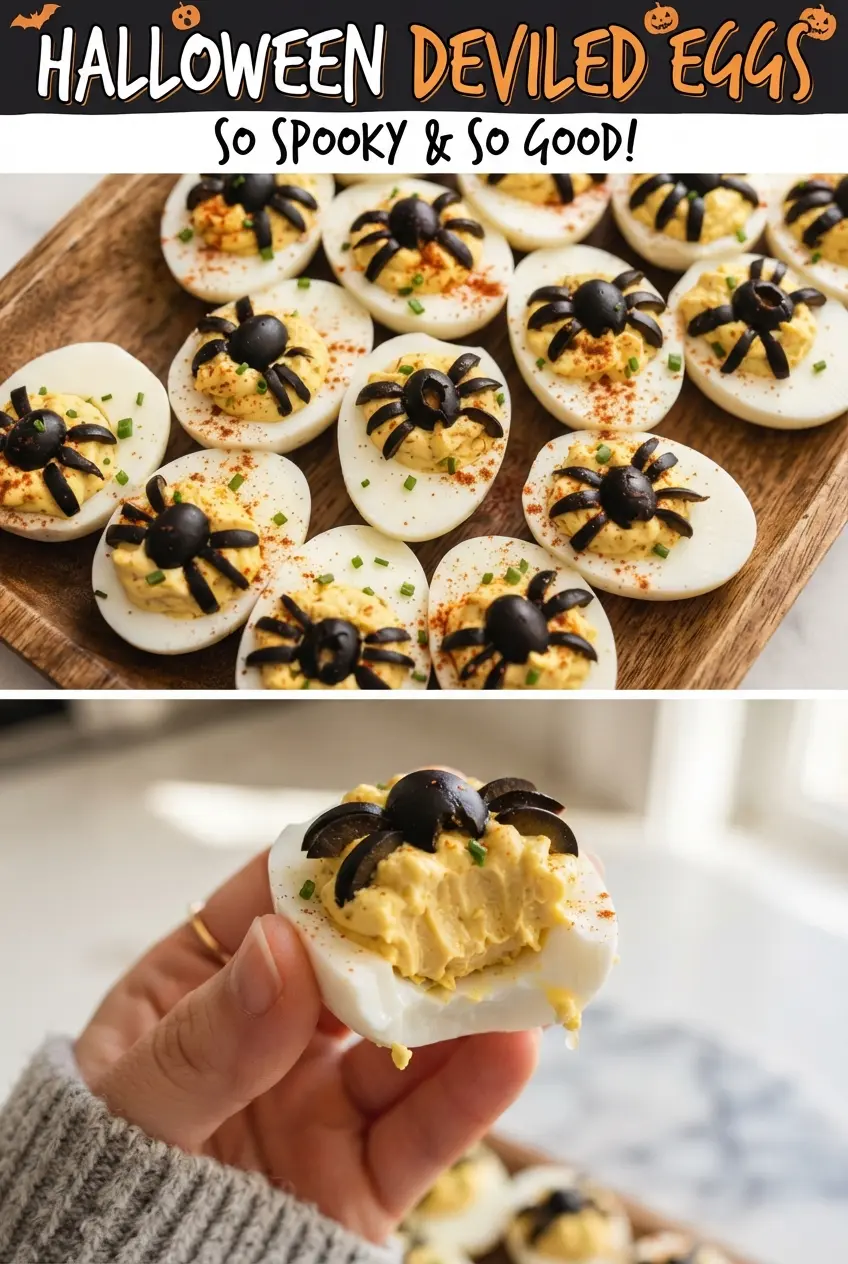
Bright green filling, a tidy pipe of yolk, and a little black olive spider on top turn classic deviled eggs into the first platter people notice. The eggs still taste familiar — creamy, tangy, and rich — but the color and garnish make them feel playful instead of ordinary. They’re the kind of appetizer that gets set down fast and disappears even faster.
The trick is keeping the filling smooth enough to pipe cleanly while still holding its shape. A little Dijon sharpens the yolks, white vinegar keeps the filling from tasting flat, and mayonnaise gives it that soft, rounded texture that sits nicely in the whites. The green gel coloring goes in only a drop or two at a time, because you want spooky-bright, not neon mud.
Below you’ll find the small details that make these look polished instead of fussy, plus a few smart variations if you want to adjust the color, garnish, or make them ahead for a party tray.
The filling whipped up smooth and held its shape beautifully when I piped it. The olive spiders stayed put, and the eggs were the first appetizer gone at our Halloween party.
Halloween Deviled Eggs with spider olives are the easiest way to make a spooky appetizer that still tastes classic.
The Filling Stays Bright When You Don’t Overwork the Yolks
Deviled eggs turn grainy when the yolks get mashed into a paste before the mayonnaise has a chance to loosen them. Start by breaking the yolks up with a fork, then add the mayo, mustard, vinegar, and salt and stir just until smooth. That gives you a filling that pipes cleanly and tastes creamy instead of heavy.
The other thing that matters here is temperature. Eggs that are still warm after peeling can sweat and make the filling loose, which works against the clean spider-topped look. Chill them long enough to cool all the way through, then fill them when the whites feel dry and firm.
What Each Ingredient Is Actually Doing in These Halloween Deviled Eggs
- Eggs — Fresh enough to peel cleanly, but not so fresh that the shells cling hard. Older eggs peel easier after the ice bath, which matters when you want neat white halves for serving.
- Mayonnaise — This is what gives the filling its soft, pipeable body. If you swap it for plain yogurt, the filling tastes sharper and loosens faster, so use mayo unless you want a tangier result.
- Dijon mustard — A teaspoon is enough to wake up the yolks without turning the filling yellow or aggressively mustardy. Yellow mustard works in a pinch, but Dijon gives a cleaner, deeper bite.
- White vinegar — It cuts through the richness and keeps the filling from tasting flat. Lemon juice can stand in if needed, but it will shift the flavor and can make the filling slightly brighter and less classic.
- Green gel food coloring — Gel coloring gives strong color without thinning the mixture. Liquid coloring can work, but you’ll need more of it and the filling can loosen before it gets spooky-bright.
- Black olives — These do double duty as garnish and shape. Pitted olives are easier to slice into even spider legs, and the mild briny flavor works well with the eggs.
Building the Eggs So the Spiders Sit Cleanly on Top
Cooking the Eggs Without the Gray Ring
Cover the eggs with cold water, bring them up to a boil, then pull the pot off the heat and let them stand covered for 12 minutes. That gentle finish cooks the yolks through without drying them out. If you leave them boiling hard, the yolks can turn chalky and the edges pick up that dull green ring.
Cooling and Peeling for a Neat Finish
Move the eggs straight into an ice bath for 10 minutes. The cold water stops the cooking and helps the shells release cleanly. Peel under running water if the shells cling, because any stubborn bits left on the white will show once the eggs are plated.
Mixing the Filling Until It Pipes Smoothly
Mash the yolks first, then stir in the mayonnaise, Dijon, vinegar, salt, and green coloring. Stop as soon as the mixture looks even and fluffy enough to hold a swirl. If you keep stirring after it’s already smooth, it can turn dense, and dense filling doesn’t look nearly as good when piped.
Making the Olive Spiders
Set one olive half dome-side up on each egg, then slice the remaining halves into narrow strips for legs. The legs look best when they’re thin enough to curve slightly but not so thin that they break apart as you arrange them. A chilled filling helps hold the olive body in place, so assemble the spiders after the eggs are filled and cold.
Make Them Without Food Coloring
Skip the green coloring and keep the filling classic yellow if you want the spider garnish to do all the Halloween work. The flavor stays exactly the same, but the look becomes more understated and less cartoonish.
Dairy-Free Halloween Deviled Eggs
These are naturally dairy-free as written as long as your mayonnaise is dairy-free, which most standard brands are. Check the label if needed, since the texture depends on mayo doing the heavy lifting.
Swap the Spider for a Different Topping
If olives aren’t popular at your table, top each egg with a tiny chive knot, a thin strip of roasted red pepper, or a sprinkle of smoked paprika. You’ll lose the spider effect, but the eggs still keep their festive look and creamy filling.
How to Make Them Ahead
Boil, peel, and halve the eggs up to a day ahead, then mix the filling and pipe them closer to serving. The olives hold up well, but the whites look freshest when assembled the same day.
Storage and Reheating
- Refrigerator: Store covered for up to 2 days. The filling stays tasty, but the olive garnish looks its best on day one.
- Freezer: Don’t freeze deviled eggs. The whites turn rubbery and watery once thawed.
- Reheating: These are meant to be served cold. Let them sit at room temperature for 10 to 15 minutes before serving so the filling tastes creamy, not icy.
Questions I Get Asked About This Recipe
Halloween Deviled Eggs
Ingredients
Equipment
Method
- Place 12 large eggs in a pot, cover with cold water, and bring to a boil; cover, remove from heat, and let stand 12 minutes. You should see the water reach a full boil before removing the pot from the burner.
- Chill the eggs in an ice bath for 10 minutes, then peel and halve them lengthwise. The egg whites should feel cold and firm when you start handling them.
- Mash the yolks with mayonnaise, Dijon mustard, white vinegar, and salt until smooth and creamy. Stop and scrape the mixture so no dry yolk bits remain.
- Stir in 2–3 drops green gel food coloring until the filling is bright green. The mixture should look uniformly tinted with no streaks.
- Pipe or spoon the green filling into the egg whites, filling each half generously. The filling should mound slightly above the rim of the whites.
- Halve the 12 pitted black olives lengthwise and place one half dome-side up on each egg for the spider body. The olive curve should sit like a rounded thorax.
- Slice the remaining olive halves into thin strips and arrange 8 legs around each body, then chill until serving. The legs should stand out against the filling so the spider shape stays visible.