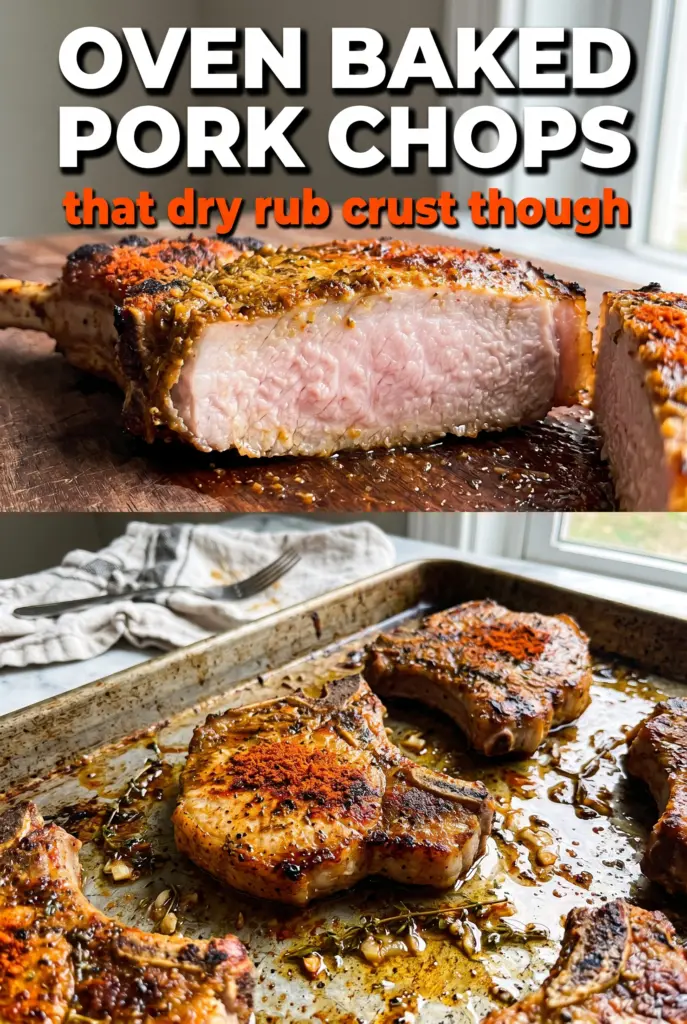
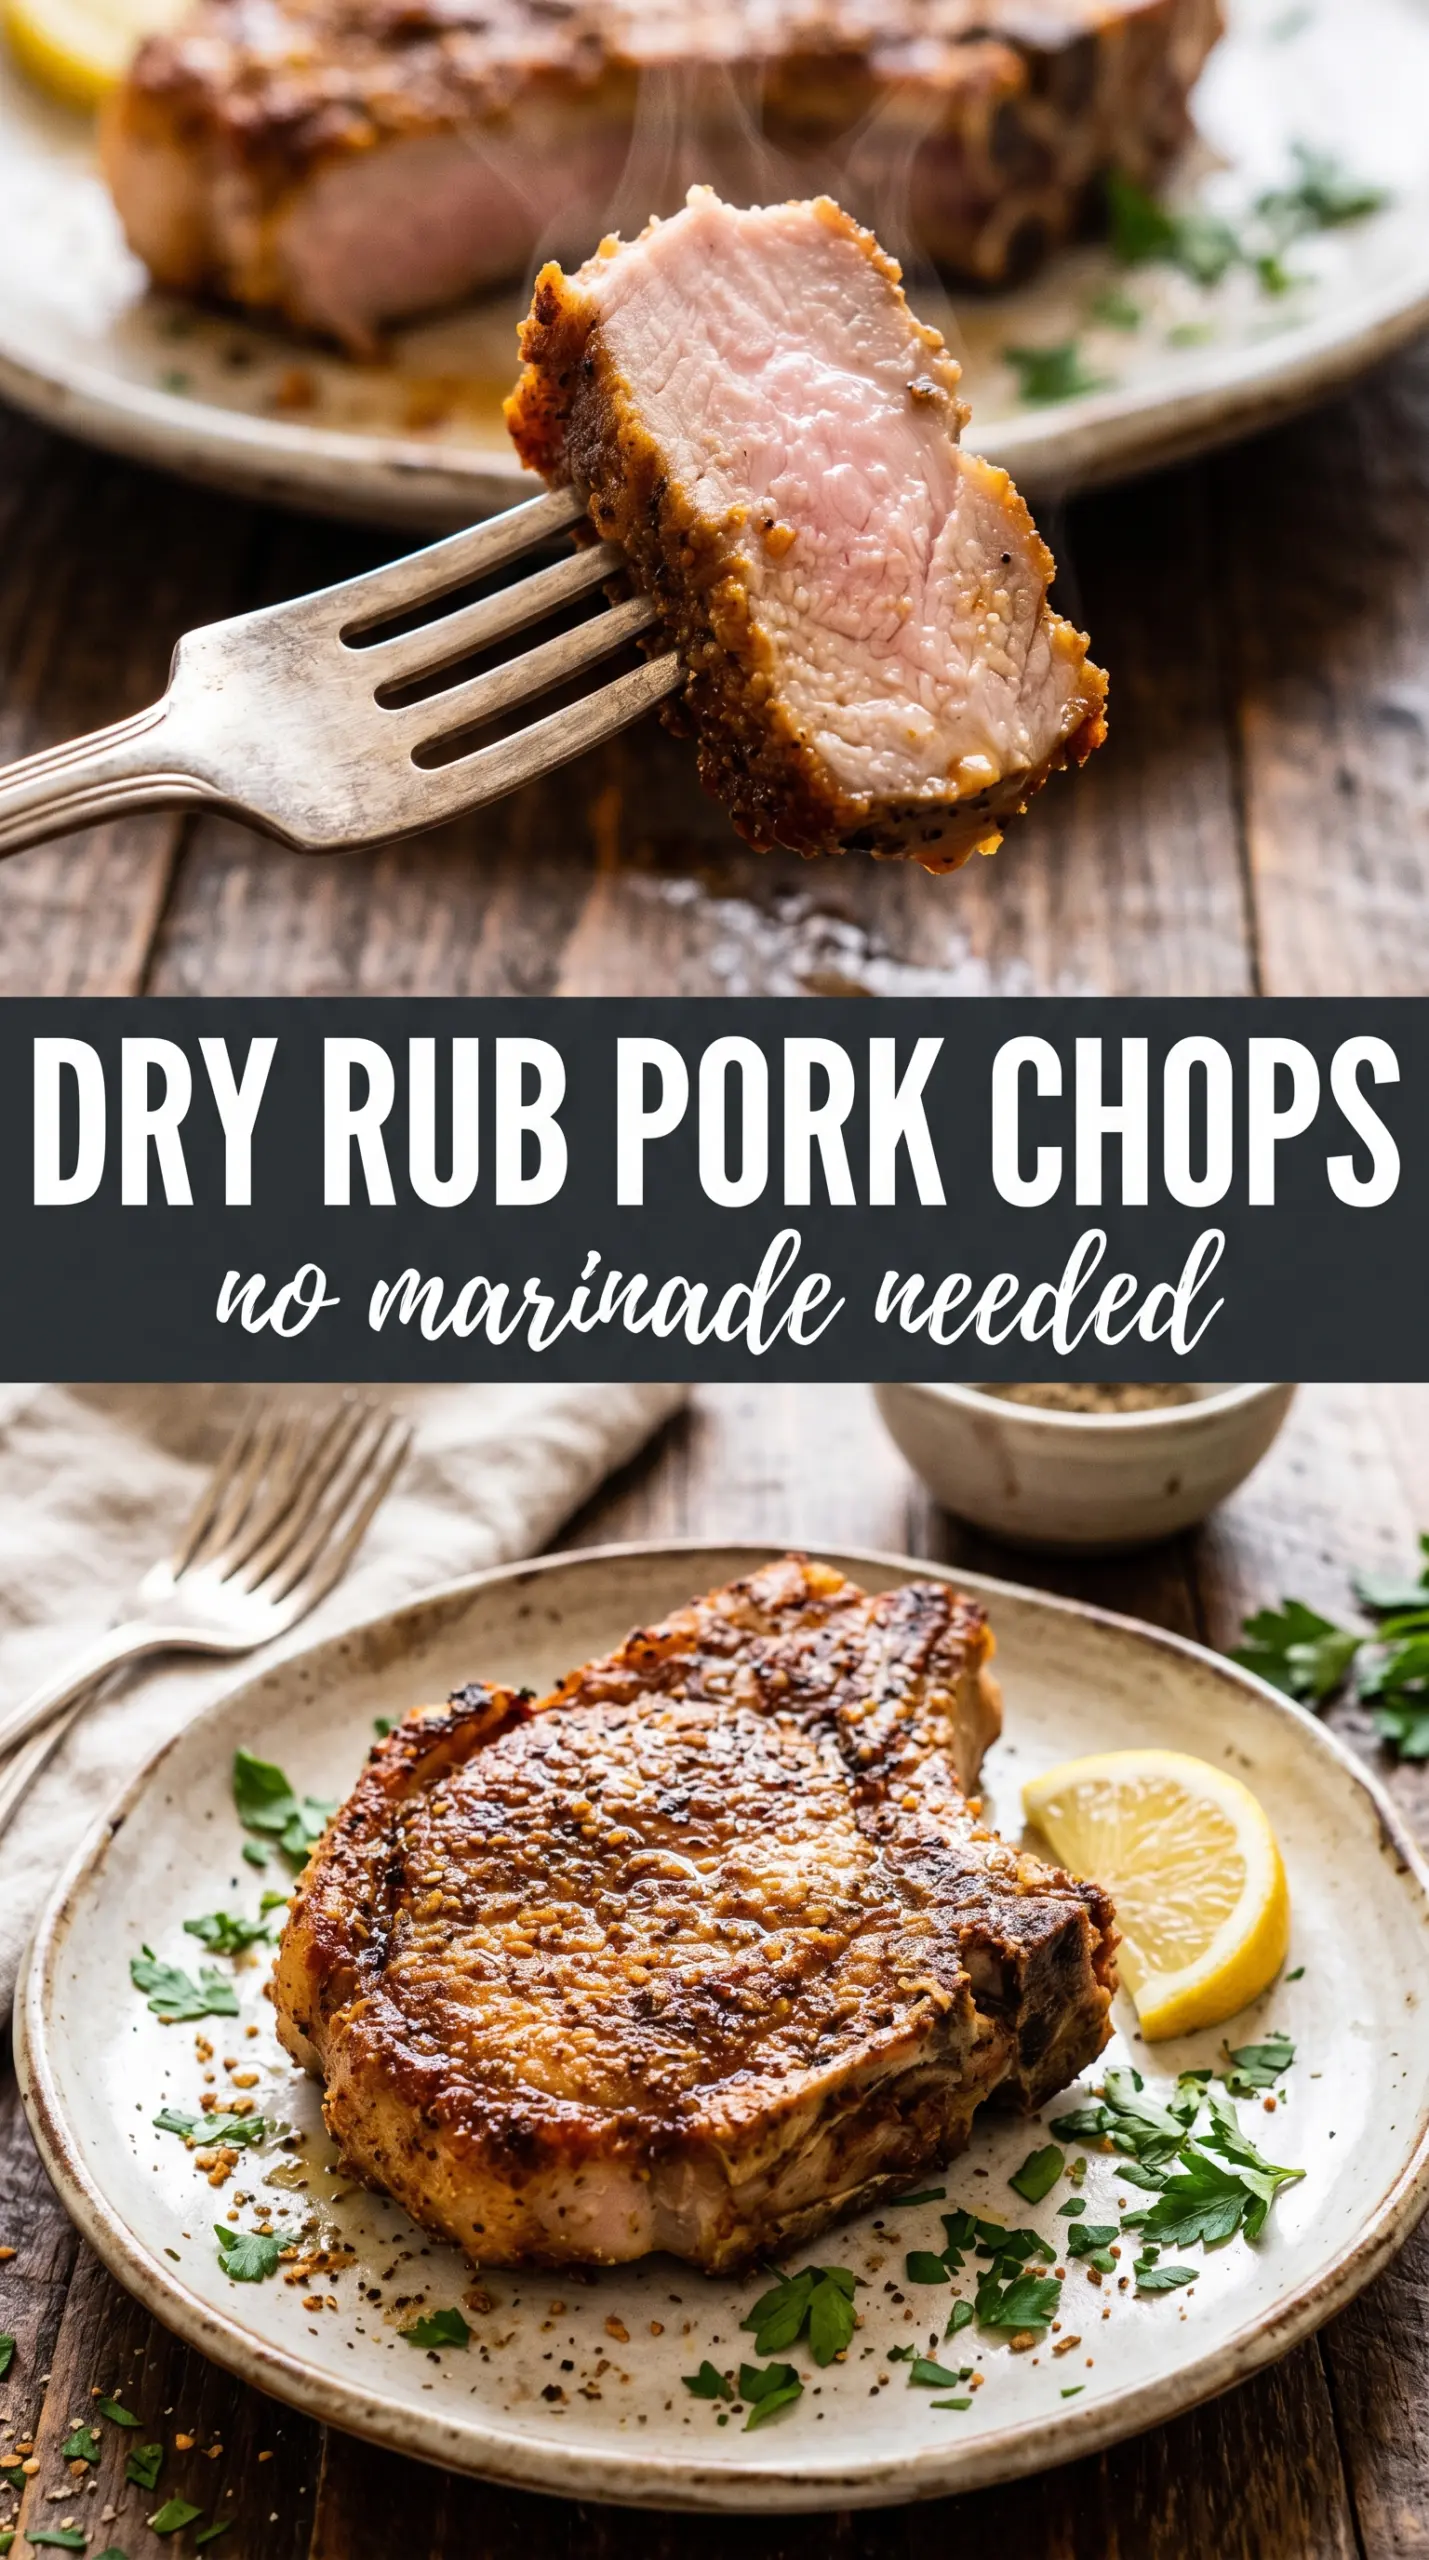
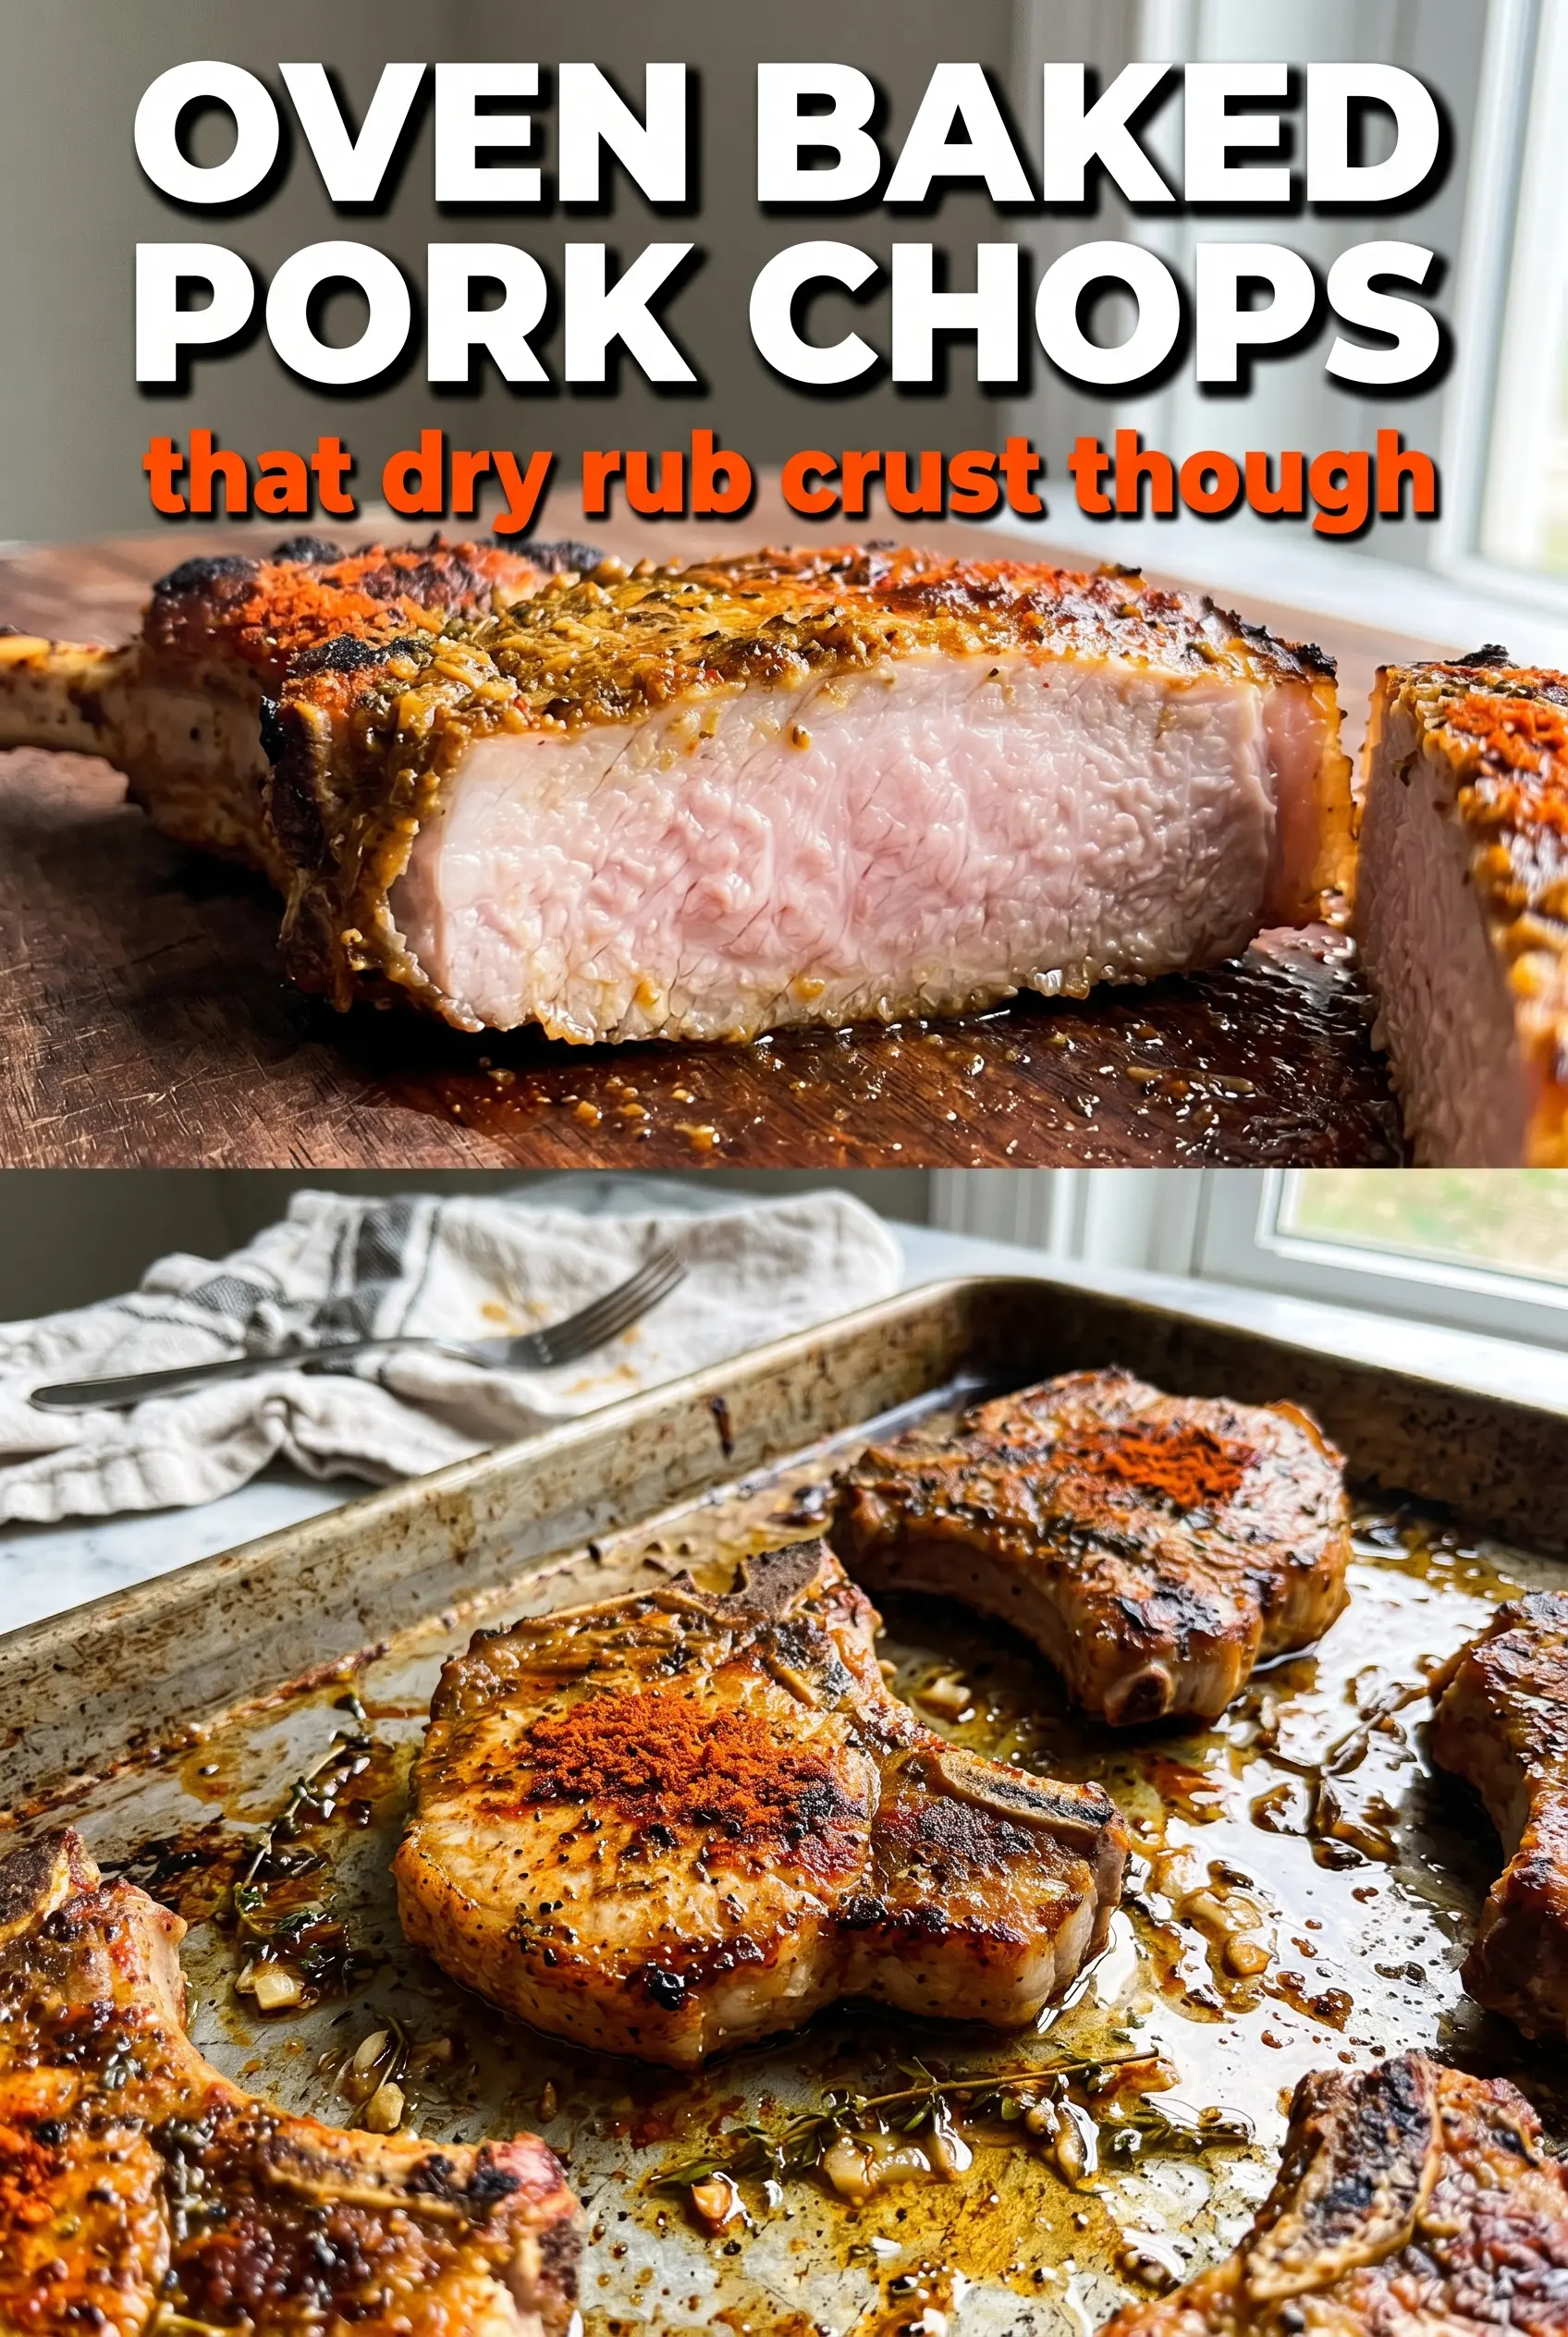
These oven baked pork chops come out with a deep red spice crust, juicy centers, and enough bold seasoning to stand up on their own. The best part is that the oven does most of the work, but the chops still taste like they spent a lot longer getting ready. When the rub hits the hot surface and the brown sugar starts to caramelize, you get that savory-sweet crust that makes a simple pork chop feel like dinner was planned.
The trick here is drying the meat well before the oil and rub go on. Moisture is what keeps a spice crust from clinging, and if the chops go into the oven damp, the seasoning slides off and turns patchy. A hot oven at 400°F gives the rub enough heat to bloom and brown without drying out the pork, and bone-in chops stay more forgiving than boneless ones.
Below, I’ve included the one detail that matters most for getting a real crust instead of a dusty layer of spices, plus a few swaps and storage notes for the nights when you want this same method with what you’ve already got in the kitchen.
The chops came out with a real crust on them, not just seasoned on the outside, and they stayed juicy after the 3-minute rest. My husband kept saying the rub tasted like something from a good barbecue spot.
Love the golden-red crust on these oven baked pork chops? Save this one for nights when you want bold seasoning and barely any cleanup.
The One Move That Keeps the Rub From Falling Off
The biggest mistake with dry-rub pork chops is treating the seasoning like a dusting instead of a crust. If the meat is wet, the oil beads up and the rub never really bonds, so it ends up on the pan instead of on the chop. Patting the pork completely dry before adding oil is what gives the spices a surface they can grab.
Pressing the rub in matters just as much. You want the seasoning to look almost packed onto the surface, especially around the edges and near the bone where the meat is uneven. That pressure helps the brown sugar and paprika melt together in the oven, which is what gives you that deep red crust instead of a sandy layer of spice.
- Bone-in pork chops — These stay juicier in the oven and are much more forgiving than thin boneless chops. The bone also slows down the cooking a bit, which helps the center finish without the edges drying out.
- Brown sugar — This is what helps the rub caramelize and cling. If you leave it out, the chops will still taste seasoned, but you lose that glossy, browned crust that makes the recipe stand out.
- Smoked paprika — Use a good one here. It gives the rub its color and a warm, smoky backbone that reads almost like barbecue without needing a smoker.
- Olive oil — You only need enough to lightly coat the meat. Too much oil turns the seasoning pasty and keeps it from crisping properly.
What Each Ingredient Is Actually Doing in This Recipe
- Primary ingredient (the star) — Quality matters most. Choose the best you can find.
- Cooking medium (oil, butter, or broth) — This carries flavors and prevents dryness.
- Seasonings (salt, pepper, spices, herbs) — Layer flavors so nothing overpowers. Build depth gradually.
- Aromatics (garlic, onion, herbs) — Cook with fat to bloom flavors. Become the foundation.
- Supporting ingredients — Complement the main ingredient without overpowering it.
- Sauce or liquid (if applicable) — Brings flavors together. Balance richness with acid.
- Acid (lemon, vinegar, wine, or other) — Brightens and prevents flat-tasting results.
- Final finish (garnish, glaze, or sauce) — Prevents one-dimensional taste and adds visual appeal.
Getting the Spiced Crust Right in a Hot Oven
Mix the Rub Until the Sugar Disappears
Stir the dry rub ingredients together first so the sugar and spices distribute evenly. If you dump them on the chops separately, the paprika and salt will clump in one spot while the sugar stays in another, and the crust bakes unevenly. The mixture should look uniform and sandy with no visible streaks of brown sugar.
Dry the Pork Before Anything Else
Pat the pork chops dry with paper towels until the surface feels tacky, not damp. Brush on the olive oil in a thin layer, just enough to give the rub something to stick to. If the chops are glossy with oil or still wet from packaging, the seasoning will slide and the bottom edges won’t brown as well.
Bake Until the Center Hits 145°F
Arrange the chops on a foil-lined baking sheet with space around each one so the hot air can move. Bake at 400°F for 18 to 22 minutes, depending on thickness, until the rub looks set and the center reads 145°F. If you cook past that point, the pork starts to lose its juiciness fast, and the crust can turn dry instead of crisp.
Rest Before Slicing
Let the chops rest for 3 minutes before serving. That short pause keeps the juices from running out the second you cut in, and it gives the crust a moment to settle. Skip the rest and the first slice will look wet and loose instead of clean and juicy.
How to Adapt These Pork Chops Without Losing the Crust
Boneless Pork Chops
Boneless chops work, but they cook faster and dry out sooner, so start checking them a few minutes early. Keep the thickness close to 1 inch or the outside will brown before the center is ready. The crust will still be good, just a little less forgiving than bone-in.
No Brown Sugar
You can use coconut sugar or maple sugar in the same amount, and both will still give you some caramelized edges. If you skip the sweetener entirely, the rub becomes more savory and less sticky, so expect a drier-looking crust and a sharper spice finish.
Gluten-Free and Dairy-Free
The recipe is naturally both gluten-free and dairy-free as written, which is part of why it works so well for a fast main dish. Just check your spices if they came from a blended seasoning mix, since some brands add anti-caking agents or fillers.
Make It a Little Sweeter or Spicier
Add an extra 1/2 teaspoon of brown sugar if you want a sweeter barbecue-style finish, or increase the chili powder slightly if you want more heat. Keep the paprika and salt in balance, though, because those two set the base flavor of the whole crust.
Storage and Reheating
- Refrigerator: Store leftovers in an airtight container for up to 3 days. The crust softens a bit, but the flavor holds up well.
- Freezer: Freeze cooked chops tightly wrapped for up to 2 months. Thaw overnight in the refrigerator before reheating so the center warms evenly.
- Reheating: Warm in a 300°F oven, covered loosely with foil, until just heated through. High heat dries pork out fast, and the crust gets brittle before the inside is warm.
Questions I Get Asked About These Pork Chops
Oven Baked Pork Chops with Dry Rub
Ingredients
Equipment
Method
- Preheat oven to 400°F and line a baking sheet with foil.
- Mix all dry rub ingredients together until evenly combined.
- Pat the pork chops completely dry and brush with olive oil.
- Coat both sides generously with the dry rub, pressing firmly into the meat.
- Bake at 400°F for 18–22 minutes until the internal temperature reaches 145°F and the rub has formed a golden crust.
- Rest the pork chops for 3 minutes before serving.