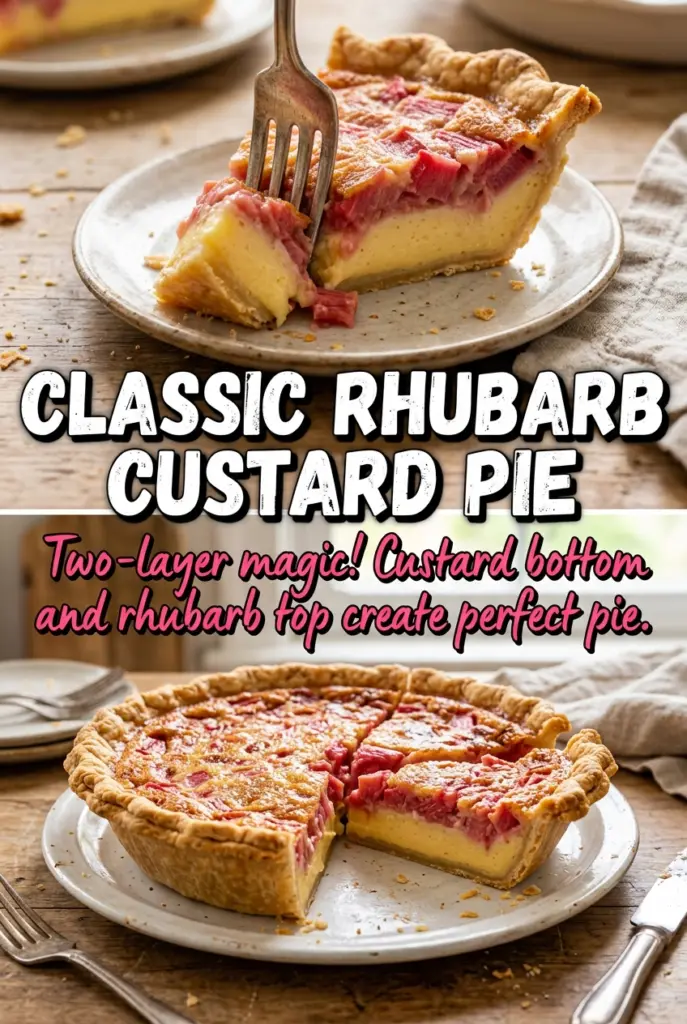
Rhubarb custard pie lands in that sweet spot between old-fashioned comfort and clean, bright flavor. The filling sets into a silky slice that holds together without turning dense, while the rhubarb softens just enough to give each bite a tart little pop. Wrapped in a flaky crust, it tastes like the kind of dessert people go back for after they’ve already said they’re full.
The trick is keeping the custard smooth and giving the rhubarb enough space to cook without flooding the pie. I like cutting the stalks into even half-inch pieces so they soften at the same rate, and I whisk the filling until the flour disappears completely. That keeps the custard from baking up grainy or lumpy.
Below, I’ve included the one cooling rule that matters most for clean slices, plus a few swaps and fixes if your rhubarb is extra tart or your crust tends to brown too fast.
The custard set up beautifully and the rhubarb stayed tender without turning mushy. I cooled it the full 3 hours and got clean slices, which never happens with my pies.
Like this rhubarb custard pie? Save it to Pinterest for a silky, tart-sweet spring dessert with a flaky crust.
The Custard Sets Cleanly Only If You Don’t Rush the Temperature Drop
Custard pies have one easy failure point: the edges overbake before the center has time to set. Starting hot helps the crust begin cooking quickly, but the pie needs that lower second stage so the filling can thicken gently instead of curdling or puffing. If you keep it at 400°F the whole time, you’re much more likely to get a curdled top and a loose middle.
The other thing that matters here is the rest time. The pie will look done before it actually slices cleanly. Cooling for the full 3 hours gives the custard time to finish setting, and that’s what keeps the filling creamy instead of runny on the plate.
- The initial blast of heat helps the bottom crust stay crisp under a wet filling.
- The lower temperature finishes the custard without scrambling the eggs.
- A fully cooled pie slices neatly and tastes cleaner, too, because the rhubarb juices settle back into the filling.
What the Rhubarb, Eggs, and Flour Are Each Doing Here
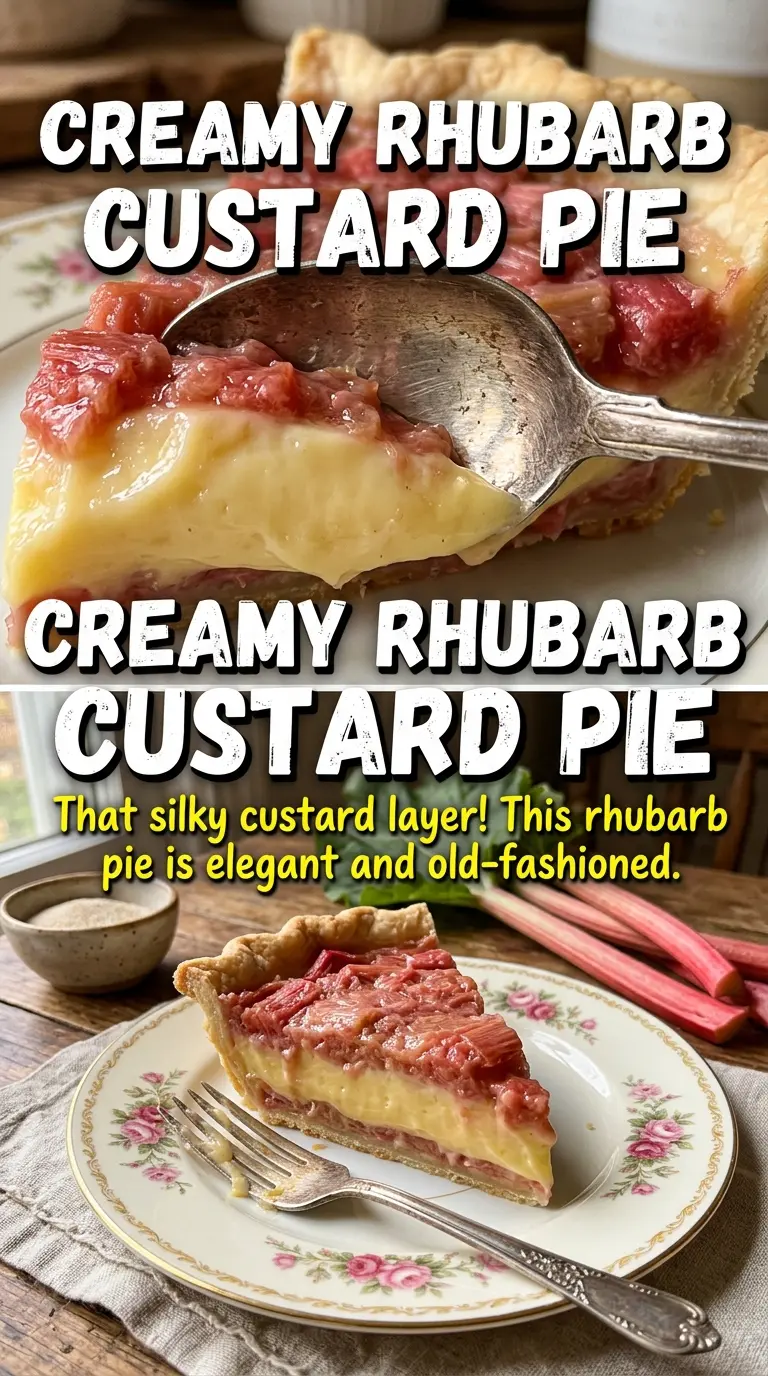
- Rhubarb — Fresh rhubarb brings the sharp, tart backbone of the pie. Cut it into even pieces so it softens at the same rate; oversized chunks stay fibrous, and tiny bits disappear into the custard.
- Eggs — The eggs give the pie its structure and that smooth, sliceable texture. There isn’t a true substitute if you want the same custard set, which is why this pie doesn’t behave like a pudding pie.
- Flour — A small amount of flour keeps the custard stable and helps absorb some of the rhubarb juice. Don’t swap in cornstarch here unless you want a different, more gelled texture.
- Milk — Milk loosens the custard just enough to pour smoothly around the fruit. Whole milk gives the best body, but 2% works if that’s what you keep on hand.
- Nutmeg — Nutmeg is subtle, but it rounds out the tartness and makes the pie taste like the classic version people expect. Freshly grated is nice, but pre-ground works fine in this small amount.
Building the Pie So the Filling Stays Silky and the Crust Stays Crisp
Layering the Rhubarb
Spread the rhubarb directly in the unbaked crust so the pieces cook in the custard instead of floating around the top. An even layer matters here; if the fruit piles up in one spot, the filling sets unevenly and the slice falls apart. If your rhubarb looks especially wet, pat it dry first so it doesn’t thin out the custard before baking.
Mixing the Custard Without Whipping in Air
Whisk the sugar, eggs, flour, milk, nutmeg, and salt just until smooth. You’re not trying to make it fluffy. Too much air gives you a puffed top that sinks as it cools, and a quick whisk keeps the filling dense and creamy. If you still see flour specks, keep whisking until they disappear before it goes into the crust.
Baking in Two Temperatures
Pour the custard over the rhubarb and bake at 400°F for 15 minutes, then lower the oven to 350°F. That first hit helps the crust set, and the second stage gently finishes the custard. The pie is done when the edges are firm and the center still has the faintest wobble, not sloshy movement. If the top is browning too fast, tent it loosely with foil for the last stretch.
Cooling for a Clean Slice
Let the pie cool completely for at least 3 hours before cutting. This is the part people skip, then wonder why the filling runs. The custard keeps firming as it cools, and the rhubarb juices settle down into the pie instead of spilling out on the plate. Chill it before serving if you want the neatest slices and the best contrast with whipped cream.
How to Adapt This Pie When Your Pantry or Diet Needs a Swap
Dairy-Free Version with a Fuller Custard
Use an unsweetened non-dairy milk with some body, like oat milk, instead of regular milk. The pie will still set, but the flavor is a little softer and less rich than the original. Skip watery almond milk if you can; it makes the custard feel thinner.
Gluten-Free Crust and Thickener Swap
Use your favorite gluten-free pie crust and replace the all-purpose flour with a 1:1 gluten-free flour blend. That keeps the custard close to the original without changing the slice too much. Don’t use only cornstarch unless you want a glossier, more pudding-like texture.
Taming Extra-Tart Rhubarb
If your rhubarb is especially sharp, add a little extra sugar only if you like a sweeter pie. The better move is to serve it well chilled with whipped cream, which softens the tart edge without making the filling taste flat. More sugar can mute the rhubarb too much.
Make-Ahead for Easier Serving
Bake the pie a day ahead if you want the cleanest slices and the calmest serving schedule. The texture holds up well after chilling overnight, and the flavor settles in. Keep it covered in the refrigerator and bring it out 10 to 15 minutes before slicing so the custard isn’t too firm.
Storage and Reheating
- Refrigerator: Store covered for up to 4 days. The custard stays firm and the crust softens slightly on the bottom.
- Freezer: Not my first choice. Custard pies can turn watery after thawing, and the texture of the rhubarb changes.
- Reheating: Serve chilled or at cool room temperature. If you warm a slice, use very low heat for only a few minutes so the custard doesn’t loosen and weep.
Answers to the Questions Worth Asking
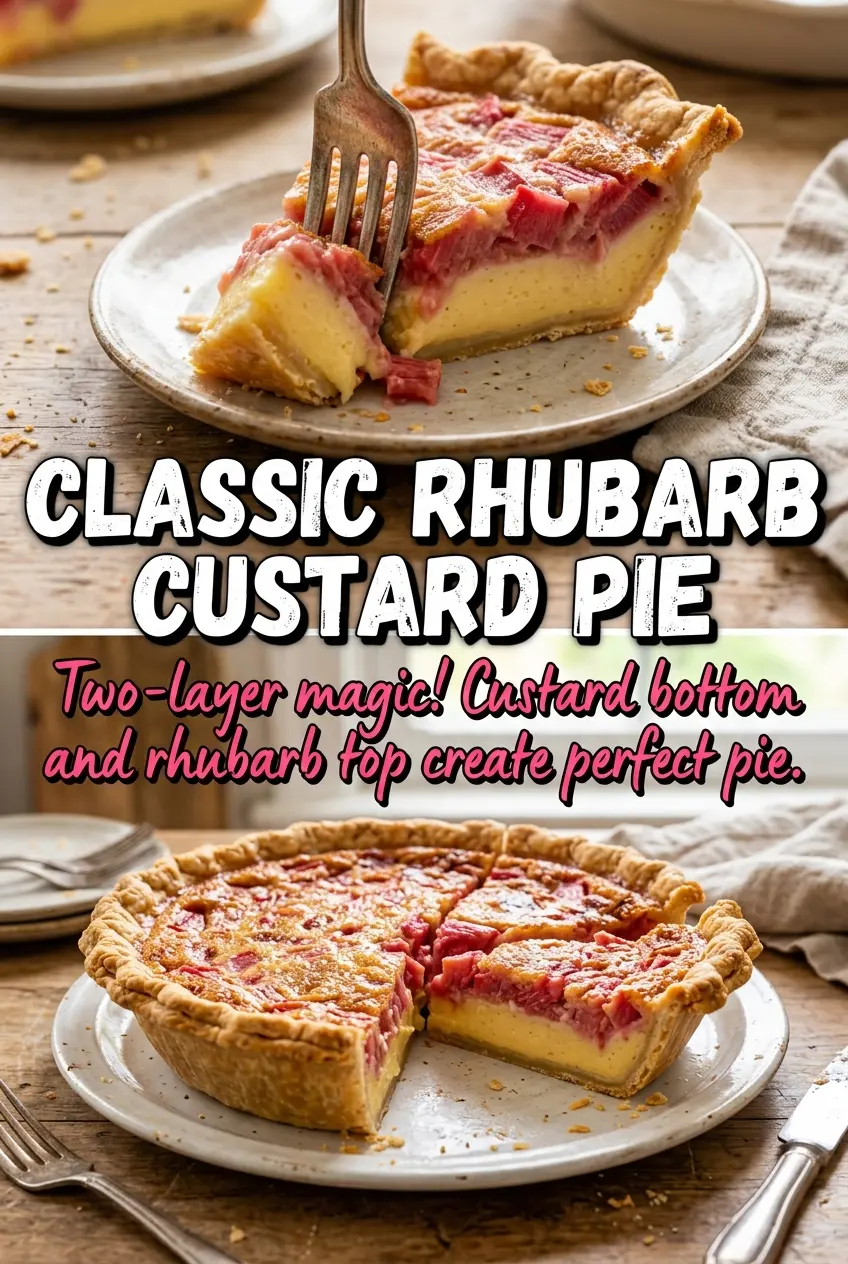
Rhubarb Custard Pie
Ingredients
Equipment
Method
- Preheat the oven to 400°F. Place the pie crust in a pie plate for easy filling.
- Arrange the rhubarb pieces in the bottom of the pie crust. Spread them evenly so they bake throughout the custard.
- Whisk together the sugar, eggs, flour, milk, nutmeg, and salt until smooth. The mixture should look glossy and uniform before pouring.
- Pour the custard mixture over the rhubarb. Make sure the custard covers the fruit completely.
- Bake for 15 minutes at 400°F. Look for the edges of the crust to start turning golden.
- Reduce the temperature to 350°F and bake for 30-35 minutes more until the custard is set. The center should jiggle slightly but not look liquid.
- Cool the pie completely for at least 3 hours before slicing. The filling should firm up fully while cooling.
- Serve chilled with whipped cream. Add a dollop on each slice for contrast with the pink rhubarb.