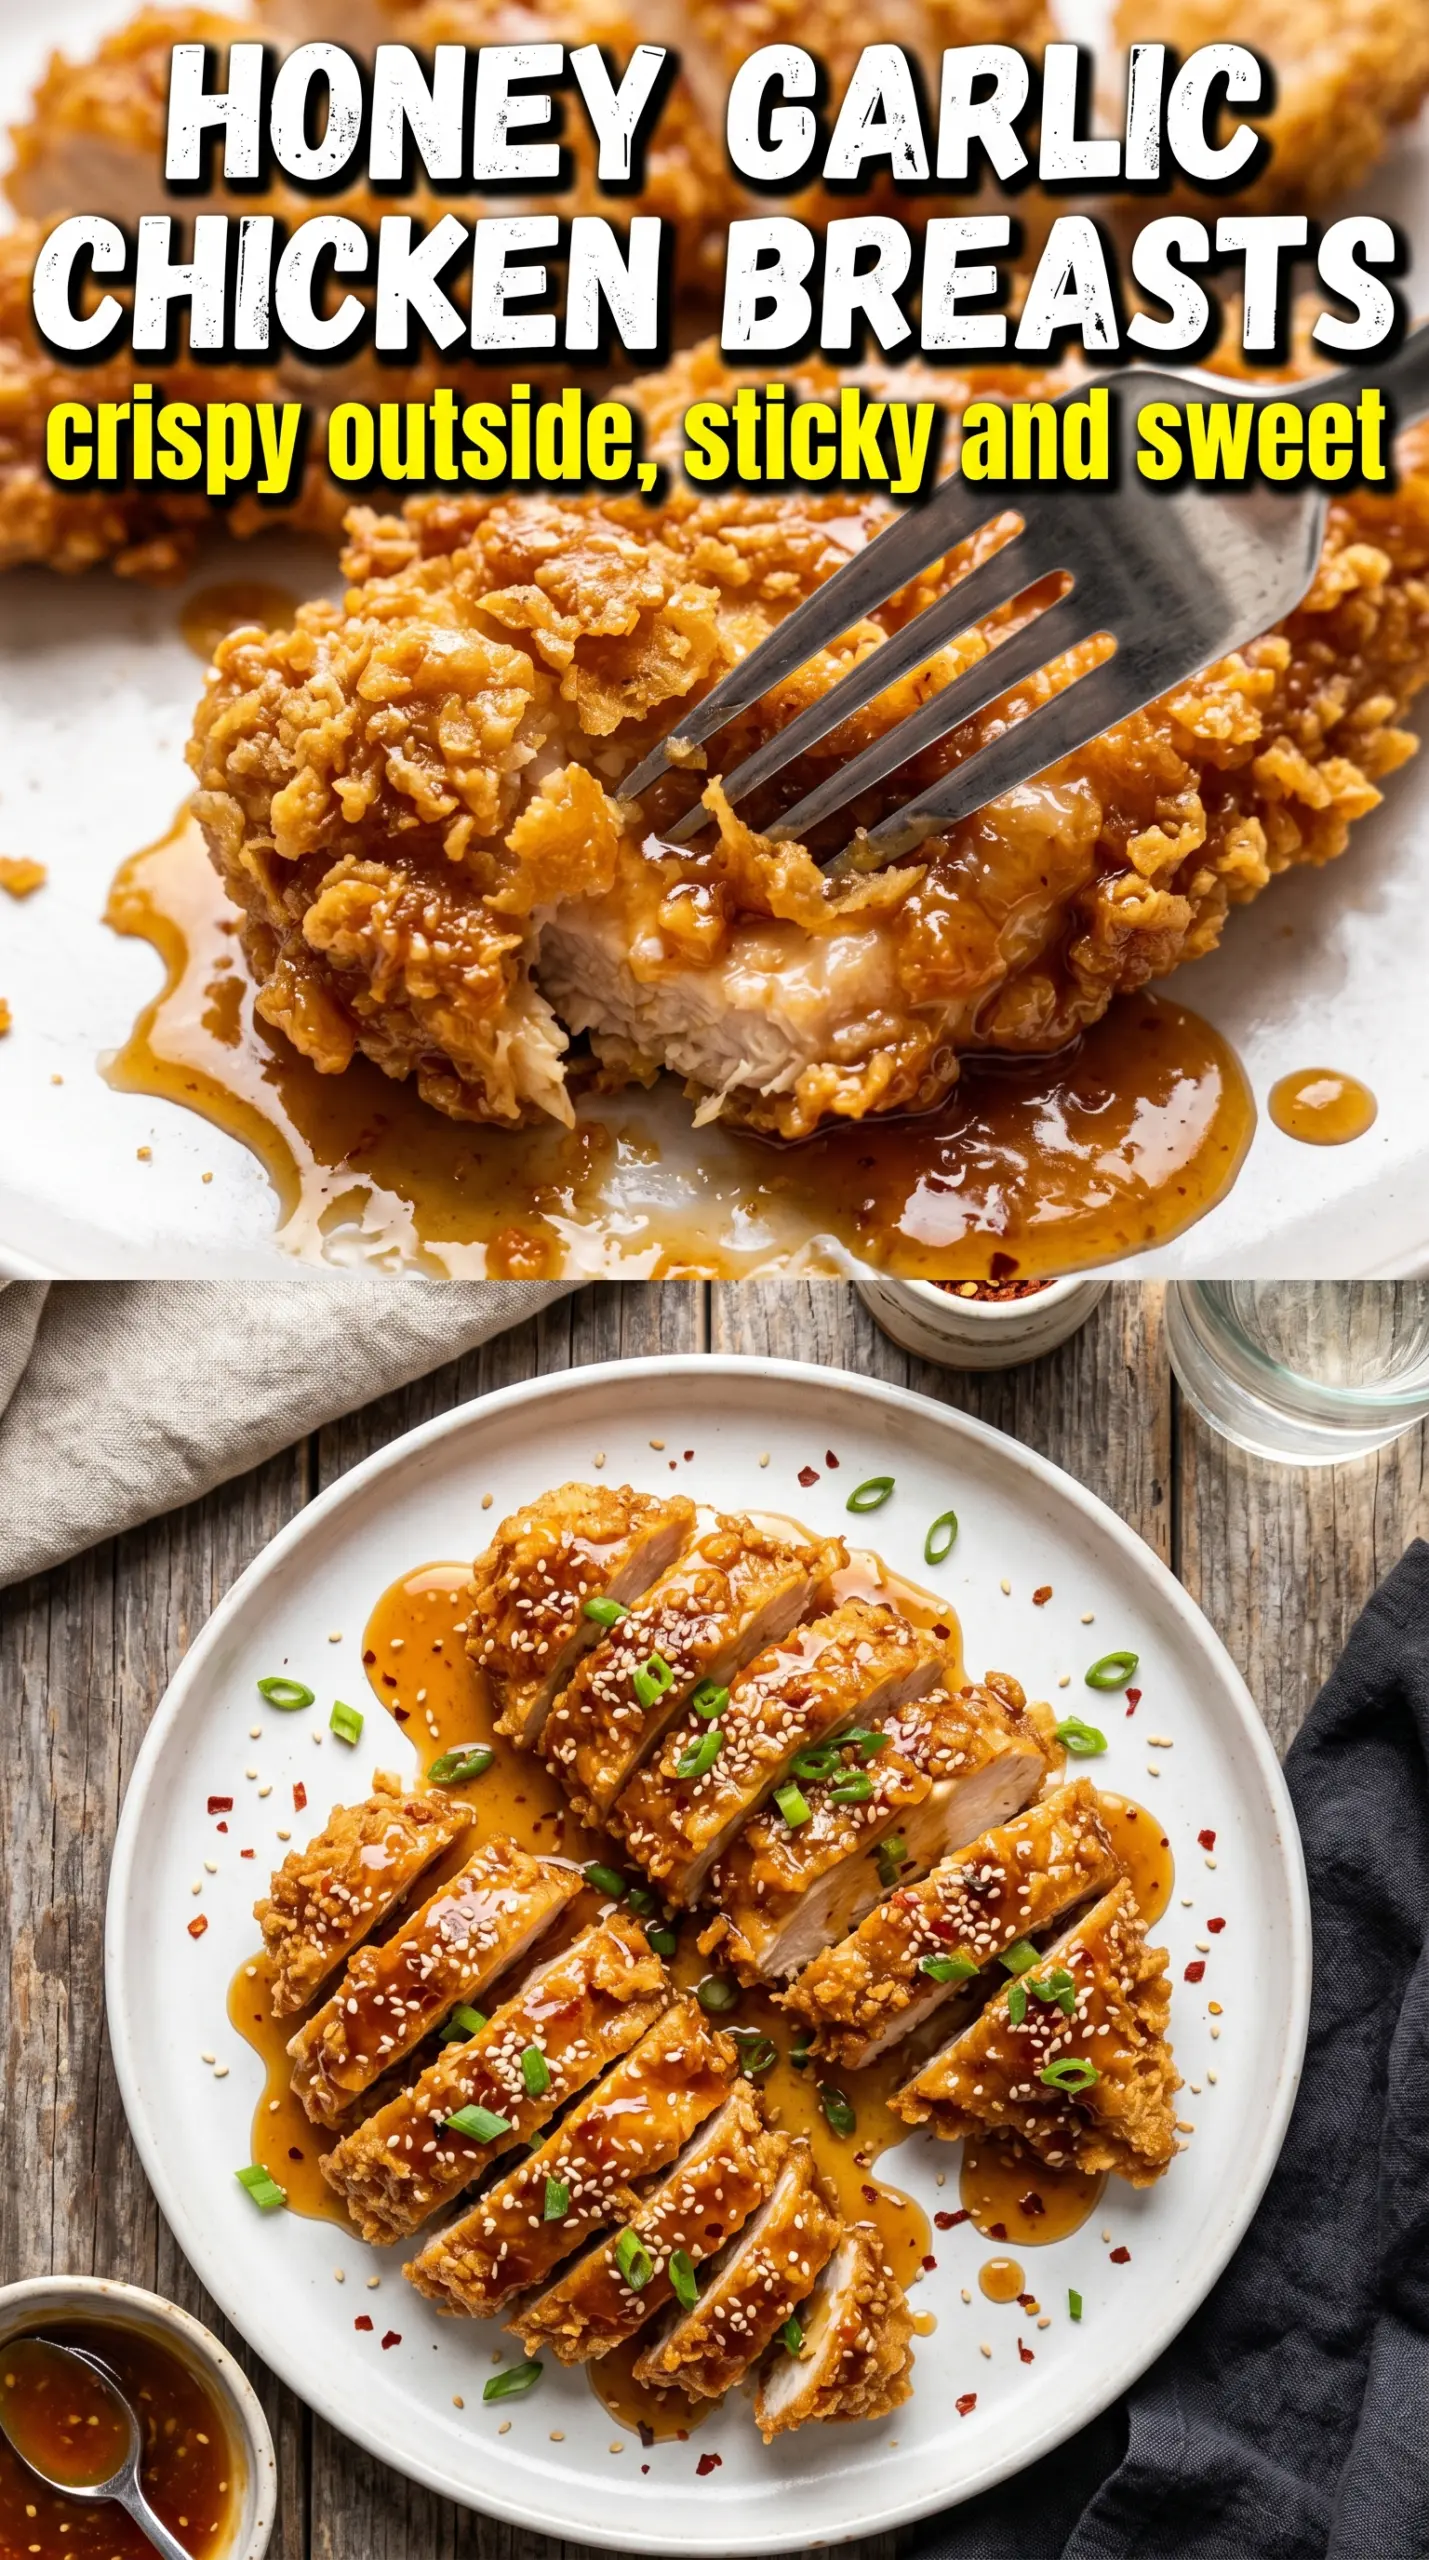
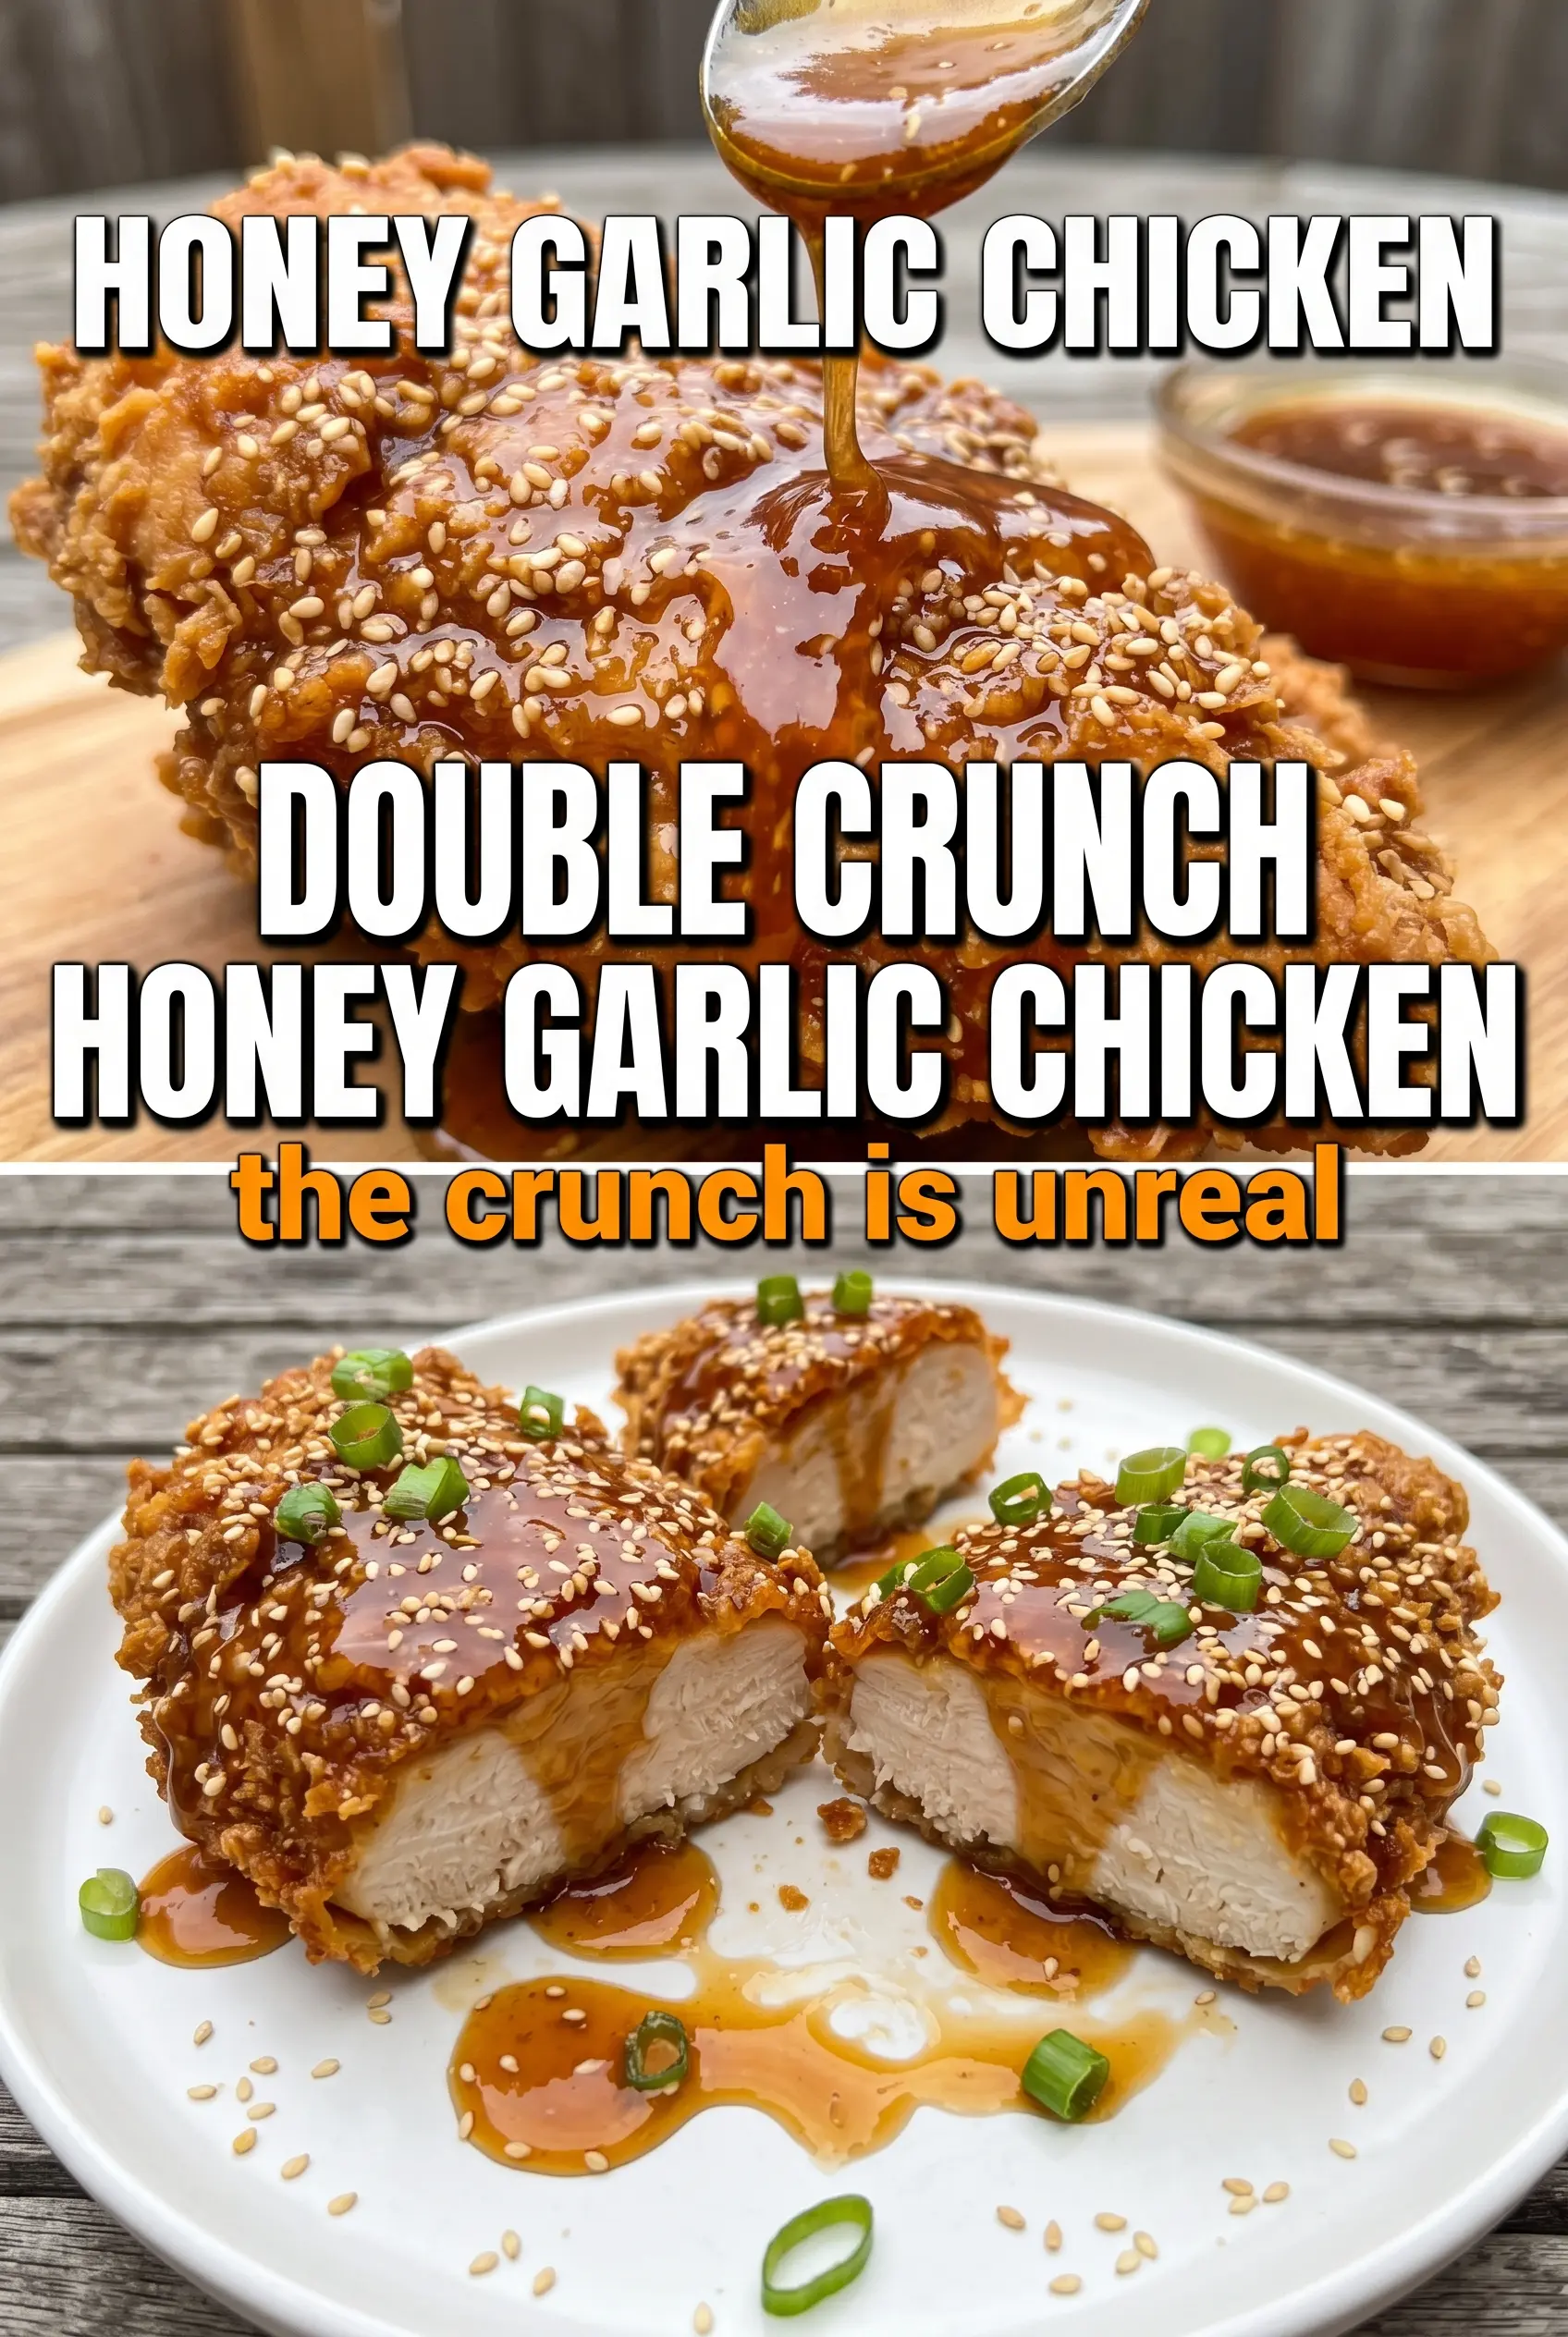
Double Crunch Honey Garlic Chicken Breasts hit the table with a shattering crust and a sticky, garlicky glaze that clings to every ridge of the coating. The first bite gives you that crisp, craggy exterior, then the honey garlic sauce cuts in with sweetness, salt, and a little vinegar bite so it never tastes flat. It’s the kind of chicken that disappears fast because it feels like takeout, only fresher and louder in the best way.
The double crunch comes from the flour-egg-flour sequence, which builds a thicker shell than a single dredge and gives the sauce more texture to grab onto. Pounding the chicken to even thickness matters here too, because thick spots stay pale while thinner spots overcook. The sauce stays simple on purpose: honey for gloss, soy sauce for depth, butter for body, and vinegar to keep the whole thing from turning syrupy.
Below, I’ll show you how to keep the crust crisp long enough to serve, what to do if the coating starts to look patchy in the pan, and the small tweaks that make this chicken work with rice, noodles, or a pile of vegetables.
The coating stayed crunchy even after I spooned the sauce over it, and the garlic honey glaze thickened just enough to cling without making the chicken soggy. I served it with rice and there wasn’t a crumb left.
Save these double crunch honey garlic chicken breasts for the night you want a thick, crispy coating and a sticky glaze that tastes like it came from your favorite takeout spot.
The Double Dredge Is What Keeps the Crust Standing Up to the Sauce
The biggest mistake with honey garlic chicken is rushing the coating and ending up with a thin, dusty crust that goes soft the second sauce hits it. The flour-egg-flour sequence changes that. The first flour layer gives the egg something to hold onto, and the second flour layer turns into a thicker, rougher shell that fries into those crispy ridges people actually want.
The other failure point is heat. If the oil is too cool, the coating drinks it up and turns heavy. If it’s too hot, the outside browns before the chicken cooks through. A steady 350°F gives you the best of both: deep color, audible crunch, and chicken that reaches 165°F without drying out.
- Pounded chicken breasts — Even thickness is what keeps the cook time predictable. If one end is much thicker, the thin end dries out before the middle is done.
- All-purpose flour — This is the base of the crust and it’s the ingredient you don’t want to swap unless you have to. A 1:1 gluten-free flour blend can work, but the crust may be a little more delicate.
- Smoked paprika — It adds color and a faint smoky note that keeps the coating from tasting flat. Regular paprika works too, but you’ll lose a little depth.
- Eggs — They’re the glue between the two flour layers. Beat them well so you don’t get streaks that leave bare patches on the chicken.
What Each Ingredient Is Actually Doing in the Sauce
- Honey — This gives the sauce its sheen and that sticky finish that clings to the crust. If you use a darker honey, the sauce will taste a little more robust.
- Garlic — Fresh minced garlic matters here. Garlic powder won’t give you the same punch or the little savory bits that settle into the sauce.
- Soy sauce — This is the salty backbone that keeps the glaze from tasting like candy. Use low-sodium if that’s what you keep on hand; the sauce will still reduce nicely.
- Butter and vinegar — Butter rounds the sauce out, and apple cider vinegar keeps the sweetness from taking over. If you skip the vinegar, the glaze can taste thick but one-note.
Frying the Chicken First, Sauce Second, Everything Crisp
Mixing the Coating
Stir the flour with garlic powder, onion powder, smoked paprika, salt, and pepper until the seasoning is evenly distributed. This keeps the crust from tasting patchy, which happens fast if the spices stay clumped in one spot. Dredge each breast in flour first, press it into the egg, then back into the flour and really coat the surface. The second flour layer should look rough and shaggy, not smooth.
Frying to a Deep Golden Crust
Heat the oil in a cast iron skillet until it reaches 350°F and keep the layer around 1/2 inch deep. If the oil isn’t hot enough, the breading absorbs it and turns greasy before it crisps. Fry the chicken for 5 to 6 minutes per side until the crust is deep golden and the center hits 165°F. Move it to a rack or paper towels right away so steam doesn’t soften the bottom.
Making the Honey Garlic Glaze
Combine the honey, garlic, soy sauce, butter, and vinegar in a saucepan and simmer over medium heat for 3 to 4 minutes. You want it slightly thickened, not jammy; it should coat a spoon and slide off slowly. If it reduces too long, it turns sticky in the pot and won’t spread evenly over the chicken. Pull it off the heat as soon as it looks glossy and unified.
Finishing Without Losing the Crunch
Pour the sauce over the chicken just before serving, or spoon it on right at the table if you want the coating at its crispiest. The crust will soften the longer it sits under sauce, so this dish rewards speed. Finish with sesame seeds and sliced green onions, then serve it right away over rice while the edges still crackle.
How to Adapt This Chicken for Different Nights
Gluten-Free Coating
Swap the all-purpose flour for a good 1:1 gluten-free flour blend. The crust will still fry up crisp, but it may be a little more fragile, so handle the chicken gently when moving it in and out of the pan.
Dairy-Free Version
Use a neutral dairy-free butter substitute in the sauce. You’ll still get gloss and body, though the finish will taste a touch less rich than with real butter.
Spicier Honey Garlic Chicken
Add a pinch of cayenne to the flour mixture or a spoonful of chili flakes to the sauce. That heat plays well against the honey, and it keeps the glaze from tasting too sweet.
Make It Ahead Without Soggy Chicken
Fry the chicken a few hours ahead and reheat it on a rack in a 375°F oven until hot. Keep the sauce separate until the last minute, because once the glaze sits on the crust, the crunch starts to fade.
Storage and Reheating
- Refrigerator: Store leftovers in an airtight container for up to 3 days. The crust softens, but the flavor stays good.
- Freezer: Freeze the fried chicken without sauce for up to 2 months. Wrap pieces well and thaw in the refrigerator before reheating.
- Reheating: Reheat on a wire rack in a 375°F oven until hot and crisp again. Avoid the microwave if you want any crunch left; it turns the coating limp fast.
Answers to the Questions Worth Asking
Double Crunch Honey Garlic Chicken Breasts
Ingredients
Equipment
Method
- Mix all-purpose flour, garlic powder, onion powder, smoked paprika, salt, and pepper until evenly combined, then spread in a shallow layer for dredging (visual cue: uniform speckled color throughout).
- Dredge the pounded chicken breasts in the flour mixture until fully coated, then shake off excess (visual cue: dry, even flour coverage).
- Dip the coated chicken into the beaten large eggs until coated on all sides (visual cue: glossy egg layer clings thickly).
- Dredge the egg-coated chicken back into the flour mixture for the second coat, pressing lightly so it adheres (visual cue: thicker, rough coating with no bare spots).
- Heat 1/2 inch of vegetable oil in a large cast iron skillet over medium-high heat to 350°F (visual cue: steady shimmering oil).
- Pan-fry the chicken for 5-6 minutes per side until golden and crunchy, reaching an internal temperature of 165°F (visual cue: deep golden crust and bubbling crackle at the edges).
- Drain the fried chicken briefly to remove excess oil (visual cue: crust stays crisp and slightly matte).
- Simmer honey, minced garlic, soy sauce, butter, and apple cider vinegar in a saucepan over medium heat for 3-4 minutes until slightly thickened (visual cue: sauce coats the back of a spoon).
- Pour the honey garlic sauce over the hot crispy chicken (visual cue: glaze glistens and starts to drip over the crust).
- Garnish with sesame seeds and sliced green onions, then serve immediately (visual cue: fresh green and toasted seeds on top).