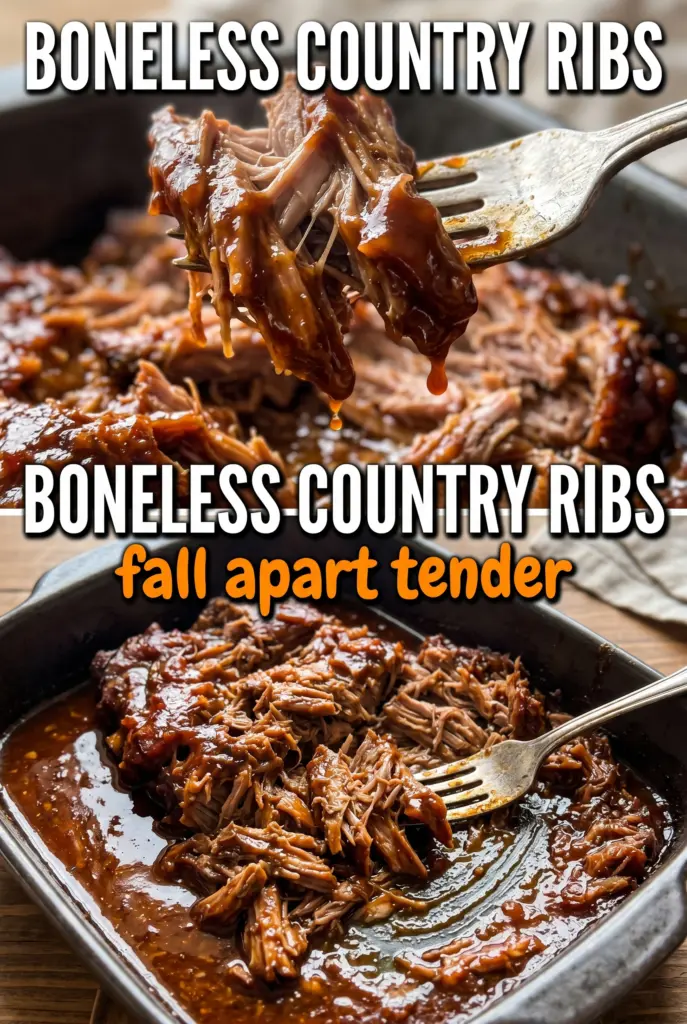
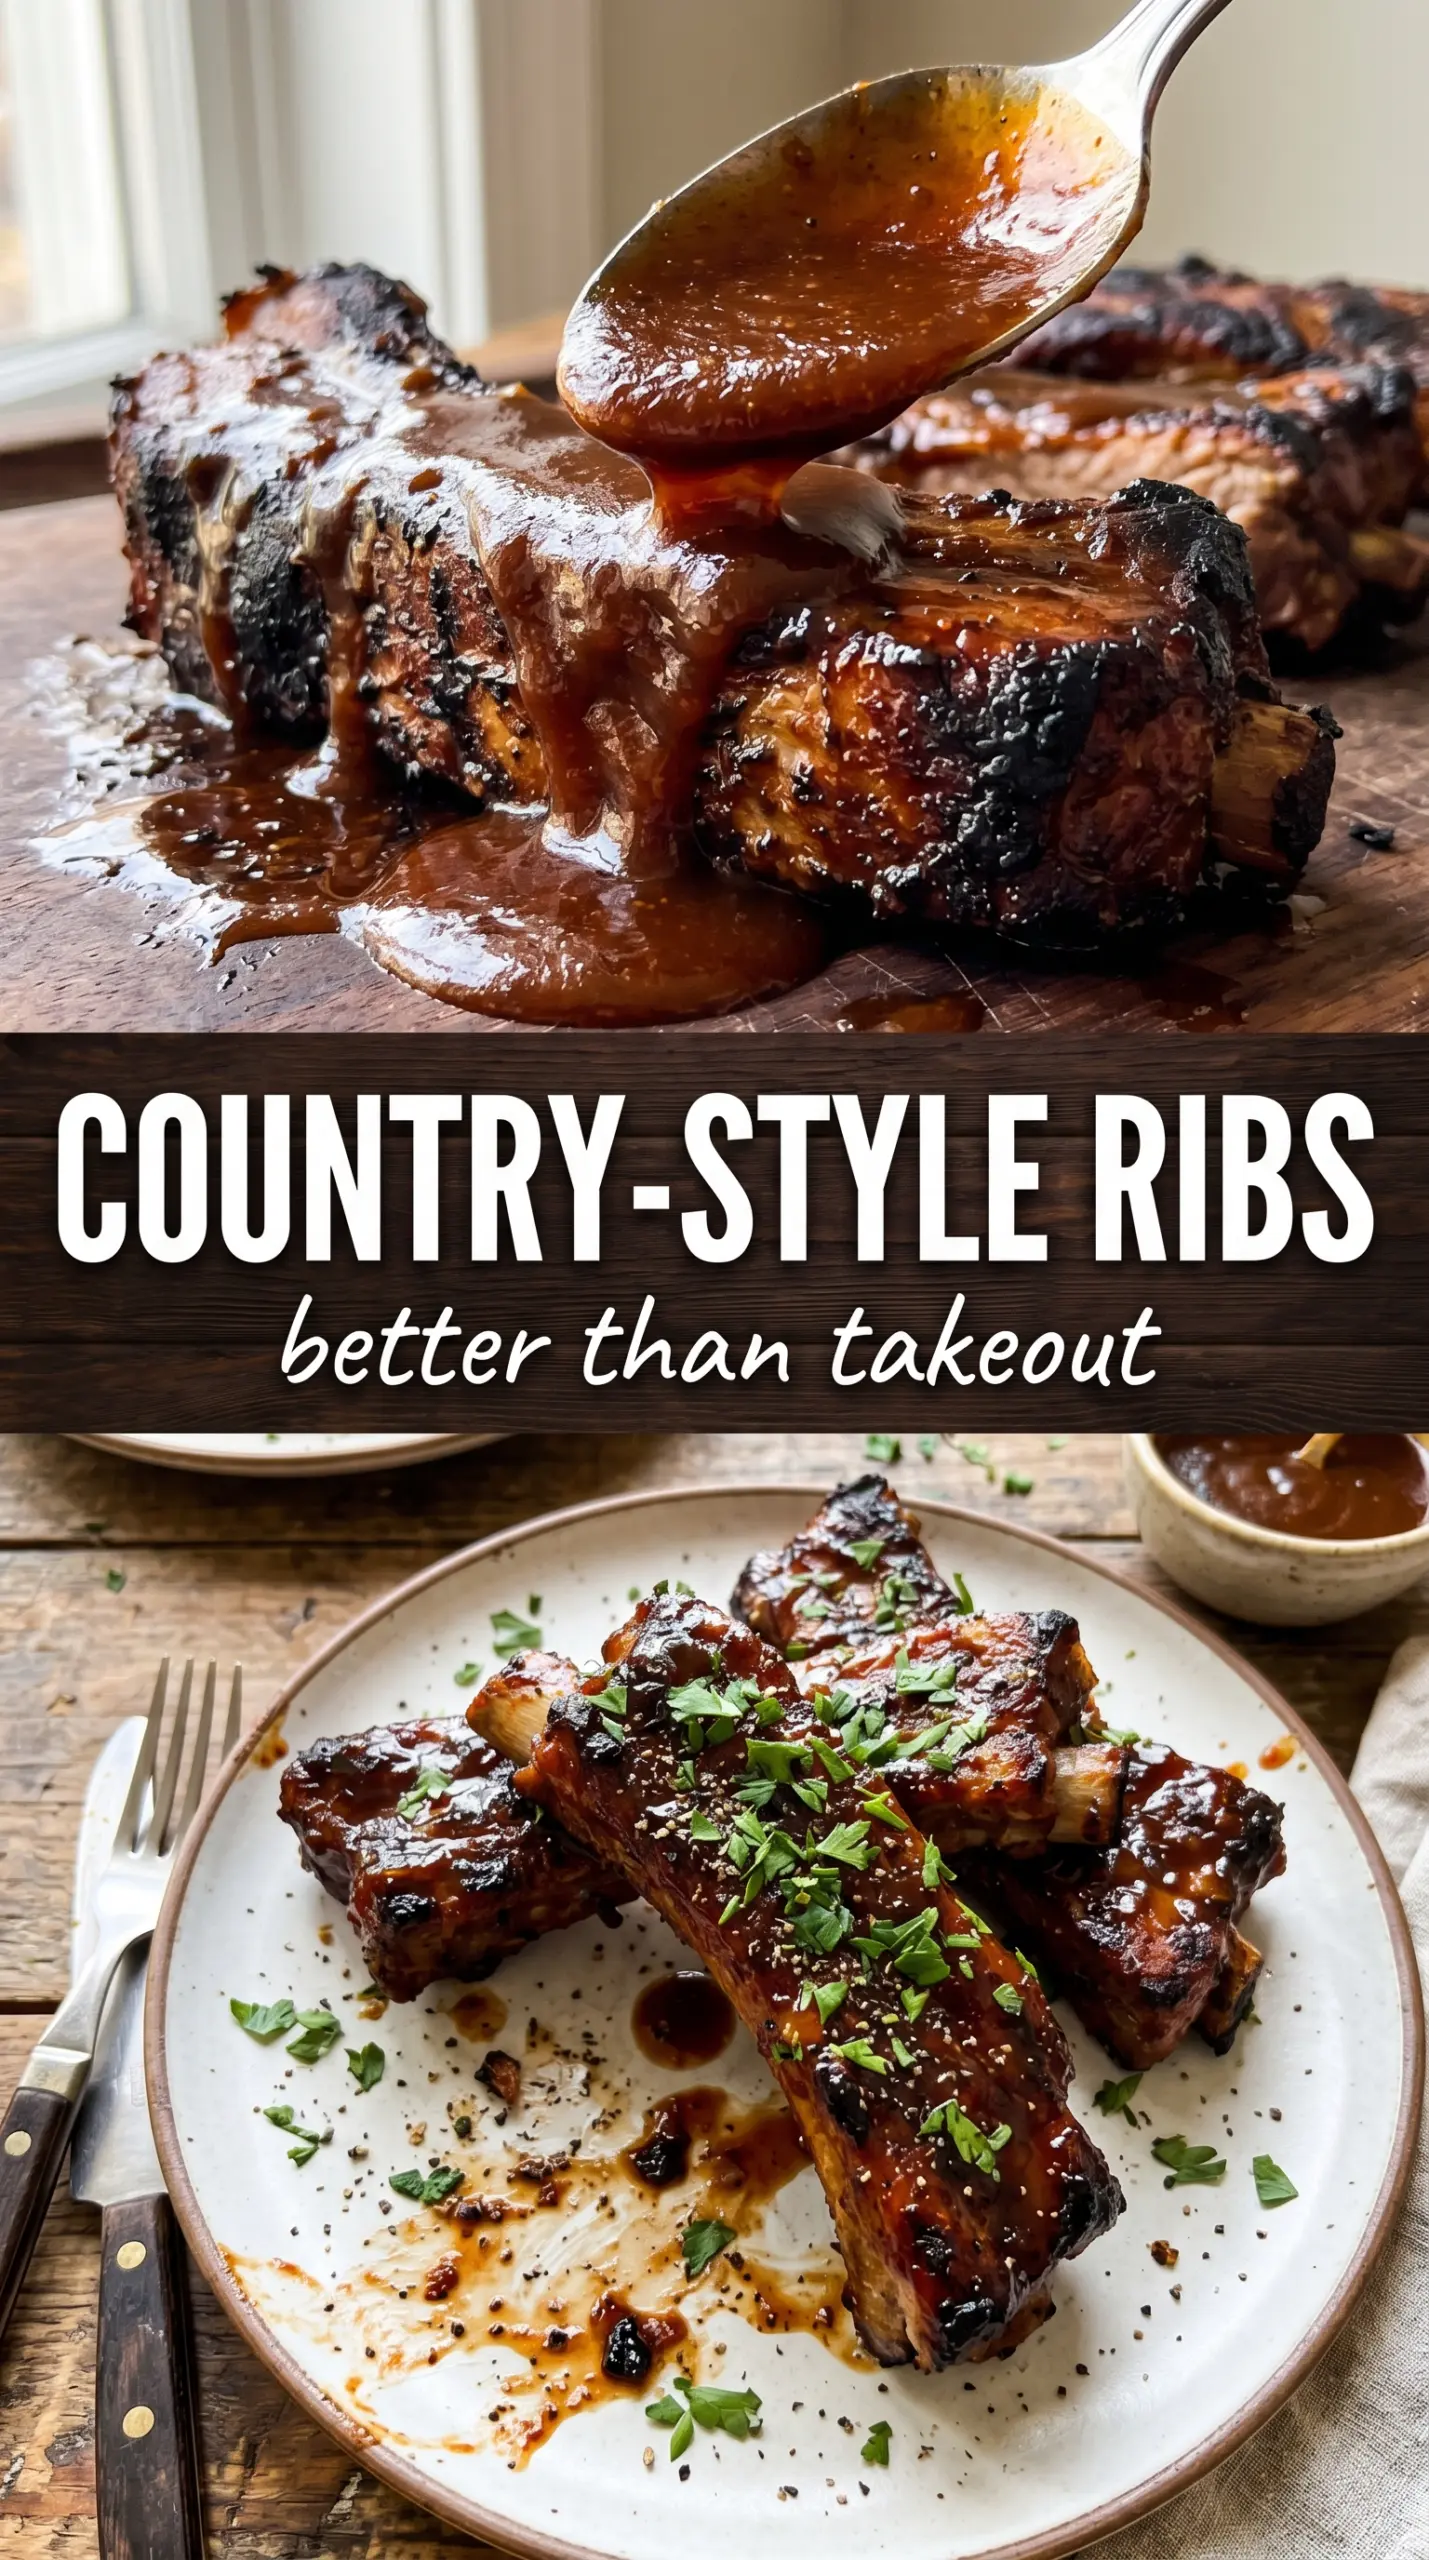
Boneless country-style ribs turn out best when the meat has time to soften first and brown later. That’s the whole trick here: low oven heat breaks down the pork until it’s tender enough to pull apart with a fork, then a hotter finish turns the BBQ sauce into a sticky, caramelized crust that clings to every bite.
This version keeps the seasoning simple on purpose. Brown sugar, smoked paprika, garlic, onion, and cumin build a savory-sweet rub that gives the pork a head start before the sauce goes on. A little apple cider vinegar in the baking dish adds moisture and helps keep the ribs from tasting flat after a long cook. If you’ve ever ended up with ribs that were dry on top but still chewy underneath, the covered bake-and-finish method below fixes that.
Below, I’ll walk through the exact point when the ribs are tender enough to uncover, how to avoid washing off the rub, and what to do if you want to make them ahead for an easier dinner.
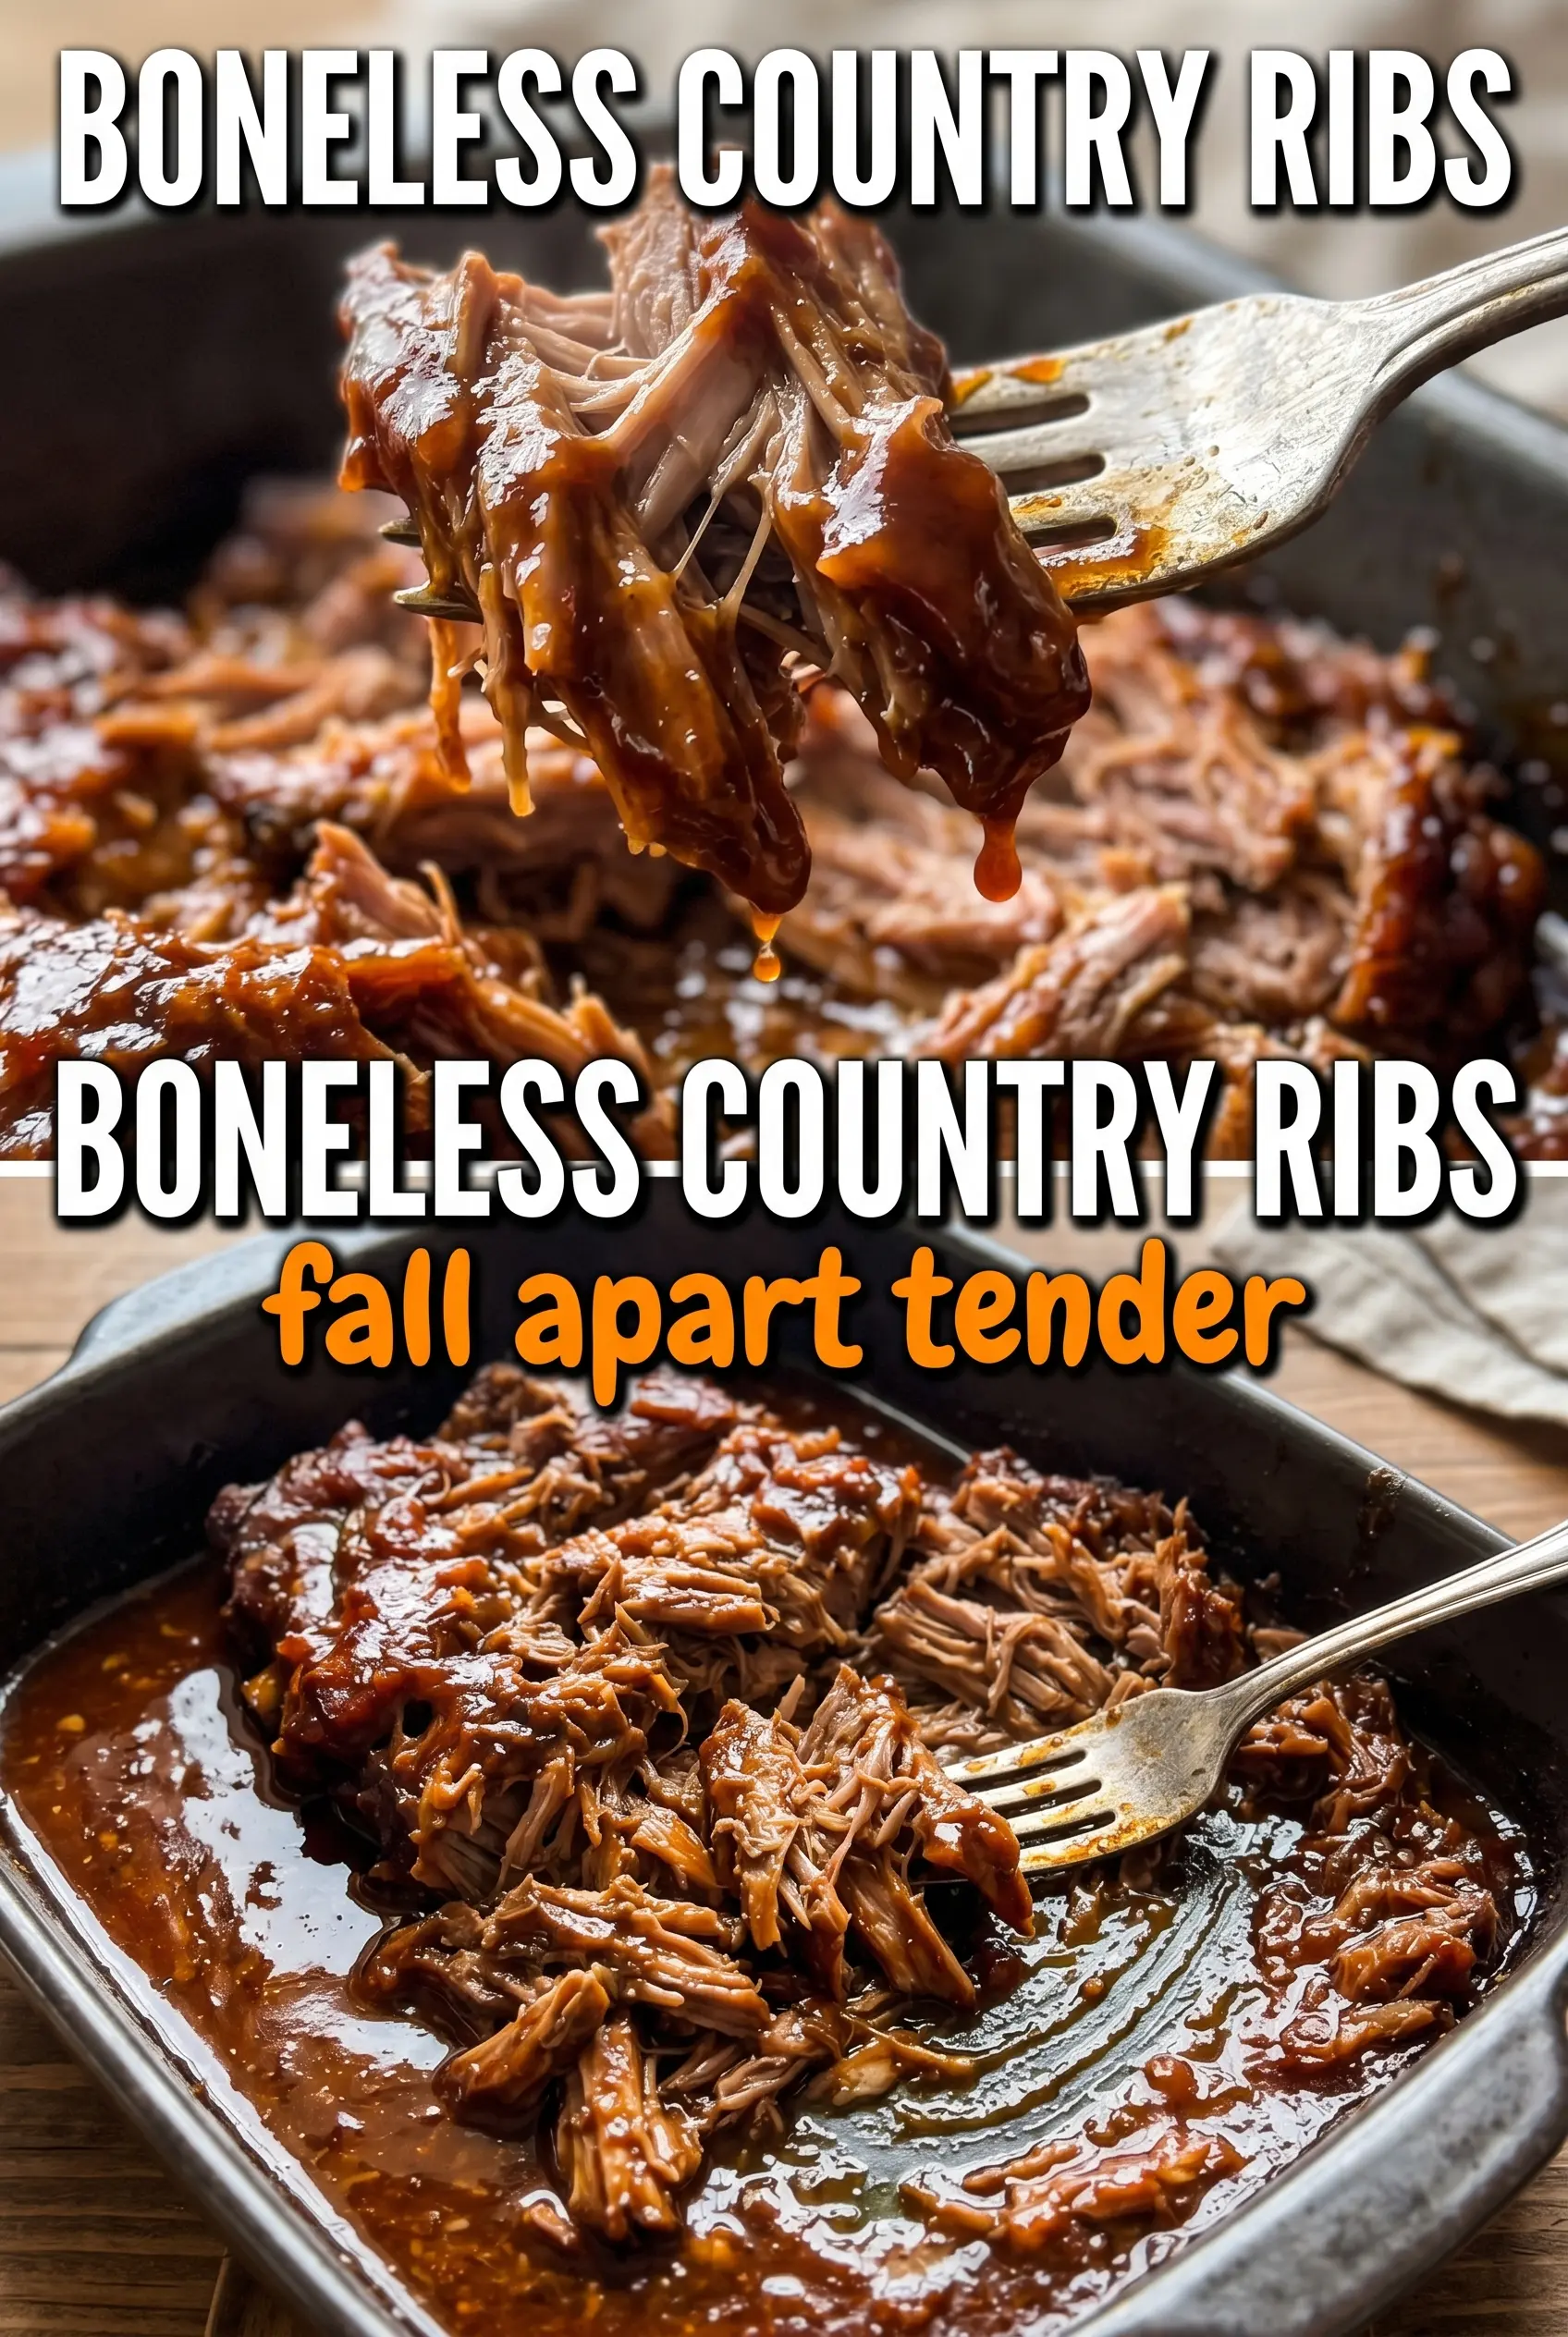
The ribs came out falling-apart tender, and the BBQ glaze set into that sticky crust instead of sliding right off. I baked them the full 2 hours before uncovering, and they were perfect.
Save these sticky oven-baked boneless country-style ribs for a fork-tender BBQ dinner with a caramelized crust.
The Covered Bake That Keeps Boneless Ribs Tender Before They Caramelize
Boneless country-style ribs can dry out faster than people expect because they’re leaner and more irregular than traditional rib cuts. The covered bake solves that by trapping steam long enough for the collagen in the meat to relax before the sauce has a chance to burn. If you rush straight to high heat, the outside turns dark while the center is still tight.
The other mistake is uncovering too early. These ribs need the full low-and-slow stretch until a fork slides in with almost no resistance. At that point, they’re ready for sauce and a hotter finish, not before.
- Low oven heat — 300°F is low enough to soften the meat without squeezing out all the juices.
- Tight foil cover — this keeps the dish steamy and helps the vinegar do its job.
- Second-stage heat — 400°F is what caramelizes the sauce and gives you that sticky edge.
- Don’t skip the rest of the dish juices — they’re flavorful, and a spoonful over the ribs keeps the meat moist at serving.
What the Rub, Vinegar, and BBQ Sauce Are Each Doing
- Brown sugar — it helps the rub melt into the surface and gives the sauce a head start on browning. Dark brown sugar works fine if that’s what you have.
- Smoked paprika — this adds the smoky note you’d expect from grilled ribs without needing a smoker. Regular paprika won’t give the same depth, but it will still season the meat.
- Cumin — just enough to add warmth under the BBQ sauce. It shouldn’t read as Mexican or chili-like; it should disappear into the background and make the pork taste fuller.
- Apple cider vinegar — this is doing more than adding tang. It creates a little steam in the covered dish and keeps the bottom of the pan from tasting heavy after a long bake.
- BBQ sauce — use one you actually like, because once it’s reduced and caramelized, its flavor gets more concentrated. If your sauce is very sweet, keep the final glaze layer thinner so it doesn’t scorch.
From Low Oven to Sticky Glaze: The Exact Order That Matters
Season the Meat First
Mix the rub thoroughly and coat the ribs on all sides, pressing it into the meat instead of dusting it on top. That little bit of pressure helps the sugar and spices cling once the pork starts releasing moisture. If you skip the rubbing step and just sprinkle seasoning over the top, most of it ends up in the bottom of the pan.
Cover and Bake Until the Fork Slides In
Arrange the ribs in a single layer, pour the vinegar into the dish, and cover it tightly with foil before the pan goes into the oven. The ribs need about 2 hours, but the real test is texture: the meat should feel soft when pierced and look slightly shrunken from the sides of the pan. If it still feels bouncy, give it more time before you uncover it.
Brush, Raise the Heat, and Caramelize
Pull off the foil, brush the ribs generously with BBQ sauce, and return them to a hotter oven. The sauce should bubble at the edges and darken into a glossy coating, not turn black and sticky in a bitter way. If your sauce starts to scorch before the ribs are glazed, the oven is too hot or the rack is too close to the top element.
Serve with Extra Sauce
Let the ribs sit for a few minutes before moving them so the glaze sets a little and doesn’t slide off the meat. Spoon any pan juices over the top or serve them on the side with extra sauce. That final hit of moisture makes the ribs taste richer and keeps the edges from drying out at the table.
Three Ways to Adapt These Boneless Country-Style Ribs
Make Them Gluten-Free Without Losing the Sticky Finish
Use a gluten-free BBQ sauce and check the label on your spices if you’re sensitive to cross-contact. The texture stays the same, and the sauce still caramelizes nicely because the finish depends on heat and sugar, not flour.
Cut the Sugar for a Less Sweet Rib
Reduce the brown sugar in the rub to 1 tablespoon and choose a BBQ sauce that leans tangy instead of syrupy. You’ll get a darker, more savory crust with less candy-like glaze, but it still finishes glossy.
Add Heat Without Overpowering the Pork
Stir a pinch of cayenne or a spoonful of chipotle powder into the rub, or use a spicy BBQ sauce for the final glaze. Keep the amount modest so the heat reads as a back-note instead of covering the smoky pork flavor.
Use Pork Shoulder Chunks in Place of Country-Style Ribs
If you can’t find boneless country-style ribs, cut pork shoulder into large chunks and use the same method. The cook time may run a little longer because the pieces are thicker, but the payoff is the same: tender meat and a sticky BBQ finish.
Storage and Reheating
- Refrigerator: Store leftovers in an airtight container for up to 4 days. The sauce may thicken and darken a bit, but the flavor stays excellent.
- Freezer: These freeze well for up to 2 months. Cool completely, wrap tightly, and freeze with a little extra sauce so the meat doesn’t dry out when thawed.
- Reheating: Reheat covered in a 300°F oven until hot, or warm gently in a skillet with a splash of water or sauce. Don’t blast them in the microwave or the edges will dry out before the center is hot.
Answers to the Questions Worth Asking
Boneless Country-Style Ribs
Ingredients
Equipment
Method
- Preheat oven to 300°F so it’s ready for slow, tender cooking. Keep the oven door closed to maintain temperature.
- Mix brown sugar, smoked paprika, garlic powder, onion powder, cumin, and salt and pepper until evenly combined. Coat the boneless country-style pork ribs on all sides.
- Arrange the coated boneless country-style pork ribs in a single layer in a baking dish. Make sure pieces don’t overlap so they cook evenly.
- Pour apple cider vinegar into the bottom of the dish and cover tightly with foil. The vinegar steams during baking to keep the meat juicy.
- Bake at 300°F for 2 hours until the ribs are very tender. They should look softened and be ready to pull apart easily.
- Uncover the dish and brush the boneless country-style pork ribs generously with BBQ sauce. Make sure all surfaces are glossy with sauce.
- Increase oven to 400°F and bake 20–25 minutes until the BBQ sauce caramelizes. Look for a dark, stickier glaze with browned edges.
- Serve the boneless country-style pork ribs with extra BBQ sauce. Pull pieces with a fork to show the fall-apart texture.