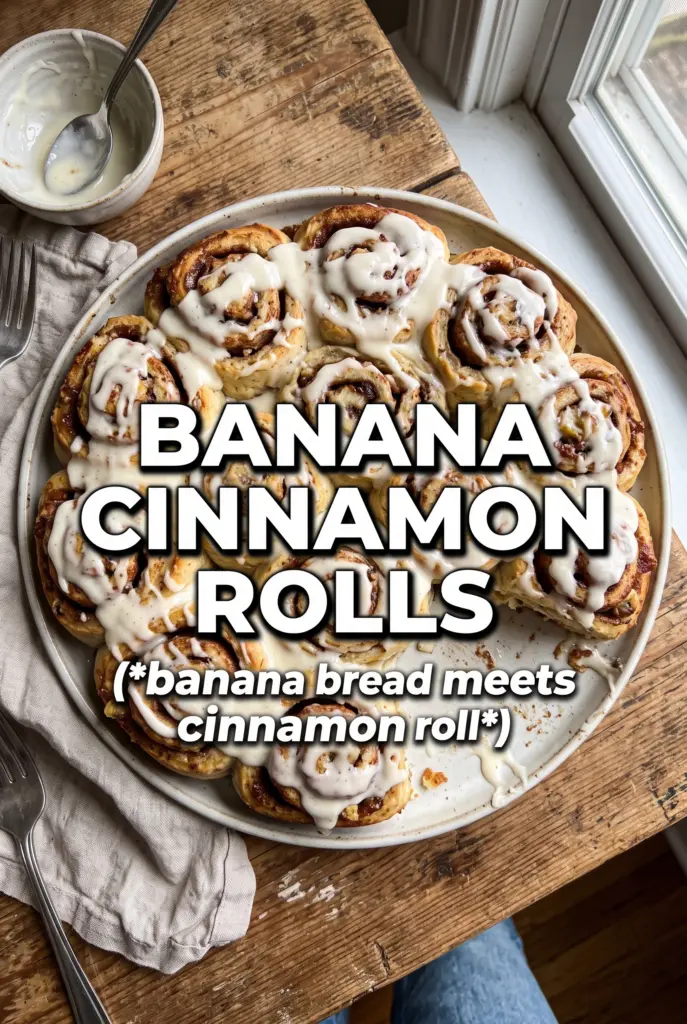
Banana cinnamon rolls bake up soft, plush, and fragrant, with a sweet banana note threaded through the dough instead of just hiding in the filling. The rolls pull apart in tender layers, the edges turn golden, and the centers stay pillowy under a thick swipe of cream cheese frosting. When they’re done right, you get the cozy flavor of banana bread and the sticky swirl of a classic cinnamon roll in the same pan.
What makes this version work is the banana in the dough, not just in the filling. Mashed ripe bananas bring moisture and sweetness, but they also change how the dough feels, so the flour amount and kneading time matter more here than they would in a standard roll. The filling keeps that banana theme going with thin slices tucked into the swirl, which adds little pockets of soft fruit instead of a one-note sugar hit.
Below, I’ve included the part that matters most: how to keep the dough from getting heavy, how to roll it tightly enough that the filling stays put, and the small frosting detail that makes these taste finished instead of just sweet.
The dough rose beautifully and the rolls baked up extra soft. I was worried the banana would make them dense, but the centers were fluffy and the frosting melted into all those swirls perfectly.
Save these banana cinnamon rolls for the morning you want soft, fluffy rolls with real banana flavor and cream cheese frosting.
The Part That Keeps Banana Rolls Soft Instead of Heavy
Banana dough can go wrong fast if you treat it like plain sweet roll dough. Too much banana and not enough structure gives you a sticky, sluggish dough that bakes up gummy in the center. The goal here is a soft dough that still has enough strength to trap air during the rise and hold the swirl once it’s rolled.
The ripe bananas belong in the dough because they add moisture and flavor all the way through, but they also mean you need to knead until the dough turns smooth and elastic, not just until it comes together. If it still clings hard to the bowl after several minutes, add flour one spoonful at a time. If you dump in too much at once, the rolls bake up dry and bready instead of tender.
- Ripe bananas — The browner and softer they are, the more flavor they give. Under-ripe bananas won’t mash smoothly and won’t bring the same sweetness or fragrance.
- Warm milk — This wakes up the yeast and helps the dough start soft. If it’s hot, it can kill the yeast, so aim for warm bathwater temperature, not steaming.
- Butter — Melted butter makes the dough rich and keeps the crumb tender. In the filling, softened butter is the right choice because it spreads into an even layer without tearing the dough.
- Flour — Start with the full amount, then judge by feel. Banana moisture varies a lot, so a tablespoon or two more may be needed for a dough that clears the bowl and stays tacky instead of wet.
What Each Ingredient Is Actually Doing in This Recipe
- Primary ingredient (the star) — Quality matters most. Choose the best you can find.
- Cooking medium (oil, butter, or broth) — This carries flavors and prevents dryness.
- Seasonings (salt, pepper, spices, herbs) — Layer flavors so nothing overpowers. Build depth gradually.
- Aromatics (garlic, onion, herbs) — Cook with fat to bloom flavors. Become the foundation.
- Supporting ingredients — Complement the main ingredient without overpowering it.
- Sauce or liquid (if applicable) — Brings flavors together. Balance richness with acid.
- Acid (lemon, vinegar, wine, or other) — Brightens and prevents flat-tasting results.
- Final finish (garnish, glaze, or sauce) — Prevents one-dimensional taste and adds visual appeal.
Building the Swirl So the Banana Stays Where It Belongs
The filling is where a lot of banana rolls get messy. If the bananas are sliced too thick, they slide around and leave gaps in the spiral. If the dough is rolled too loosely, the filling squeezes out during baking and caramelizes on the pan instead of staying inside the rolls.
The best texture comes from spreading the butter right to the edges, then dusting the sugar and spice evenly before laying on thin banana slices. Roll the dough snugly from the long side, keeping tension in the log as you go. Use a sharp knife or unflavored dental floss to cut clean pieces so you don’t squash the spiral you just built.
Mixing the Banana Dough
Start by activating the yeast in warm milk with the sugar, then stir in the mashed banana, melted butter, and egg. Once the flour, cinnamon, and salt go in, the dough should look shaggy at first, then turn smoother as it kneads. After about 8 minutes, it should feel soft and elastic and spring back when pressed lightly. If it still feels sticky enough to coat your fingers heavily, keep kneading before adding more flour.
Filling and Rolling
Roll the dough into a 12×18 rectangle on a lightly floured surface, not a heavily dusted one. Too much flour on the counter keeps the filling from sticking. Spread the softened butter first, then sprinkle on the brown sugar, cinnamon, and nutmeg before adding the banana slices in a single layer. Roll from the long side into a tight log, then pinch the seam closed so the rolls don’t unravel in the pan.
Proofing and Baking
Let the cut rolls rise until they look puffy and touch each other slightly in the pan. If they still look tight and small, they’re not ready for the oven and the centers will bake up dense. Bake at 375°F until the tops are deeply golden and the rolls no longer wobble in the center. Pull them when they’re done; overbaking dries out the banana dough faster than regular sweet roll dough.
Make Them Without Dairy
Use an unsweetened non-dairy milk and a plant-based butter that bakes well. The rolls will still be soft and fragrant, though the frosting may be a touch looser depending on the cream cheese substitute you use.
Lean Into the Banana Bread Side
Add chopped walnuts to the filling or on top of the frosting. That gives you more crunch and pushes the rolls closer to banana bread territory without changing the dough.
Make Them Ahead for Brunch
Assemble the rolls the night before, cover tightly, and refrigerate after shaping. In the morning, let them sit at room temperature until puffy before baking so the centers don’t stay underproofed and doughy.
Use Whole Wheat in a Partial Swap
Replace up to 1 cup of the flour with whole wheat flour for a nuttier flavor. Beyond that, the rolls start to lose the light, pillowy texture that makes them worth baking.
Storage and Reheating
- Refrigerator: Store covered for up to 4 days. The rolls stay soft, but the banana flavor settles a little after day one.
- Freezer: Freeze baked rolls without frosting for up to 2 months. Wrap them well and thaw before reheating so the center doesn’t dry out.
- Reheating: Warm individual rolls in the microwave for 20 to 30 seconds or cover a pan and reheat in a low oven. If they’re already frosted, heat gently so the frosting doesn’t separate and slide off.
Answers to the Questions Worth Asking
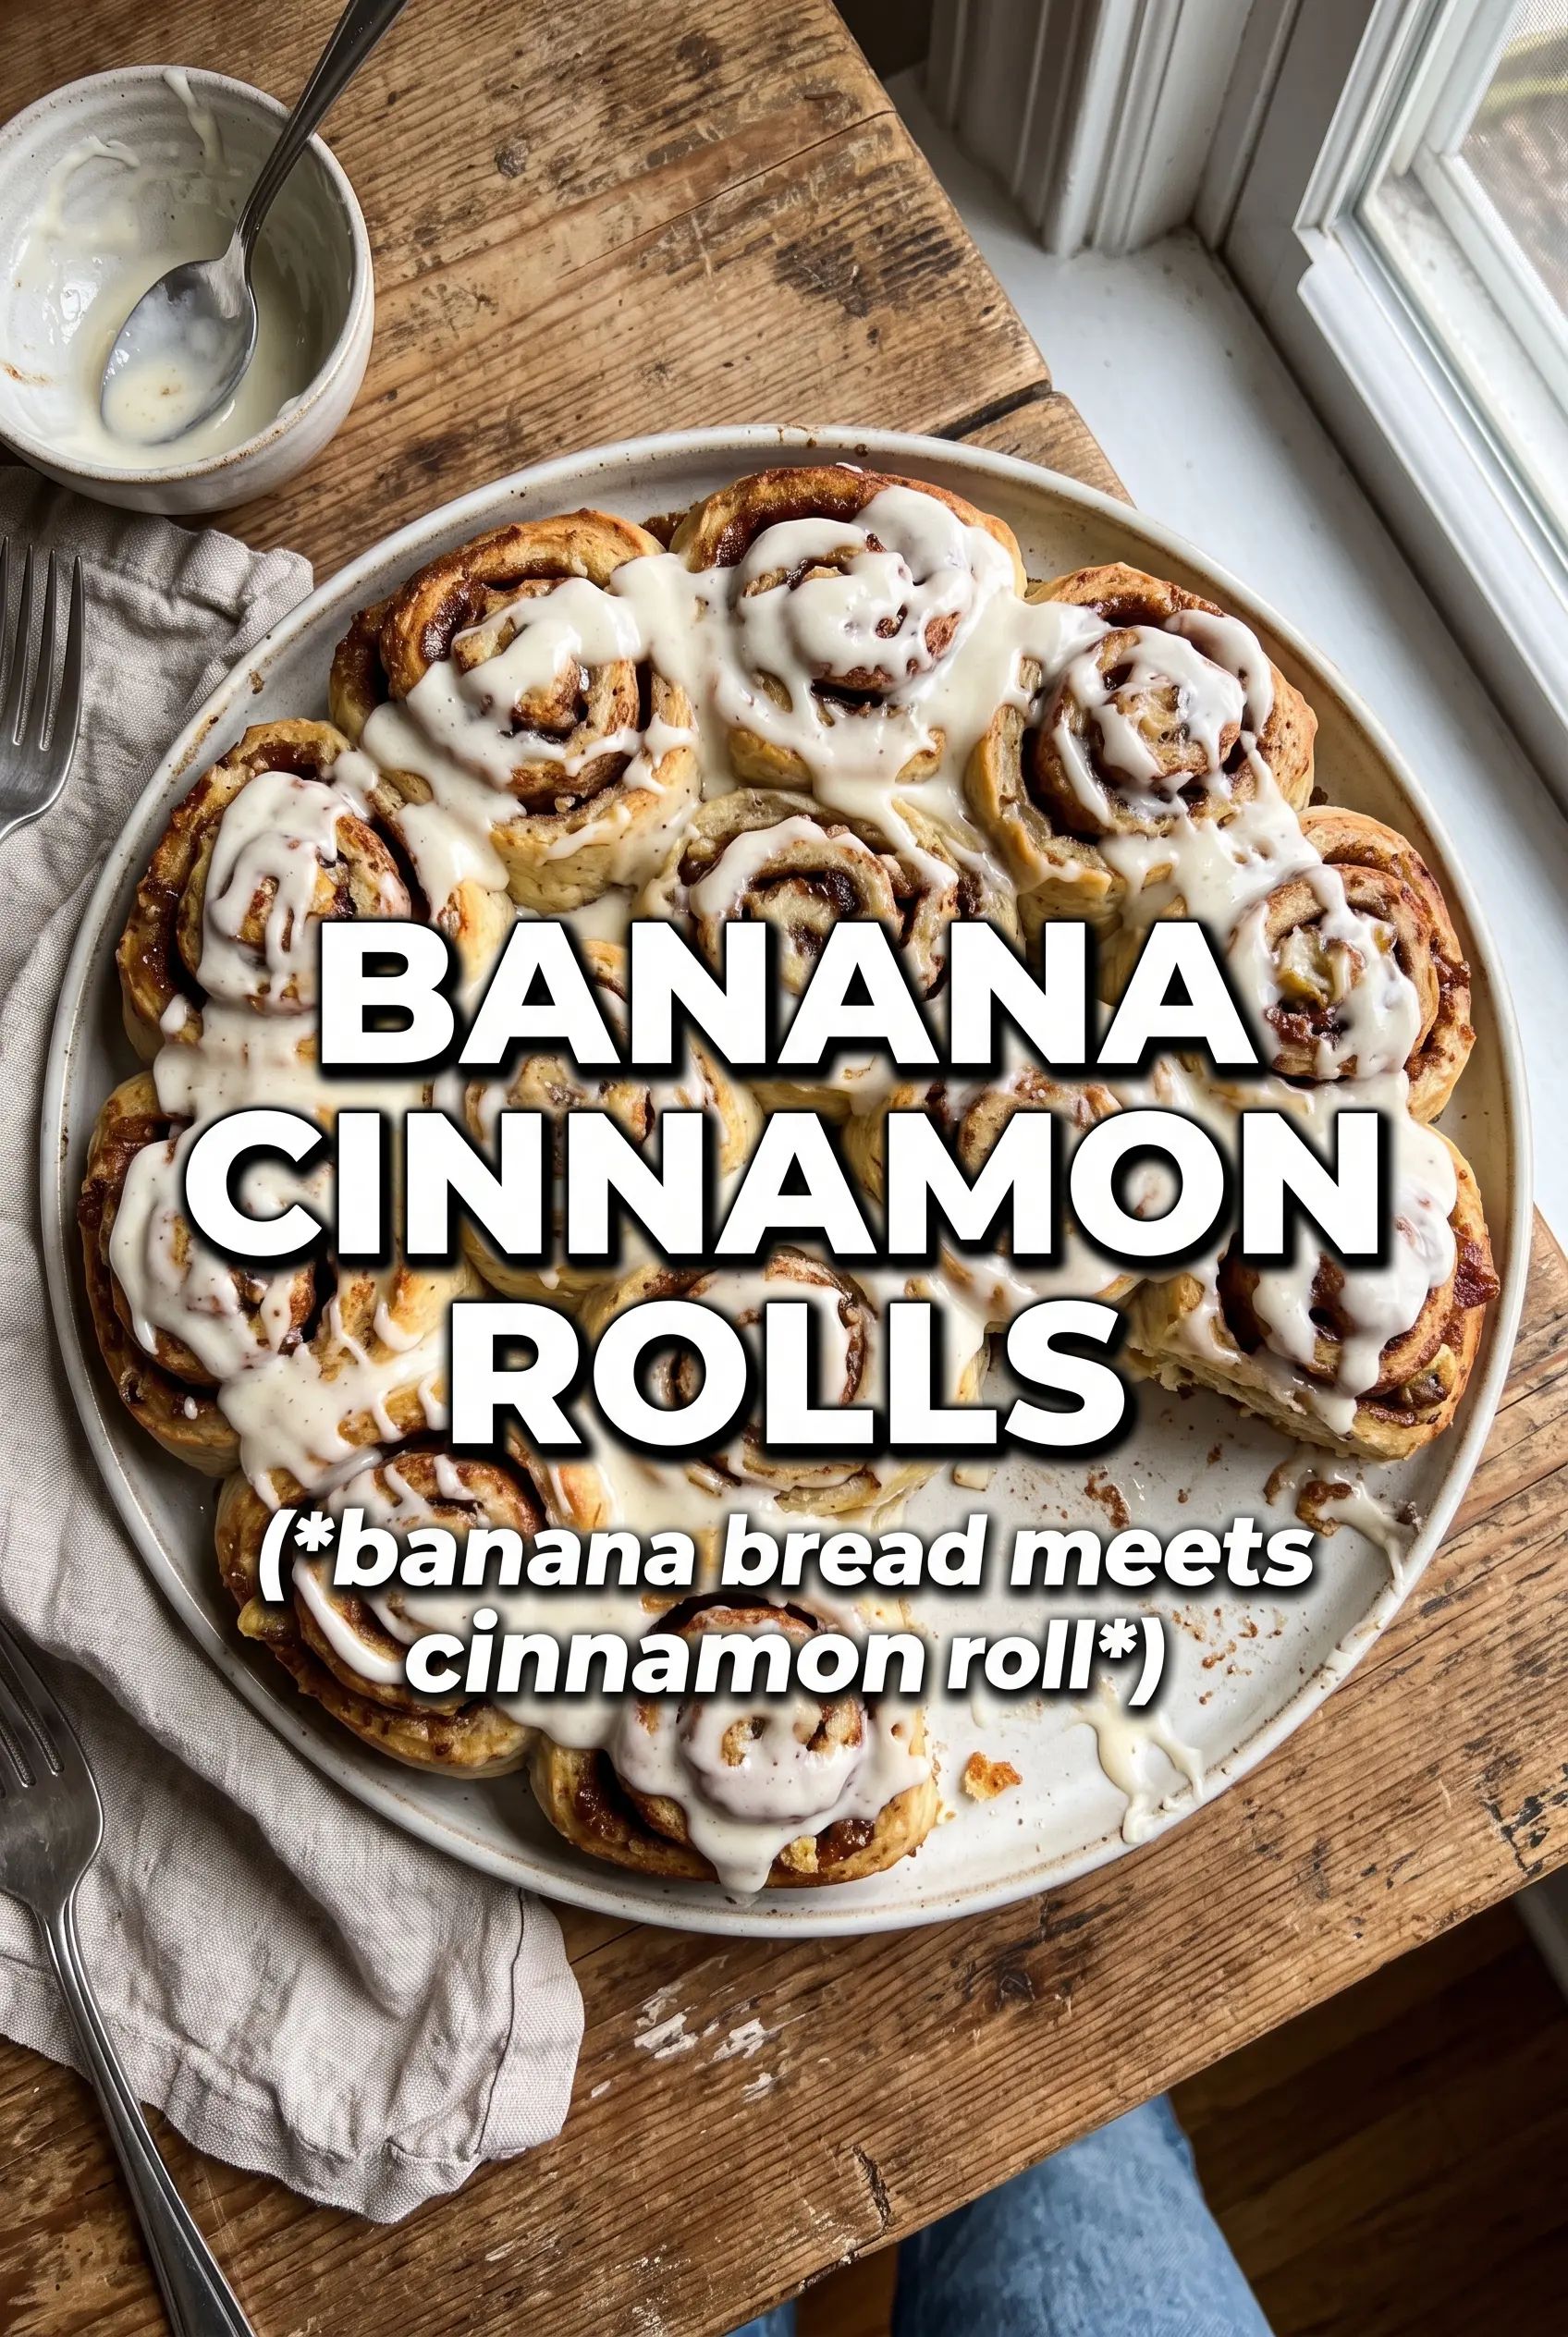
Banana Cinnamon Rolls
Ingredients
Equipment
Method
- In a mixing bowl, combine warm milk and yeast; add sugar, mashed banana, melted butter, and egg, stirring until smooth and foamy. Visual cue: you should see bubbling as the yeast activates.
- Add flour, cinnamon, and salt, then knead for 8 minutes on medium speed until the dough is elastic and smooth. Visual cue: the dough should pull together and look shiny, not sticky.
- Place the dough in a lightly greased bowl, cover, and let rise for 1 hour until doubled in size. Visual cue: the dough should spring back slowly when gently pressed.
- Roll the dough into a 12x18 rectangle on a lightly floured surface. Visual cue: aim for even thickness across the rectangle.
- Spread softened butter evenly over the dough, then sprinkle brown sugar, cinnamon, and nutmeg over the butter. Visual cue: the surface should look evenly dusted with a dry, sparkly layer.
- Arrange thinly sliced banana over the filling in an even layer. Visual cue: banana slices should be visible at the surface with minimal gaps.
- Roll the dough tightly into a log and cut into 12 even rolls. Visual cue: you should see a tight spiral at the cut faces.
- Place rolls cut-side up on a sheet pan, cover, and let rise for 30 minutes until puffy. Visual cue: rolls should swell and look softer, not dense.
- Bake at 375F for 22-25 minutes until the tops are lightly golden. Visual cue: the edges should look set and slightly browned.
- Cool the rolls for 10 minutes so the frosting stays thick instead of melting. Visual cue: rolls should be warm, not hot.
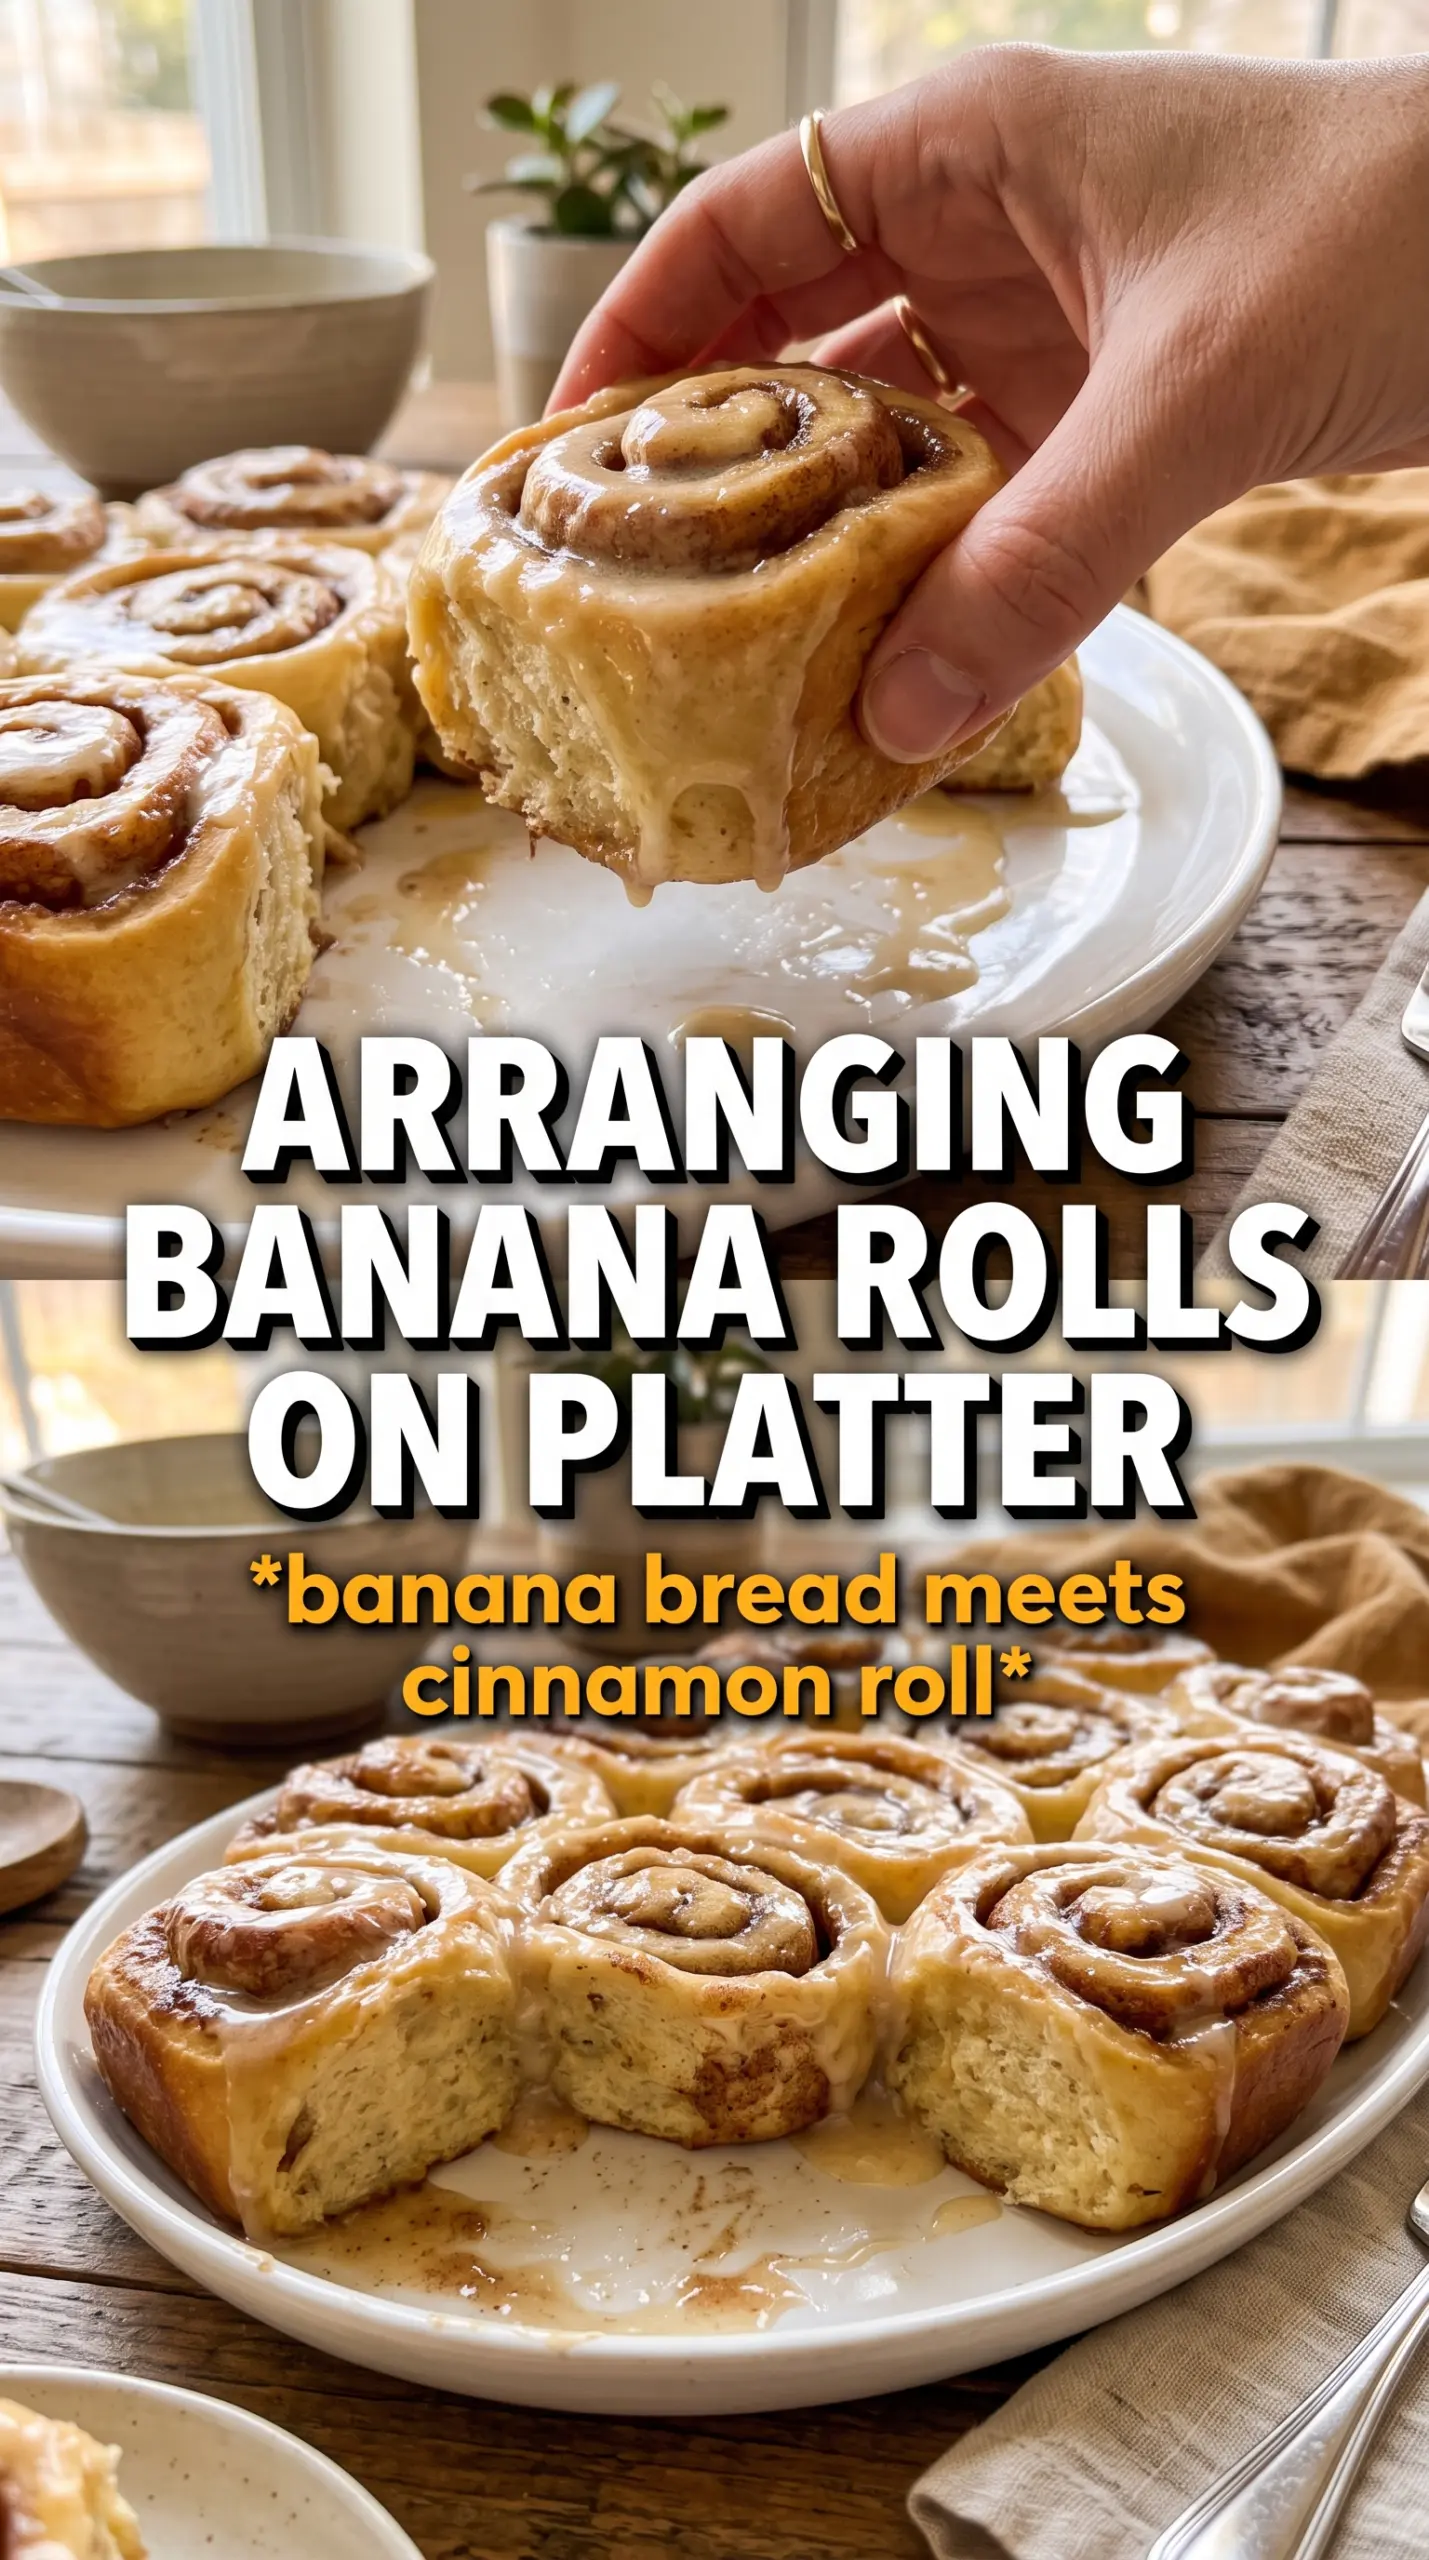
- Drizzle with cream cheese frosting, spreading gently if needed. Visual cue: frosting should form thin ribbons over the swirled spirals.