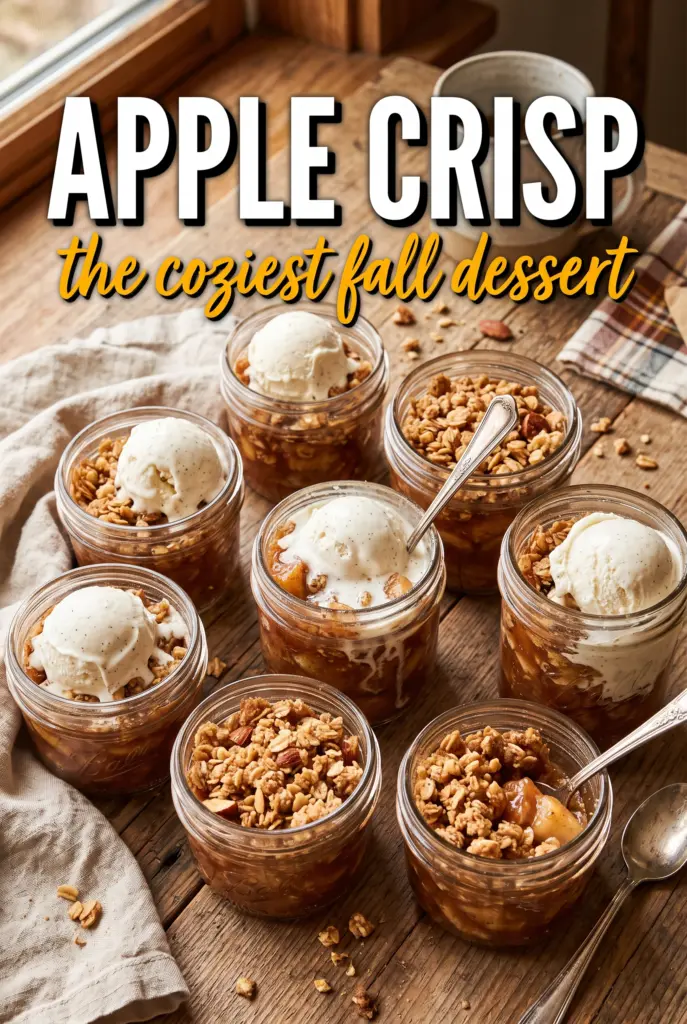
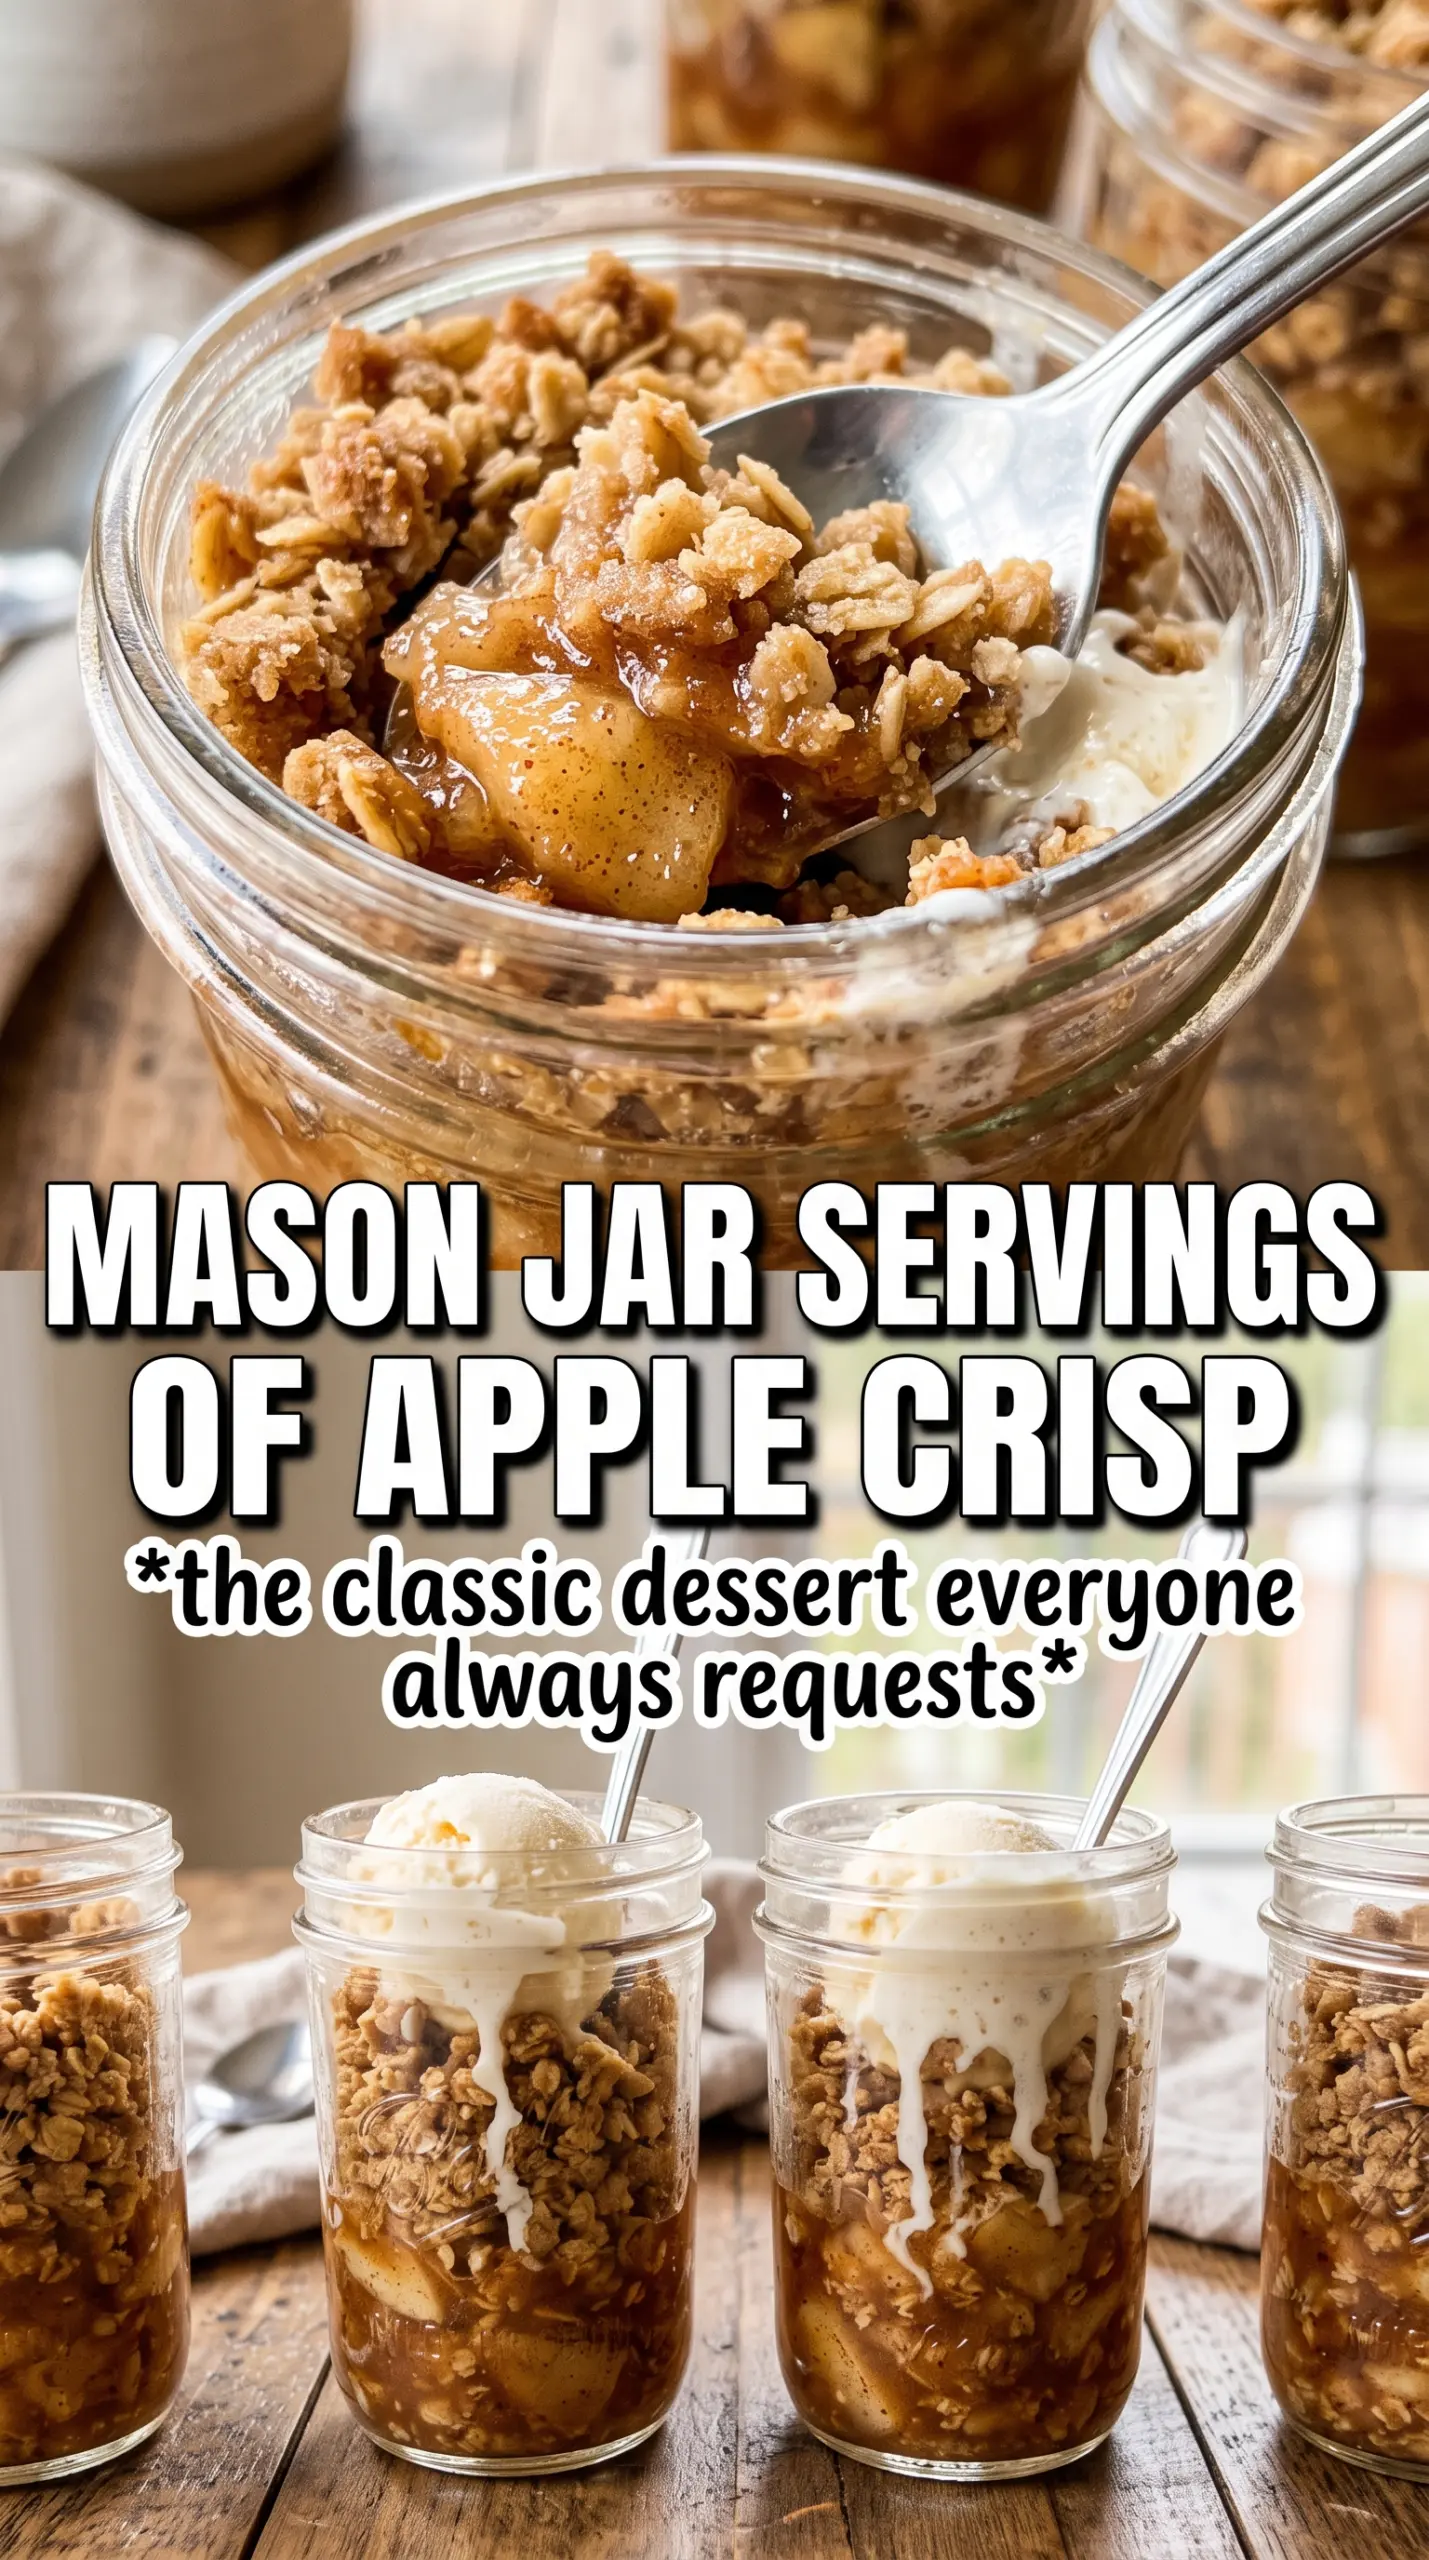
Golden oat topping, bubbling cinnamon apples, and a spoonful of vanilla ice cream melting into the cracks are what make apple crisp disappear fast at my house. The best versions have a real contrast: tender fruit underneath, crunchy nubbly crumble on top, and just enough syrupy filling to soak into the edges without turning the whole pan mushy.
This one gets that balance by using two kinds of apples and a little cornstarch, which keeps the filling glossy instead of watery. The cold butter in the topping matters just as much. When it stays in chunky pieces, it bakes into those crisp, craggy bits instead of melting into a sandy layer. That’s the difference between a topping that looks nice and one that actually gives you texture in every bite.
Below, I’ll show you why the apples matter, how to keep the crumble from disappearing into the filling, and what to change if you need to make it a little more your own.
The topping baked up crunchy all the way to the edges, and the apple layer turned thick and jammy instead of watery. I used a mix of tart and sweet apples like you suggested, and it made a big difference.
Like this apple crisp? Save it to Pinterest for the nights when you want a bubbling fruit dessert with a crisp oat topping and almost no fuss.
The Trick to Crisp Topping That Stays Craggy, Not Sandy
The topping is where most apple crisps go wrong. If the butter gets too warm before it hits the oven, the dry ingredients clump into a dense layer instead of baking into those rough, crisp little clusters that everyone reaches for first. Cold butter, cut into the flour and oats until you still see distinct pieces, gives you pockets that melt, steam, and brown at different rates.
The other mistake is packing the topping down over the fruit. Don’t press it. Scatter it loosely so the heat can move through the crumble and the apple steam can escape. That’s how you get a browned top with actual crunch instead of a lid that turns soft underneath.
What Each Ingredient Is Doing in This Apple Crisp
- Granny Smith apples — These bring structure and tartness, which keeps the dessert from tasting flat. They hold their shape in the oven instead of collapsing into applesauce.
- Honeycrisp apples — These add sweetness and a juicier bite. A mix of tart and sweet apples gives the filling more dimension than using one variety alone.
- Cornstarch — This thickens the apple juices as they bake. Flour can do the job in a pinch, but cornstarch gives you a cleaner, silkier filling that sets up once it rests.
- Cold unsalted butter — Butter is what turns the topping from dry crumbs into crisp, golden clusters. Use it cold and cut it in until the pieces range from pea-sized to slightly bigger, because those uneven bits bake into the best texture.
- Rolled oats — These give the crumble its nubby, hearty crunch. Quick oats will work, but the topping will be softer and less distinct.
- Brown sugar — Brown sugar deepens the flavor and helps the topping caramelize. In the filling, it rounds out the tart apples without making them taste candy-sweet.
How to Bake the Apples So the Filling Thickens Before the Top Burns
Build the filling first
Toss the sliced apples with the sugars, cinnamon, nutmeg, cornstarch, and lemon juice until every slice looks lightly coated. The lemon juice keeps the apples bright, and the cornstarch needs direct contact with the juices to do its thickening job. Spread the mixture evenly in the baking dish so the filling bakes at the same rate instead of turning dry in one corner and soupy in another.
Make the crumble with cold butter
Combine the oats, flour, brown sugar, cinnamon, and salt, then cut in the butter until the mixture forms large, shaggy clumps. Stop before it looks uniform. If it turns into damp sand, the topping will bake up flat instead of crisp and craggy. You want some pieces small enough to brown quickly and some larger ones that stay chunky.
Bake until the juices bubble through
Scatter the topping over the apples and bake until the top is deeply golden and the filling is actively bubbling around the edges and in the center. Those bubbles matter. If the fruit juices aren’t bubbling, the cornstarch hasn’t fully thickened and the crisp will seem loose after it cools. Let it rest for 10 minutes before serving so the filling can settle instead of running all over the plate.
Make it gluten-free
Swap the all-purpose flour for a good 1:1 gluten-free baking blend. The oats are already naturally gluten-free, but use certified gluten-free oats if cross-contamination matters. The topping will still be crisp, though a little more delicate when you scoop it.
Make it dairy-free
Use a plant-based butter that behaves like regular butter in baking, not a soft tub spread. You want something that stays cold and cuts into chunks. The topping will brown a little differently, but the texture stays close to the original.
Use all tart apples for a sharper dessert
If you like a more old-fashioned, tangy crisp, use all Granny Smith apples. The filling will be firmer and less sweet, so the vanilla ice cream becomes even more important for balance.
Add nuts for more crunch
A handful of chopped pecans or walnuts fits right in with the oat crumble. Fold them into the topping before adding the butter. They add a toasted, nutty edge and make the topping a little more substantial.
Storage and Reheating
- Refrigerator: Store covered for up to 4 days. The topping softens a little, but the flavor stays good.
- Freezer: Apple crisp freezes well after baking. Cool completely, wrap tightly, and freeze for up to 3 months. Thaw overnight in the refrigerator before reheating.
- Reheating: Warm in a 325F oven until heated through and the topping re-crisps, about 15 to 20 minutes. The microwave will heat the filling, but it softens the crumble, which is the part you’re trying to protect.