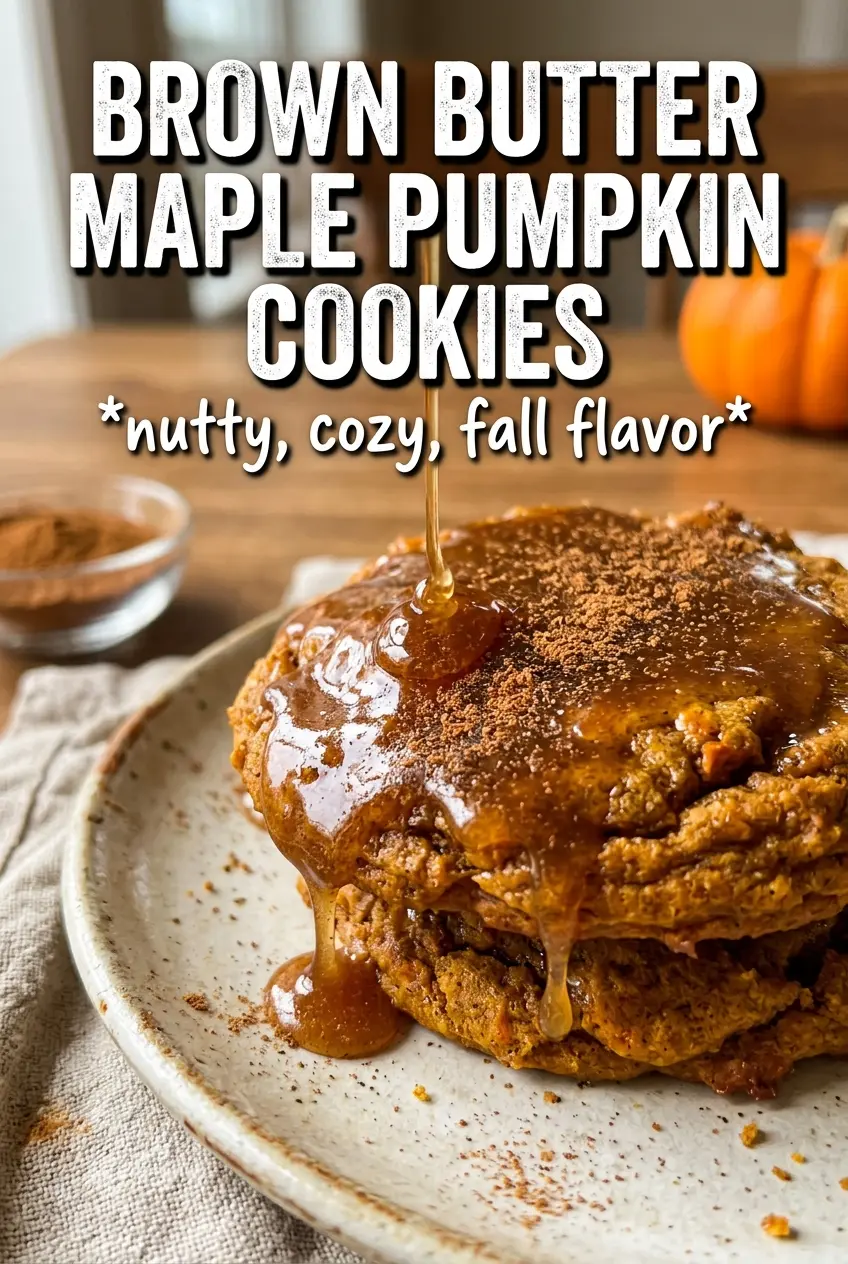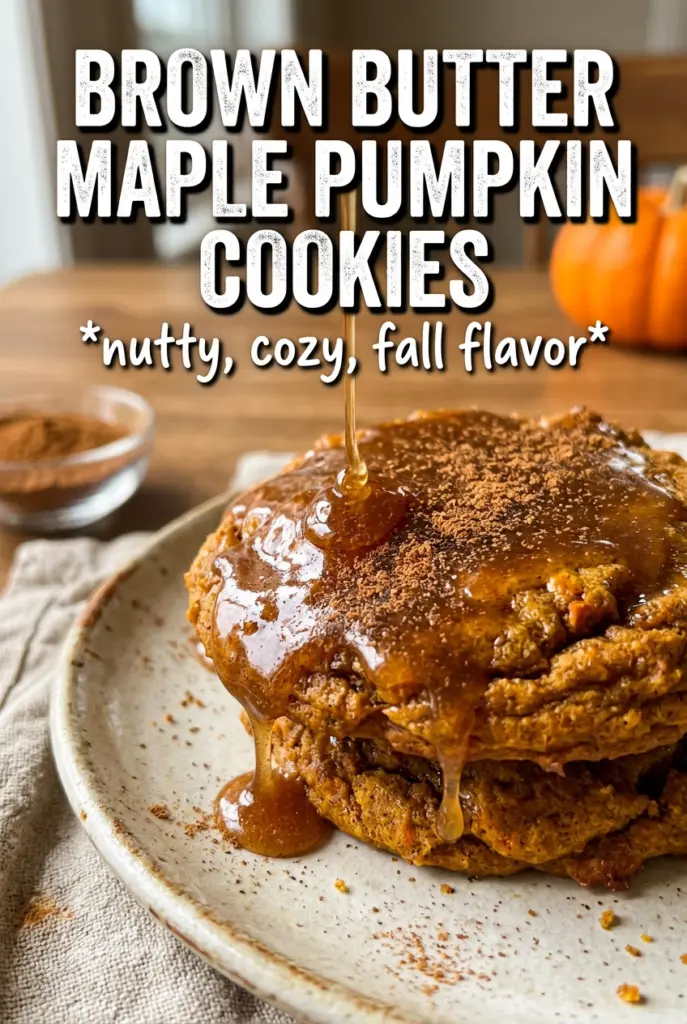
Brown butter maple pumpkin cookies bake up with crisp edges, soft centers, and a caramel-like depth that plain pumpkin cookies never quite reach. The brown butter brings a nutty richness that makes the maple taste fuller, while the blotted pumpkin keeps the dough from turning cakey. Finished with a maple glaze and a few flakes of salt, they land somewhere between cozy and polished, the kind of cookie people reach for before they’ve even finished the first one.
The trick here is restraint with moisture and heat. Pumpkin puree carries a lot of water, so blotting it dry keeps the dough from spreading oddly or baking up puffed and bread-like. Browning the butter adds flavor, but it has to be fully cooled and solidified again before you cream it with the sugar, or the cookies will slide too much in the oven. That little extra wait is what gives you a cookie that holds its shape and still tastes deep and buttery.
Below, I’ve included the one detail that makes the texture work, plus the small ingredient choices that matter most if you want these cookies to bake up with that chewy middle and glossy maple finish.
The brown butter flavor came through beautifully, and the pumpkin stayed soft without making the cookies cakey. The maple glaze set up just enough that they stacked well the next day too.
Love the nutty brown butter and maple glaze on these pumpkin cookies? Save this one for the days when you want a soft, chewy cookie with a little salted finish.
The Part Most Pumpkin Cookies Get Wrong: Too Much Moisture
Pumpkin cookies often fail for one simple reason: the dough is wetter than it looks. Pumpkin puree can add a lot of hidden water, and when that moisture goes into the oven, the cookies puff up instead of setting into something chewy and tender. Blotting the puree dry changes the whole bake. It concentrates the pumpkin flavor and keeps the dough from behaving like a soft quick bread.
The other piece that matters is the brown butter. Once it’s browned, it has to cool back down and solidify before you cream it with the sugar. If it’s still soft or warm, the cookies spread too far and lose that thick, bakery-style center. That extra rest is not busywork. It’s what gives the dough enough structure to hold onto the maple and spice without turning greasy.
What Each Ingredient Is Actually Doing in These Cookies
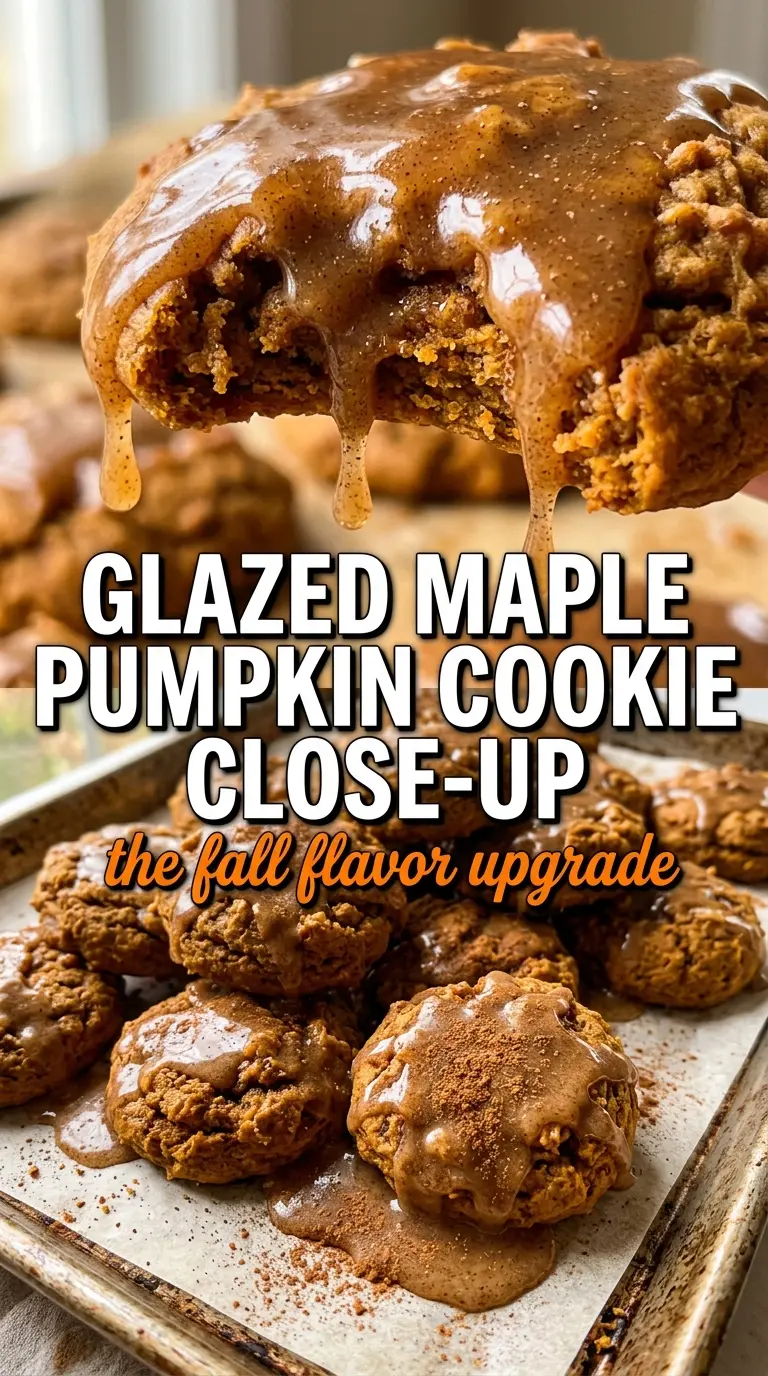
- Brown butter — This is the backbone of the flavor. You can’t fully fake the toasted, nutty depth with melted plain butter, so if you want the cookie to taste layered instead of one-note, this is the ingredient worth slowing down for.
- Pure maple syrup — Use real maple syrup here, not pancake syrup. It gives the cookies and glaze a round, woodsy sweetness that brown sugar alone can’t match.
- Pumpkin puree — Dry it well before mixing. Canned puree is fine, but it needs to lose some moisture or the cookies bake up more cakey than chewy.
- Brown sugar — This keeps the centers soft and adds a little molasses note that plays well with the maple. Light or dark brown sugar both work; dark brown sugar will taste deeper.
- Pumpkin pie spice and cinnamon — The pumpkin spice carries the warm background note, while the extra cinnamon sharpens it a little. If your spice blend is old and flat, the cookies will taste muted even if everything else is right.
Building the Dough So the Cookies Stay Thick
Browning and Resetting the Butter
Cook the butter until the milk solids turn deep golden and smell nutty, not just pale tan. Pull it from the heat as soon as you see those specks because the butter can go from fragrant to burnt fast. Once browned, chill it until completely solid again. If you cream it while it’s still soft, the dough will be loose and the cookies will spread more than you want.
Mixing the Wet Ingredients
Beat the solidified brown butter with the brown sugar and maple syrup until it looks creamy and a little lighter in color. Add the blotted pumpkin, then the eggs and vanilla. The mixture may look slightly curdled once the pumpkin goes in, and that’s fine. Don’t keep mixing just to chase a perfectly smooth batter, or you’ll warm the butter too much.
Folding in the Dry Ingredients
Stir the flour, baking soda, spice, cinnamon, and salt in just until the last streak of flour disappears. Overmixing here builds toughness and can make the cookies bake up denser than they should. Scoop the dough into even rounds so they bake at the same rate. If the dough feels soft, chill it for 15 to 20 minutes before scooping; that helps the cookies hold a thicker shape in the oven.
Baking and Finishing
Bake until the edges are set and lightly golden while the centers still look a little soft. They finish setting as they cool on the pan, so don’t wait for the tops to look dry all the way through. Let them cool completely before glazing, or the glaze will melt into the cookie instead of sitting on top in a pretty drizzle. A pinch of flaky salt at the end sharpens the maple and keeps the sweetness from running away.
Three Ways to Adjust These Cookies Without Losing the Good Part
Dairy-Free Brown Butter Style
Use a plant-based butter that browns well, but expect a slightly softer, less nutty result. Some dairy-free butters don’t develop the same toasted depth, so the cookies lean more on the maple and spice. The texture still works, but the flavor will be a little less rich.
Gluten-Free Swap
A 1:1 gluten-free baking flour blend usually works here as long as it includes xanthan gum. The cookies may spread a touch less and taste a little more delicate, but the maple glaze and brown butter still carry the flavor well. Don’t use almond flour alone; it changes the structure too much.
Extra Maple, Less Sweet
If you want a stronger maple note, add just a little extra syrup to the glaze rather than the dough. Too much in the batter loosens the structure and makes the cookies bake flatter. The glaze is the better place to push the maple flavor because it changes taste without changing the cookie’s texture.
Storage and Reheating
- Refrigerator: Store in an airtight container for up to 5 days. The glaze stays set, though the cookies soften a bit by day two.
- Freezer: Freeze the baked cookies without glaze for up to 2 months. Thaw at room temperature, then glaze after they’re fully defrosted for the best finish.
- Reheating: If you want that fresh-baked feel, warm a cookie for 8 to 10 seconds in the microwave. Too long and the glaze gets sticky, so short bursts are the move.