
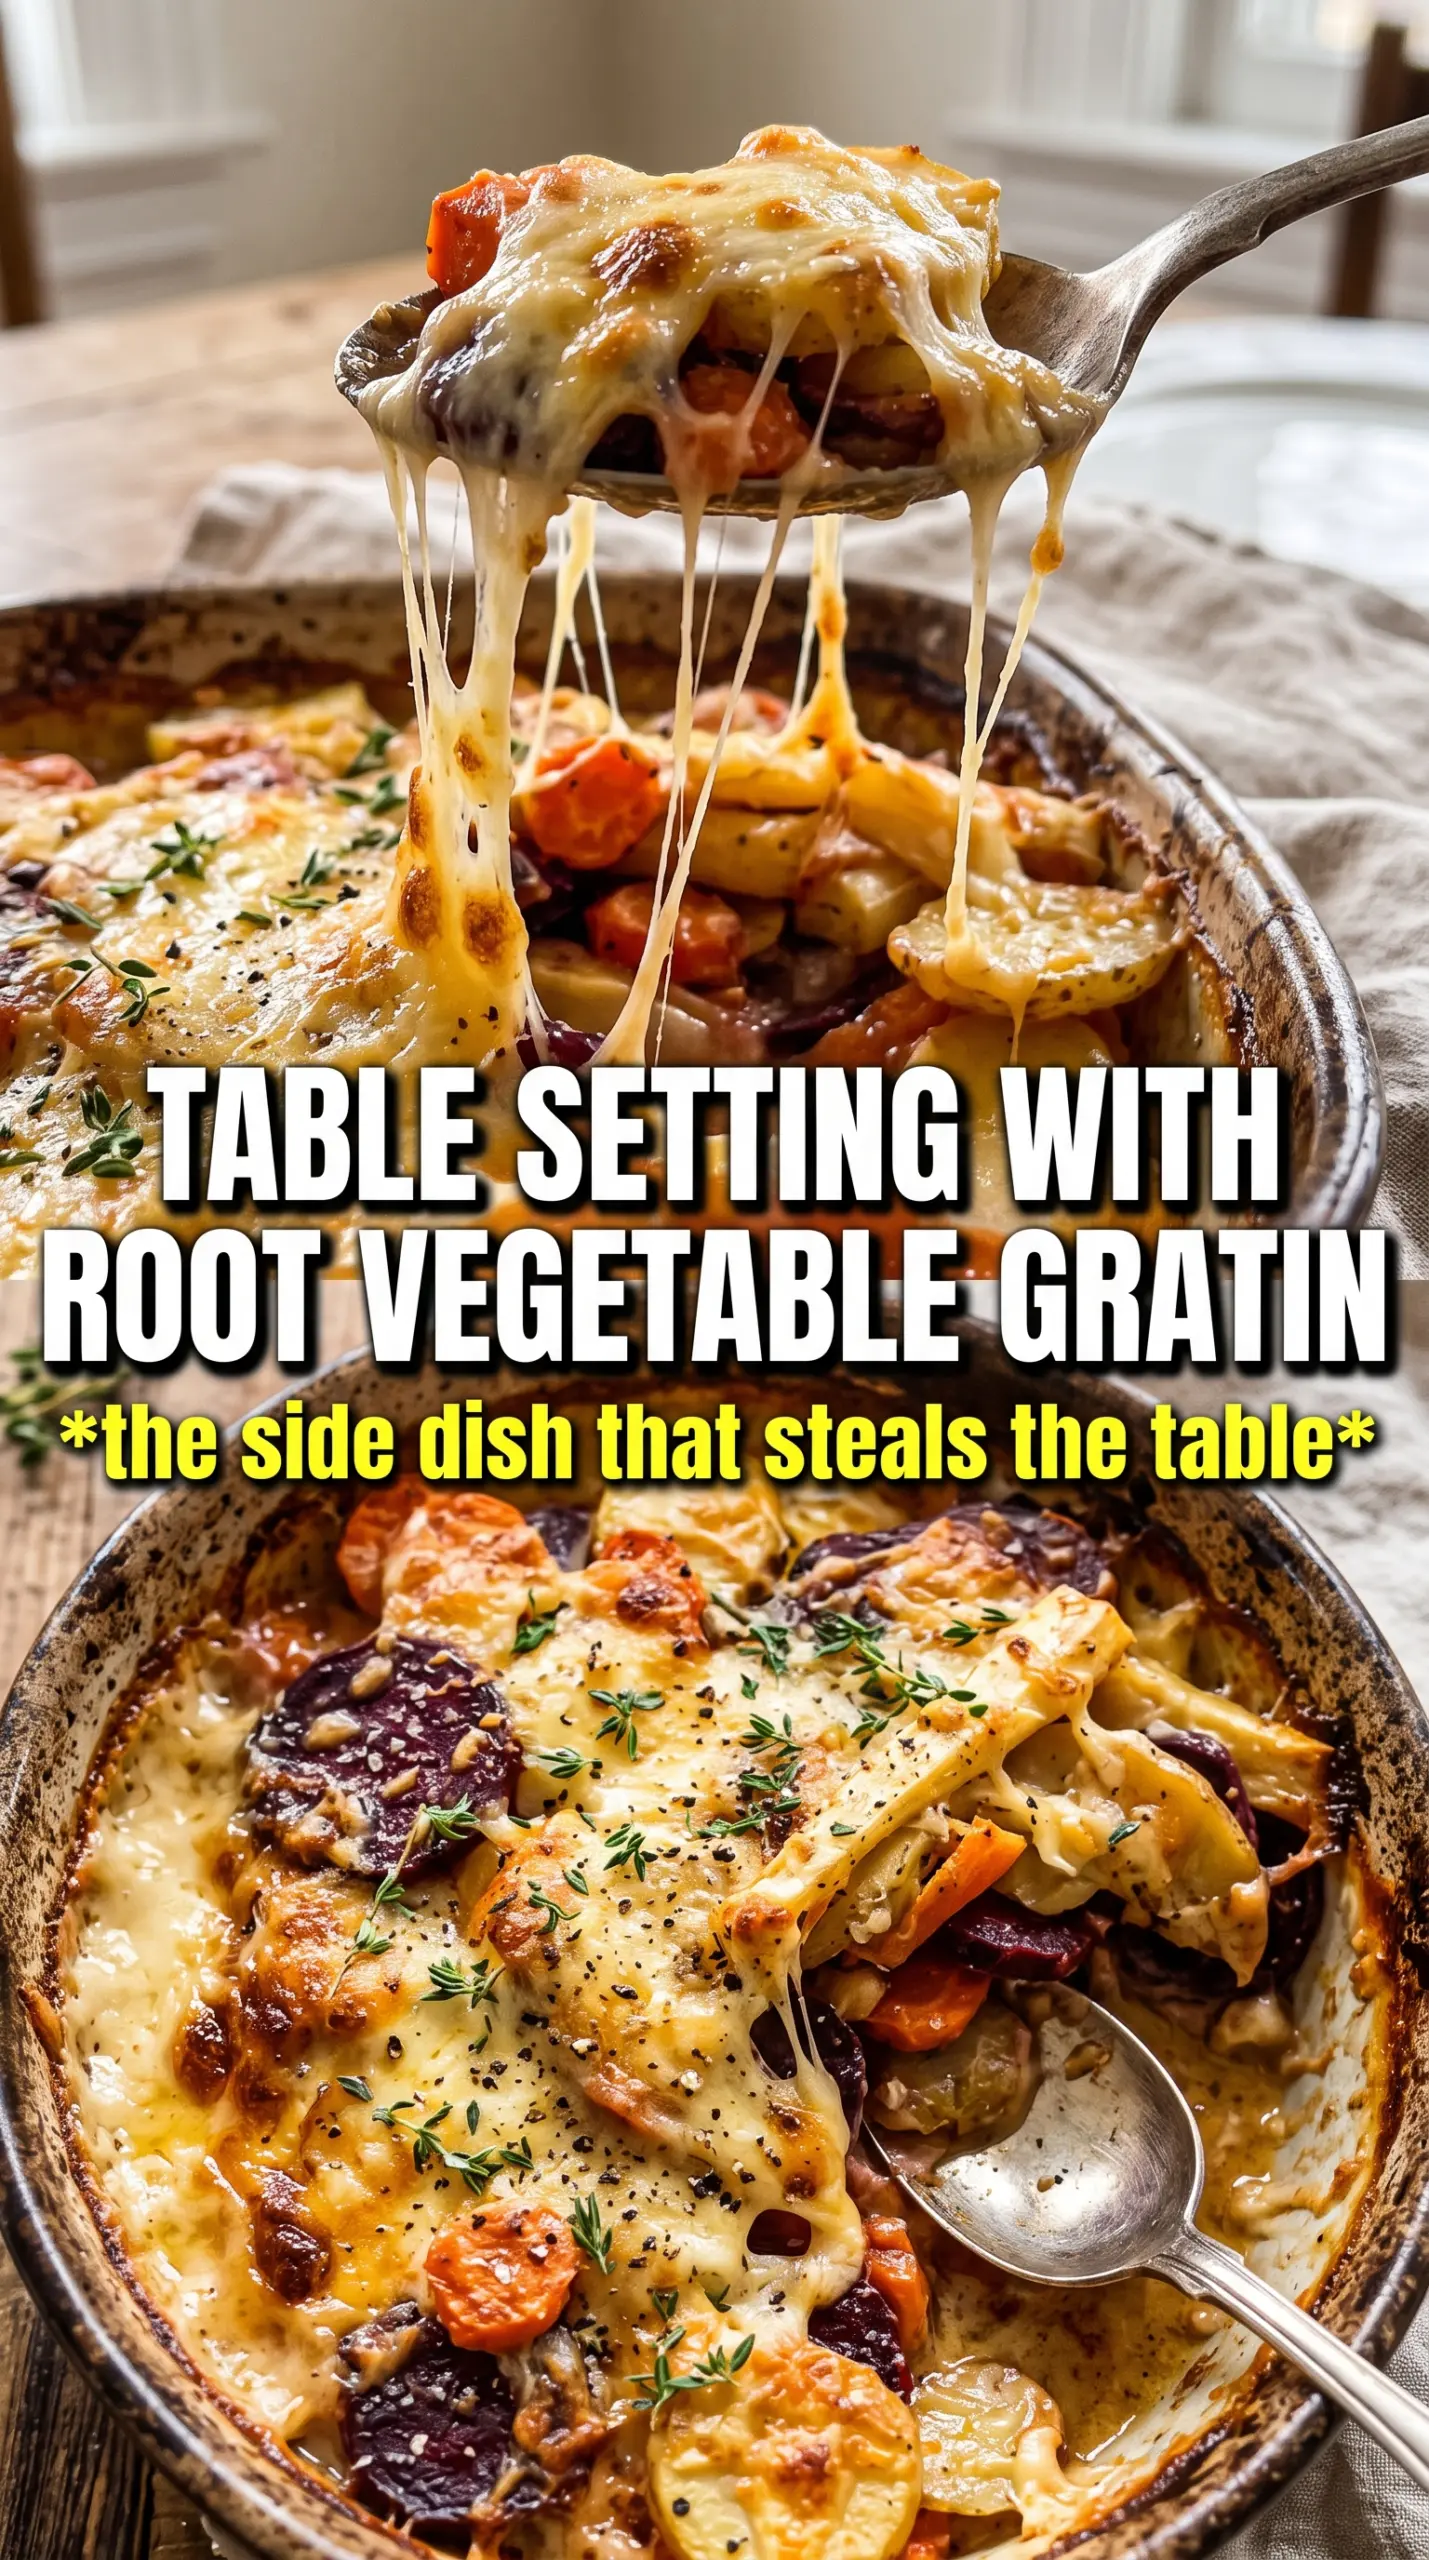
Cheesy root vegetable gratin lands on the table with a deep golden crust, tender layers, and that unmistakable mix of cream, garlic, and nutty cheese that makes people pause mid-conversation. The top turns bubbly and bronzed while the vegetables underneath soften into something almost silky, with just enough structure left to slice cleanly. It’s the kind of side dish that feels a little special without asking for anything fussy in return.
What makes this version work is the layering. Thin slices of potato, parsnip, carrot, and turnip all cook at the same pace when they’re cut evenly, and the cream mixture gets seasoned before it ever hits the pan, so the flavor reaches all the way through instead of sitting on top. Gruyère brings melt and depth, while parmesan gives the crust a sharper, saltier finish. If your gratin has ever turned watery or bland, the fix is usually this simple: slice the vegetables thinly, season the cream properly, and give it the full rest after baking so the sauce settles.
Below, I’ve included the one layering habit that keeps the gratin from turning messy, plus a few swaps that still keep the dish rich and balanced.
The cream stayed perfectly silky and the vegetables all cooked through at the same time. I loved that the top got crisp without the middle turning soupy, and the leftovers reheated without falling apart.
Save this cheesy root vegetable gratin for the nights when you want a crisp, bubbling top and tender layers underneath.
The Layering Trick That Keeps the Gratin Creamy, Not Watery
The mistake most gratins make is dumping in thick vegetable slices and hoping the oven sorts it out. It won’t. Potatoes, parsnips, carrots, and turnips all release moisture as they cook, so the real goal is even slicing and tight layering, which lets everything soften at the same rate while the cream reduces instead of pooling at the bottom.
Pressing the vegetables down gently after adding the cream matters more than it sounds. You want the liquid to move between the slices, not sit on top like soup. The foil cover does the first part of the job by trapping steam and helping the denser roots start tenderizing before the top browns. When you uncover it, the sauce should already be thickening around the edges, which is your sign that the final bake will finish the dish instead of rescuing it.
What Each Ingredient Is Actually Doing in This Dish
- Yukon gold potatoes — These give the gratin its body and that soft, sliceable center. Waxy potatoes hold their shape better than russets, so the layers stay distinct instead of collapsing into mash. If you need to swap, use another yellow-fleshed potato before anything floury.
- Parsnips — Parsnips add a gentle sweetness that keeps the gratin from tasting flat. They also mellow in the cream, which is why this dish tastes more layered after baking than it does when everything first goes into the pan.
- Carrots — Carrots bring color and a little natural sugar, which helps the top brown. Slice them as evenly as the potatoes so they don’t stay firm while the rest of the pan turns tender.
- Turnip or celery root — This is the ingredient that keeps the dish from feeling heavy. Turnip gives a mild peppery edge; celery root is earthier and a little more aromatic. Either one works, but celery root needs a thorough peel because the outer skin stays fibrous.
- Gruyère and parmesan — Gruyère melts into the cream with a smooth, nutty finish, while parmesan sharpens the top and adds the best kind of salty crust. Pre-shredded cheese won’t melt as cleanly as freshly grated, especially with the gruyère, so grate it yourself if you can.
- Cream, milk, garlic, thyme, and nutmeg — The cream carries the richness, the milk keeps it from feeling too heavy, and the garlic and thyme season the whole dish from the inside. Nutmeg is subtle, but it rounds out the dairy in a way you’ll notice if you leave it out.
Building the Gratin So the Top Browns Before the Bottom Overcooks
Season the Cream First
Whisk the cream, milk, garlic, thyme, nutmeg, salt, and pepper together before it touches the vegetables. That’s what keeps the seasoning even all the way through the dish. If the cream tastes bland in the bowl, it will taste bland after an hour in the oven. The garlic should be finely minced so it softens into the sauce instead of staying sharp and raw-tasting.
Layer in Tight, Slightly Overlapping Rows
Arrange the sliced vegetables in alternating rows and keep the slices close together. Gaps create uneven cooking and can leave dry edges where the cream never fully reaches. A little overlap is what gives you those pretty, defined layers when you scoop the gratin later. If one vegetable is sliced much thicker than the others, it will lag behind and throw off the whole pan.
Cover, Then Brown in Two Separate Stages
Baking covered first is what softens the roots without scorching the top. After about 40 minutes, the vegetables should be close to tender when pierced with a knife, but not collapsing yet. That’s the moment to uncover, add the cheese, and let the surface turn deeply golden and bubbling. If you brown it too early, the top burns before the center finishes.
Let It Rest Before Serving
Give the gratin 10 minutes out of the oven. The sauce thickens as it cools a bit, and that rest is what keeps the slices from sliding apart the second you cut in. Skip the rest and the pan will look loose and watery, even if the flavor is right. Rested properly, it serves in neat portions with a creamy but not runny finish.
How to Adapt This Gratin for Different Tables
Dairy-Free Version
Use unsweetened oat cream or a plain, full-bodied dairy-free cream, then swap in a plant-based milk with some fat rather than a thin one. The result will still be rich, but it won’t have the same elastic cheese pull or nutty depth, so add a little extra salt and a pinch more nutmeg to round it out.
Gluten-Free as Written
This gratin is naturally gluten-free as long as your cheese and dairy are plain and unthickened. That makes it one of the easier side dishes to bring to a mixed table, since the texture comes from the vegetables and cream rather than flour.
Make It Ahead for a Crowd
You can assemble the dish a few hours ahead, keep it covered in the fridge, and bake it when you’re ready. Let the baking dish sit at room temperature while the oven preheats so it doesn’t go into the oven ice-cold, or the center will lag behind the edges.
Swap in Sweet Potatoes for Part of the Mix
Replacing one of the potatoes with sweet potato adds more sweetness and a softer texture, but it also makes the gratin a little looser. Keep the slices thin and expect a slightly more custardy finish, especially if you use a very moist sweet potato variety.
Storage and Reheating
- Refrigerator: Store leftovers covered for up to 4 days. The sauce will thicken as it chills, and the top will soften a bit.
- Freezer: It freezes, but the texture turns softer and a little grainy after thawing, so I only freeze it if I have no other option. Cool completely, wrap well, and thaw in the fridge before reheating.
- Reheating: Reheat covered at 350F until hot in the center, then uncover for the last few minutes if you want the top to crisp again. A microwave works in a pinch, but it will make the vegetables softer and the cheese less distinct.
Answers to the Questions Worth Asking

Cheesy Root Vegetable Gratin
Ingredients
Equipment
Method
- Preheat the oven to 375°F and generously butter a 9x13 baking dish.
- Whisk heavy cream, whole milk, minced garlic, fresh thyme, nutmeg, 1 teaspoon salt, and pepper until smooth.
- Layer Yukon gold potatoes, parsnips, carrots, and turnip or celery root in the dish, alternating types in slightly overlapping rows.
- Pour the cream mixture over the vegetables and press down gently so the layers settle.
- Cover tightly with foil and bake for 40 minutes.
- Uncover and scatter shredded Gruyère and grated Parmesan over the top.
- Bake 20 to 25 more minutes until the vegetables are completely tender and the top is golden and bubbly.
- Rest for 10 minutes before serving to let the gratin set and thicken slightly.