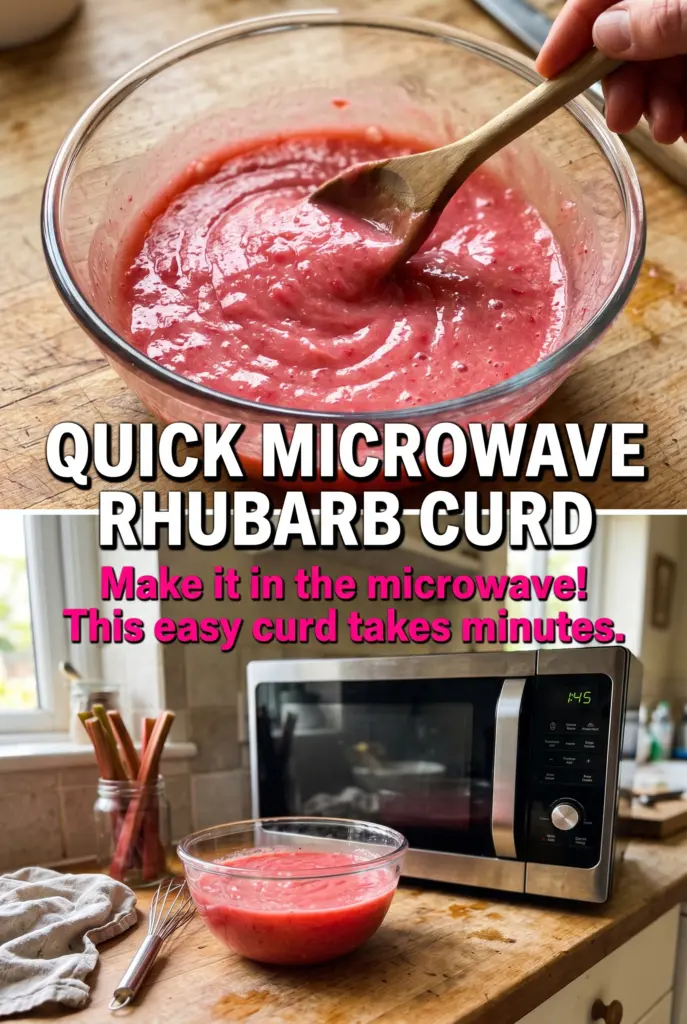
Silky, tart, and glowing pink, rhubarb curd turns a sharp spring ingredient into something you can spread thickly on toast, spoon over scones, or tuck between cake layers. The texture lands somewhere between jam and custard, but the flavor is brighter and more balanced than either one. It’s the kind of condiment that makes plain breakfast feel intentional.
The trick is cooking the rhubarb until it collapses completely before it ever meets the eggs. That first softening step gives you a smooth base instead of stringy bits, and blending it before the final cook keeps the curd lush instead of chunky. The butter goes in off the heat, which is what gives the finished curd that glossy, spoon-coating finish.
Below, I’ve included the small details that matter most here: how to keep the eggs from scrambling, when straining helps, and what to do if your rhubarb is extra tart or a little pale.
The curd thickened up exactly when you said it would, and straining it gave me that smooth, bakery-style finish. I spread it on warm scones and it was gone before the kettle even boiled again.
Smooth pink rhubarb curd for toast, scones, and spooning over anything that needs a bright tart finish.
The Part Where Rhubarb Stops Being Stringy
The biggest mistake with rhubarb curd is rushing the fruit. Rhubarb needs to break down fully before the eggs go in, or you end up with a curd that tastes fine but feels coarse and awkward on the tongue. Cooking it first with part of the sugar softens the fibers and draws out enough moisture to make blending easy.
Once the rhubarb is smooth, the real job is gentle heat. Egg yolks thicken beautifully, but they turn grainy the second the pan gets too hot or you stop stirring. Medium-low heat gives the curd time to set slowly, which is how you get that clean spoon-coating texture instead of scrambled bits.
- Blending the cooked rhubarb — This is what gives the curd its polished texture. If you skip it, the finished spread will still taste good, but it won’t have that smooth, jarred-from-a-bakery look.
- Cooking over medium-low heat — High heat is the enemy here. The curd should thicken gradually and coat the back of a spoon; if it starts bubbling hard, pull the pan back for a moment and keep whisking.
- Straining, if you want it extra smooth — A fine-mesh sieve catches any last little fibers from the rhubarb and any tiny cooked egg bits. It’s optional, but it’s the easiest way to get an elegant finish.
What Each Ingredient Is Actually Doing in This Curd
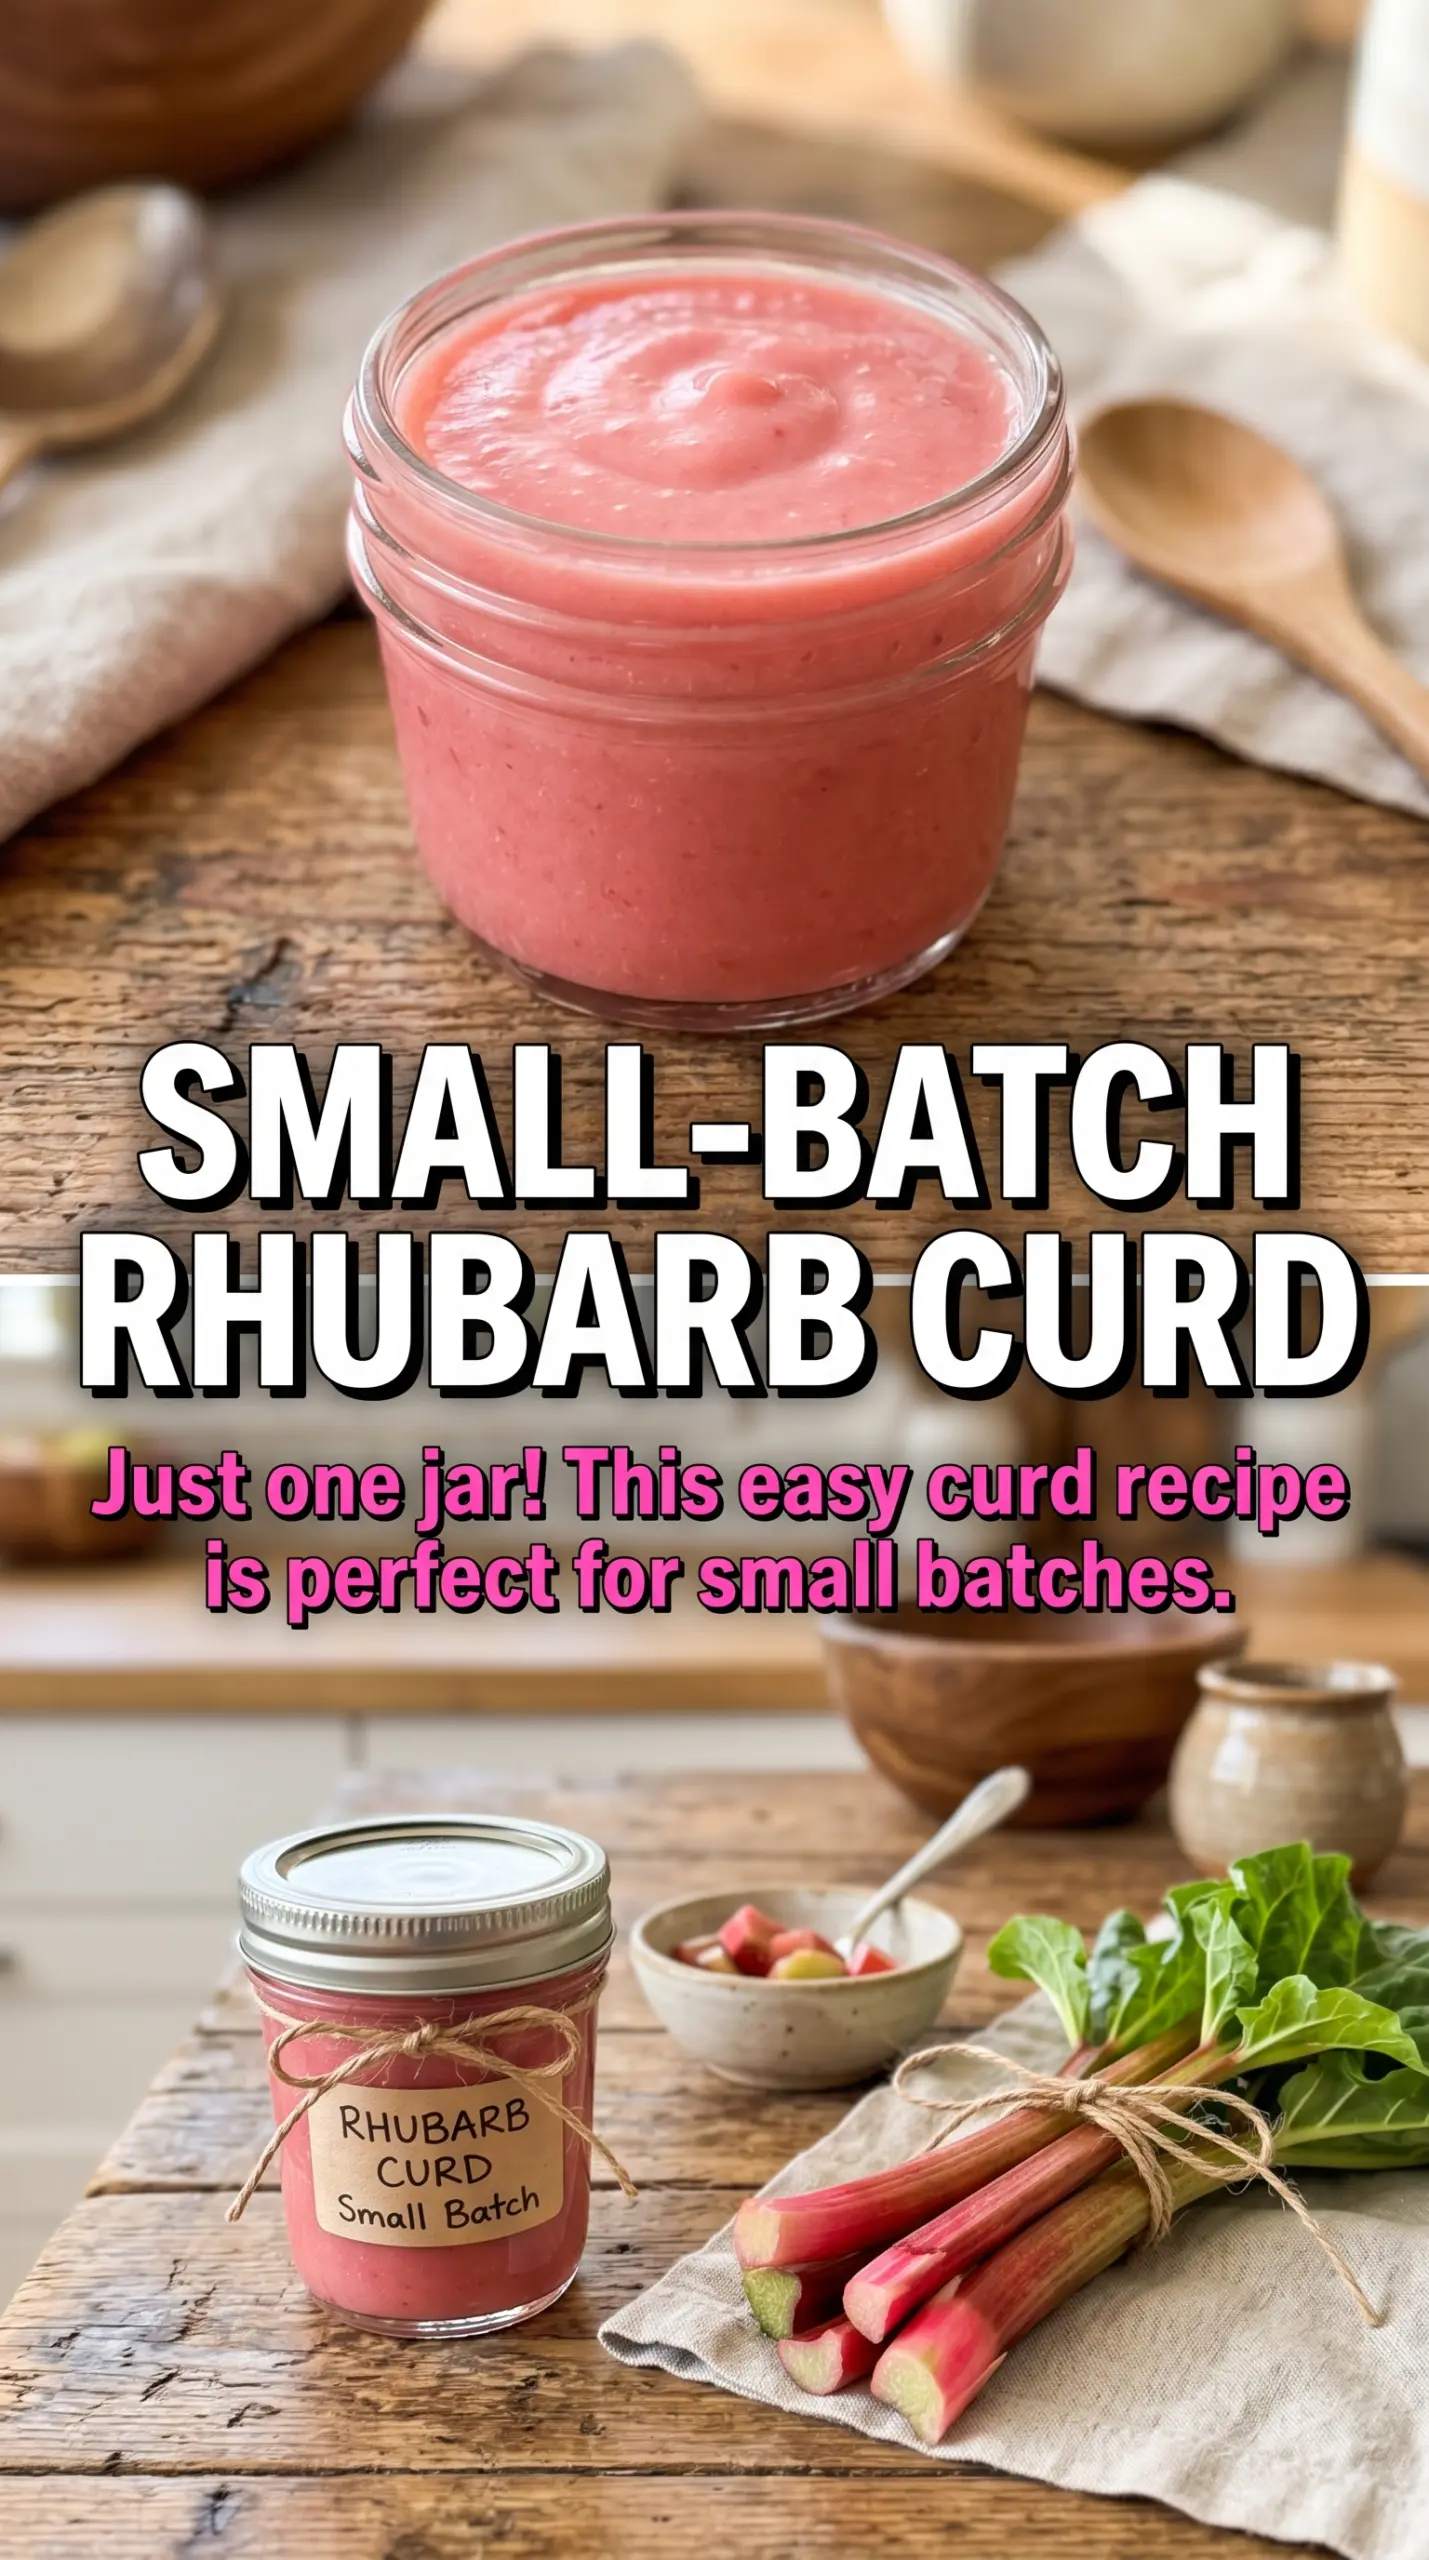
- Fresh rhubarb — This is the whole point of the recipe. Fresh stalks give the best bright color and sharp flavor; frozen rhubarb works in a pinch, but it can release more liquid, so expect a slightly looser base before it thickens.
- Sugar — Sugar isn’t just for sweetness here. It balances rhubarb’s natural acidity and helps the curd set with a softer, silkier feel instead of tasting aggressively tart.
- Egg yolks — Yolks are what turn fruit puree into curd. Whole eggs will work in a pinch, but the texture won’t be as rich or velvety.
- Butter — Butter gives the finished curd its shine and roundness. Add it off the heat and whisk until fully melted; if the pan is still too hot, the emulsion can look greasy instead of glossy.
- Lemon juice — This sharpens the rhubarb and helps the flavor stay bright after chilling. If your rhubarb is especially tart, keep it as written; if it tastes mild, the lemon keeps the curd from falling flat.
Getting the Curd Thick Without Scrambling the Eggs
Softening the Rhubarb First
Cook the chopped rhubarb with half the sugar until it collapses completely and looks almost jammy, about 8 minutes. You want no visible chunks left, because those bits will survive the blend and make the curd less smooth. If the pan looks dry before the fruit is tender, lower the heat and keep it covered for a minute or two so the rhubarb can release more moisture.
Blending Into a Smooth Base
Puree the hot rhubarb until it’s completely smooth, then return it to the saucepan. Hot fruit blends easier than cooled fruit, and this is the moment that decides whether the curd feels silky or rustic. If your blender is small, work in batches and be careful with the steam when you open the lid.
Whisking the Yolks Over Gentle Heat
Whisk in the remaining sugar, egg yolks, and lemon juice, then cook over medium-low heat while stirring constantly. The curd will go from thin to thick in a narrow window, and the visual cue you want is a mixture that coats the back of a spoon and leaves a clear line when you run a finger through it. If it starts to look grainy, the heat is too high; take it off the burner immediately and whisk hard to bring the temperature down.
Finishing With Butter and Chilling
Take the pan off the heat before adding the butter cubes. Whisk until each cube disappears before adding the next so the curd stays smooth and emulsified. Pour it into clean jars, cover, and chill until set; it will thicken more as it cools, so don’t judge it only while it’s still warm.
How to Make This Rhubarb Curd Work for Different Kitchens
Frozen Rhubarb
Frozen rhubarb works, but it usually releases more liquid than fresh, so the first cook may take a little longer. Cook it until it looks fully softened and most of the moisture has cooked off before blending, or the curd can end up thinner than expected.
Extra-Smooth Strained Finish
If you want a glassy, professional texture, strain the finished curd through a fine-mesh sieve before chilling. This removes any tiny fibrous bits and any eggy specks from overthickened edges, which is especially helpful if your saucepan runs hot.
Lower-Sugar Version
You can reduce the sugar a little, but don’t cut it too far. Sugar balances rhubarb’s acidity and helps the curd feel smooth; if you drop it too much, the curd tastes sharper and can set less gracefully.
Dairy-Free Note
The butter is doing important work here, so a dairy-free swap changes the result. A plant-based butter can work, but pick one with a neutral flavor and use the same off-heat whisking method so the curd stays glossy instead of separating.
Storage and Reheating
- Refrigerator: Store in clean jars for up to 2 weeks. It will firm up as it chills and may loosen slightly when stirred.
- Freezer: It freezes well for up to 3 months. Leave a little headspace in the jar and thaw overnight in the refrigerator before stirring smooth.
- Reheating: Rhubarb curd is usually served cold, but if you want it slightly looser for drizzling, warm only a spoonful at a time over low heat. High heat can make the eggs separate and the butter look oily.
Questions I Get Asked About This Recipe
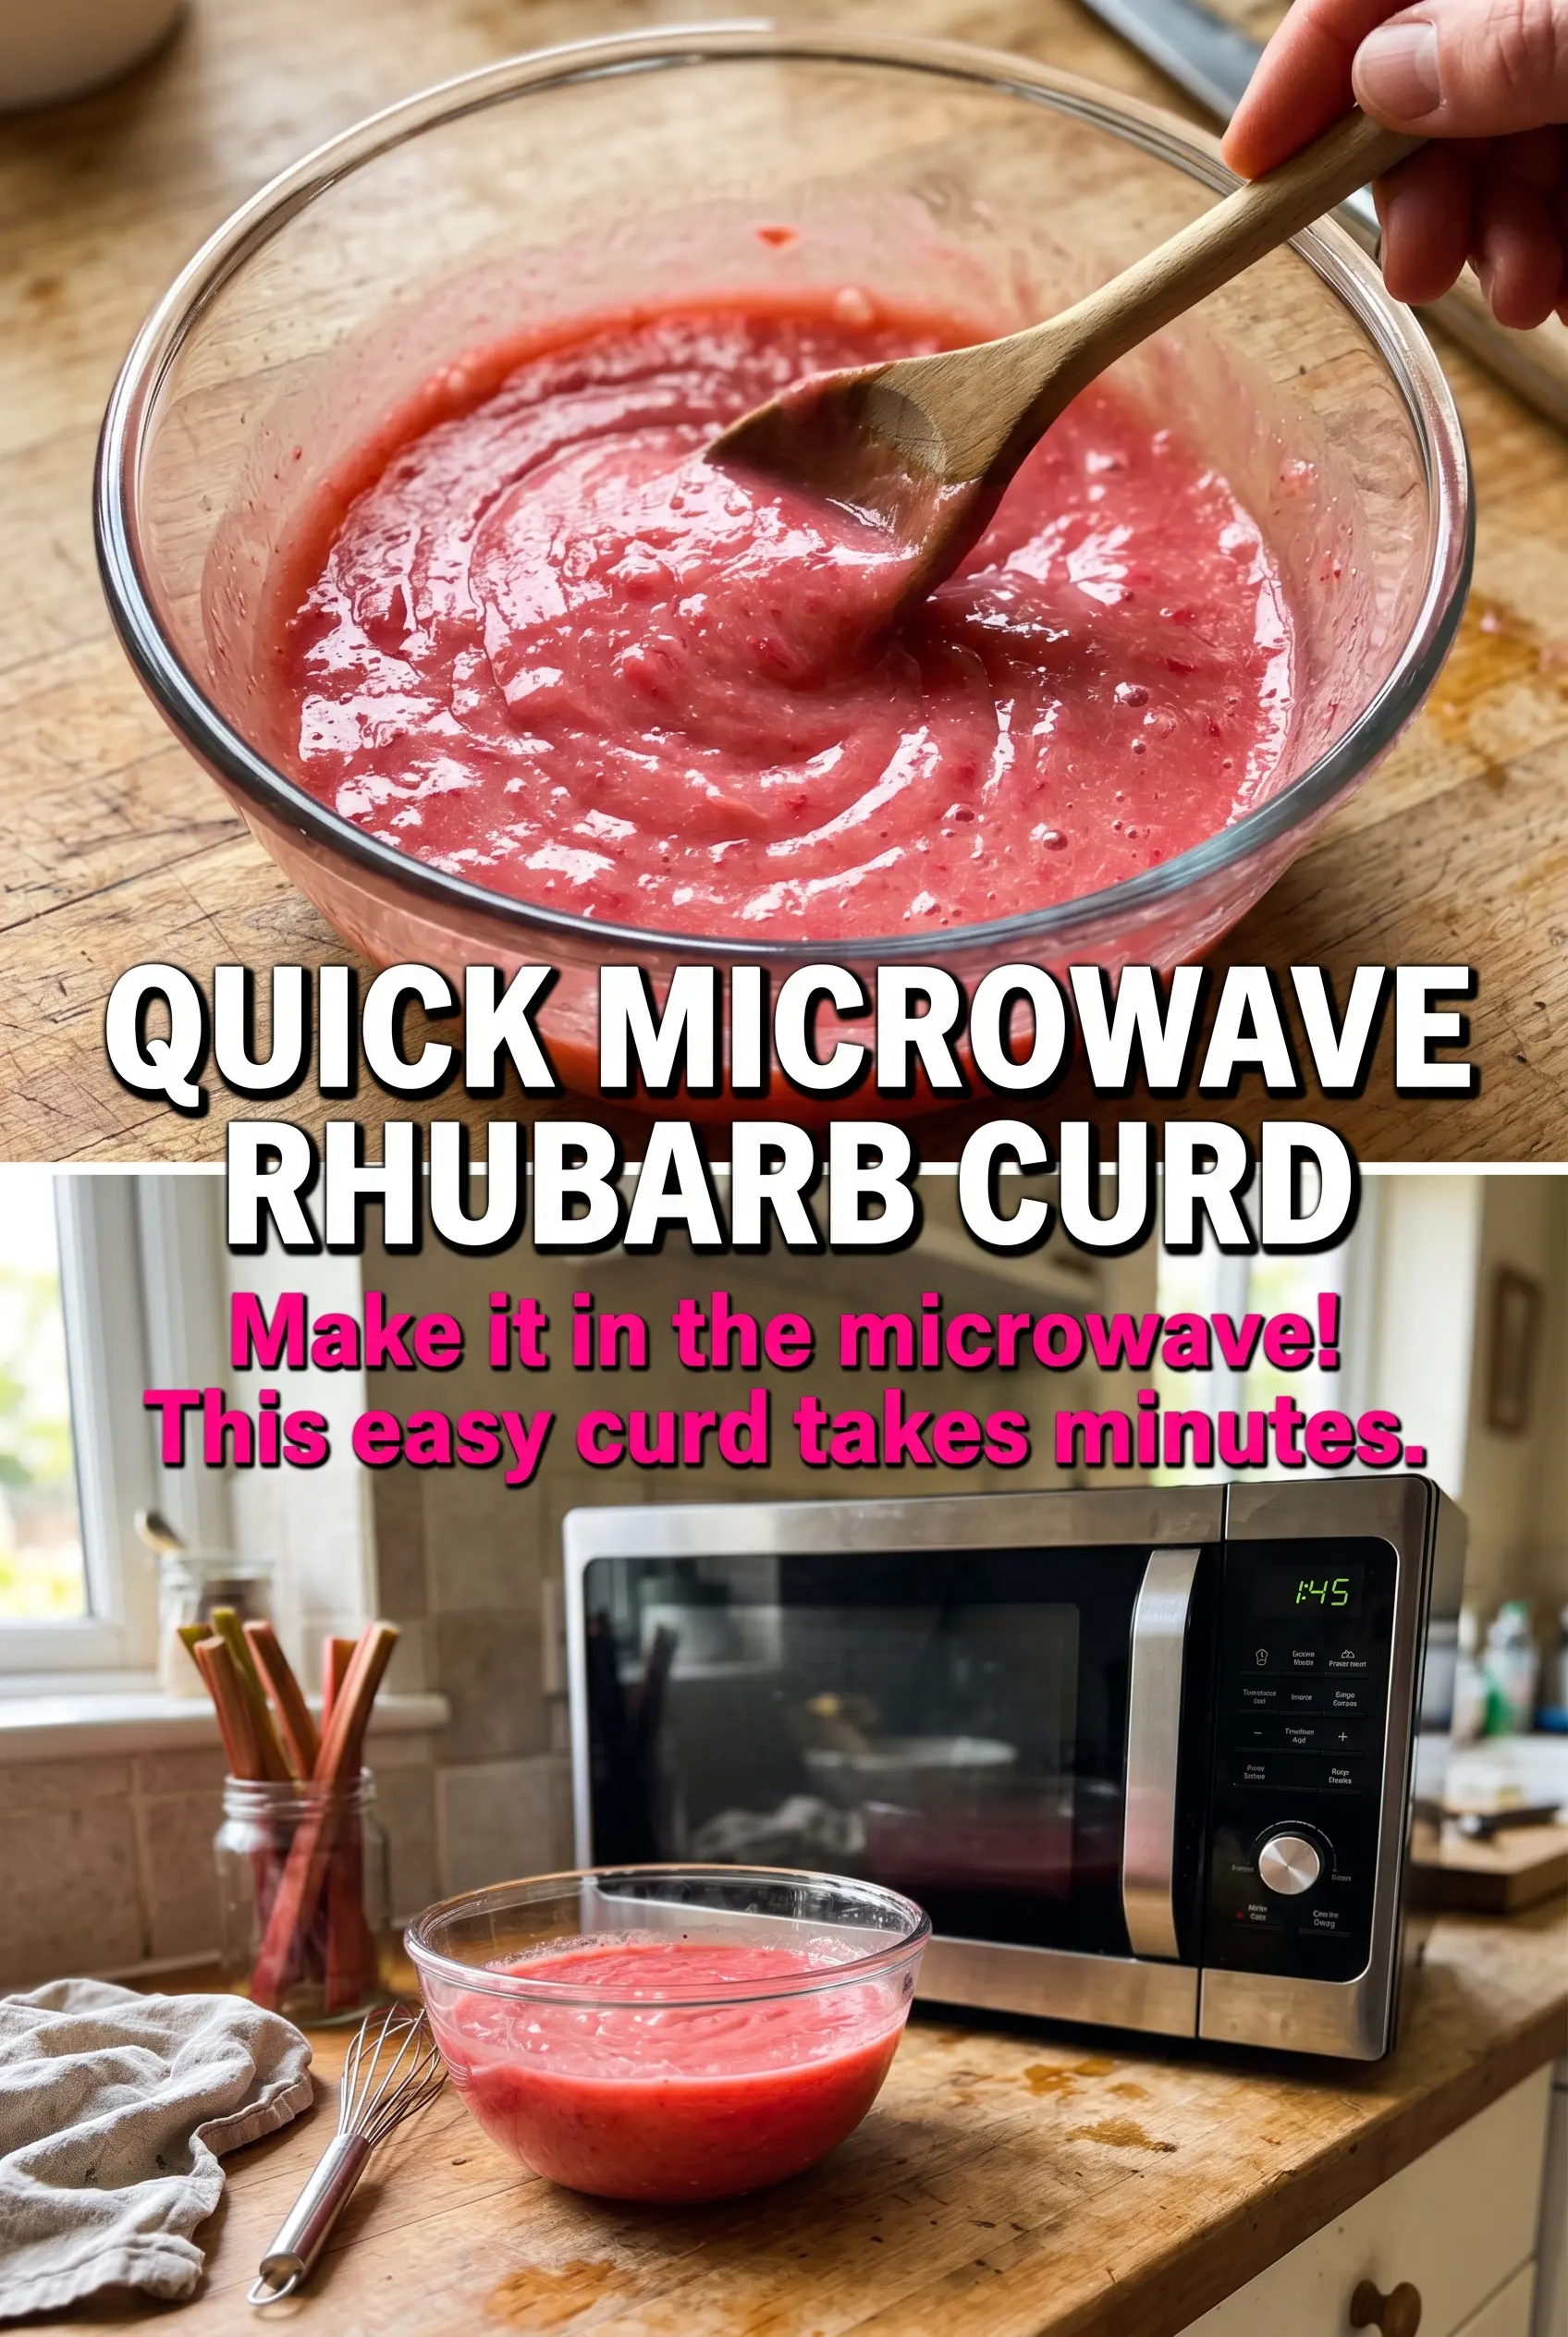
Easy Rhubarb Curd
Ingredients
Equipment
Method
- Combine chopped rhubarb and 1/2 cup sugar in a saucepan and cook over medium heat until very soft, about 8 minutes, stirring occasionally as it breaks down.
- Blend the cooked rhubarb until completely smooth, then return the puree to the saucepan.
- Whisk the remaining sugar, egg yolks, and lemon juice into the rhubarb base until smooth.
- Cook over medium-low heat, stirring constantly, until thickened and it coats the back of a spoon, about 6-8 minutes.
- Remove the saucepan from the heat and whisk in the butter cubes until completely melted and smooth.
- Strain the curd through a fine mesh sieve if desired for extra smoothness, letting it pass into a clean bowl or jug.
- Pour the curd into clean jars, cover, and refrigerate for at least 2 hours to set.
- Store in the refrigerator for up to 2 weeks, keeping jars covered between uses.