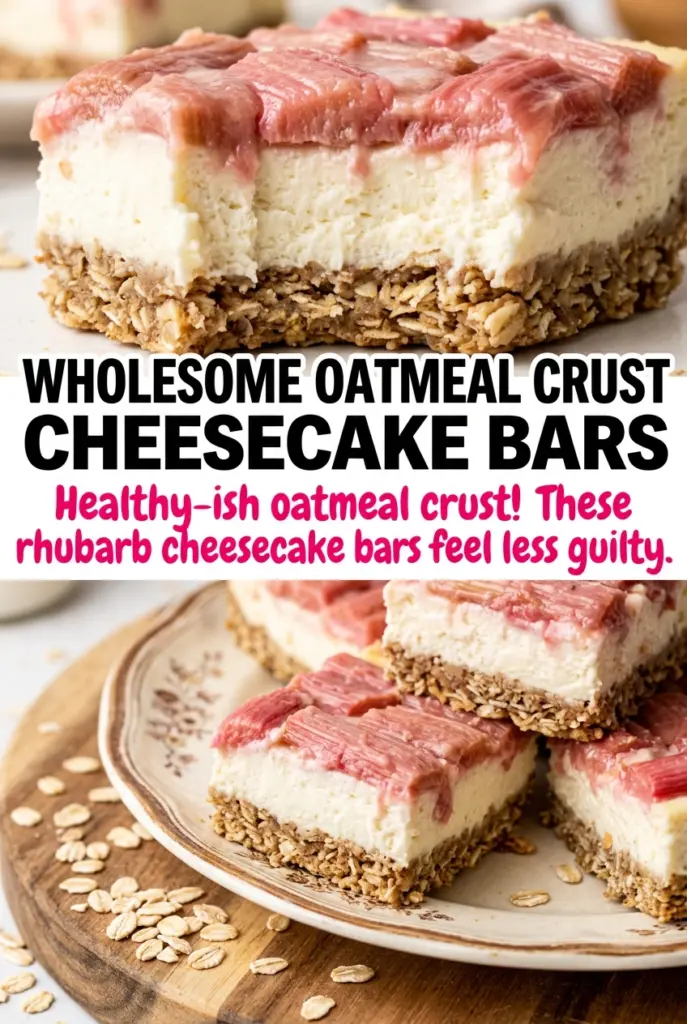
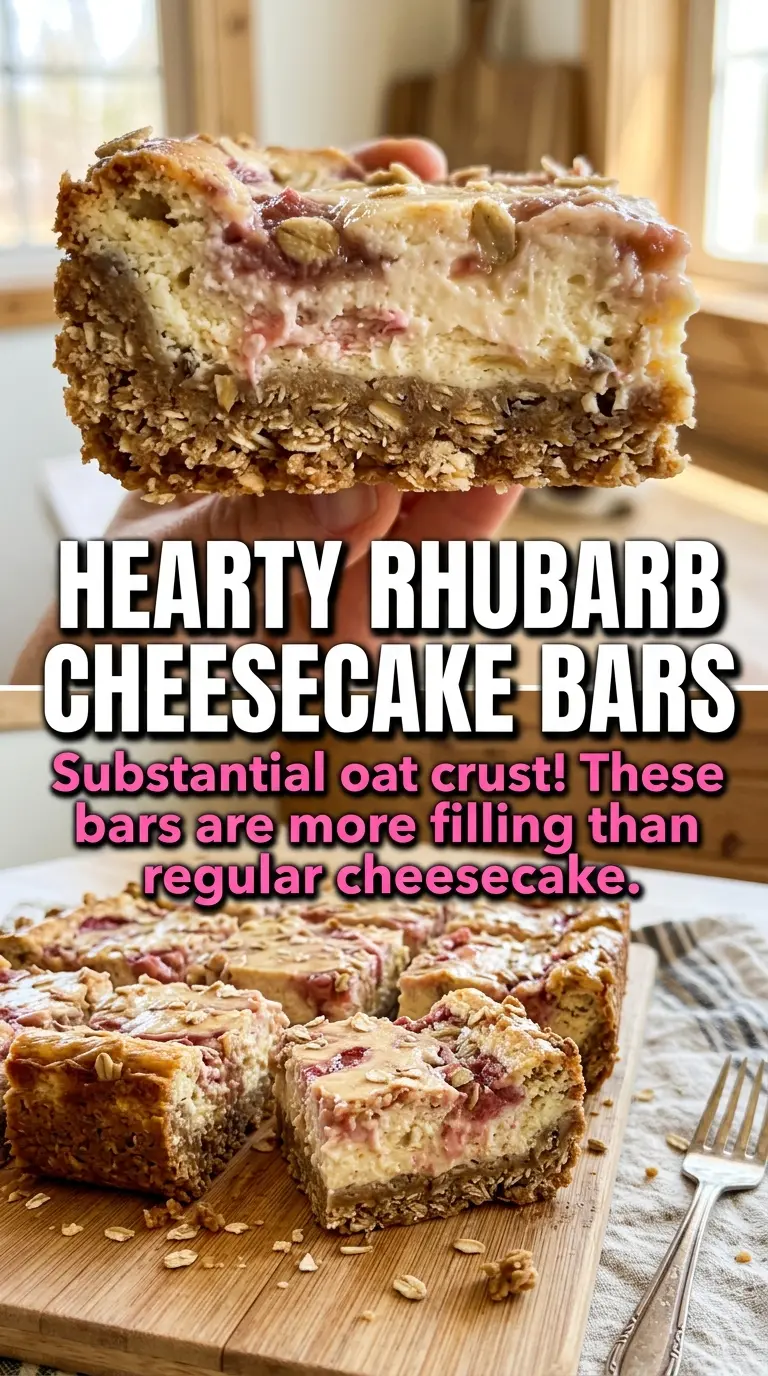
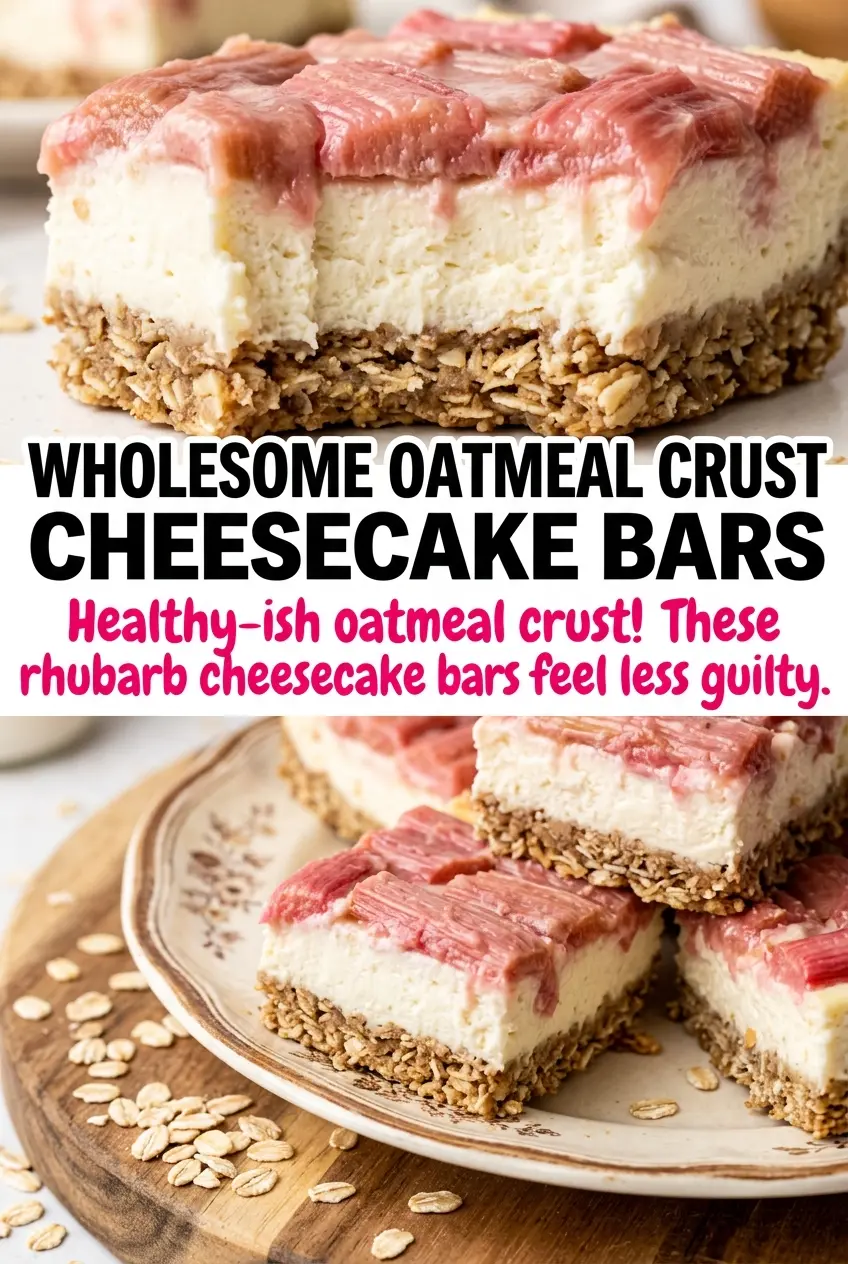
Rhubarb cheesecake bars hit that sweet-tart spot that keeps people reaching back for a second piece. The oat crust stays sturdy enough to lift cleanly from the pan, while the cheesecake layer bakes up creamy and smooth under a bright rhubarb swirl that cuts through the richness just enough. They look elegant on a plate, but they’re built like a practical bar cookie, which is exactly why they belong in a real dessert rotation.
The trick is treating each layer on its own terms. The crust gets a quick bake first so it stays nutty instead of turning soft under the filling, and the rhubarb is cooked down with cornstarch before it ever hits the cheesecake layer, so the swirl stays thick instead of bleeding pink juice through the bars. A long chill matters here too. Warm cheesecake bars always cut badly, and the filling needs those hours in the fridge to firm up enough for sharp edges and clean slices.
Below you’ll find the little details that matter most: how thick the rhubarb mixture should be before swirling, how to tell when the center is set, and what to change if you want these bars a little more tart or a little more dessert-table polished.
The rhubarb swirl stayed on top instead of sinking, and the bars cut into neat squares after chilling overnight. The oat crust had just enough chew to hold the creamy filling without getting soggy.
Like this rhubarb cheesecake bar recipe? Save it for the days when you want a creamy dessert with a crisp oat base and a bright pink swirl.
The Reason These Bars Set Cleanly Instead of Turning Soft
The biggest failure in cheesecake bars is cutting too soon or letting the fruit layer stay too loose. Rhubarb releases a lot of water as it cooks, and if that mixture goes onto the cheesecake thin and soupy, it seeps through the top instead of staying in distinct streaks. Cooking it with cornstarch first gives you a thicker swirl that stays visible after baking.
The other piece is the chilled set. These bars finish baking with a slight wobble in the center, not a firm jiggle-free top. That’s what you want. The oven finishes the structure, then the fridge locks it in. If you cut them warm, the filling smears and the crust crumbles before it has a chance to hold together.
What the Oats and Rhubarb Are Really Doing Here
- Old-fashioned oats — These bring chew and a toasted, nutty edge that all flour can’t give you. Quick oats turn softer and a little pasty, so stick with old-fashioned if you want the crust to read as a real oatmeal crust.
- Brown sugar — It deepens the crust and echoes the tang of the rhubarb without making the bars taste flat. Light brown sugar is fine; dark brown sugar adds a heavier molasses note that can distract from the filling.
- Cream cheese — Full-fat cream cheese gives the filling its dense, creamy body. Reduced-fat versions usually bake up thinner and can feel grainy, especially once chilled.
- Fresh rhubarb — Fresh is worth using here because it cooks into a bright, clean tartness. Frozen rhubarb can work, but cook off the extra liquid first or the swirl will be too loose.
- Cornstarch — This is what turns the rhubarb into a spoonable swirl instead of a runny compote. Mix it in and keep cooking until the mixture goes glossy and thick, with no raw starchy taste left behind.
Building the Layers Without Disturbing the Swirl
Pressing and Baking the Crust
Mix the flour, oats, brown sugar, and melted butter until everything looks evenly moistened and sandy. Press it into the lined pan firmly enough that it holds together when you tap it, then bake until the edges smell toasty and the surface looks set. If the crust is underbaked, it can turn soft under the filling. Let it cool for a few minutes while you work on the cheesecake so it doesn’t steam.
Making the Cheesecake Layer Smooth
Beat the cream cheese and sugar until no lumps remain before the eggs go in. Cold cream cheese is the usual problem here; it leaves little bits that never fully disappear once baked. Add the eggs one at a time, then the vanilla, and stop mixing as soon as the batter looks silky. Overbeating after the eggs go in can trap too much air and make the top puff and crack.
Cooking the Rhubarb to Swirlable Thickness
Simmer the rhubarb, sugar, and water until the pieces break down and the liquid looks glossy. Stir in the cornstarch mixture and keep cooking until the filling thickens enough to mound on a spoon for a second before sliding off. If it’s still watery, it will bleed through the cheesecake instead of sitting in bold streaks. Let it cool just enough to handle so it doesn’t warm the top layer too much.
Swirling and Baking to the Right Set
Drop spoonfuls of the rhubarb mixture over the cheesecake layer, then drag a knife through in gentle figure-eights. A few long swirls look better than aggressive stirring; too much movement blends the layers into pink cheesecake. Bake until the edges are set and the center still has a slight wobble when you nudge the pan. It will firm as it cools, then set fully in the fridge.
How to Adjust These Bars for Different Kitchens and Different Tastes
Gluten-Free Oat Crust
Swap the all-purpose flour for a 1:1 gluten-free baking blend and use certified gluten-free oats. The crust will still hold together, but it may bake up a touch more crumbly, so press it firmly into the pan before baking.
Extra-Tart Filling
Use a heaping 2 cups of rhubarb and reduce the sugar in the swirl by a couple of tablespoons. The bars will taste brighter and less dessert-sweet, which works well if your rhubarb is very fresh and crisp.
Dairy-Free Version
Use a plant-based cream cheese that’s meant for baking and keep the rest of the method the same. The texture won’t be quite as rich or tangy as classic cheesecake, but the bars still slice well after a full chill.
Storage and Reheating
- Refrigerator: Store covered for up to 5 days. The crust softens a little over time, but the flavor stays good.
- Freezer: These freeze well. Cut into bars, wrap individually, and freeze in a single layer before moving them to a container. Thaw in the fridge so the cheesecake doesn’t sweat.
- Reheating: Serve these chilled or at cool room temperature. Warming them changes the cheesecake texture and makes the swirl looser, so reheating isn’t the right move here.
Answers to the Questions Worth Asking
Rhubarb Cheesecake Bars with Oatmeal Crust
Ingredients
Equipment
Method
- Preheat oven to 350°F and line a 9x13-inch pan with parchment paper, leaving overhang for easy lifting. The oven should be fully preheated before baking the crust.
- Mix all-purpose flour, old-fashioned oats, brown sugar, and melted butter until the mixture looks evenly moistened and clumps when pressed. Press firmly into the lined pan to create an even layer.
- Bake the crust at 350°F for 15 minutes until lightly golden around the edges. You should see the top set and smell nutty as it bakes.
- Beat cream cheese and sugar until smooth and glossy, scraping the bowl as needed to remove lumps. Stop mixing only when no streaks remain.
- Add eggs one at a time, mixing just until each is incorporated, then mix in vanilla extract. The batter should look smooth and pourable with a uniform color.
- Pour the cheesecake mixture over the hot crust and spread gently to level the surface. Stop once the layer is even, without pressing down.
- Simmer diced fresh rhubarb, sugar, and water over medium heat until the rhubarb turns tender and releases juice, about 8-12 minutes. Look for softened pieces and a bubbling, syrupy texture.
- Stir cornstarch mixed with a little water into the rhubarb and cook until thick, 1-2 minutes. The swirl should coat a spoon and look glossy rather than watery.
- Drop spoonfuls of the rhubarb mixture over the cheesecake and swirl with a knife in gentle figure-eights. The swirls should remain visible as ribbons on top.
- Bake at 350°F for 35-40 minutes until the center is set with a slight jiggle. You should see the edges puff and the top look set, not wet.
- Cool the bars completely at room temperature, then refrigerate for 4 hours before cutting. Chilled bars slice cleanly and keep the swirl pattern intact.