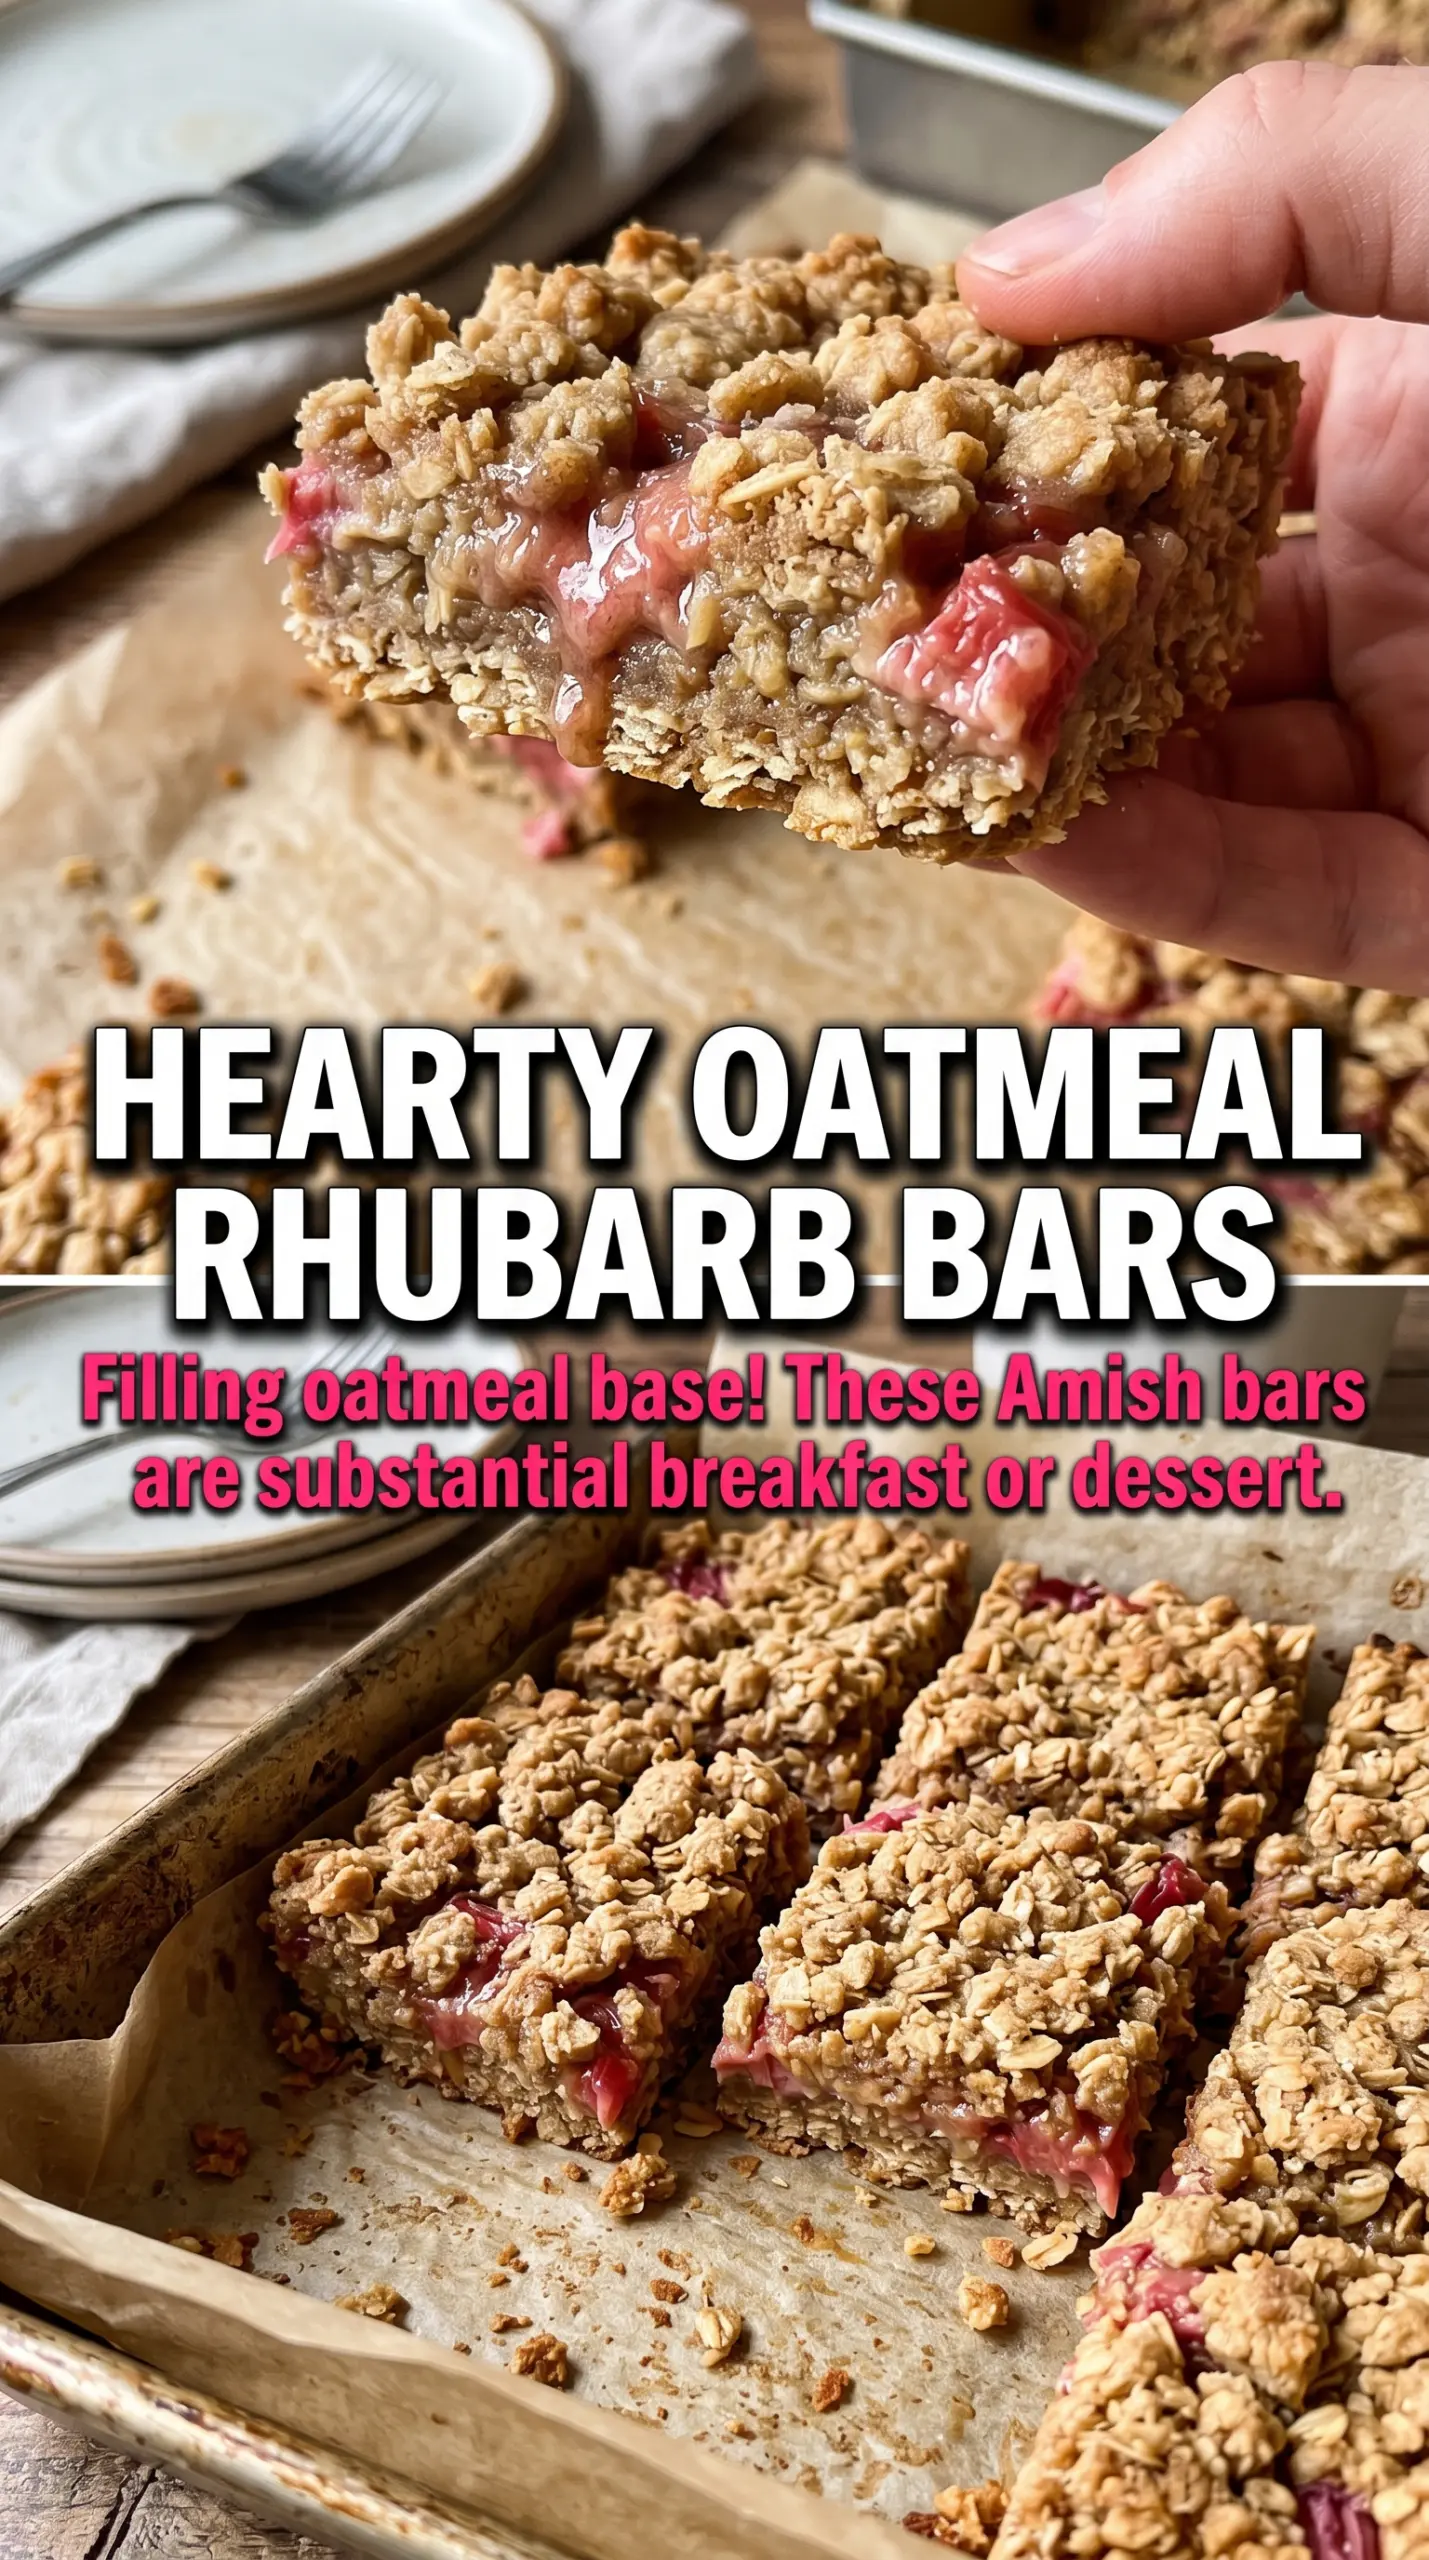
Thick, tangy rhubarb tucked between buttery oat layers is the kind of bar that disappears fast because every bite hits sweet, tart, and crumbly all at once. The crust bakes up sturdy enough to hold clean squares, but it still stays tender where the melted butter works through the oats and brown sugar.
What makes these bars worth keeping around is the filling. Rhubarb alone can bake up loose and sharp, but a quick stovetop cook with sugar, cornstarch, water, and vanilla gives it a glossy, sliceable texture that stays put after cooling. That step keeps the bars from turning watery in the pan, which is the main thing that separates a good rhubarb bar from a messy one.
Below, I’ll walk through the part that matters most: getting the filling thick enough before it goes into the oven, plus a few smart swaps and storage notes so the bars hold together when you cut them.
The rhubarb layer set up beautifully after cooling, and the oat topping stayed crisp around the edges instead of getting soggy. I followed the stovetop filling exactly and the bars sliced cleanly once they were fully chilled.
Save these Amish oatmeal rhubarb bars for the thick, jammy filling and golden crumble top that cut cleanly every time.
Why the Rhubarb Needs a Quick Stovetop Cook First
Rhubarb gives up a lot of juice as it bakes, and that moisture is what turns bars from neat squares into a slippery mess. Cooking the filling on the stove first lets the cornstarch thicken the juices before they ever hit the oven, so the middle sets into a soft, jammy layer instead of soaking into the crust.
This is the part people skip when they want to save time, and it’s the reason the bars don’t slice well later. The filling should look glossy and slightly thickened, with the rhubarb pieces softened but still holding shape. If it still looks thin in the saucepan, it’ll stay thin in the pan.
- Rhubarb — Fresh rhubarb has the best sharpness and color here. Frozen works in a pinch, but thaw it first and drain off excess liquid or the filling can turn loose.
- Cornstarch — This is what gives the filling its clean set. Flour won’t thicken the same way and can leave the filling cloudy and heavy.
- Brown sugar in the crust — It adds a deeper, caramel-like note that balances rhubarb’s tartness. Light or dark brown sugar both work; dark gives a little more molasses flavor.
- Old-fashioned oats — Use rolled oats, not quick oats, for a sturdier crumble with more texture. Quick oats make the topping tighter and softer.
What Each Layer Is Doing in the Pan
- Flour and oats — These give the bars structure and the rustic crumble that makes them feel like an old-school bakery treat. The mix needs enough butter to clump when pressed, but not so much that it turns greasy.
- Melted butter — Melted butter coats the dry ingredients quickly and evenly, which is what helps the top and bottom layers brown. Don’t use softened butter here; you want the mixture crumbly, not whipped.
- Sugar in the filling — Rhubarb needs a good amount of sugar to balance its sharp edge, and the filling won’t taste flat once cooled. The sugar also helps pull out juices so the cornstarch can thicken them properly.
- Vanilla — It doesn’t make the bars taste like vanilla; it rounds out the rhubarb and keeps the filling from tasting one-note. It’s a small amount, but it matters.
Building the Crust, Filling, and Crumble Without Losing the Set
Mix the Oat Crumble
Stir the flour, oats, brown sugar, baking soda, and salt together first so the dry ingredients are evenly distributed before the butter goes in. Once you add the melted butter, the mixture should look sandy and clumpy, not wet or pasty. If it looks greasy, it usually means the butter was too hot or the mixture was overworked. Stop as soon as everything is moistened and crumbly.
Cook the Rhubarb Filling Until It Thickens
Combine the filling ingredients in a saucepan and cook over medium heat, stirring often, until the mixture turns glossy and thick enough to coat a spoon, about 10 minutes. The rhubarb will soften and the liquid will go from cloudy to visibly thicker. If you rush this part and pull it while it still looks loose, the filling will spread when sliced. You want it thick in the pan before it ever meets the crust.
Assemble the Layers
Press half of the crumble firmly into the bottom of the pan so it becomes a real base, not just a loose layer of crumbs. Spread the warm filling evenly over it, all the way to the corners, then scatter the remaining crumble over the top. Don’t press the top layer down. Leaving it loose gives you that classic craggy finish after baking.
Bake Until the Top Turns Deep Gold
Bake the bars until the topping is golden brown and the filling is bubbling at the edges. Those bubbles tell you the cornstarch has finished working and the center has heated through. If the top browns before the filling looks set, keep baking a few more minutes and tent loosely with foil if needed. The bars should smell nutty and buttery, not just sweet, when they’re done.
Cool Completely Before Cutting
This is the last test of patience, and it matters. The filling finishes setting as the bars cool, so cutting too early gives you soft edges and a filling that smears. Let the pan cool all the way to room temperature before slicing into squares. For the cleanest cuts, chill the pan for a short time after cooling.
How to Adapt These Bars for Different Kitchens and Preferences
Make Them Gluten-Free
Swap the all-purpose flour for a good 1:1 gluten-free baking blend and use certified gluten-free oats. The bars still hold together well because the filling does most of the structural work, but the crumble may be a little more delicate when warm.
Use Frozen Rhubarb When Fresh Isn’t Available
Frozen rhubarb works, but thaw it first and drain off the excess liquid before cooking the filling. If you skip that step, the filling takes longer to thicken and can end up softer than you want.
Make the Bars a Little Less Sweet
If you like rhubarb to stay front and center, reduce the filling sugar by up to 1/4 cup. Go lower than that and the bars start to taste sharp instead of balanced, especially after cooling.
Storage and Reheating
- Refrigerator: Store in an airtight container for up to 5 days. The crust softens slightly after day one, but the bars still slice well.
- Freezer: These freeze nicely. Wrap individual bars and freeze for up to 3 months, then thaw in the fridge so the filling doesn’t get watery.
- Reheating: Most people don’t need to reheat these, but if you want a warm bar, use a low oven for a few minutes. The microwave softens the topping and makes the filling loosen up.
Questions I Get Asked About This Recipe

Amish Oatmeal Rhubarb Bars
Ingredients
Equipment
Method
- Preheat the oven to 350°F and grease a 9x13-inch baking pan to prevent sticking (aim for a thin, even coating).
- Combine all-purpose flour, old-fashioned oats, brown sugar, baking soda, and salt, then stir in melted butter until the mixture looks crumbly and holds together when pressed.
- Press half of the oat mixture into the bottom of the prepared pan, using steady pressure to form an even base with no big gaps.
- Combine fresh rhubarb, sugar, cornstarch, water, and vanilla extract in a saucepan, then cook over medium heat until thickened, about 10 minutes, stirring as it turns glossy and spoon-coating.
- Spread the thickened rhubarb filling over the crust in an even layer so the bars bake uniformly.
- Sprinkle the remaining oat mixture over the rhubarb filling to create a crumble top, covering most of the surface.
- Bake at 350°F for 35-40 minutes until golden brown, with bubbling around the edges and a set-looking center.
- Cool completely before cutting into bars so the filling fully sets into thick layers for clean slices.