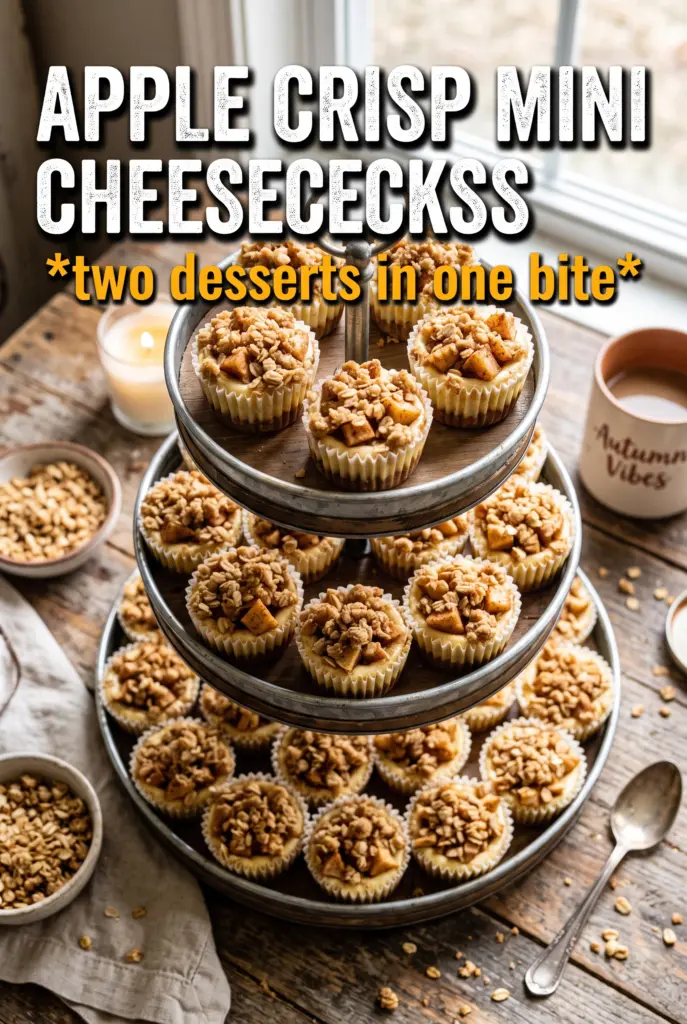
Apple crisp mini cheesecakes hit the sweet spot between creamy dessert and cozy bakery treat. The crust stays crisp enough to hold its shape, the cheesecake layer bakes up smooth and tangy, and the cinnamon apples plus oat crumble give every bite a little contrast. In a muffin tin, they feel special without turning fussy, and that makes them the kind of dessert people ask for again.
What keeps this version working is the balance of textures and the order of the layers. The crust gets a quick pre-bake so it doesn’t go soggy under the filling, the apples are cooked just enough to soften and concentrate their juices, and the oat topping is chilled before baking so it bakes into clumps instead of melting into the surface. That combination gives you clear layers instead of one muddy topping.
Below you’ll find the small details that matter most: how to keep the cheesecake filling smooth, when the centers are done even if they still wobble a little, and the easiest way to make these ahead for a party or holiday tray.
The oat topping stayed crisp after chilling overnight, and the cheesecake layer came out perfectly smooth. I loved that the apple filling didn’t soak into the crust.
Save these apple crisp mini cheesecakes for the dessert table when you want creamy centers, cinnamon apples, and a crunchy oat topping in one bite.
The Trick to Keeping the Layers Distinct in Mini Cheesecakes
The biggest mistake with mini cheesecakes is rushing the components together before each one has enough structure. If the crust isn’t baked first, it softens. If the apples go on hot, they sink into the batter. If the oat topping isn’t chilled, it melts into a paste instead of baking into crumbs. The layers only stay separate when each part gets a little head start on its own.
These mini cheesecakes also bake more evenly than a full pan because the filling is divided into small portions. That means the centers set faster, but it also means overbaking happens fast. Pull them when the edges look set and the centers still have a slight wobble. They’ll finish setting as they cool, and the chill time is what gives you that clean cheesecake slice.
What Each Ingredient Is Doing in the Final Bite
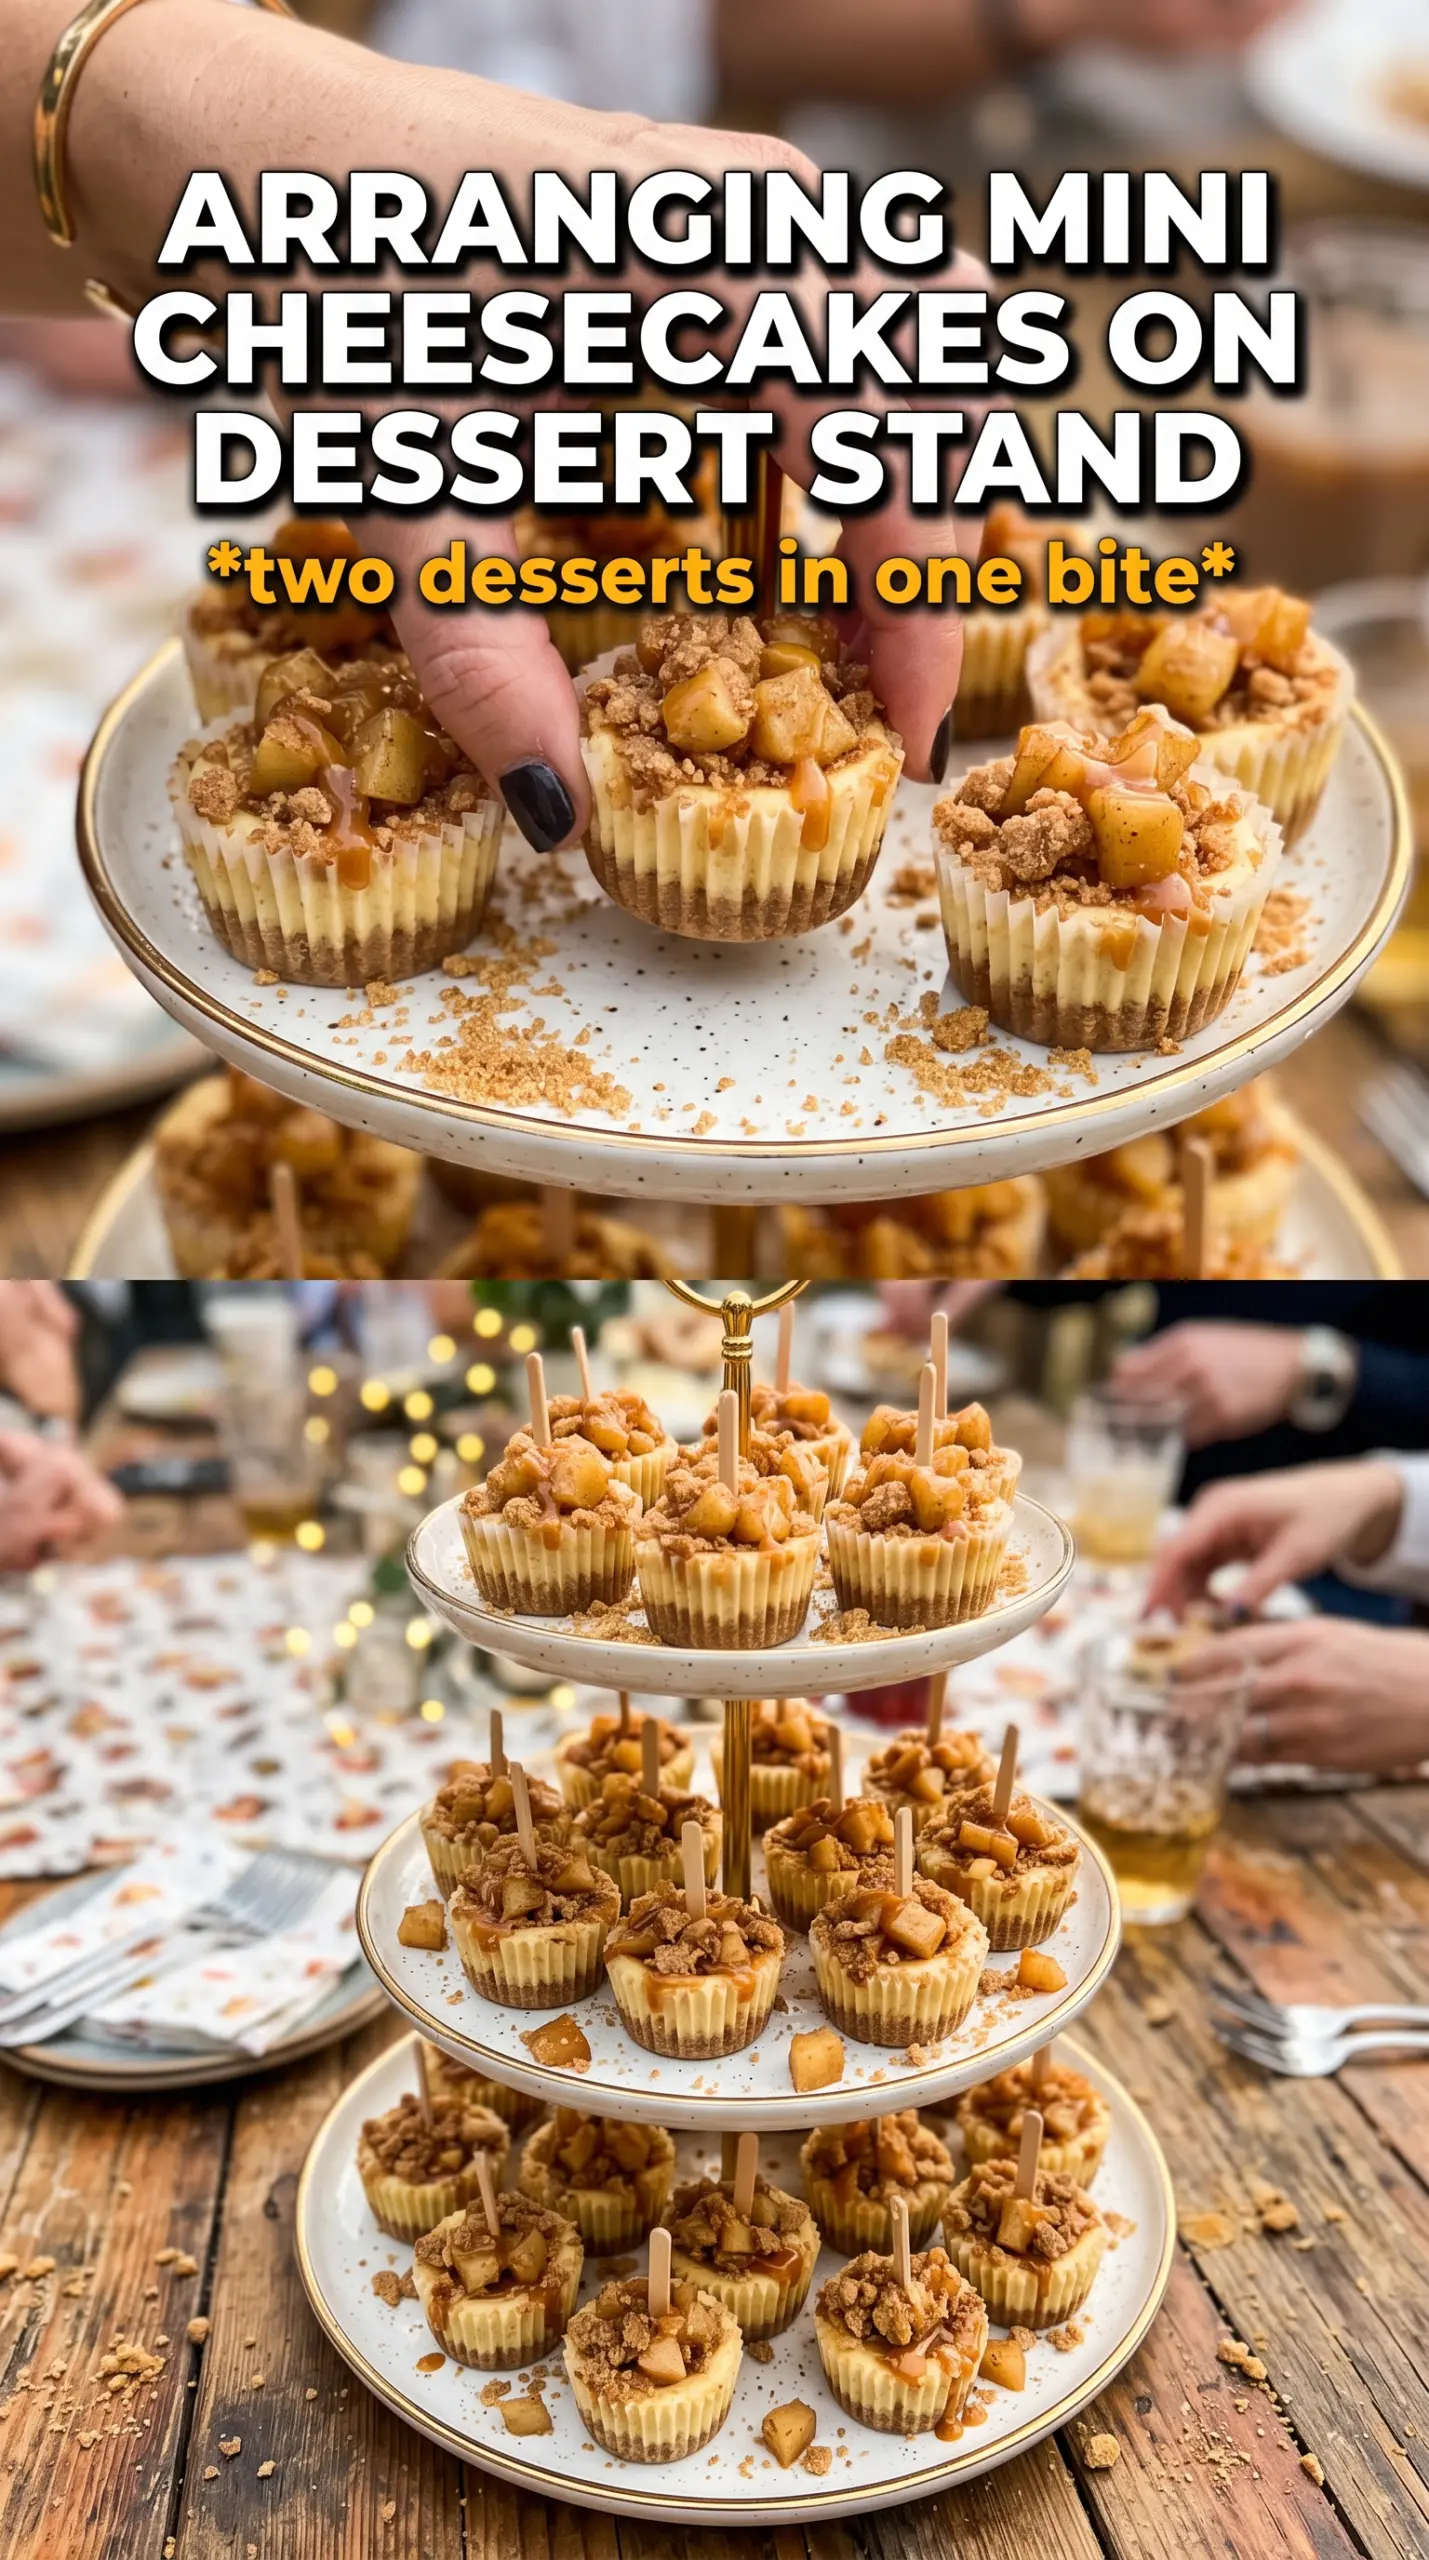
- Graham crumbs — They give you that familiar cheesecake base with enough sweetness to support the apple topping. Fine crumbs pack best, so pulse them or crush them well instead of leaving big chunks.
- Cream cheese — This is the backbone of the filling, and full-fat blocks matter here. Tub-style cream cheese can turn loose and grainy, especially in a small bake like this.
- Sour cream — It loosens the batter just enough for a silky texture and adds a little tang so the dessert doesn’t taste flat. If you need a swap, plain full-fat Greek yogurt works, but the finish is a touch less rich.
- Apples — Use a firm baking apple that holds its shape after a short cook. Softer apples turn mushy and disappear into the cheesecake layer.
- Oats and cold butter — These create the crisp topping. Cold butter is the difference between a sandy layer and little golden crumbles, so keep it cold right up until you mix it in.
Building Each Cup So the Crust, Filling, and Topping Bake Together
Pressing and Pre-Baking the Crust
Mix the graham crumbs, melted butter, and sugar until the texture looks like damp sand, then press it firmly into lined muffin cups. You want a compact layer, not a loose sprinkle, because that base has to hold up under the cheesecake and apple topping. Bake it for just 5 minutes until it smells toasted and looks set around the edges. If the crust is still pale and soft when the filling goes in, it will turn crumbly instead of crisp.
Cooking the Apples and Chilling the Crumble
Cook the diced apples with brown sugar, cinnamon, and butter until they soften slightly and the pan smells like cooked apple pie, about 5 minutes. The goal isn’t mush; you want the pieces tender enough to spoon cleanly but still shaped. At the same time, mix the oat crisp topping with cold butter and refrigerate it while you build the rest. Chilling keeps the topping from disappearing into the cheesecake layer in the oven.
Mixing the Filling Without Adding Too Much Air
Beat the cream cheese and sugar until the mixture is smooth before adding the eggs, sour cream, vanilla, and cinnamon. If the cream cheese is cold, you’ll chase lumps all the way through the batter, so let it soften first. Mix until just combined once the eggs go in; whipping hard adds extra air, which can make the centers puff, crack, and sink after baking.
Baking Until Just Set
Spoon the cheesecake batter into the crusts, top with the apples, then scatter the oat crumble over each one. Bake until the edges are set and the centers still have a small, soft wobble when you move the pan. That wobble is what you want. If they look fully firm in the oven, they’ve gone too far and they’ll bake up dry once chilled.
Make Them Gluten-Free Without Losing the Crunch
Swap the graham crumbs for certified gluten-free graham crumbs or finely crushed gluten-free cookies, and replace the flour in the oat topping with a 1:1 gluten-free flour blend. The texture stays close to the original, though the topping may brown a little faster, so watch it in the last few minutes of baking.
Use a Different Apple for a Sweeter or Tangier Finish
A sweet apple like Gala gives you a softer, dessert-forward filling, while Granny Smith keeps the flavor brighter and the texture a little firmer. If your apples run very juicy, cook them an extra minute so the topping doesn’t slide off the cheesecake layer.
Dairy-Free Version That Still Sets Properly
Use a dairy-free cream cheese block, plant-based butter, and a thick dairy-free sour cream or yogurt substitute. The texture will be a little softer than the original, so chill the finished cheesecakes a full 3 hours or longer before serving.
Storage and Reheating
- Refrigerator: Store covered for up to 4 days. The oat topping softens slightly, but the flavor stays excellent.
- Freezer: Freeze without the topping if possible, then add the crisp layer after thawing for the best texture. Wrapped well, they keep for up to 1 month.
- Reheating: These are best served chilled, not reheated. If you freeze them, thaw in the refrigerator overnight so the cheesecake texture stays smooth and doesn’t weep.
Answers to the Questions Worth Asking
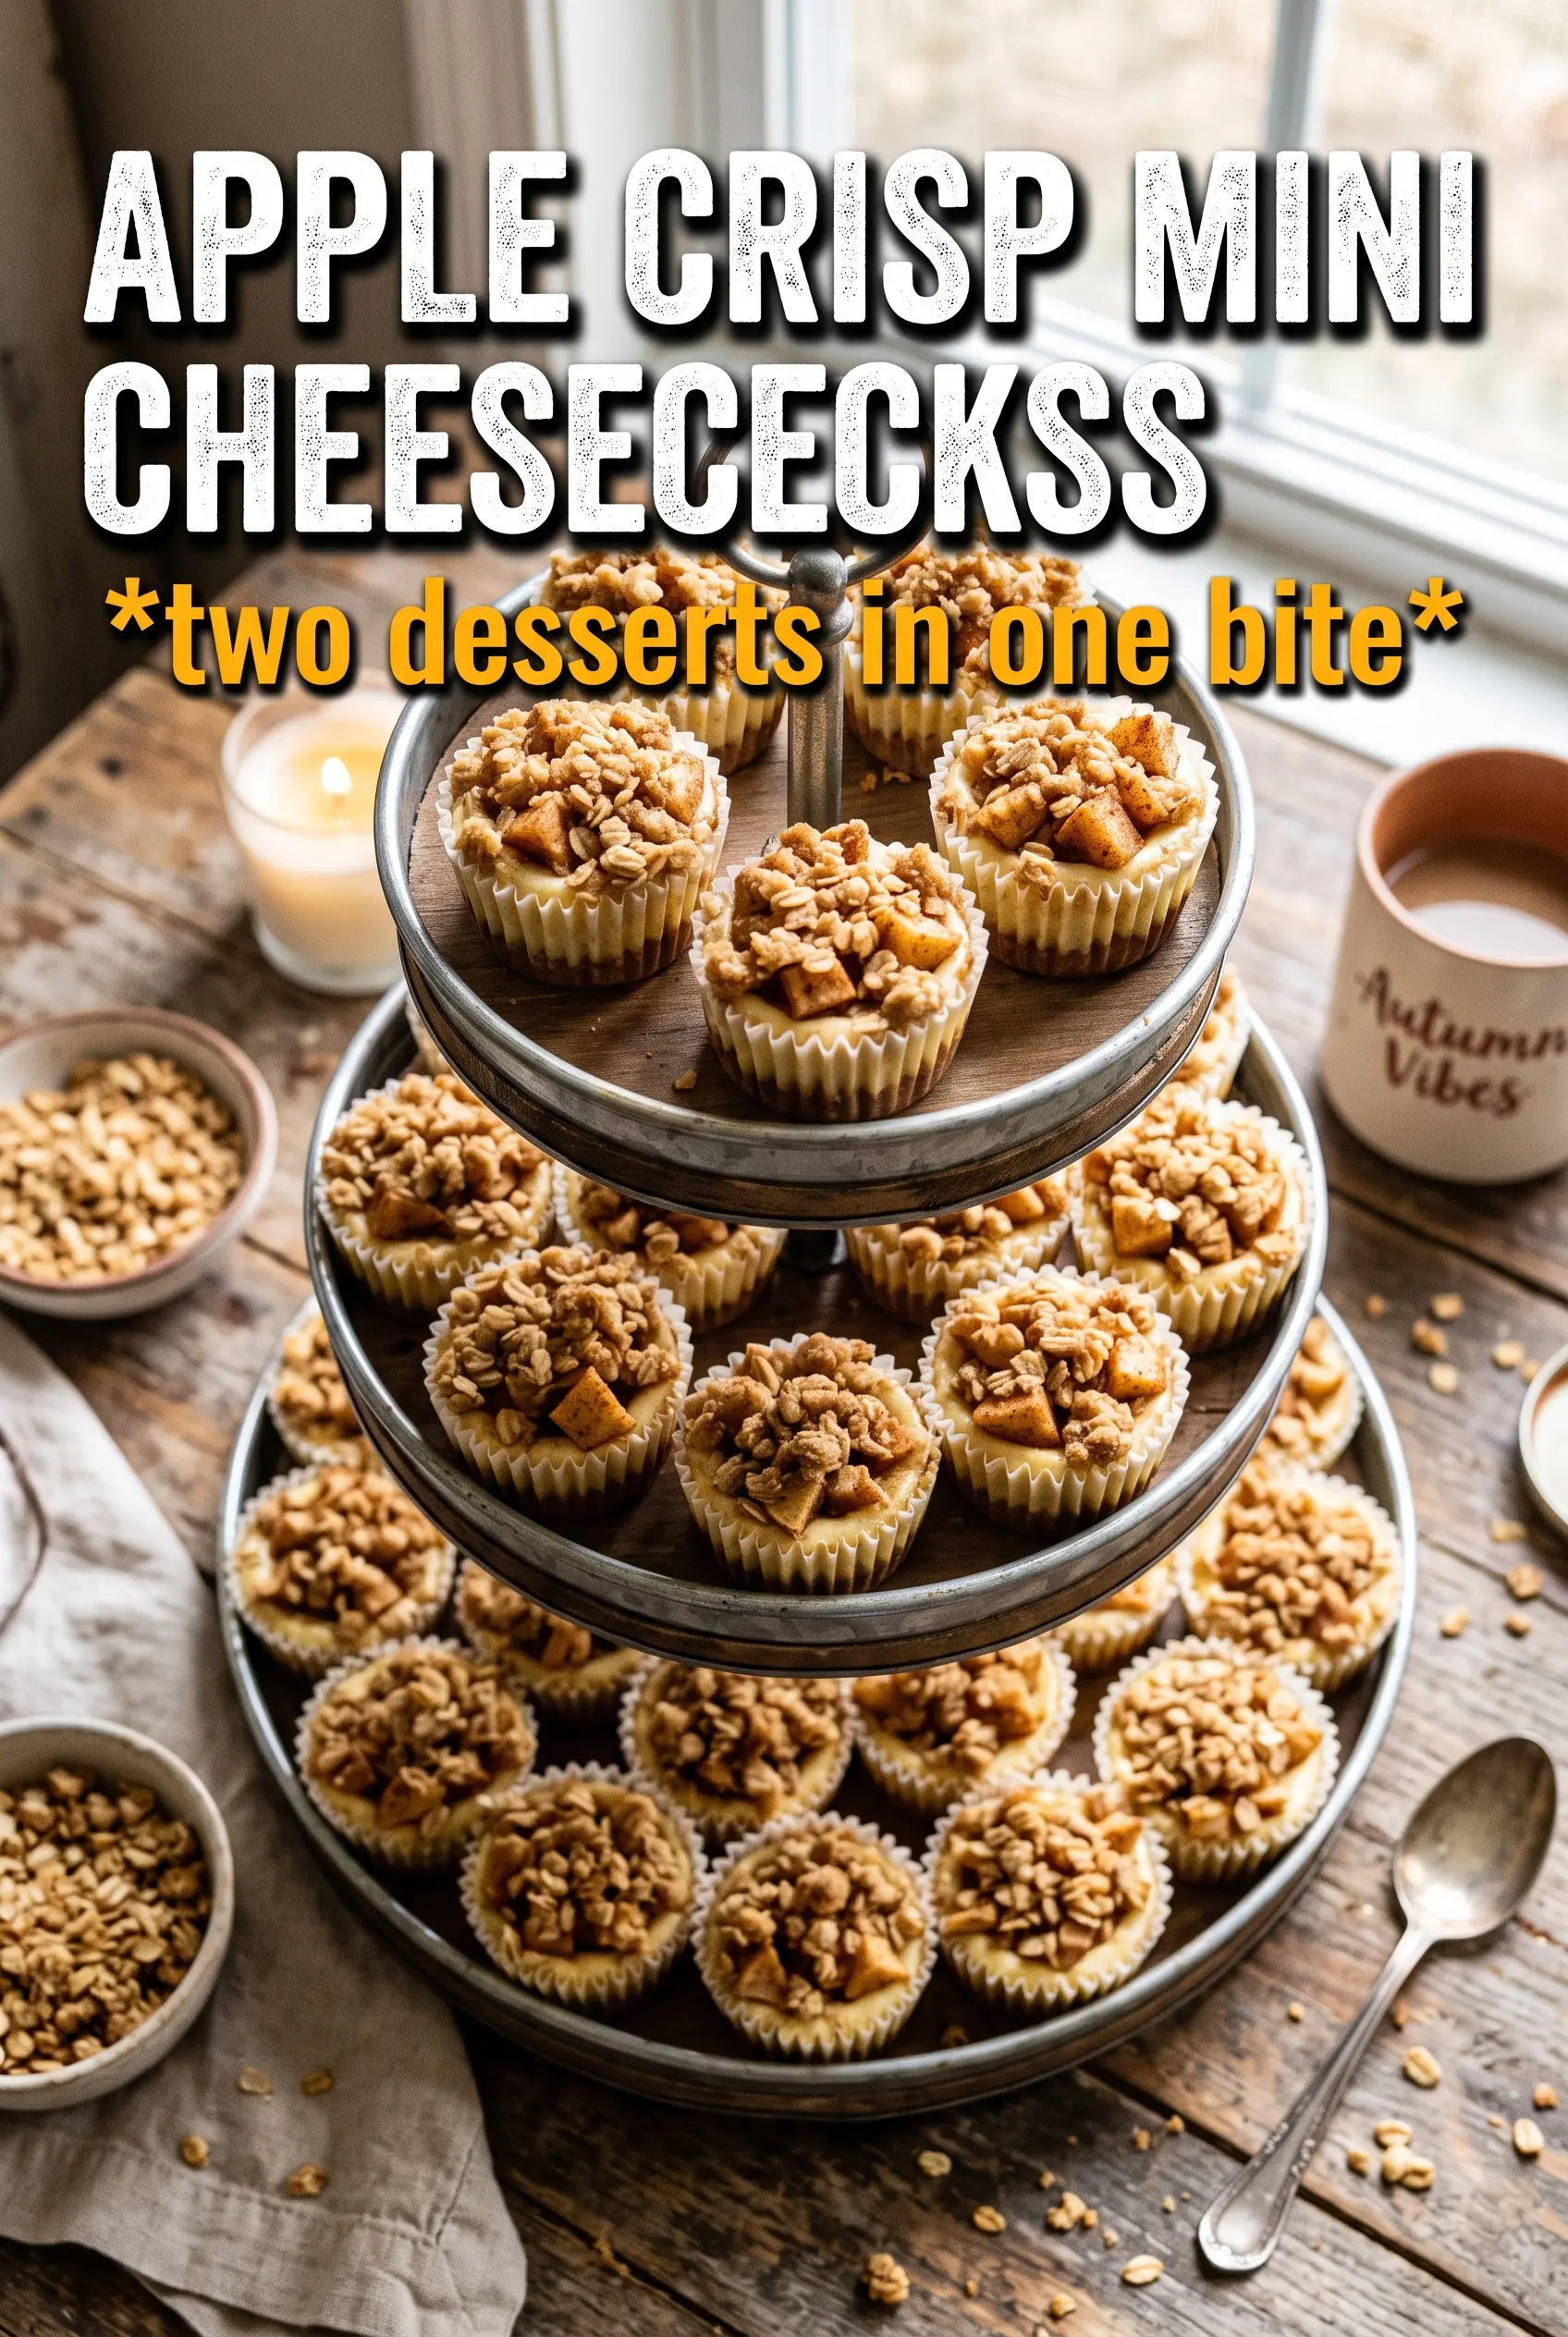
Apple Crisp Mini Cheesecakes
Ingredients
Equipment
Method
- Preheat the oven to 325F, then line a 12-cup muffin tin with paper liners.
- Press graham crust mixture into the bottom of each liner.
- Bake for 5 minutes to set the crust.
- Cook the diced apples with brown sugar, cinnamon, and butter for 5 minutes until softened, then cool.
- Make the oat crisp by mixing oats, flour, brown sugar, cinnamon, and cold butter, then refrigerate.
- Beat the cream cheese filling ingredients until smooth, then divide the filling among the muffin cups.
- Top each cheesecake with the cooled apple filling.
- Scatter the chilled oat crisp over the top of each cheesecake.
- Bake for 20-22 minutes at 325F until the centers are just set.
- Refrigerate for 3 hours until fully chilled before serving.