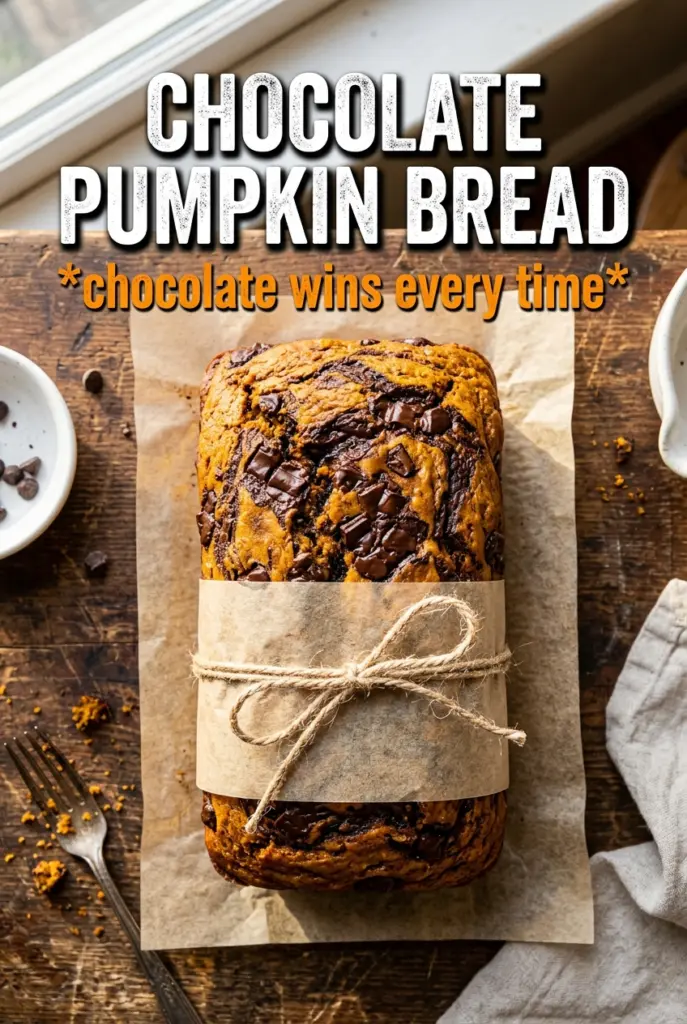
Chocolate pumpkin bread lands in that sweet spot between quick loaf and dessert-worthy snack: deeply cocoa-rich, warmly spiced, and moist enough to stay tender for days. The pumpkin doesn’t make it taste like pie filling. It gives the loaf a soft, plush crumb and keeps the chocolate flavor from turning flat or dry. With chocolate chips folded through and more scattered on top, every slice comes out speckled and rich.
The trick here is balance. Cocoa powder needs enough fat and moisture to bloom properly, which is why the pumpkin puree, oil, and eggs all matter. The batter should look thick but spreadable, not pour-thin. That’s what gives you a loaf that slices cleanly instead of collapsing in the middle. I also like the glaze because it sets up with a little shine and turns an everyday loaf into something that looks bakery-finished without any extra fuss.
Below, I’ve included the details that matter most: how to keep the crumb from turning dense, why the chocolate gets divided between the batter and the top, and the easiest way to know when the loaf is baked through without overbaking it.
The loaf stayed incredibly moist and the chocolate chips made every slice feel rich without being too sweet. I baked it right at 65 minutes and the center came out perfect.
Love the rich chocolate crumb and glossy glaze on this chocolate pumpkin bread? Save it to Pinterest for the days when you want a slice that feels like breakfast and dessert in one.
The Moisture Balance That Keeps This Loaf from Turning Dry
Chocolate quick breads can go wrong in two directions: dry and crumbly, or heavy and gummy. This one stays in the sweet spot because the pumpkin puree does more than add flavor. It brings moisture, body, and enough thickness to support the cocoa without making the loaf taste muddy.
The other thing that matters is the fat. Vegetable oil keeps the crumb soft after the loaf cools, while eggs give the structure needed for a clean slice. If you swap in melted butter, you’ll get a richer flavor but a slightly firmer crumb. That’s fine if you like a more cake-like loaf, but oil gives the best texture here.
What Each Ingredient Is Actually Doing in This Bread
- Pumpkin puree — This is the backbone of the loaf. Use canned puree, not pumpkin pie filling, because pie filling already contains sugar and spice and throws the balance off. If your puree looks watery, stir it well before measuring so the loaf doesn’t bake up dense in one spot.
- Cocoa powder — Cocoa gives the bread its deep chocolate flavor and dark color. Natural cocoa works well here because the recipe already includes both baking soda and baking powder. If you use Dutch-process cocoa, the loaf will be darker and a little smoother-tasting.
- Vegetable oil — Oil keeps this bread tender even after a day or two. Butter can be used in a pinch, but the crumb won’t stay quite as soft. This is one place where the neutral flavor of oil helps the chocolate and pumpkin stand out.
- Chocolate chips — Use dark chocolate chips if you can. They cut through the sweetness and keep the loaf from tasting like plain pumpkin bread with cocoa in it. Dividing them between the batter and the top means you get chips throughout the slice and that glossy, finished look on top.
- Pumpkin pie spice and cinnamon — These shouldn’t overpower the chocolate. They’re there to give the loaf warmth and make the pumpkin taste rounded instead of flat. If you’re using a very strong pumpkin pie spice blend, keep the cinnamon on the lighter side.
How to Mix the Batter So It Bakes Up Tender, Not Tough
Start with the dry ingredients
Whisk the flour, cocoa, baking soda, baking powder, spices, and salt until the cocoa has no streaks left. Cocoa loves to clump, and those little pockets show up as bitter dry spots in the finished loaf. A quick whisk now saves you from overmixing later.
Build the wet base until it looks smooth
Stir the pumpkin puree, both sugars, oil, eggs, and vanilla until the mixture looks glossy and even. It should be thick, dark, and a little silky. If you still see ribbons of egg, keep whisking before the flour goes in, because once the dry ingredients are added, you want to stop as soon as the batter comes together.
Fold, don’t beat, once the flour goes in
Add the dry ingredients in one or two additions and fold just until no dry streaks remain. The batter will be heavy, and that’s normal. Overmixing here is the fastest way to make the loaf tough, especially once the chocolate chips are added. Fold in one cup of the chips, then scrape the batter into the pan and scatter the rest on top so they stay visible after baking.
Watch the center, not the clock alone
Bake until the top is set and a toothpick comes out with a few moist crumbs, not wet batter. The middle can look done before it actually is, so test the deepest part of the loaf. If the top is browning too fast before the center finishes, lay a loose piece of foil over it for the last 10 to 15 minutes.
How to Adapt This Loaf for Different Kitchens and Different Moods
Dairy-Free and Still Rich
The loaf is already dairy-free as written if you skip the glaze or use dairy-free chocolate and plant-based cream. The bread itself doesn’t rely on butter, which is why the crumb stays soft. This is one of the easiest ways to serve a chocolate loaf to a mixed crowd without changing the texture much at all.
A Less Sweet Version
Cut the granulated sugar to 1/2 cup if you want the chocolate and pumpkin to taste a little deeper and less dessert-like. The loaf will still bake up tender because the pumpkin and oil do the moisture work. I wouldn’t reduce the brown sugar too much, though, because that’s part of the soft, plush texture.
Muffin Pan Version
Divide the batter into a lined muffin tin and bake until the centers spring back and a tester comes out clean, usually much faster than the loaf. You’ll get a slightly lighter crumb and more chocolate in every bite because the chips are distributed in smaller portions. This works well when you want grab-and-go breakfast portions.
Storage and Reheating
- Refrigerator: Store slices covered for up to 5 days. The crumb actually gets a little denser after day one, which makes it nice for toasting.
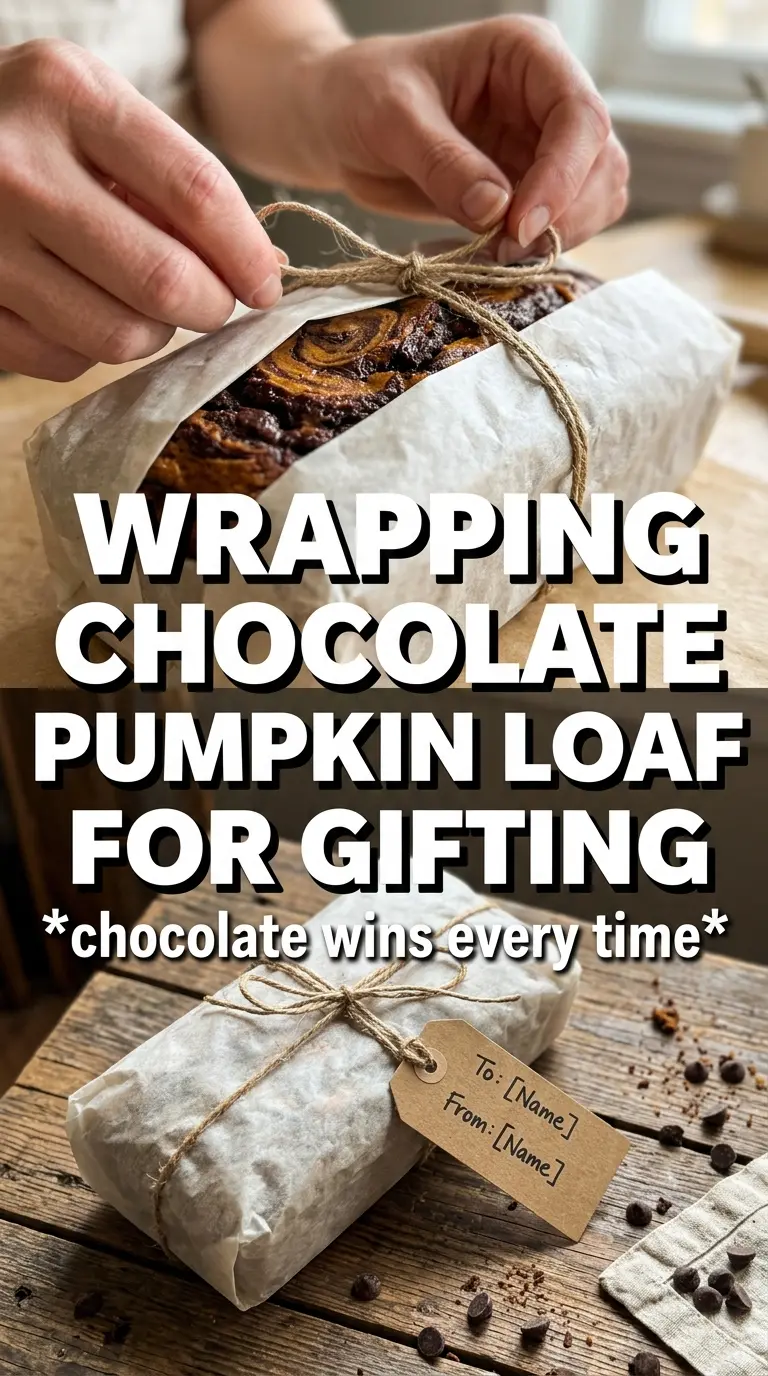
- Freezer: Freeze the loaf or individual slices tightly wrapped for up to 2 months. Thaw at room temperature while still wrapped so the bread doesn’t dry out on the outside before the center is thawed.
- Reheating: Warm slices in a toaster oven or microwave just until the chocolate softens. Don’t overheat it or the crumb turns dry and the chips get oily instead of melty.
Answers to the Questions Worth Asking
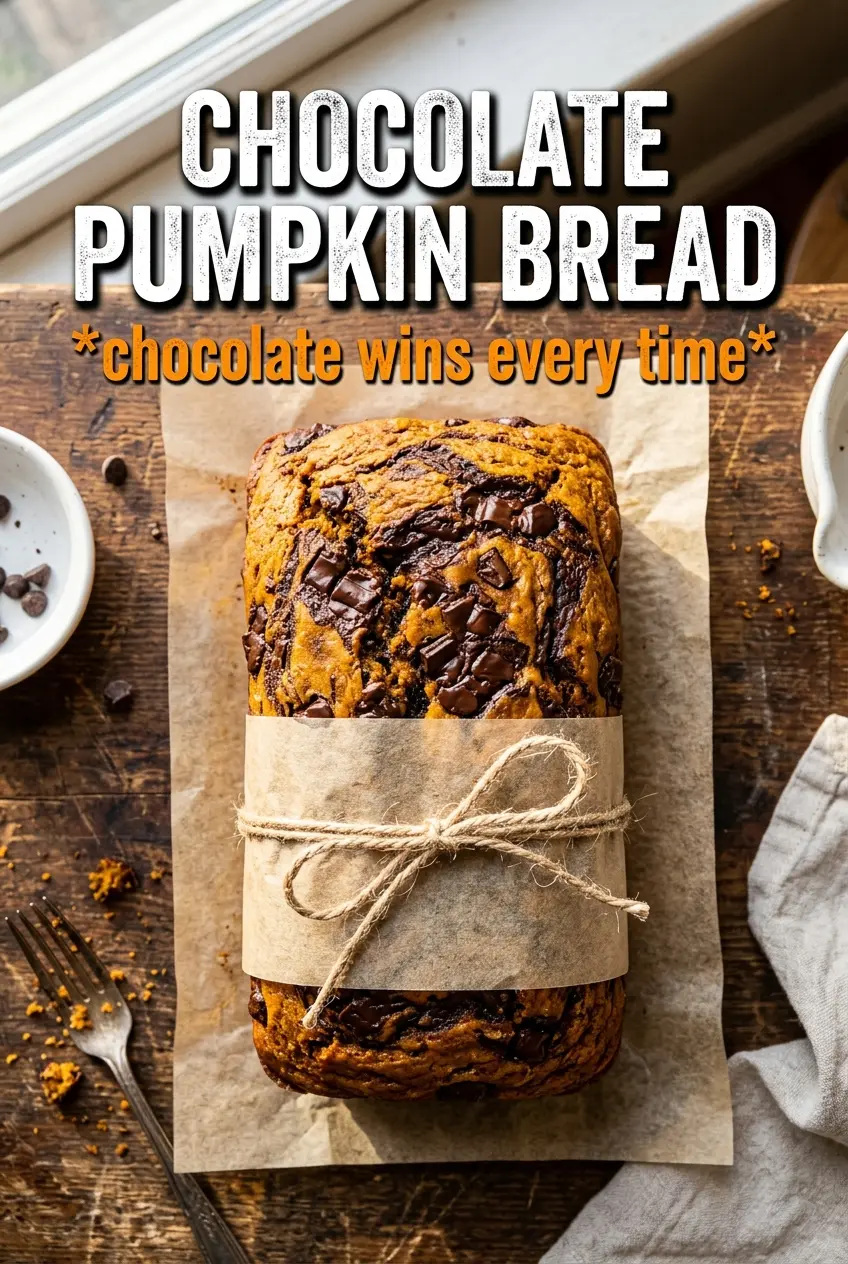
Chocolate Pumpkin Bread
Ingredients
Equipment
Method
- Preheat the oven to 350F and grease a 9x5 loaf pan.
- Whisk all-purpose flour, cocoa powder, baking soda, baking powder, pumpkin pie spice, cinnamon, and salt until evenly combined.
- Whisk pumpkin puree, granulated sugar, brown sugar, vegetable oil, eggs, and vanilla extract until smooth.
- Fold the flour mixture into the pumpkin mixture until just combined, then fold in 1 cup of dark chocolate chips.
- Pour the batter into the prepared pan and scatter the remaining chips on top.
- Bake for 60-65 minutes at 350F, until a toothpick comes out clean.
- Cool the loaf for 15 minutes.
- Melt chocolate chips with butter and cream, then drizzle the chocolate glaze over the top while the loaf is warm.