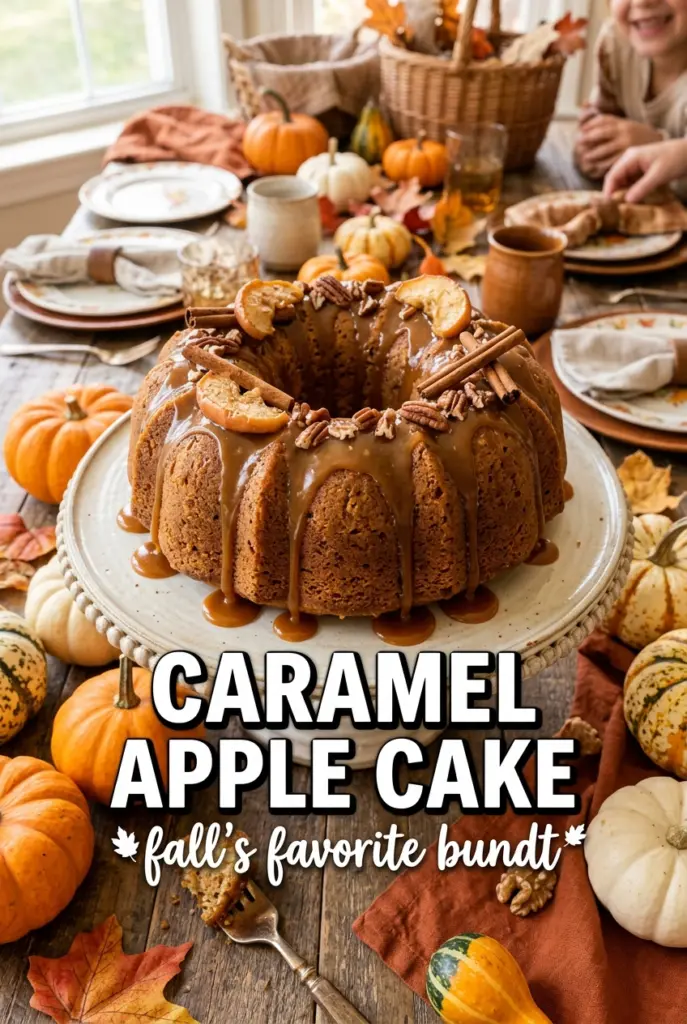
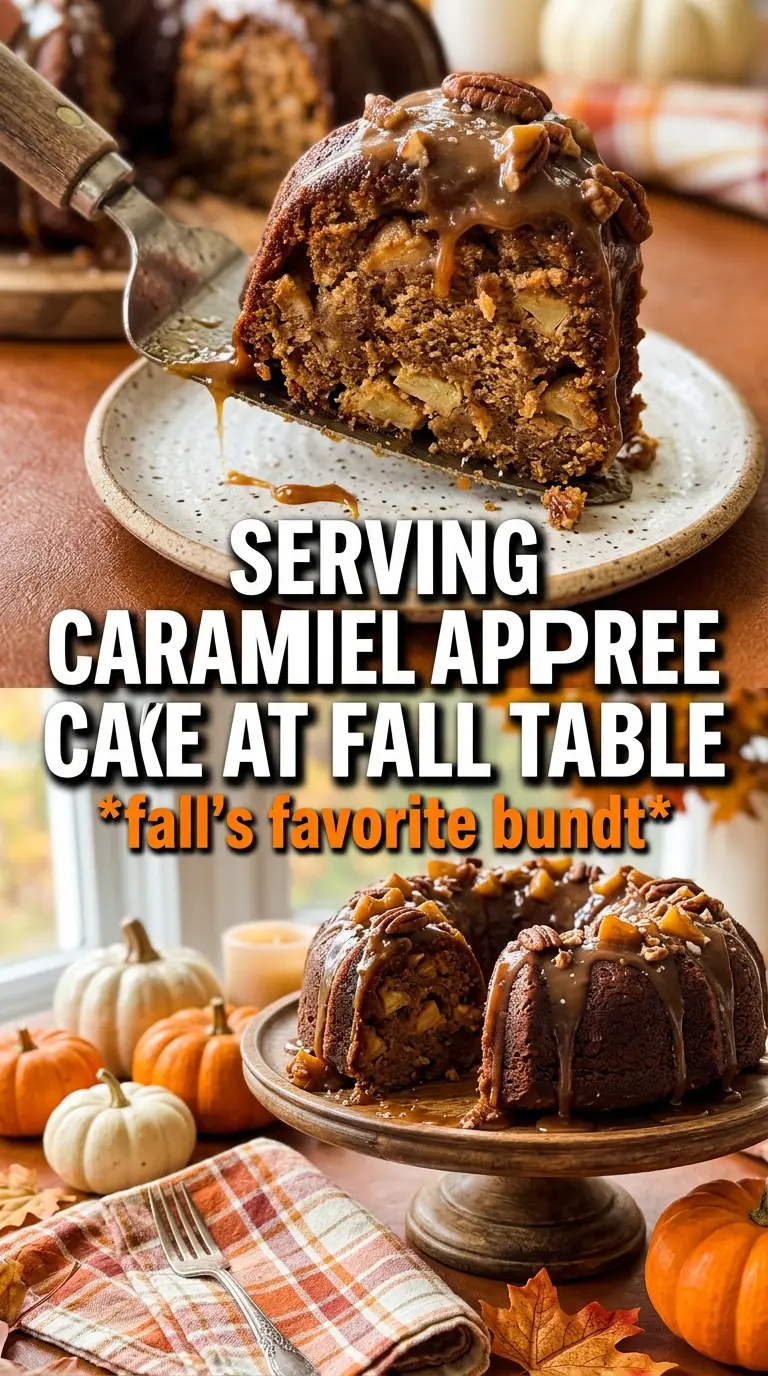
Caramel apple cake lands with the kind of soft, spiced crumb that stays tender for days, then gets wrapped in a tangy caramel cream cheese frosting that keeps each bite from turning heavy. The diced apples melt just enough in the oven to leave little juicy pockets behind, and the caramel drizzle on top gives the whole cake that bakery-style finish without making it fussy.
The key here is balancing moisture and structure. Sour cream keeps the crumb plush, brown sugar deepens the flavor, and the apples are diced small so they soften into the batter instead of sinking. You’ll also get a better slice if you let the layers cool completely before frosting; warm cake will loosen the cream cheese frosting and slide around on the plate.
Below, I’ve included the exact places where this cake can go wrong, plus the swaps that still keep the texture right. If you’ve ever had a caramel apple dessert taste flat or dry, this version fixes both problems.
The cake stayed incredibly moist for two days, and the caramel frosting was just thick enough to spread without sliding off the layers. I loved how the apple pieces softened but still held their shape.
Save this caramel apple cake for the days when you want a soft, spiced layer cake with creamy caramel frosting and a glossy drizzle on top.
The Trick to Keeping the Apples Suspended Instead of Sinking
Apples can disappear into cake batter fast if the batter is too loose or the fruit pieces are too large. Here, the sour cream gives the batter enough body to hold the diced apples in place, and the flour coating on the apples is built into the batter itself instead of relying on a separate toss. That keeps the fruit distributed through the layers instead of collecting at the bottom of the pan.
The other piece that matters is size. Finely diced apples soften evenly and release enough moisture to taste fresh without breaking the cake apart. If you leave them in big chunks, the cake can bake unevenly around those pockets and the slices won’t hold together as cleanly.
- Brown sugar — This does more than sweeten. It brings that deeper caramel note into the cake itself, so the frosting isn’t doing all the work. Packed brown sugar is the right choice here; light or dark both work, but dark brown sugar pushes the cake a little richer.
- Sour cream — This is what keeps the crumb tender without making it greasy. Plain full-fat Greek yogurt can work in a pinch, but sour cream gives a softer, more stable texture and a milder tang.
- Finely diced apples — Use a firm baking apple if you can. Honeycrisp, Granny Smith, or Pink Lady all hold up well. Softer apples turn mushy and disappear before the cake finishes baking.
- Caramel sauce — The frosting only needs a quarter cup, but the quality shows. Thick caramel sauce gives the frosting a cleaner flavor and better body. Thin ice cream topping can make the frosting slack.
What Each Ingredient Is Actually Doing in This Recipe
- Primary ingredient (the star) — Quality matters most. Choose the best you can find.
- Cooking medium (oil, butter, or broth) — This carries flavors and prevents dryness.
- Seasonings (salt, pepper, spices, herbs) — Layer flavors so nothing overpowers. Build depth gradually.
- Aromatics (garlic, onion, herbs) — Cook with fat to bloom flavors. Become the foundation.
- Supporting ingredients — Complement the main ingredient without overpowering it.
- Sauce or liquid (if applicable) — Brings flavors together. Balance richness with acid.
- Acid (lemon, vinegar, wine, or other) — Brightens and prevents flat-tasting results.
- Final finish (garnish, glaze, or sauce) — Prevents one-dimensional taste and adds visual appeal.
Building the Layers Without Overmixing the Crumb
Whisk the dry ingredients first
Mix the flour, baking powder, baking soda, cinnamon, nutmeg, and salt until the color looks even. That keeps the spice from clumping in one part of the batter and helps the leavening distribute properly. If you skip this, you can end up with one bite that tastes heavy and another that tastes overly spiced.
Cream the butter and brown sugar until it looks fluffy
Beat the butter and brown sugar long enough for the mixture to lighten in color and look almost whipped. That step builds air into the cake, which matters because the apples add weight. If it still looks dense and grainy, keep beating; under-creamed butter gives you a tighter crumb.
Add the flour and sour cream in turns
Alternate the dry ingredients with the sour cream, starting and ending with flour. That keeps the batter smooth and stops the gluten from tightening up too fast. Mix only until the last streak of flour disappears; once the batter looks cohesive, stop and fold in the diced apples by hand.
Bake until the center springs back
Divide the batter evenly between two greased 9-inch pans and bake until a toothpick comes out clean and the tops spring back when touched lightly. The edges should pull just slightly from the pan. If the top browns before the middle is done, tent loosely with foil for the last part of baking.
Cool completely before frosting
This is the part people rush and pay for later. Warm cake will melt the frosting and make the layers slide, especially with cream cheese in the mix. Let the pans sit until they’re fully cool, then beat the frosting until smooth before spreading it between the layers and over the top.
How to Adapt This Cake Without Losing the Texture
Gluten-free version with a 1:1 baking blend
Use a cup-for-cup gluten-free flour blend in place of the all-purpose flour. The cake will still be soft, but it may need an extra minute or two in the oven because gluten-free batters often hold moisture a little differently. Stick with a blend that includes xanthan gum so the layers slice cleanly.
Dairy-free swap that still tastes rich
Use plant-based butter, dairy-free cream cheese, and a thick dairy-free caramel sauce. The cake layer will work best with unsweetened coconut yogurt or a thick plain non-dairy yogurt in place of sour cream. The frosting won’t be quite as tangy, but it will still hold its shape if the dairy-free cream cheese is firm.
Make it a three-layer celebration cake
Bake the batter in three 8-inch pans instead of two 9-inch pans and reduce the bake time a little. The layers will be thinner and easier to stack, and you’ll get more frosting in every slice. Watch the centers closely, since smaller layers finish faster and dry out sooner if they go too long.
Storage and Reheating
- Refrigerator: Store covered for up to 4 days. The frosting firms up in the fridge, but the cake stays moist.
- Freezer: Freeze unfrosted layers tightly wrapped for up to 2 months, or freeze frosted slices on a tray before wrapping. The caramel drizzle is best added after thawing.
- Reheating: Let refrigerated slices sit at room temperature for 20 to 30 minutes before serving. Cold cream cheese frosting tastes dull and the cake feels heavier than it should.
Questions I Get Asked About This Recipe
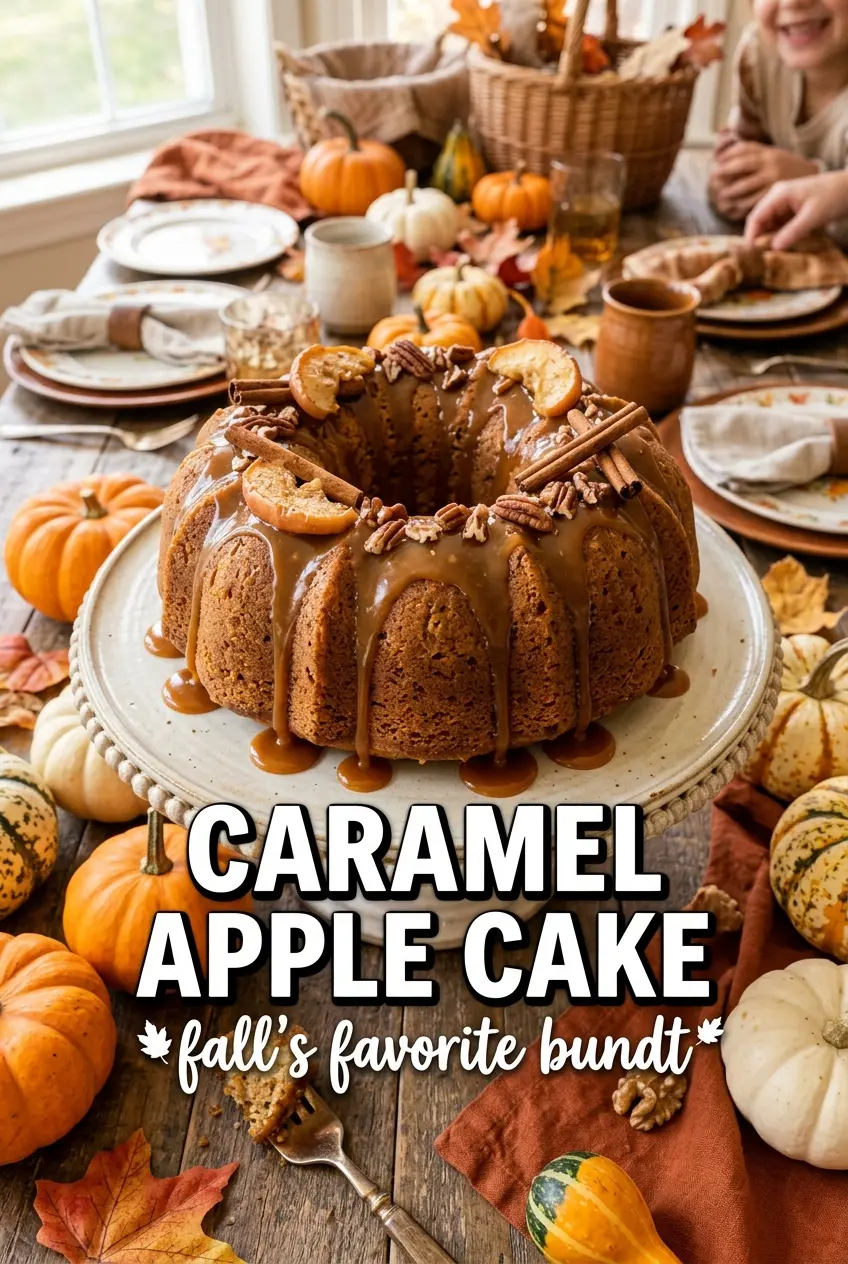
Caramel Apple Cake
Ingredients
Equipment
Method
- Preheat the oven to 350°F and grease two 9-inch round pans so the batter releases easily after baking.
- Whisk together all-purpose flour, baking powder, baking soda, cinnamon, nutmeg, and salt to evenly distribute the spices and leaveners.
- Beat the softened butter and brown sugar until very fluffy, then add eggs and vanilla and beat until smooth.
- Alternate adding the flour mixture and sour cream, folding just until combined so the cake stays tender.
- Fold in the finely diced apples and stop mixing when no dry flour remains.
- Divide the batter between the two pans and bake for 50–55 minutes, until a toothpick comes out clean.
- Cool the cakes completely before frosting so the caramel cream cheese frosting won’t melt or slide.
- Beat the cream cheese and butter until smooth, then add caramel sauce and vanilla and mix until uniform.
- Beat in the powdered sugar until the frosting turns thick, smooth, and spreadable.
- Frost between the cake layers and cover the top with frosting for a thick, even coat.
- Drizzle extra caramel over the top so each slice shows a glossy caramel finish.