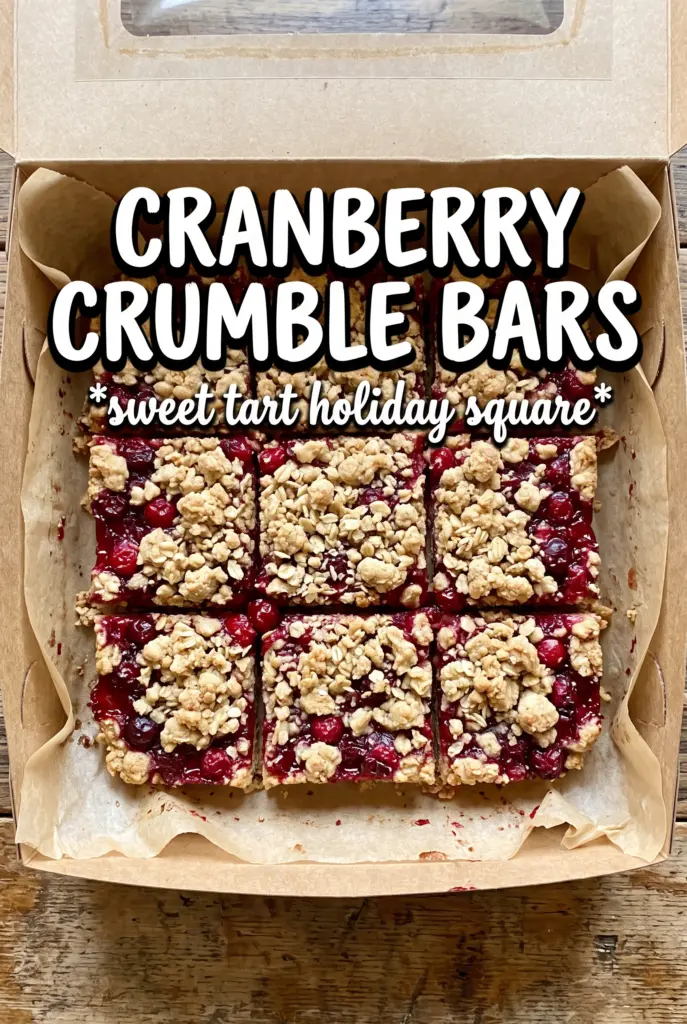
Golden, buttery crumble on top, a jammy cranberry center in the middle, and just enough orange zest to keep every bite bright — these cranberry crumble bars are the kind of dessert that disappears fast once the pan hits the counter. The base bakes up sturdy enough to hold the filling, but the topping stays tender and sandy instead of turning into a hard crust, which is what makes these bars worth keeping in rotation.
The trick is in two places: cutting the butter in cold so the oat mixture stays crumbly, and cooking the cranberry filling long enough for the cornstarch to thicken before it goes into the oven. That keeps the bars from weeping or turning soggy after they cool. Fresh or frozen cranberries both work here, so you can bake them without waiting for a trip to the store.
Below, I’ve included the part that matters most if your fruit bars usually fall apart or come out too loose in the center. There’s also a few practical swaps for when you want to lean more tart, more citrusy, or make them gluten-free.
The filling thickened up beautifully and stayed put when I sliced the bars after chilling. The orange zest makes them taste fresh instead of just sweet, and the crumble stayed crisp on top.
Save these cranberry crumble bars for the days when you want a tart cranberry filling, a buttery oat crumble, and a dessert that slices cleanly every time.
The Reason These Bars Hold Together Instead of Turning Gooey
The filling needs to cook on the stove first, not just in the oven. Cranberries release a lot of juice as they burst, and cornstarch only thickens properly once it has been heated long enough to lose that raw, chalky taste. If you spread undercooked filling over the base, the bars can seep and soften before they ever get a chance to set.
The other thing that matters is pressure. The bottom layer should be packed firmly enough to act like a crust, but not mashed into a paste. That first bake gives the bars structure, so the top can brown without the center slumping when you slice it.
What Each Ingredient Is Actually Doing in These Bars
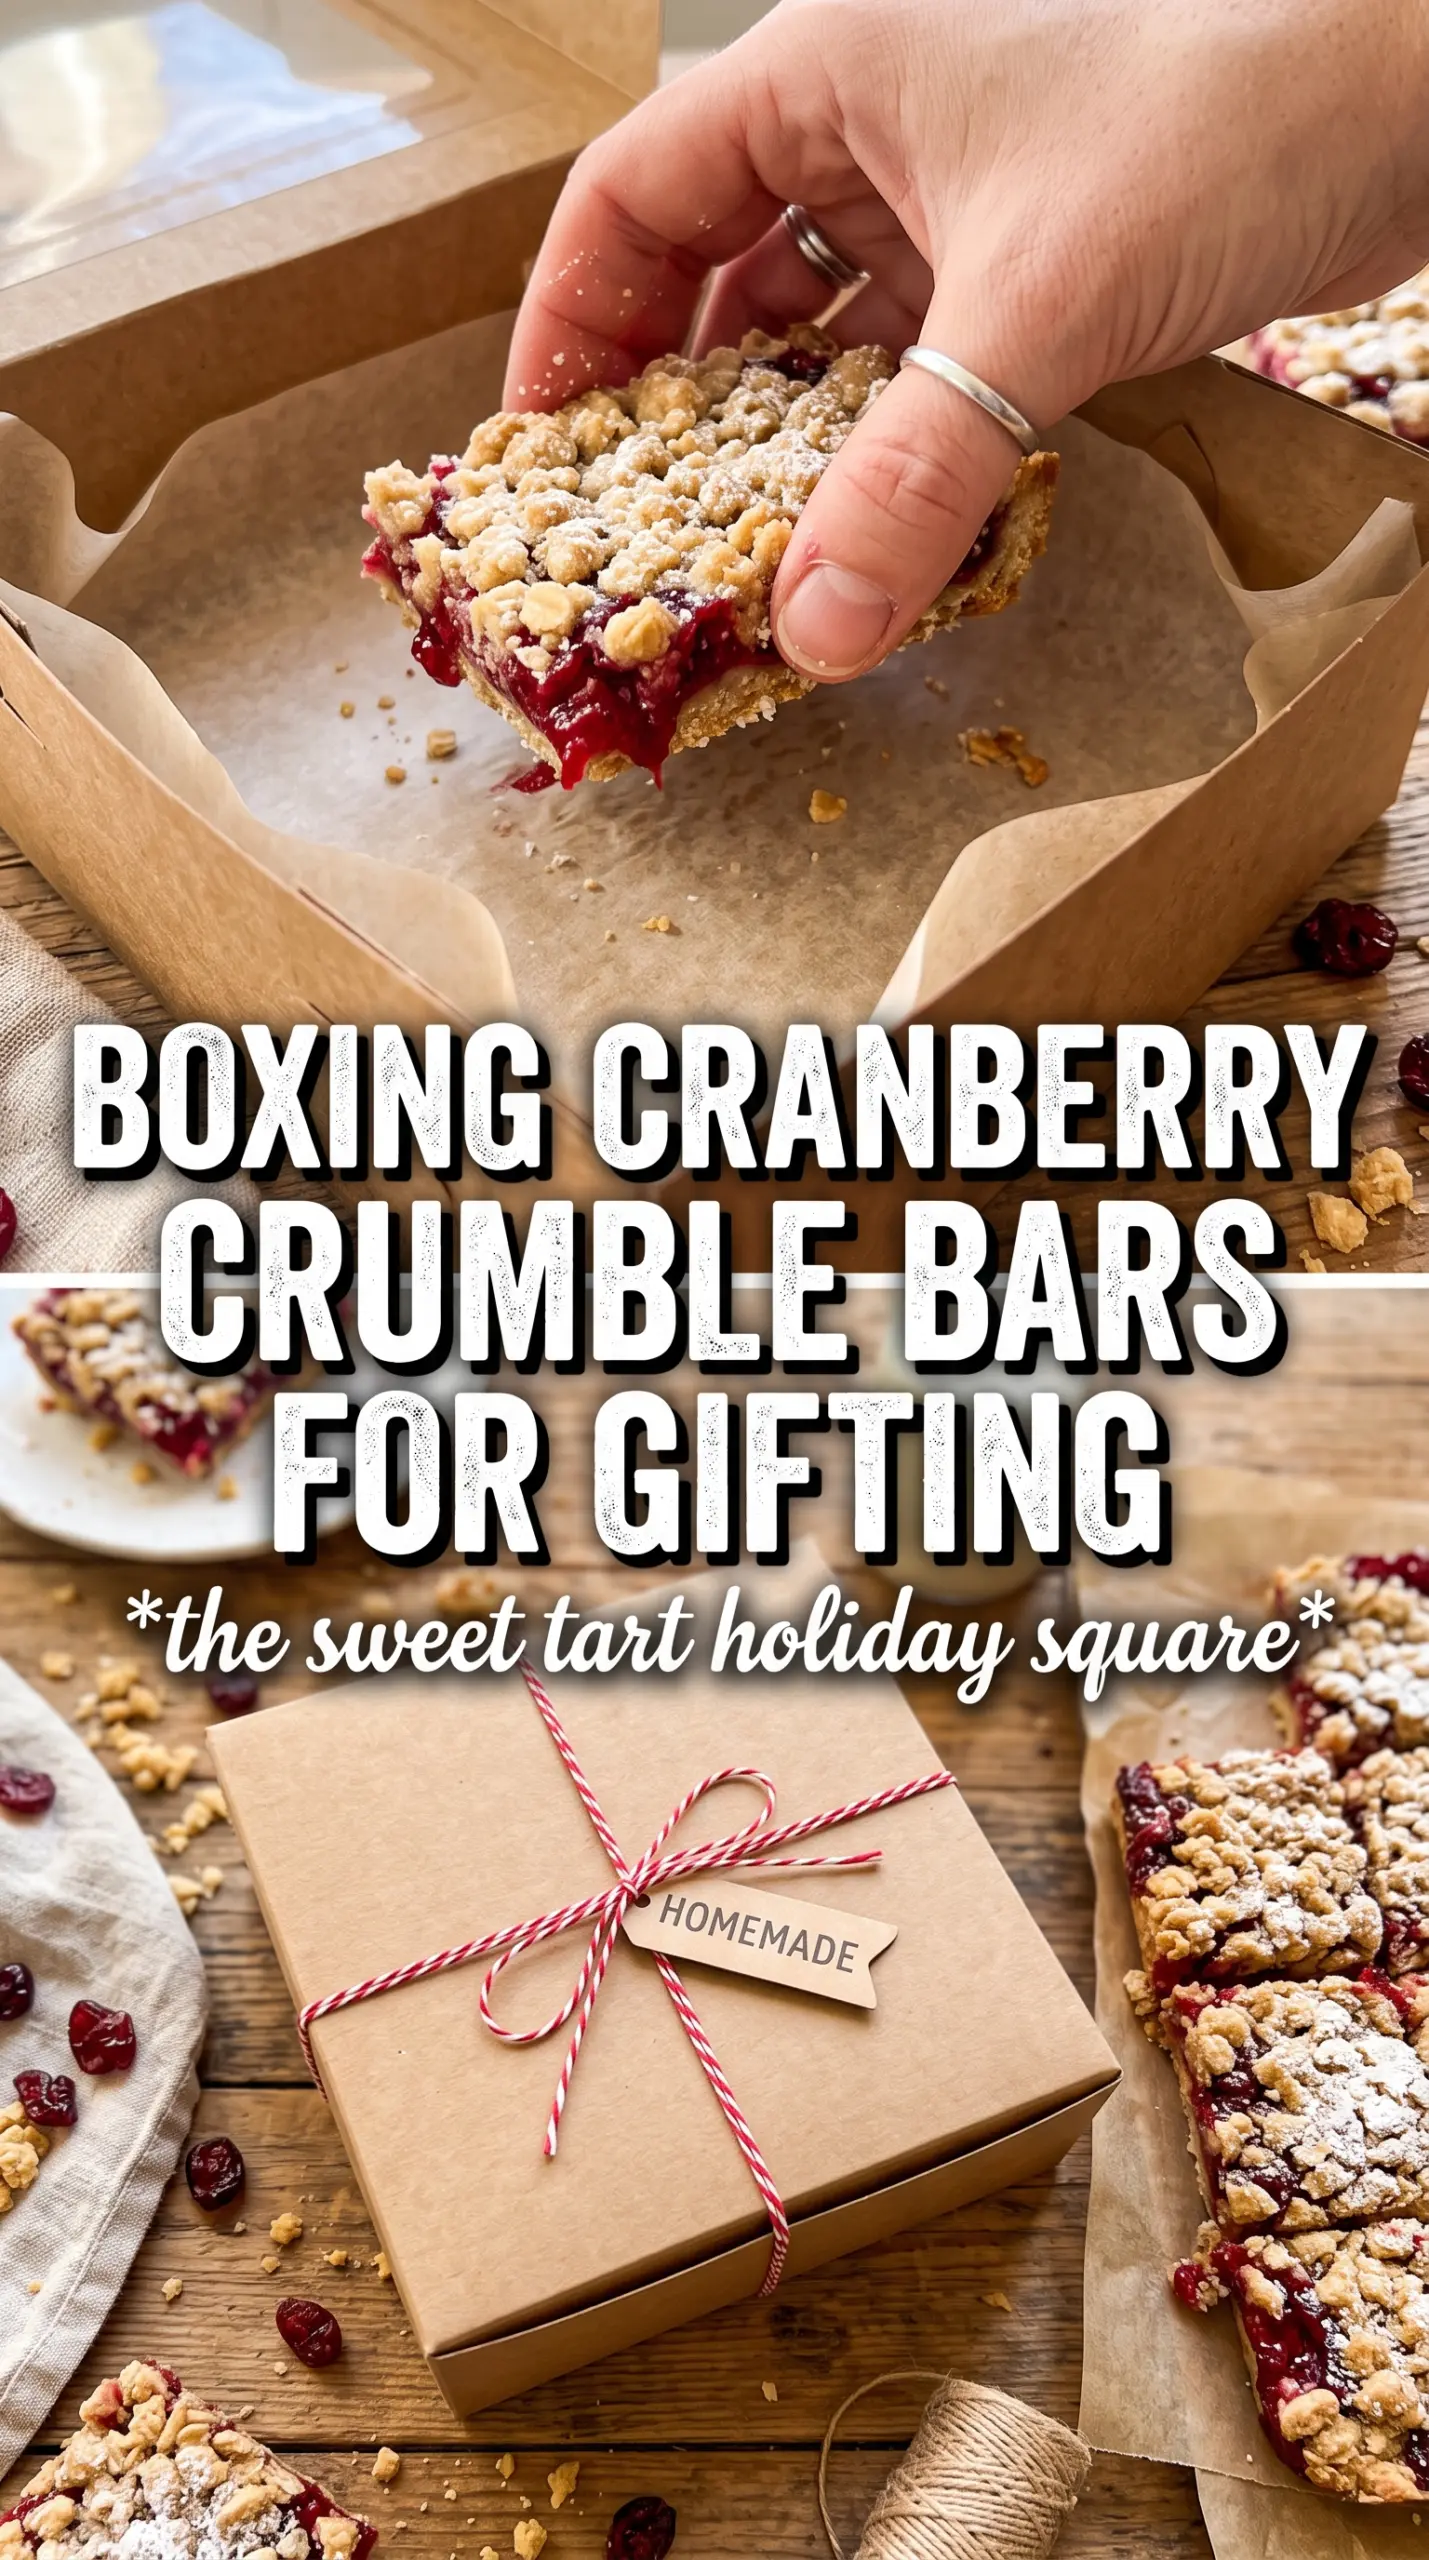
- Rolled oats — They give the crumble its toothsome texture and keep the bars from eating like plain shortbread. Quick oats will work in a pinch, but the texture gets finer and less nubby.
- All-purpose flour — This is the glue in the crumble. A 1:1 gluten-free baking blend can stand in here if it includes xanthan gum, but the bars will be a touch more delicate when sliced.
- Cold unsalted butter — Cold butter is nonnegotiable. It has to stay in little pieces so the topping bakes into crumbs instead of melting into one dense layer.
- Cranberries — Fresh or frozen both work. Frozen berries don’t need to be thawed; just cook a minute or two longer until they burst and the filling thickens.
- Orange zest and juice — The zest carries the bright citrus aroma, while the juice rounds out the tart cranberries. Lemon can replace the juice if that’s what you have, but the bars will taste sharper and less round.
- Cornstarch — This is what gives the filling its clean slice. Flour won’t thicken the same way here, so don’t swap it unless you want a looser, cloudier filling.
Building the Crumble and Cranberry Filling in the Right Order
Mix the Dry Base First
Stir the oats, flour, brown sugar, cinnamon, and salt together before the butter goes in. That keeps the spice and sugar evenly distributed, which matters because the top and bottom layers come from the same mixture. When the butter gets added, work it in until the mixture looks like coarse sand with a few pea-sized clumps.
Press, Par-Bake, Then Stop
Pack about two-thirds of the crumble into the pan and press it down firmly with your hands or the bottom of a measuring cup. You want an even layer with no loose patches, but don’t crush it so hard that it turns dense. After 10 minutes in the oven, the edges should look set and just starting to color; that’s the signal to move on.
Cook the Cranberries Until They Turn Glossy
Combine the cranberries, sugar, orange juice, zest, cornstarch, and cinnamon over medium heat and stir often as the berries burst. At first it will look thin and watery, then suddenly thick and glossy once the cornstarch activates. If it still looks loose after 8 to 10 minutes, keep cooking for another minute or two; the filling should mound slightly on the spoon, not run like syrup.
Finish with a Loose Crumble Top
Spread the hot filling over the baked base, then scatter the remaining crumble over the top without pressing it down. That loose topping bakes into golden clusters instead of sealing the filling underneath. Cool the pan all the way before dusting with powdered sugar and cutting, or the bars will smear instead of slicing cleanly.
Three Ways to Adjust These Bars Without Losing the Texture
Gluten-Free Crumble Bars
Swap the all-purpose flour for a good 1:1 gluten-free baking blend. The bars will still hold together, but they may be a little more fragile when warm, so let them cool completely before lifting them from the pan.
More Citrus, Less Tart
Add an extra half tablespoon of orange zest if you want the cranberry filling to taste brighter and less sharp. That gives you more aroma without thinning the filling, which is better than adding more juice and risking a looser center.
Make Them Ahead for Clean Slices
Bake the bars a day ahead, chill them, then slice just before serving if you want the neatest edges. The filling firms up overnight, and the crumble stays intact instead of crumbling apart under the knife.
Dairy-Free Version
Use a firm plant-based butter block instead of regular butter. Choose one that behaves like baking butter, not a soft spread, or the crumble will get greasy and lose the sandy texture that makes these bars work.
Storage and Reheating
- Refrigerator: Store in an airtight container for up to 5 days. The bars firm up in the fridge, which makes them easier to slice and stack.
- Freezer: Freeze tightly wrapped bars for up to 2 months. Thaw in the fridge so the topping doesn’t get soggy from condensation.
- Reheating: Serve cold or let them sit at room temperature for 20 to 30 minutes. If you warm them, do it briefly in a low oven; the microwave softens the crumble too much.
Questions I Get Asked About This Recipe
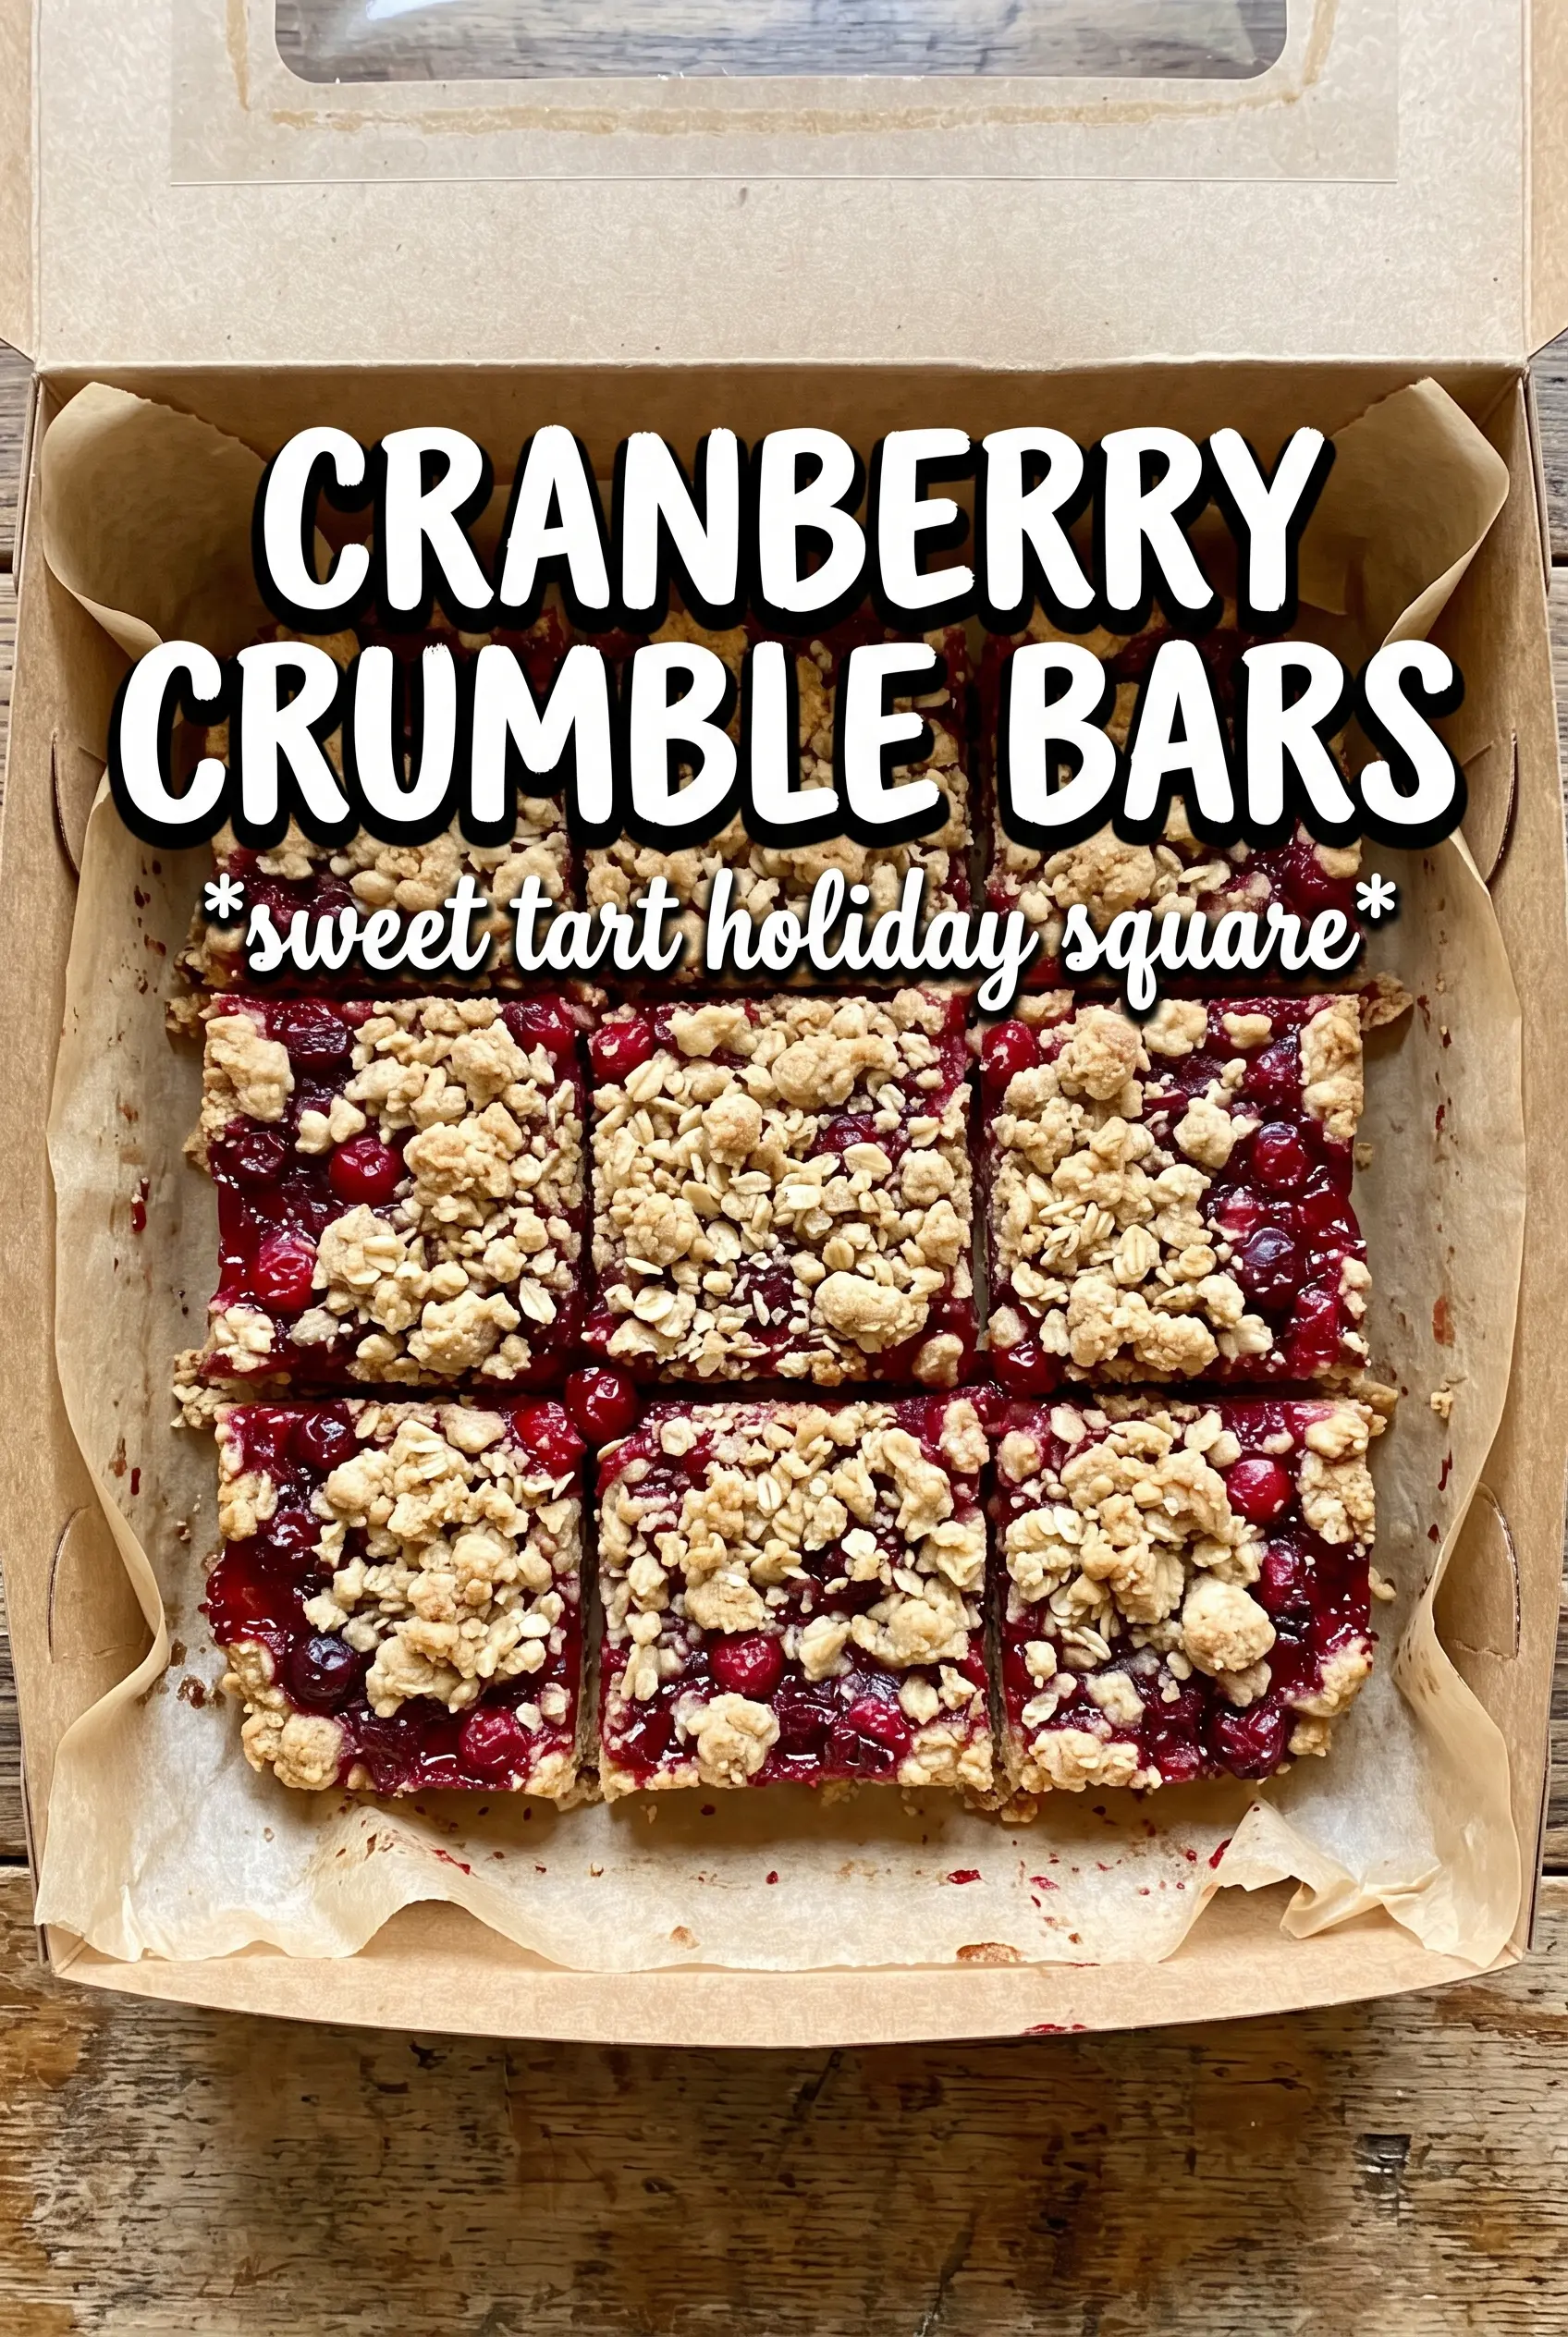
Cranberry Crumble Bars
Ingredients
Equipment
Method
- Preheat the oven to 375F and line a 9x13 pan with parchment paper for easy lifting.
- Combine rolled oats, all-purpose flour, brown sugar, cinnamon, and salt in a bowl, then cut in the cold unsalted butter until the mixture forms even crumbs.
- Press 2/3 of the crumb mixture firmly into the prepared pan, then bake for 10 minutes so the base sets.
- In a saucepan, cook cranberries, granulated sugar, orange juice, orange zest, cornstarch, and cinnamon over medium heat for 8-10 minutes until thickened and glossy.
- Spread the hot cranberry filling over the baked base, leaving an even layer for consistent bars.
- Crumble the remaining oat mixture over the top in an even layer to create a full crumble crust.
- Bake for 25-28 minutes at 375F until the top is golden and the edges look set.
- Cool the bars completely before slicing to keep the filling from running.
- Dust with powdered sugar and cut into 16 bars for clean, jewel-bright slices.