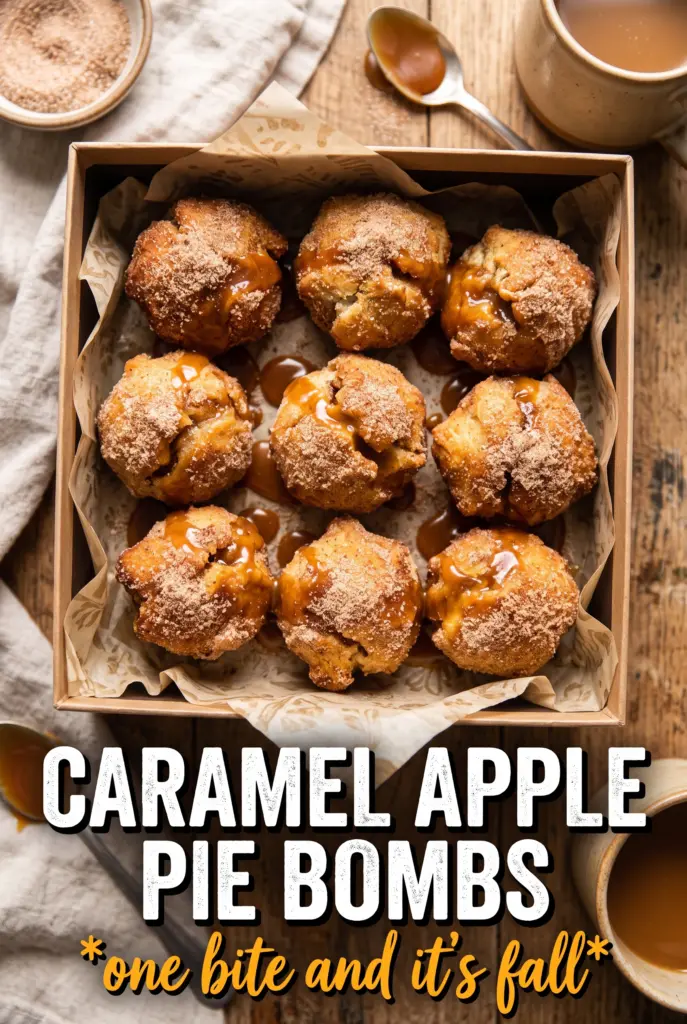
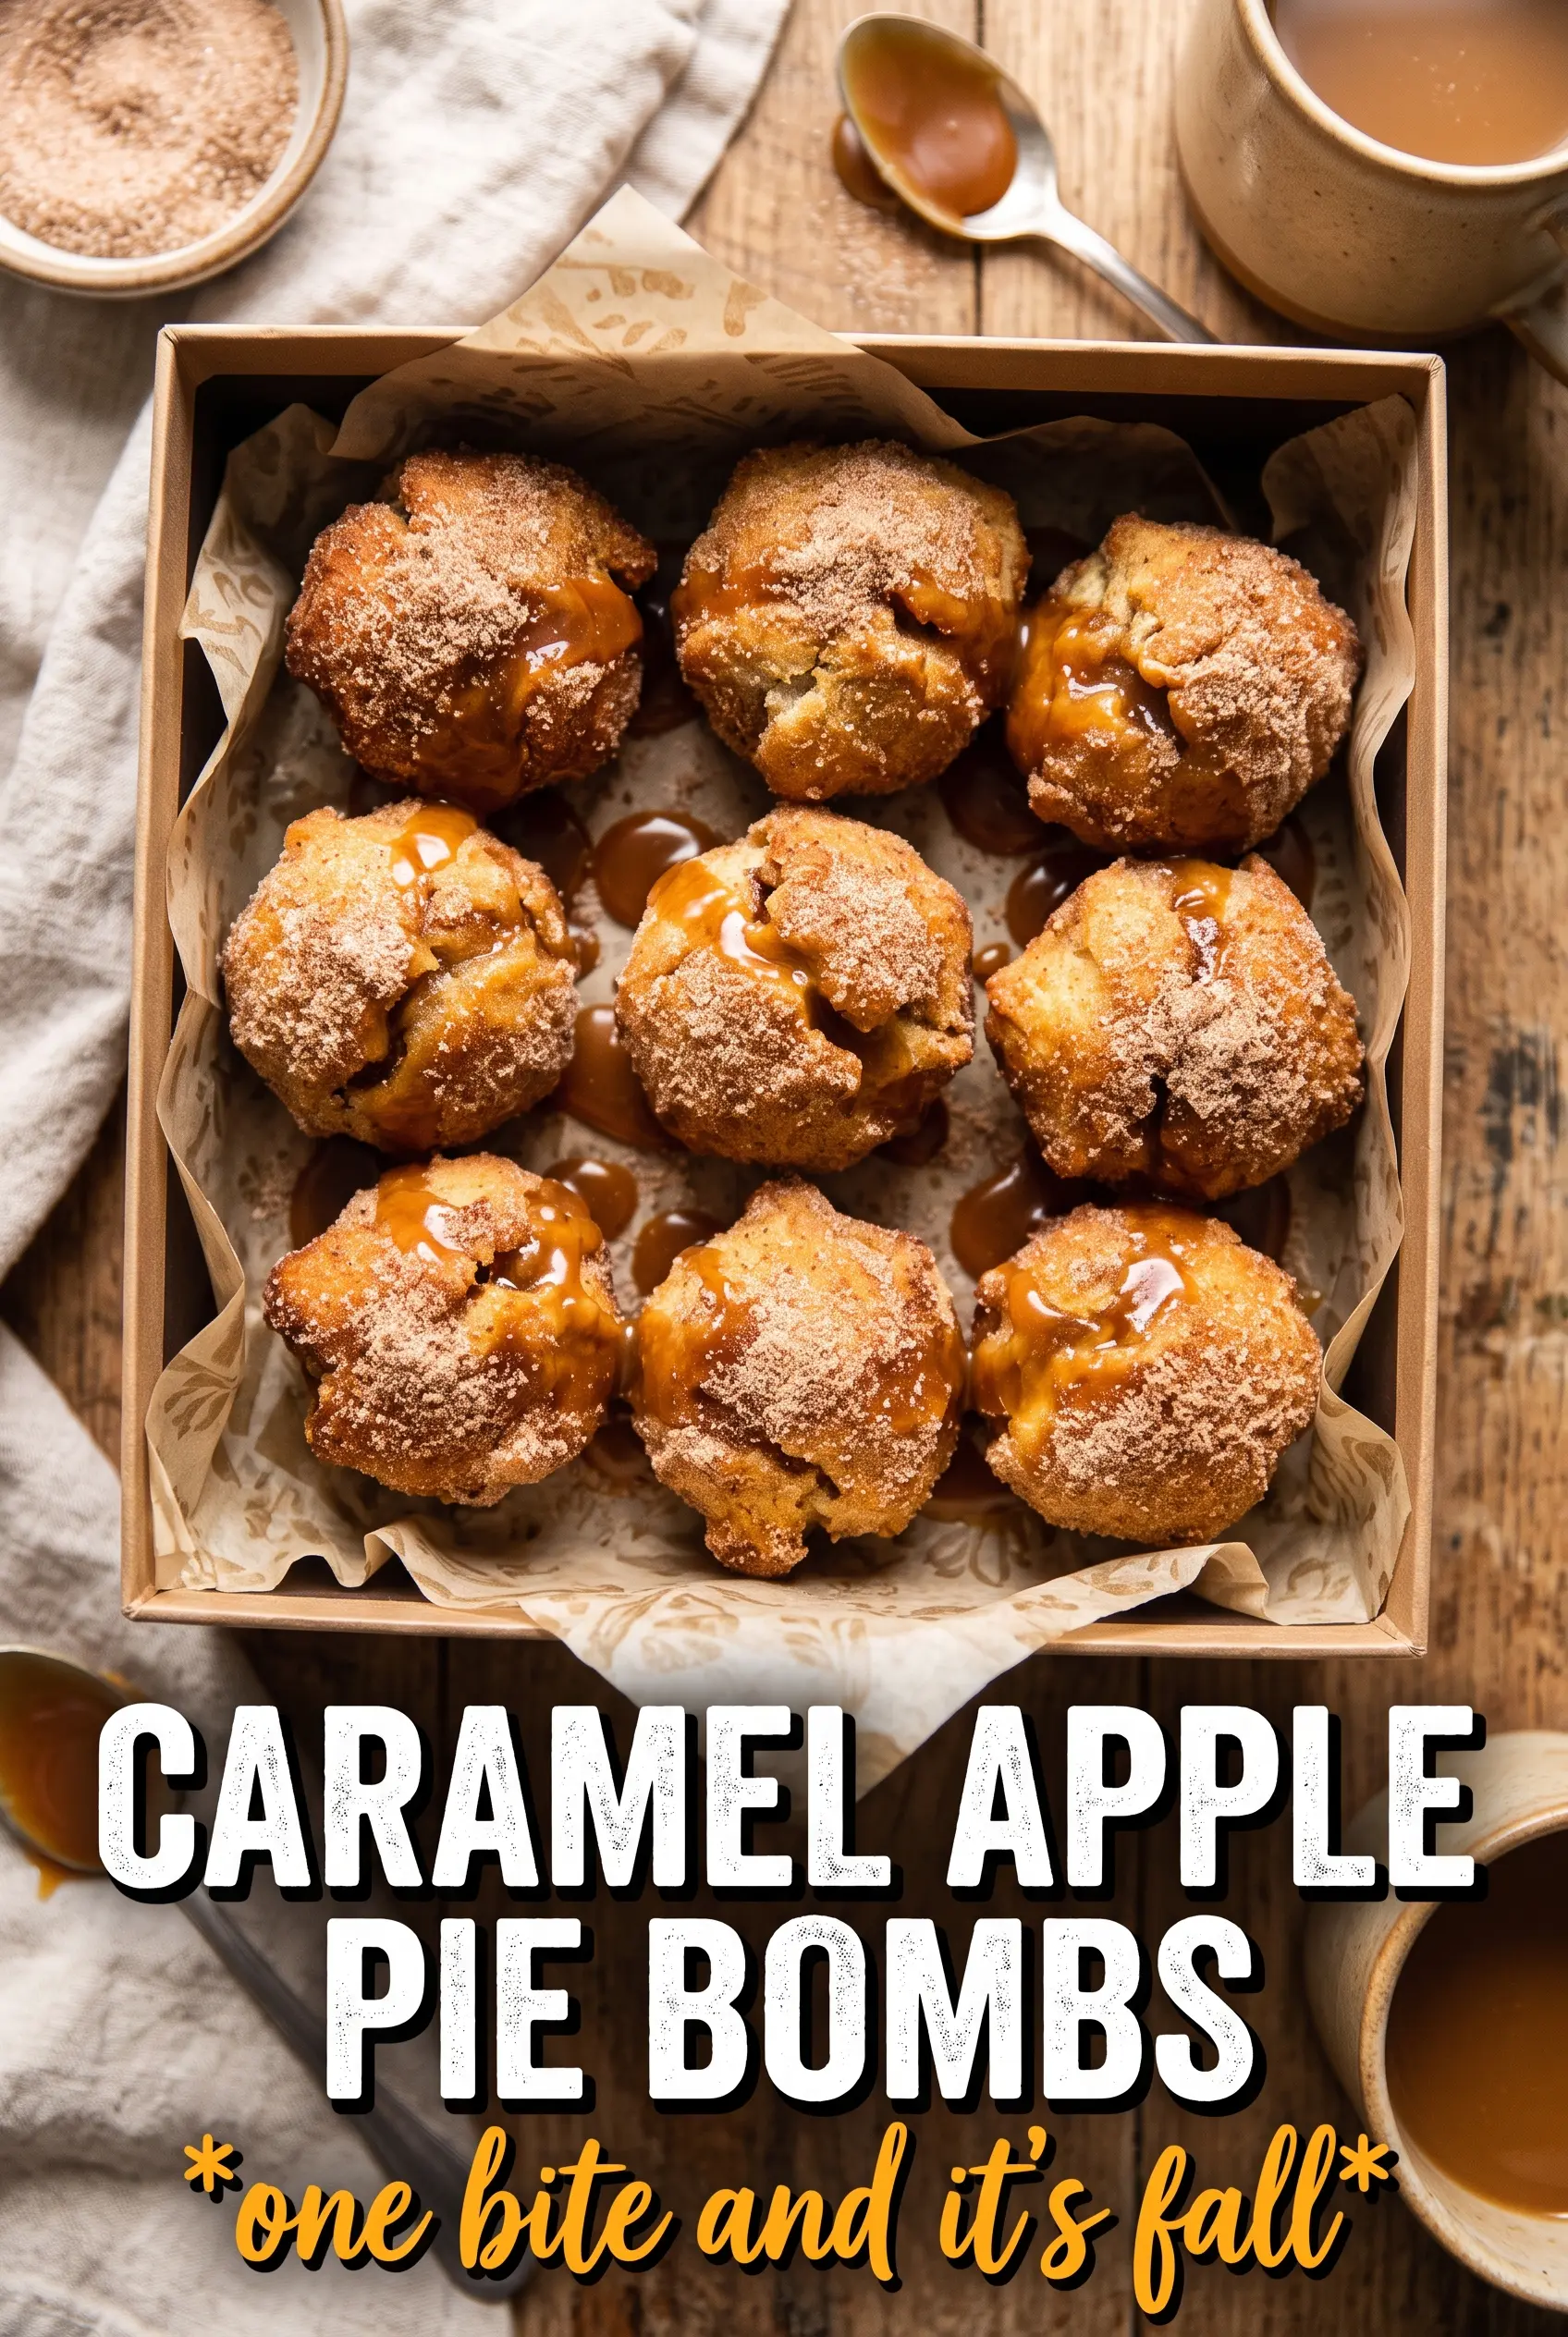
Caramel Apple Pie Bombs bake up with a crisp, sugary shell, a soft biscuit crumb, and a molten center of spiced apples and caramel that spills out the second you bite in. The whole thing tastes like a shortcut version of apple pie and caramel apples, but without the pie pan, rolling pin, or long wait for a full dessert to cool.
The trick is getting the apple filling thick enough before it ever touches the dough. If it’s even a little loose, the bombs can leak as they bake and leave you with soggy seams instead of neat little pockets. Cooking the apples with cornstarch first gives you a filling that stays put, and cooling it completely keeps the biscuit dough from turning sticky and hard to seal.
Below, I’ll walk you through the part that matters most: sealing the dough so the caramel stays inside, not on the pan. I’ve also included a few swaps and storage notes, because these are the kind of dessert you’ll want to make again once you see how fast they disappear.
The filling stayed tucked inside and the biscuit dough baked up golden instead of doughy. I used a sharp pinch to seal each one, and the caramel center turned gooey without leaking all over the pan.
Love these caramel apple pie bombs? Save them for the nights when you want warm apple filling, gooey caramel, and golden biscuit dough in one easy dessert.
The Part That Keeps the Caramel Inside Instead of on the Pan
The biggest mistake with stuffed biscuit desserts is rushing the seal. Once the filling goes in, the dough needs to be pulled up and pinched with enough pressure that the seam closes completely, then rolled smooth with the seam side down. If the dough is stretched too thin, it tears when it bakes. If it’s left with a weak seam, the caramel softens, escapes, and bakes onto the parchment.
Cooling the apple filling matters just as much. Warm filling melts the biscuit dough before it even hits the oven, which makes the bombs harder to shape and more likely to open up. You want the filling thick, cool, and scoopable — not saucy.
What the Apples, Caramel, and Biscuit Dough Are Each Doing Here

- Apples — Use a firm apple that holds its shape, like Granny Smith, Honeycrisp, or a mix of both. Softer apples break down too fast and turn the filling mushy before the bombs even bake.
- Cornstarch — This is what turns the apple juices into a thick filling instead of a runny one. Flour can work in a pinch, but it tastes heavier and doesn’t give the same clean, glossy thickness.
- Soft caramel candies — These melt into the center and give you the gooey pull that makes the whole dessert feel finished. Wrap them fully in the apples so they don’t stick directly to the dough and burn onto the pan.
- Refrigerated biscuit dough — This is the shortcut that makes the recipe fast and reliable. It bakes into a sturdy, tender shell that browns well and holds the filling better than pie dough in this format.
- Cinnamon sugar coating — The melted butter helps the sugar cling and gives the outside that crackly, bakery-style finish. Don’t skip the butter brush or the coating falls off as soon as the bombs are handled.
How to Build the Filling, Seal the Bombs, and Bake Them Cleanly
Cooking Down the Apple Filling
Start the apples in a skillet with butter, brown sugar, cinnamon, nutmeg, and cornstarch over medium heat. As they cook, the apples should soften and the pan juices should turn thick and glossy, not watery. Stir often so the cornstarch doesn’t clump on the bottom of the pan. Once the filling holds together on a spoon, pull it off the heat and spread it out so it cools fast.
Shaping the Biscuit Dough
Flatten each biscuit into a circle about 4 inches across. You want enough surface area to wrap around the filling without feeling stretched to the point of tearing. If the dough springs back, rest it for a minute and press again instead of fighting it. The goal is a circle that’s thin enough to seal but not so thin that the filling punches through.
Filling, Sealing, and Rolling
Spoon the apple filling into the center, then tuck one caramel candy right into the middle. Gather the dough up around the filling and pinch every seam tightly, especially where the ends meet. Roll the bomb gently between your palms until it looks smooth and round, then place it seam-side down on the baking sheet so gravity helps keep it closed.
Finishing the Bake
Brush the tops with melted butter and roll them in cinnamon sugar before they go into the oven. Bake until the outsides are deeply golden and the dough feels set when you tap the top, about 18 to 20 minutes. If they’re pale, they’ll taste doughy in the center. Let them cool just enough for the filling to settle, then drizzle with caramel sauce while they’re still warm.
Three Ways to Make These Caramel Apple Pie Bombs Fit What You Need
Dairy-Free Version
Swap the butter in the filling and coating for a plant-based butter that melts cleanly. Use a dairy-free caramel candy or a sticky caramel-style baking piece if you can find one. The texture stays close to the original, though the flavor will be a little less rich and more sweet-spiced.
Use Puff Pastry Instead of Biscuit Dough
Puff pastry gives you a flakier, lighter shell, but it needs a quick hand because it softens fast at room temperature. Cut it into squares, wrap the filling, and bake until puffed and deep golden. The result is more pastry-like and less bread-like, with crisp layers instead of a tender biscuit crumb.
Make Them Ahead for a Party
You can cook the filling a day ahead and keep it chilled, which makes assembly faster and cleaner. For the best texture, build and bake the bombs just before serving so the outside stays crisp and the caramel center stays soft. If you want extra insurance, assemble them on the baking sheet and chill them briefly before baking.
Storage and Reheating
- Refrigerator: Store leftovers in an airtight container for up to 3 days. The coating softens a little, but the filling stays flavorful.
- Freezer: Freeze after baking once fully cooled. Wrap individually and thaw in the fridge before reheating for the best texture.
- Reheating: Warm in a 325°F oven for 8 to 10 minutes until heated through. The microwave works in a pinch, but it makes the biscuit dough soft instead of crisp.
Answers to the Questions Worth Asking
Caramel Apple Pie Bombs
Ingredients
Equipment
Method
- Cook the diced apples with butter, brown sugar, cinnamon, nutmeg, and cornstarch over medium heat for 5–7 minutes until thickened, stirring to prevent sticking.
- Let the thickened apple filling cool completely before assembling so the dough seals without leaking.
- Preheat the oven to 375°F and line a baking sheet with parchment.
- Separate the refrigerated biscuit dough and flatten each into a 4-inch circle.
- Place 1 tablespoon apple filling and 1 soft caramel candy in the center of each dough circle.
- Wrap the dough around the filling and pinch firmly to seal, then roll into a smooth ball.
- Brush each ball with melted unsalted butter, then roll in cinnamon sugar made from granulated sugar and cinnamon.
- Bake for 18–20 minutes until deeply golden, rotating the pan once for even browning.
- Drizzle with caramel sauce and serve warm.