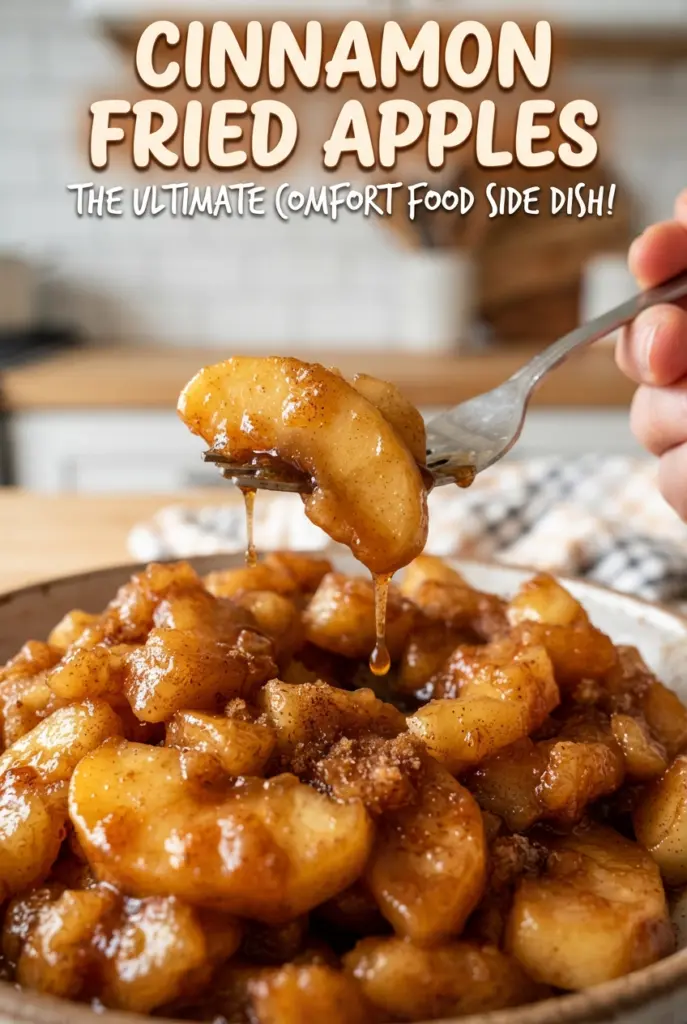
Cinnamon fried apples land somewhere between a skillet dessert and the kind of warm side dish people quietly hover over with a spoon. The apples stay tender but not mushy, and the pan sauce turns glossy and spoonable instead of thin and watery. That balance is what makes this version worth keeping around.
The trick is using firm apples and cooking them covered just long enough for the slices to soften without collapsing. Brown sugar brings depth, cinnamon does the obvious work, and a little cornstarch at the end turns the buttery juices into a syrup that clings to every slice. Vanilla goes in off the heat so it stays fragrant instead of cooking away.
Below, you’ll find the small details that keep the apples intact, the sauce thick, and the flavor balanced. There’s also a simple way to adjust the texture depending on whether you want these closer to saucy or more spoon-coating.
The apples held their shape and the sauce thickened into that glossy syrupy coating in just the time you said. I served them over waffles and everyone went back for seconds.
Save these cinnamon fried apples for the next time you want tender skillet apples with a glossy brown sugar sauce.
The Secret to Apples That Stay Tender Instead of Turning to Sauce
The biggest mistake with fried apples is treating them like a stovetop jam. If the heat is too high or the pan is left uncovered too long, the slices give up all their structure before the syrup has a chance to thicken. Covered cooking traps steam and softens the apples evenly, while the brief uncovered simmer at the end tightens the sauce without breaking the fruit apart.
Firm apples matter here. Honeycrisp gives a sweeter, juicier bite; Granny Smith stays a little sharper and holds its shape especially well. Softer varieties can work, but they collapse faster and make the pan look more like applesauce with cinnamon. If your apples are cut too thin, they’ll go from tender to limp before the syrup is ready, so aim for slices that are thick enough to keep a little body.
What the Butter, Brown Sugar, and Cornstarch Are Each Doing
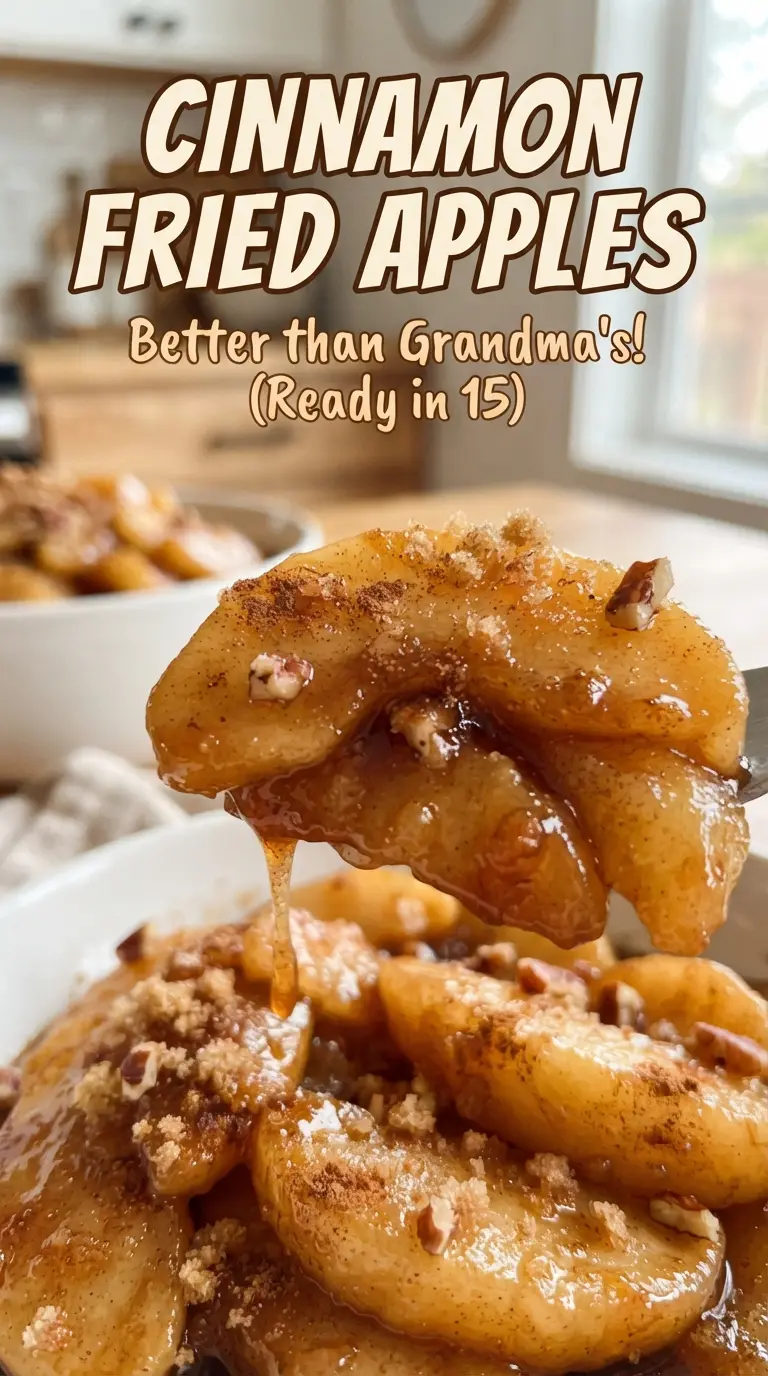
- Apples — Choose firm, crisp fruit that can handle heat without falling apart. Honeycrisp brings natural sweetness; Granny Smith adds a brighter edge and a firmer bite. If you only have a softer apple, cut the slices thicker so they hold up better in the skillet.
- Butter — This carries the cinnamon and brown sugar and gives the sauce a round, rich finish. Salted butter works if that’s what you have; just keep the pinch of salt light so the flavor stays balanced.
- Brown sugar — This is what turns the pan juices into a syrup with depth instead of a flat sweetness. Packed brown sugar matters because loose sugar can throw off the liquid balance and leave the sauce thinner than you want.
- Cornstarch — The slurry is what gives you that glossy, clinging sauce at the end. Whisk it with cold water first; if you dump it straight into the skillet, you’ll get little white lumps that never fully disappear.
- Vanilla — Add it after the heat has done its work so the aroma stays fresh and warm. It doesn’t make the dish taste like dessert; it just rounds out the cinnamon and butter.
Building the Syrup Without Overcooking the Apples
Melting the Butter and Coating the Fruit
Start with a large skillet so the apples sit in a single layer as much as possible. Once the butter melts, add the apples, sugar, spices, and salt, then stir until every slice looks lightly coated and glossy. That first coating matters because the sugar begins drawing out moisture right away, which helps the apples cook evenly instead of scorching in spots.
Covered Cooking for Tender Slices
Put a lid on the skillet and let the apples cook over medium heat until they’re just tender, not soft enough to slump apart. Stir once or twice during this stage so the bottom slices don’t stick, but don’t keep lifting the lid every minute or you’ll lose the steam that helps them cook through. If the pan looks dry before the apples are ready, lower the heat rather than adding more butter; extra fat won’t fix undercooked fruit.
Thickening the Sauce to a Glossy Finish
Whisk the cornstarch with cold water until smooth, then pour it into the skillet and stir as the sauce comes back to a simmer. In a couple of minutes, the liquid turns from thin and buttery to shiny and lightly thickened, coating the apples instead of pooling at the bottom. If you add the slurry before the apples are tender, the sauce can tighten too soon and the fruit won’t have time to finish cooking, so wait for the right texture first.
Bringing It Off the Heat
Stir in the vanilla at the very end, then serve the apples warm while the sauce is still loose and silky. If they sit too long, the starch keeps setting and the mixture gets thicker; a splash of water during reheating loosens it back up. This is the point where the kitchen smells like cinnamon and butter in the best possible way, and the apples should look glazed, not soupy.
Three Ways to Make These Fried Apples Fit the Meal You’re Serving
Dairy-Free Version
Swap the butter for a dairy-free baking stick or refined coconut oil. You’ll lose a little of the classic buttery depth, but the apples still turn tender and the sauce still thickens the same way. Coconut oil adds a faint coconut note, while a neutral plant-based butter keeps the flavor closest to the original.
Less Sweet, More Apple Forward
Cut the brown sugar back slightly if you want the apples to taste brighter and less dessert-like. The sauce won’t be as deep or sticky, but the fruit flavor comes through more clearly. Granny Smith works especially well here because the tartness keeps the dish from tasting flat.
Gluten-Free and Naturally Thickened
This recipe is already gluten-free as written, as long as your cornstarch is certified gluten-free. Cornstarch gives a clean, glossy finish that flour can’t match here, and it thickens faster with less simmering. That matters because the apples stay more intact when you don’t have to cook the pan down for long.
Make It Ahead for Brunch
Cook the apples until just tender, then cool and refrigerate. When you reheat them, add a small splash of water and warm them gently so the sauce loosens without getting gummy. The apples soften a touch more after chilling, so stopping a little early gives you the best texture later.
Storage and Reheating
- Refrigerator: Store leftovers in an airtight container for up to 4 days. The sauce thickens in the fridge, and the apples soften slightly more overnight.
- Freezer: Not my first choice for this recipe. The apples get softer after thawing and the sauce can turn watery, so it’s better made fresh or kept in the fridge.
- Reheating: Warm gently in a skillet over low heat with a splash of water or apple juice. High heat can break down the apples and make the sauce separate before it loosens again.
Answers to the Questions Worth Asking
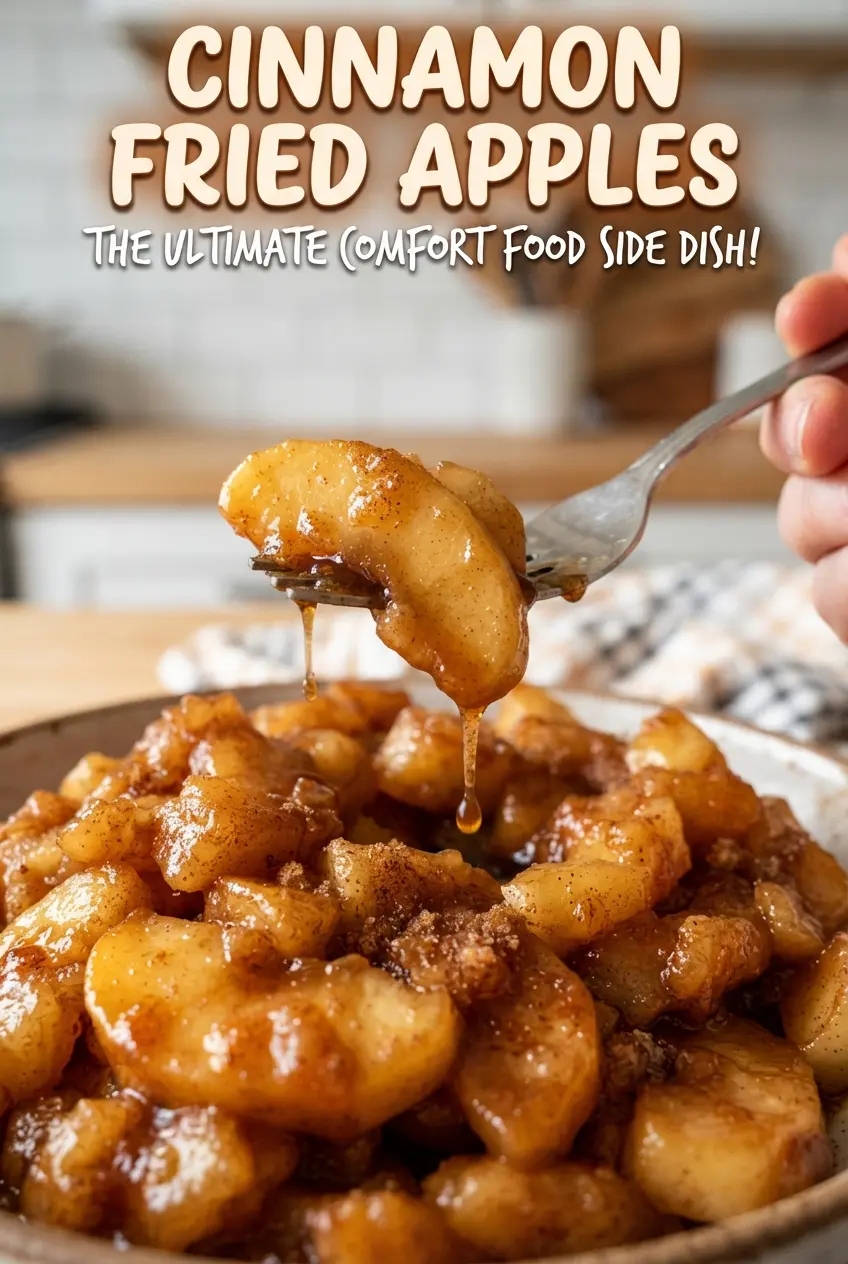
Cinnamon Fried Apples
Ingredients
Equipment
Method
- Melt the butter in a large skillet over medium heat (about 350°F/175°C). When it looks foamy and glossy, add the apples, brown sugar, cinnamon, nutmeg, and salt, then stir to coat until the apples are evenly colored.
- Cover the skillet and cook for 8-10 minutes over medium heat, stirring occasionally. Stop when the apples are just tender but still hold their shape.
- Whisk the cornstarch with the water until smooth, then pour it into the skillet. Stir right away so no lumps form.
- Simmer for 2-3 minutes over medium heat, stirring as needed, until the sauce thickens and looks glossy. The coating should cling to the apples.
- Stir in the vanilla extract and heat for about 30 seconds. Serve warm while the apples are saucy and steaming.