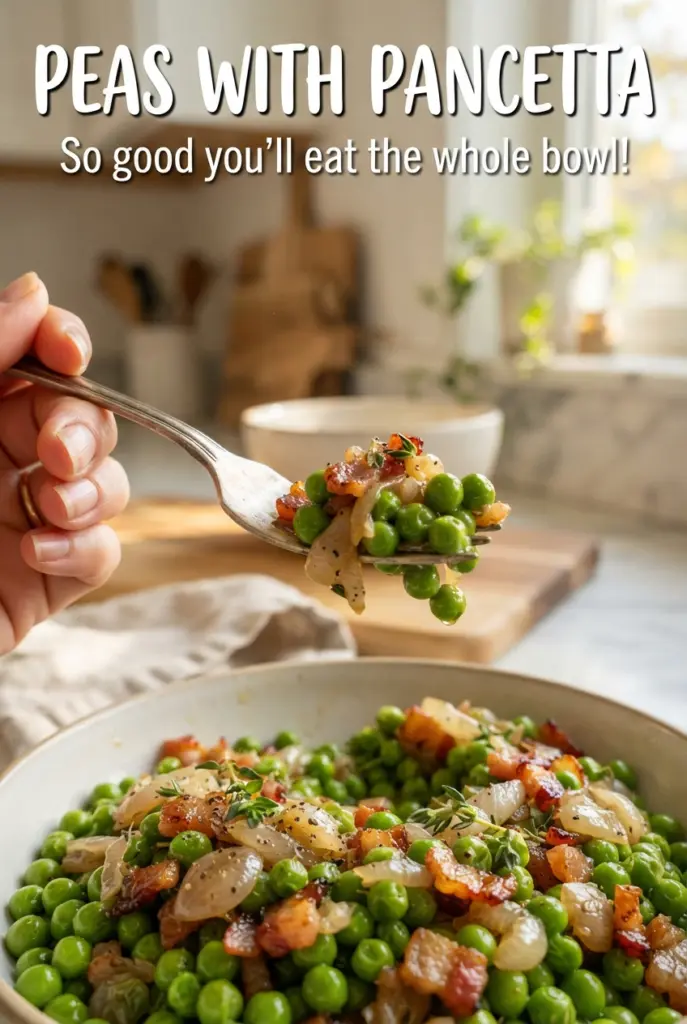
Peas with pancetta hit that sweet spot between easy and worth repeating: bright green peas, salty crisp pancetta, and just enough butter and lemon zest to make the whole pan taste finished. It lands on the table in minutes, but it doesn’t eat like a rushed side dish. The peas stay tender with a little bite, the pancetta brings crunch, and the mint wakes everything up at the end.
The trick is building flavor in stages instead of tossing everything together at once. Pancetta needs time to render so it can turn crisp and leave a little fat in the pan for the shallot and garlic. Frozen peas work beautifully here because they’re picked at their peak, and they keep their sweetness if you cook them only until they’re hot and bright. A small splash of broth gives the pan enough steam to heat the peas without turning them mushy.
Below you’ll find the timing that keeps the peas vivid, the ingredient swaps that still make sense, and a few ways to use this same method with other vegetables when you need a fast side dish that feels a little more special.
The peas stayed bright and sweet, and the pancetta stayed crisp even after I tossed everything together. The lemon zest at the end made it taste fresh instead of heavy.
Save these peas with pancetta for the nights when you want a fast Italian-style side with crisp pancetta and bright mint.
The Reason the Peas Stay Sweet Instead of Turning Dull
The mistake most people make with peas is cooking them too long after they go into the pan. Frozen peas only need enough heat to thaw, warm through, and take on the flavor around them. Once they lose that vivid color and start to wrinkle, they taste flat and the whole dish feels heavier than it should.
This version avoids that by using the pancetta fat and a splash of broth as the cooking medium. The fat carries flavor, the broth adds just enough steam, and the butter at the end gives the peas a glossy finish without making the pan greasy. If your peas taste bland, it usually means they were underseasoned after the pancetta went in; salt belongs at the end, once the pan has been built.
What the Pancetta, Butter, and Mint Are Doing Here

- Pancetta — This is the backbone of the dish. It renders into the pan and seasons the peas from the inside out, which bacon can mimic but not quite match because pancetta is less smoky and more cleanly savory. If you can’t find pancetta, use thick-cut bacon and drain off a little more fat if the pan looks crowded.
- Frozen sweet peas — Frozen peas are the right choice here. They’re picked and frozen fast, so they hold onto sweetness better than fresh peas that have been sitting around for a few days. Don’t thaw them first; they go straight from freezer to pan and keep their shape better that way.
- Shallot and garlic — The shallot softens into the pancetta fat and gives the dish a gentle onion base without stealing the spotlight. Garlic needs only a short turn in the pan, because once it browns it turns bitter fast and the whole side dish starts tasting harsh.
- Butter and lemon zest — Butter rounds out the saltiness and gives the peas a silky finish, while lemon zest keeps the flavor bright. If you skip the zest, the dish still works, but it tastes fuller and fresher with it.
- Mint or parsley — Mint gives the sharpest contrast to the pancetta, and parsley keeps things a little more classic if that’s what you have. Add the herbs at the end so they stay green and fragrant instead of fading into the heat.
How to Build the Pan So Nothing Turns Greasy or Flat
Rendering the Pancetta
Start the pancetta in olive oil over medium heat and give it time to release its fat before you think about the vegetables. You want the cubes crisp at the edges and deeply golden, not pale and rubbery. If the heat is too high, the outside browns before the fat has a chance to render, and you lose both texture and flavor. Removing half the pancetta now gives you a crisp topping later instead of one pan of soft little bits.
Softening the Shallot and Garlic
Once the pancetta is out, the shallot goes into the flavored fat and cooks just until translucent and sweet. The garlic only needs about 30 seconds; as soon as you smell it bloom, move on. If the pan looks dry, a tiny splash of olive oil is fine, but don’t drown the aromatics or they’ll steam instead of turning mellow and fragrant.
Warming the Peas Without Overcooking Them
Add the peas and broth together and keep the heat at a steady medium. The broth gives the peas a little steam and helps coat them without making the dish soupy, and you’re watching for bright green color and full heat throughout. As soon as the peas look glossy and tender, stop. If they sit too long, they go wrinkled and the sweetness falls off.
Finishing for Balance
Take the pan off the heat before stirring in the butter and lemon zest if the mixture looks very hot. That keeps the butter from separating and gives the dish a smooth finish instead of an oily sheen. Taste at the end, then add salt and pepper as needed. The reserved pancetta and fresh mint go on last so you keep both crunch and freshness.
Three Ways to Change the Dish Without Losing What Makes It Good
Use bacon instead of pancetta
Bacon works when pancetta isn’t available, but it brings a smokier flavor and usually renders more fat. Cook it a touch longer if needed, then spoon off excess grease before adding the shallot so the dish doesn’t taste heavy. The result is still good, just a little more assertive.
Make it dairy-free
Skip the butter and finish with an extra drizzle of olive oil plus the lemon zest. You’ll lose a little richness, but the peas will stay bright and the pancetta still carries the savory base. This is the cleanest adjustment if you’re cooking for someone avoiding dairy.
Swap in fresh spring peas
Fresh peas can be used when they’re sweet and tender, but they need less time than frozen peas. Add them just long enough to heat through and stay bright green, usually a minute or two less than the frozen version. If the peas are starchy or older, stick with frozen instead.
Storage and Reheating
- Refrigerator: Store in an airtight container for up to 3 days. The peas will soften a bit, and the pancetta loses some of its crispness.
- Freezer: I don’t recommend freezing this dish. The peas turn soft and watery after thawing, and the pancetta loses the texture that makes the recipe worth making.
- Reheating: Rewarm gently in a skillet over low heat with a teaspoon or two of water or broth. High heat will toughen the peas and make the pancetta taste chewy instead of crisp.
Answers to the Questions Worth Asking
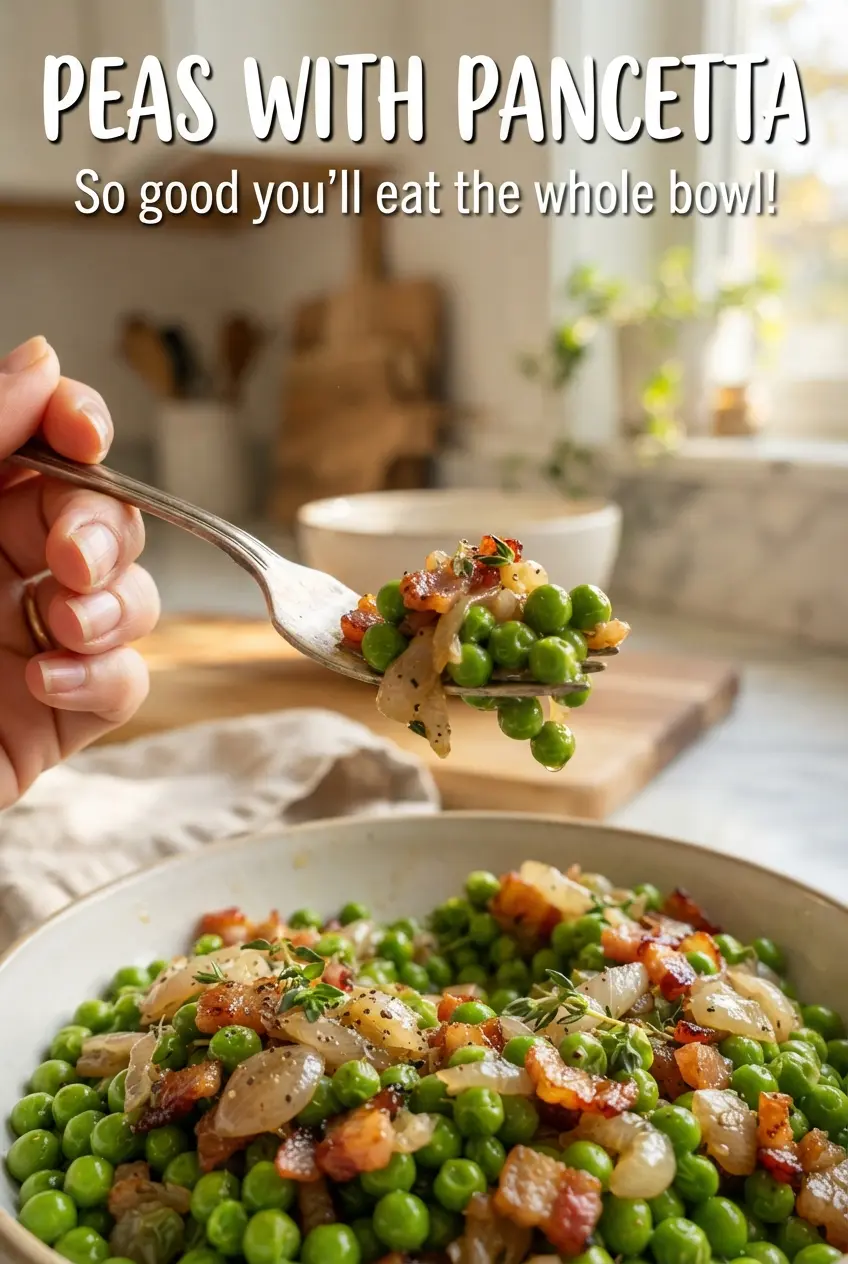
Peas with Pancetta
Ingredients
Equipment
Method
- Heat the olive oil in a skillet over medium heat and cook the pancetta for 6-8 minutes until crisp and golden. Remove half the pancetta and reserve it for topping.
- Add the minced shallot to the skillet and cook for 2 minutes until softened. Stir in the minced garlic and cook for 30 seconds.
- Add the frozen sweet peas and chicken broth to the skillet, then cook for 4-5 minutes until the peas are bright green and hot. Stir occasionally so the peas heat evenly.
- Stir in the butter and lemon zest, then season with salt and pepper. Continue stirring just until the butter melts and coats the peas for a glossy finish.
- Sprinkle the reserved pancetta over the peas and add the chopped fresh mint or parsley, then serve right away. The topping should stay crisp against the hot peas.